Store homemade Halloween candy in an airtight container, in a cool dark dry place away from strong odors, and label it with the date you made it. Those three habits do most of the work, because candy goes stale when it loses or picks up moisture and when warm kitchen air speeds up the reactions that change texture and color.
The rest is a matter of sorting by candy type. Chocolate and candy corn want dry air, caramel and fudge want a tight seal so they do not harden, and anything with milk, cream or fresh fruit belongs in the fridge. Plan on about 15 minutes per batch once the candy is already made.
Table of Contents
- What You Need
- How to Store Homemade Halloween Candy So It Stays Fresh
- Step 1: Cool the Candy Completely
- Step 2: Choose the Right Storage Method
- Step 3: Use Containers That Protect the Texture
- Step 4: Label and Rotate the Candy
- Common Mistakes
- Frequently Asked Questions
- How long does homemade Halloween candy last at room temperature?
- Should I refrigerate homemade Halloween candy?
- Can I freeze homemade candy?
- How do I keep homemade candy from sticking together?
- How do I know when homemade candy has gone bad?
- Conclusion
What You Need
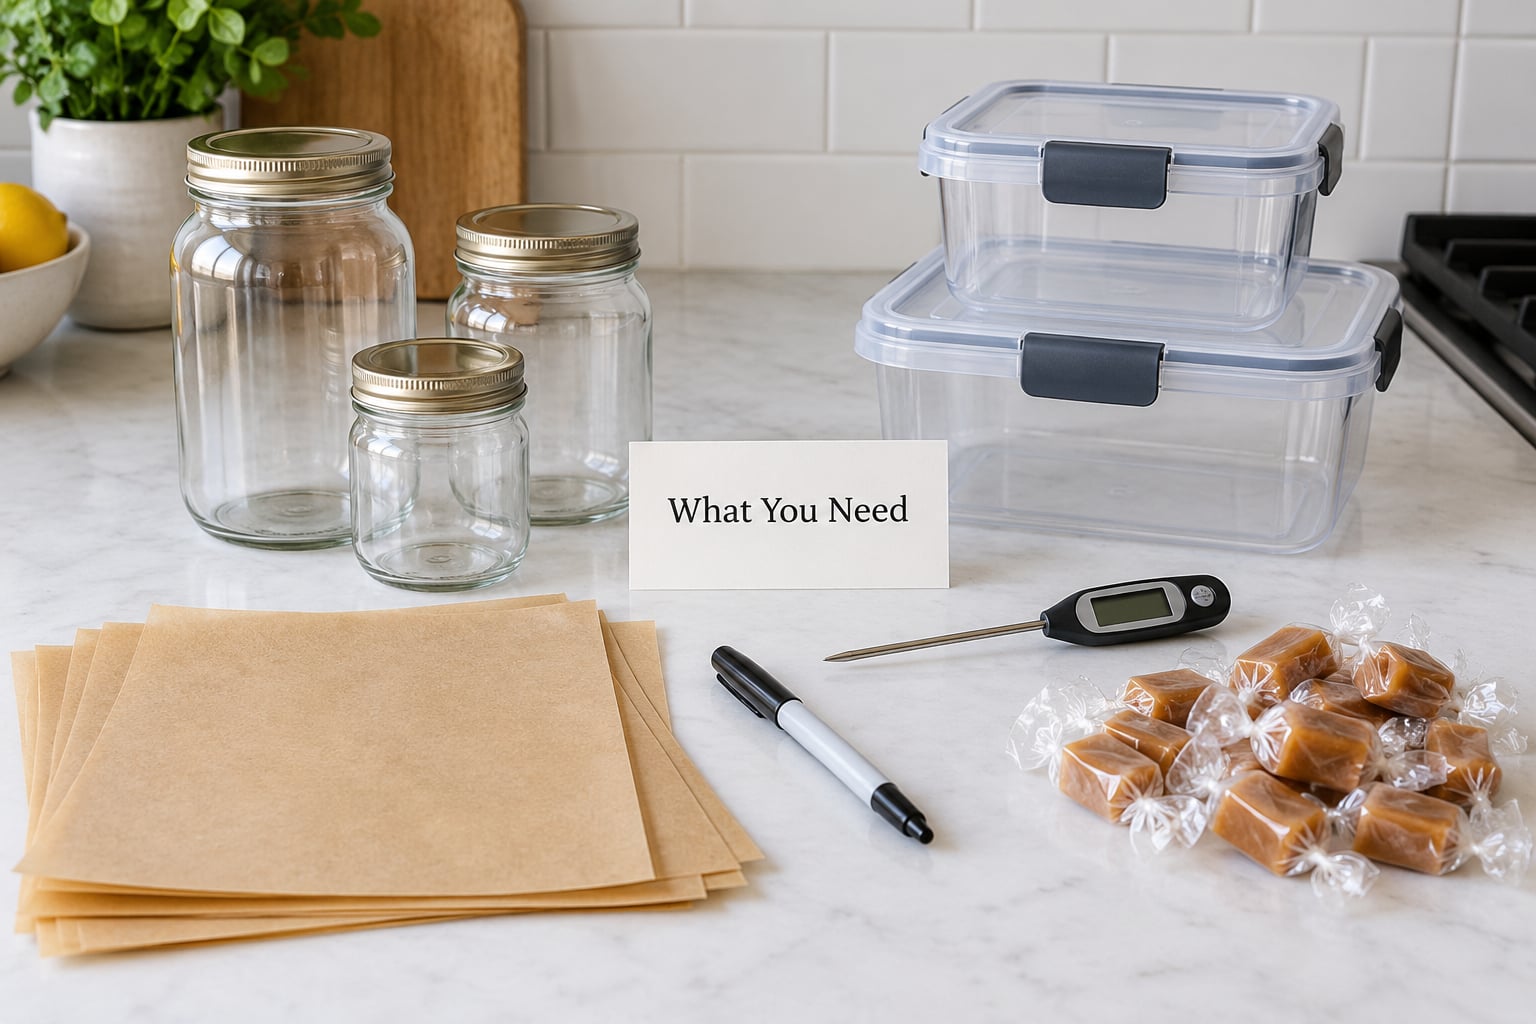
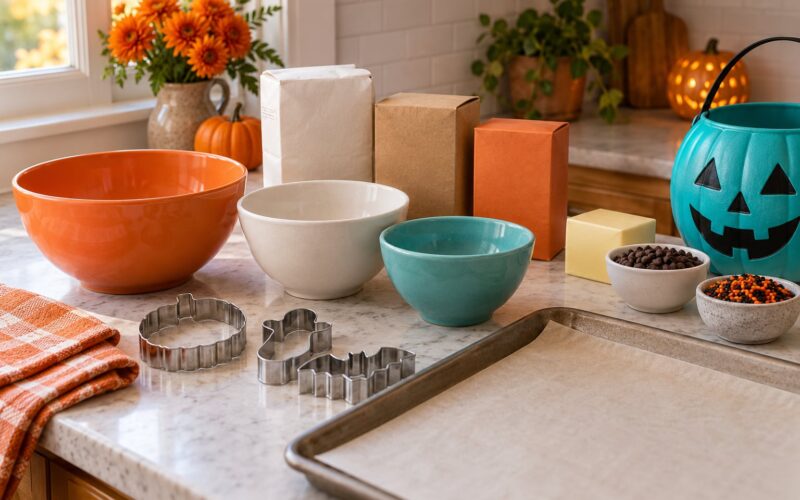
Gather these before you start so you are not improvising with a plastic bag and a rubber band while the candy is still warm.
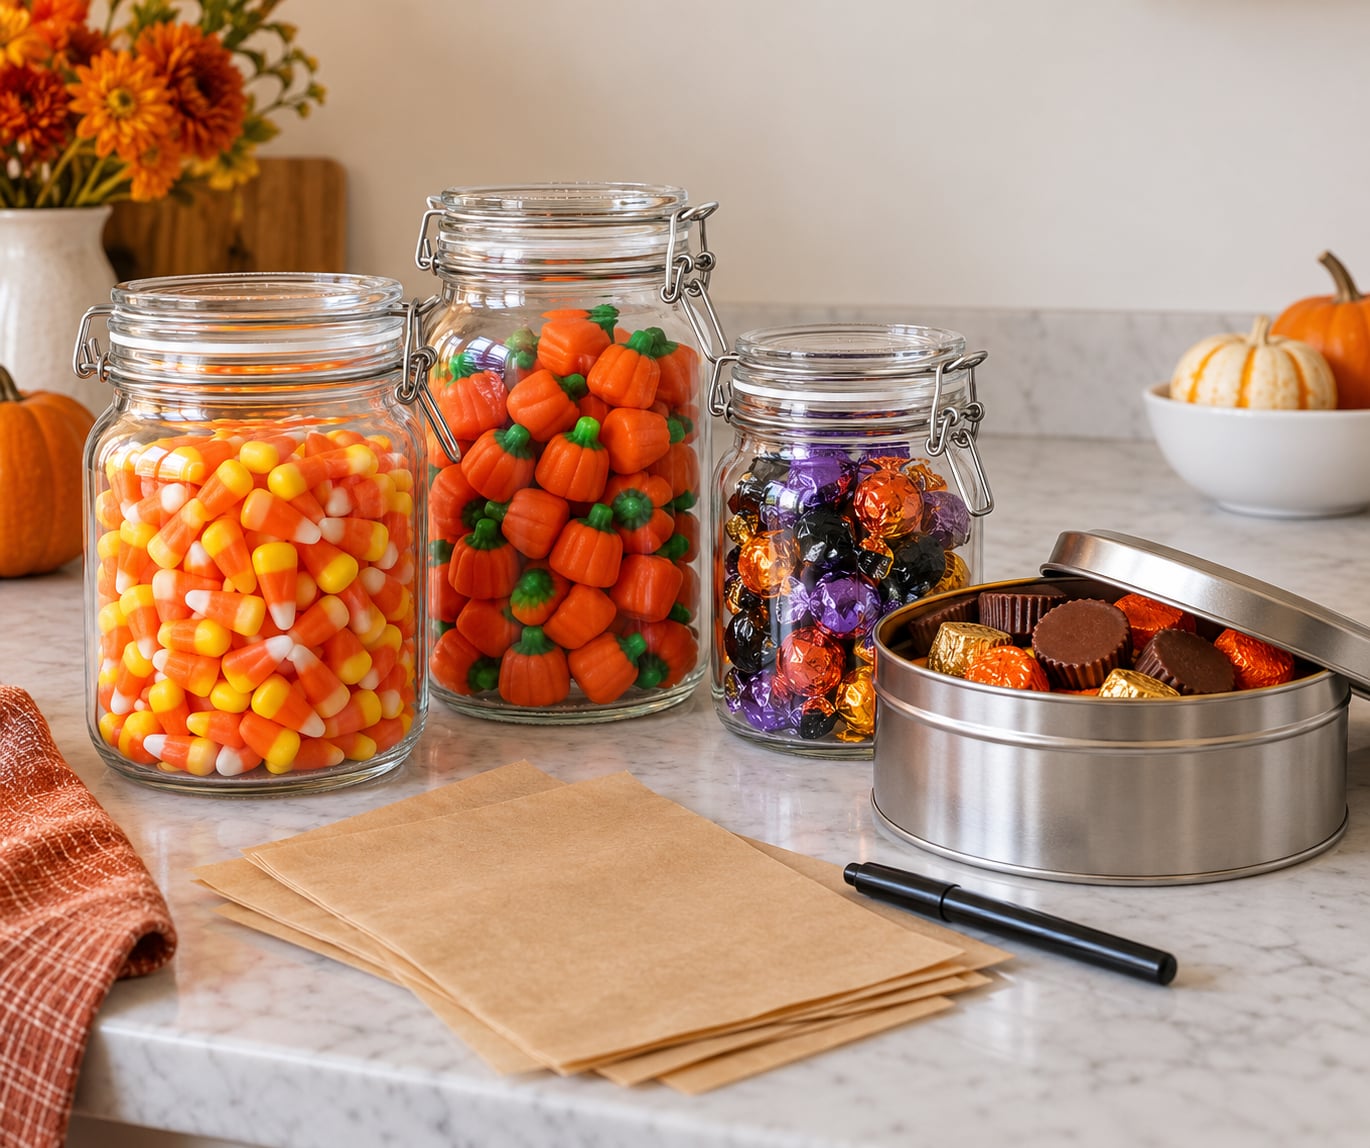
- Airtight containers: glass jars with clamping lids, plastic tubs with snap seals, or a metal tin with a tight gasket. Any of them beats an open bowl.
- Parchment or wax paper: for separating layers, wrapping soft pieces, and keeping cut fudge from sticking to the pan.
- Resealable freezer bags in freezer-grade plastic, for the batches you want to freeze.
- A marker and masking tape (or small stickers) for batch names and dates.
- A cool, dry storage spot: a pantry shelf, a closet, or the back of a lower cupboard away from the oven or dishwasher.
- Optional: an instant-read thermometer for the fridge, and small cellophane wrappers for treat bags.
Skip anything that is not food-safe, and never reuse a container that held raw meat or onions. Candy is porous enough to pick up both smells permanently.
How to Store Homemade Halloween Candy So It Stays Fresh
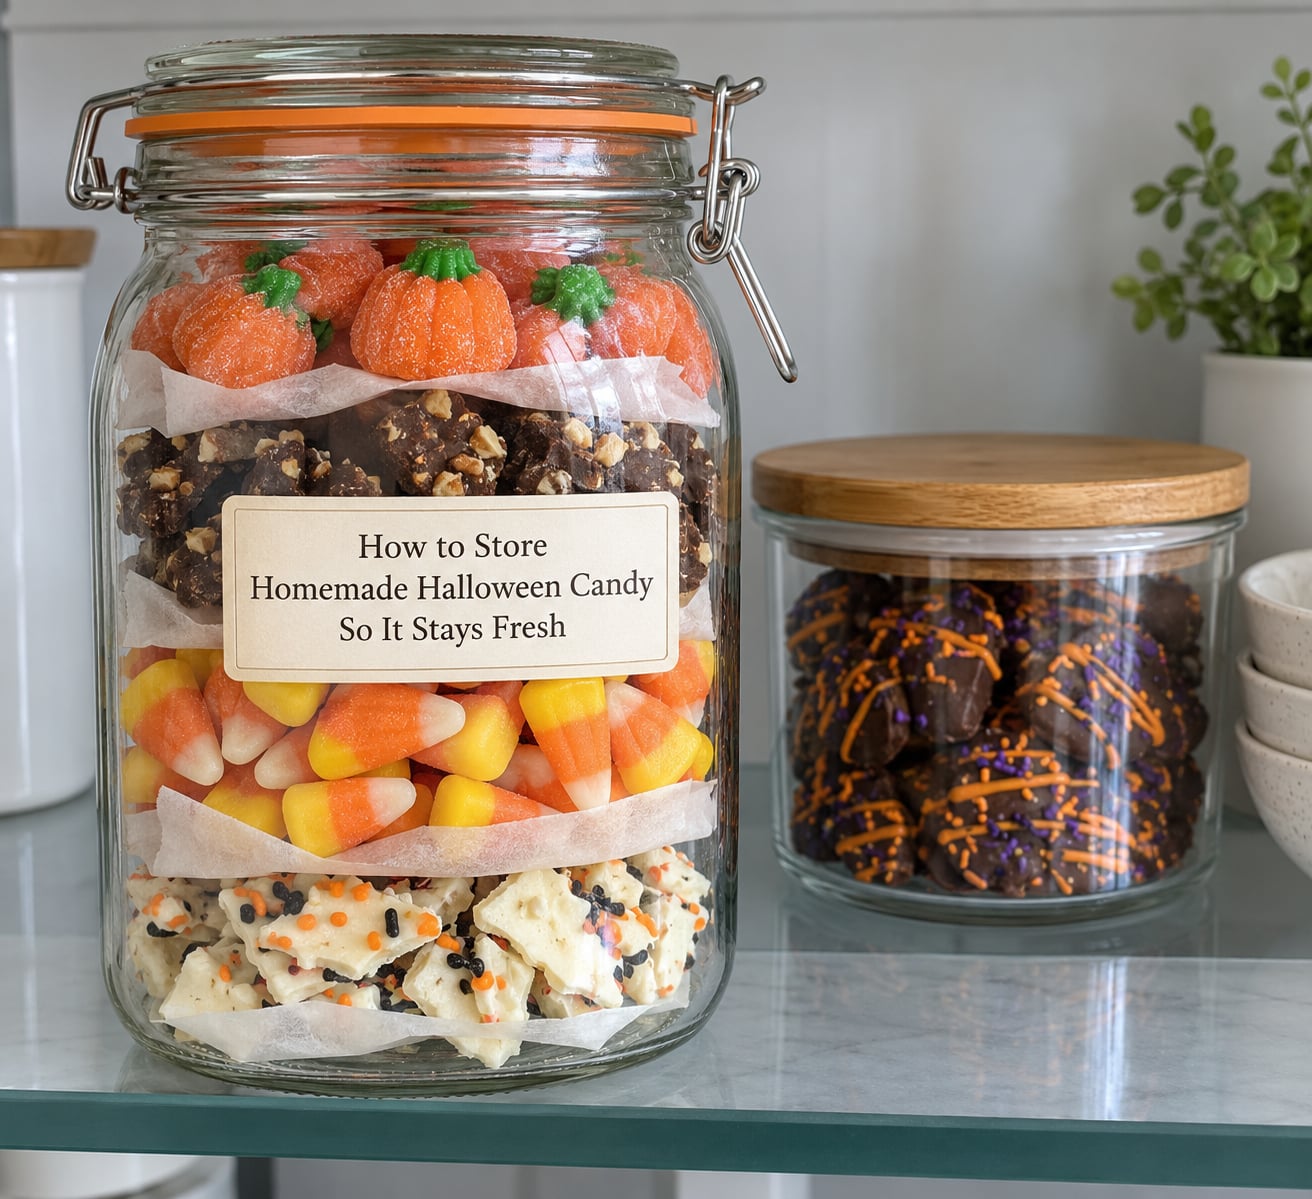
Start by cooling the batch completely, then match the container and the temperature to the treat before sealing anything. Work through the four steps below in order, because sealing warm candy undoes the other three.
Step 1: Cool the Candy Completely
Let every piece reach room temperature before it goes into a container. Trapped warmth turns into condensation, and that moisture is what makes fudge grainy and candy corn sugary.
How do you know it is ready? Chocolate should be matte and firm with no tacky sheen, candy melts should snap rather than bend, and molded or rolled pieces should hold their shape when you pick one up. A candy that still feels even slightly soft or warm goes back on the rack, not in the jar.
For a big batch, spread everything in a single layer so it cools evenly. Crowding a warm tray into a pile keeps the center warm long after the edges have set.
Step 2: Choose the Right Storage Method
Pick the temperature by what is in the candy. Dry, high-sugar treats such as hard candy, candy corn and nut brittle do fine on a cool shelf, while anything with milk, butter, cream or fresh fruit needs the refrigerator, and low-sugar fudge, marshmallow treats and rolled buttercream can spoil in weeks without one.
| Candy type | Counter, cool and dark | Refrigerator | Freezer | Wrap or store it in | What goes wrong first |
|---|---|---|---|---|---|
| Milk or dark chocolate | 2 to 4 weeks | 2 to 3 months | 6 months or more | Airtight tin or box, in a steady temperature | White or grey bloom, a dull finish |
| Candy corn | 2 to 4 weeks sealed | 2 to 3 months | Longer, but texture softens on thaw | Airtight tub, not a ventilated bag | Sugary, sticky shell |
| Gummies and jelly candies | 2 to 3 weeks | 2 to 3 months | 6 months or more | Airtight tub, dusted lightly with fine sugar | Clumping into one sticky mass |
| Hard candy and peppermints | 3 to 6 months | 6 to 12 months | Longer | Airtight, well away from moisture | Sticking to the container lid |
| Taffy | 3 to 6 weeks | 3 to 6 months | 6 to 12 months | Individual wax paper pieces, layered | Drying out and going hard |
| Caramel and nougat | 1 to 2 weeks | 3 to 4 weeks | 2 to 3 months | Sealed airtight, wrapped individually | Hardening, then weeping syrup |
| Peanut butter cups | 1 to 2 weeks | 3 to 4 weeks | 2 to 3 months | Airtight, cool, never the car | Oil moving to the top, bloom on the chocolate |
| Fudge, standard sugar | 2 to 3 weeks | 1 to 2 months | 3 months | Parchment in an airtight container | Grainy, crumbly texture |
| Marshmallow treats | 1 to 2 weeks | 2 to 4 weeks | Not recommended | Airtight, cut and wrapped | Sticking, then drying and hardening |
| Rolled buttercream | 3 to 5 days | 1 to 2 weeks | About a month, texture changes | Airtight box, dusted with cornstarch | Softening, cracks, dull surface |
These are quality windows for candy stored the way this guide describes, not safety cutoffs. Food-safety educators at university extension programs note that ordinary high-sugar candy is such a hostile environment for bacteria that it stays safe for a year or more, while lower-sugar homemade fudge, marshmallow treats and rolled buttercream can ferment or grow mold well before that. When in doubt about a low-sugar batch, throw it out.
Step 3: Use Containers That Protect the Texture
Glass jars are the most reliable choice because they do not absorb odors and they seal well. Plastic tubs are lighter and stack better, and a metal tin is worth having for chocolate since tin reflects heat. Freezer bags suit flat, portioned batches, but they are the weakest seal and the easiest to puncture, so double-bag anything hard or sharp-cornered.
Never store candy in the fridge in an unsealed box, in a car, or anywhere near strong-smelling foods. Fridges are shared air, and a tub of fudge left next to last week’s sauerkraut will pick up that smell no matter how well you washed it first.
Parchment or wax paper does three jobs here. Layer it between sheets of cut fudge, wrap soft or sticky pieces individually so they never touch, and line the container bottom so a leak does not fuse the whole batch to glass.
One rule that matters more than people expect: keep wet-content candy apart from dry-content candy. Caramel, nougat, fudge and taffy give off moisture that dries gummies and candy corn into a brittle, sugary shell. Separate containers, always.
Step 4: Label and Rotate the Candy
Write five things on every label: the candy name, the date it was made, where it is stored, who made it, and a use-by date you calculate from the table above. Masking tape with a Sharpie works fine, and for treat bags a small round sticker looks better without costing more.
Then rotate oldest-first. Put the new batch at the back and move the oldest container to the front so it is the first one anyone reaches, which matters because nobody forgets the treat they made last week and everybody forgets the one from September.
A simple habit makes a real difference: taste one piece at day 30, day 60 and day 90. Three seconds of checking tells you far more than a printed date you are guessing at, and if the texture has already gone off at day 30 you will know to freeze the rest immediately.
If the candy carries nuts, peanuts or dairy and it will go into a party bowl or a school treat table, write the allergens on the container and keep it on a separate shelf. Homemade batches are cross-contact magnets because the same scoop and board get used for everything.
Common Mistakes
Almost every ruined batch of homemade candy comes down to one of these seven habits.
Sealing warm candy. Condensation forms inside the jar within hours. Fix: cool to room temperature first, and test with a piece before it goes in.
Leaving candy in an open bowl on the counter. It absorbs kitchen odors and moisture within days. Fix: transfer it to a sealed container the same hour, even if you plan to refill the bowl for a party.
Refrigerating everything. The fridge dries out and hardens candy that was fine on a shelf, and it makes chocolate bloom within a week. Fix: refrigerate only the batches with dairy, cream, butter or fresh fruit in them.
Mixing odor carriers in one container. Peppermint, coffee and caramel absorb each other. Fix: separate containers, or wrap each type individually in cellophane before sharing a larger jar.
Freezing one big block. You thaw the whole thing, half of it goes back to the freezer, and it dries out twice. Fix: freeze in single servings in separate bags so you open only what you need.
Ignoring low-sugar recipes. The idea that sugar prevents spoilage does not hold for reduced-sugar fudge, marshmallow or buttercream. Fix: refrigerate those, keep them short-dated, and skip them if the batch sat out for hours.
Leaving candy corn in its ventilated bag. Loose, unsealed candy corn dries, then crystallizes and turns sugary and sticky. Fix: seal it airtight, and dust opened pieces lightly with fine sugar before closing the lid.
Two more fixes worth naming. If fudge turns grainy, put it back in an airtight container with a sheet of parchment and leave it for a few days; it often recovers. If chocolate gets a white or grey powdery coating, that is bloom, not mold, and it is safe to eat, though the flavor is flat until the candy melts again.
Frequently Asked Questions
How long does homemade Halloween candy last at room temperature?
Most plain, shelf-stable homemade candies keep about one to two weeks in a cool, dark, dry place when stored airtight, and texture and flavor often slip before safety does. Hard candy and candy corn stretch closer to a month. Low-sugar fudge, marshmallow treats and rolled buttercream are the exception, since they can spoil in a matter of days and belong in the fridge.
Should I refrigerate homemade Halloween candy?
Refrigerate candy containing milk, cream, butter, fresh fruit or a soft filling, because the cold slows both spoilage and melting. Leave it out for anything else. A dry, sealed room-temperature batch keeps more of its original texture than the same batch in the fridge, and moving candy in and out of the door brings condensation with it.
Can I freeze homemade candy?
Yes, most homemade candy freezes well when portioned into airtight, freezer-safe containers. Leave headroom for expansion, lay soft candies in single layers with parchment, and label each bag with the date. When you need a piece, move it straight from freezer to mouth and leave anything you are thawing sealed for 20 to 60 minutes so condensation forms outside the candy.
How do I keep homemade candy from sticking together?
Let the candy cool completely, then arrange pieces in a single layer with parchment or wax paper between layers, and close the container only once no warmth remains. For gummies, dust them lightly with fine sugar or cornstarch before sealing. Molded and dipped pieces need a rigid layer between each row so nothing is pressed under its own weight.
How do I know when homemade candy has gone bad?
Look for mold, fizzing, an alcohol smell, or a slimy surface, and throw the whole batch away if you find any of those. White film on fudge, cloudiness in a syrupy filling, or an off color are the same warning. A white or grey powdery coating on chocolate is bloom instead, which is cosmetic and safe to eat, though the flavor will be flat.
Conclusion
The first thing to do is simple: let the candy cool fully, match the container and temperature to the treat, write the date on the lid, and move it to the coolest appropriate spot before you clean the pan. Do that on the night you make it and the batch will still taste the way it did when you set it out for trick-or-treaters in October 2026.