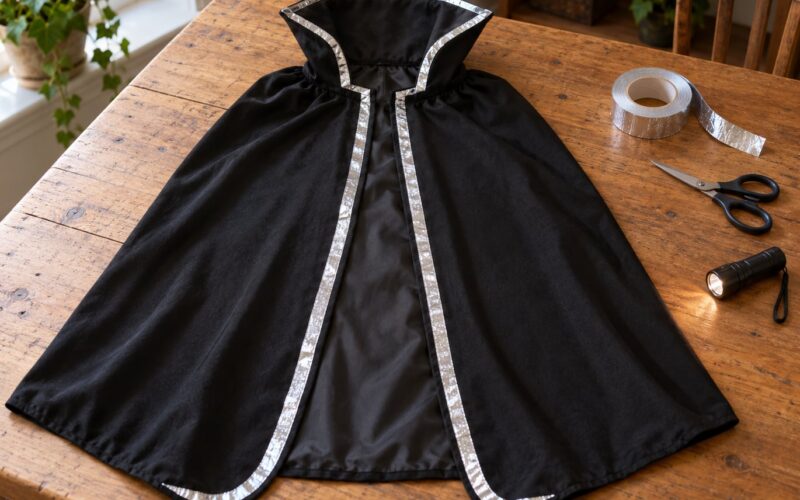
Realistic zombie makeup comes down to three things: a thin tinted base, layered shadows that hollow the face out, and texture that breaks up the surface so it still reads as skin. Flat white paint and hard edges are what turn a zombie into a costume mask, so this guide spends most of its time on blending and layering instead of gore.
A full realistic look takes 45 to 90 minutes for a beginner, plus drying time. The quick version takes about 20 minutes and works fine for a party where nobody is going to study your cheekbones.
The most common beginner mistake is too much product applied too evenly. Every step below is about breaking up that flatness, so follow the order. Latex over wet powder, blood over a wound that has not set, teeth before the lips have dried — each of those shortcuts shows up within an hour.
Table of Contents
- What You Need
- A note on skin tone and skin safety
- Step-by-Step: How to Make Zombie Makeup Look Realistic
- Prepare and Protect Your Skin
- Build the Zombie Skin Color
- Add Shadows, Wrinkles, and Decay
- Create Wounds and Bruises
- Finish the Eyes, Mouth, and Teeth
- Set the Makeup and Check the Finish
- Common Mistakes That Make Zombie Makeup Look Fake
- Frequently Asked Questions
- How can I make zombie makeup look less green?
- What products do I need for realistic zombie makeup?
- How do I make fake wounds look realistic without latex?
- How long does zombie makeup take to apply?
- How can I make zombie makeup last through a party?
- Is zombie makeup safe for sensitive skin?
What You Need
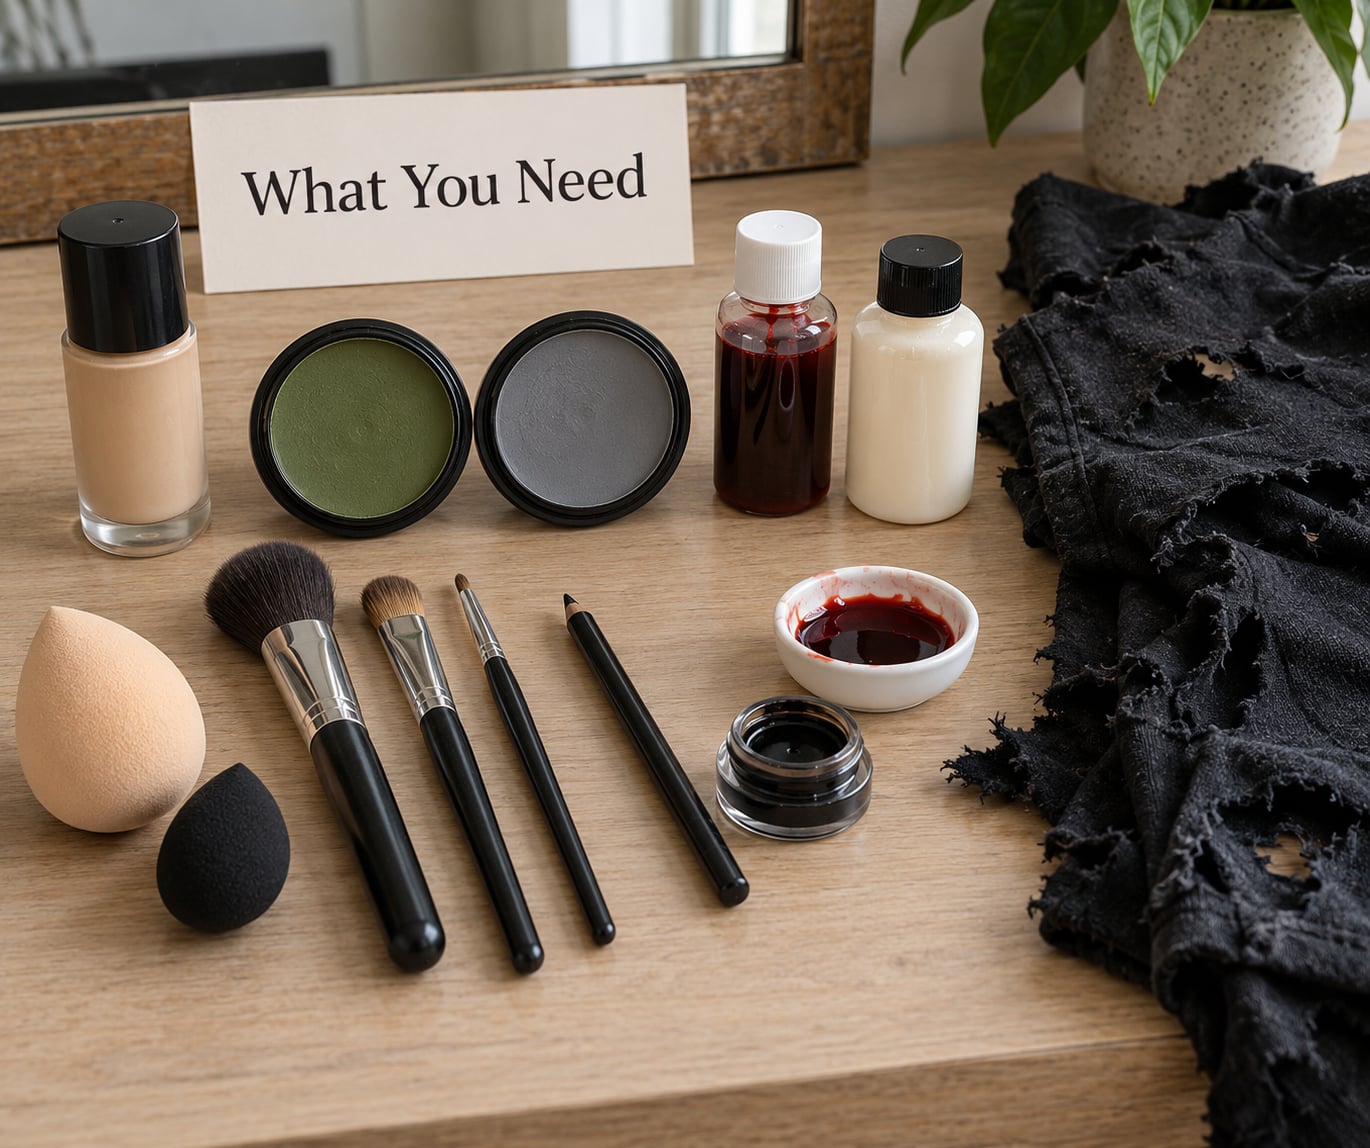
You can do a convincing zombie with a small kit and a stipple sponge. The essentials are a pale base, layered bruise colours, fake blood and a matte setting powder; everything else is optional texture.
- Pale base: a foundation one or two shades lighter than your skin, or a white face paint you tint with grey, green or a drop of brown. A single flat white is the number one reason a look reads as a mask.
- Bruise palette: one palette with reds, purples, blues and a yellow or green is ideal. Three plain eyeshadows — a red, a dark blue or purple, and a yellow — work nearly as well, and people often already own those.
- Tools: a stipple sponge for texture, two or three small blending brushes, one thin detail brush or liner brush for veins, cotton swabs, and a hairdryer for setting latex.
- Texture (optional): liquid latex and spirit gum for raised wounds, or for a no-latex version, unflavored gelatin mixed with hot water — a trick that circulates on Reddit’s r/howto because it stays workable for hours instead of drying out.
- Fake blood: theatrical blood for skin. For anything that goes near your mouth, use an edible mix: half a cup of corn syrup, one tablespoon of cocoa powder, half an ounce of red food coloring and one tablespoon of cornstarch, stirred until thick.
- Teeth colour: long-wear black tooth enamel is the cleanest option. Black eyeshadow or eyeliner applied with a cotton swab works fine and costs far less.
- Setting: a translucent matte setting powder and a setting spray. Do the powder before latex, never after.
- Nice to have: opaque or coloured contact lenses, oatmeal for scabs, torn black clothing, and a small mirror so you can see your own face while you work.
A note on skin tone and skin safety
On deeper skin tones, skip the white base entirely and shift the palette: mix white with grey or green to get a cool ashen tone that still lets your skin read through, then build the decay with brown, plum and deep burgundy instead of bright blue. Yellow bruising reads beautifully on brown skin and is usually invisible on very light skin, so work with what shows.
Patch test anything new on your inner arm for a day before the event. Liquid latex never goes near the eyes, lips, nostrils, eyebrows or hairline — it grips and pulls skin and hair off when it comes away.
Step-by-Step: How to Make Zombie Makeup Look Realistic
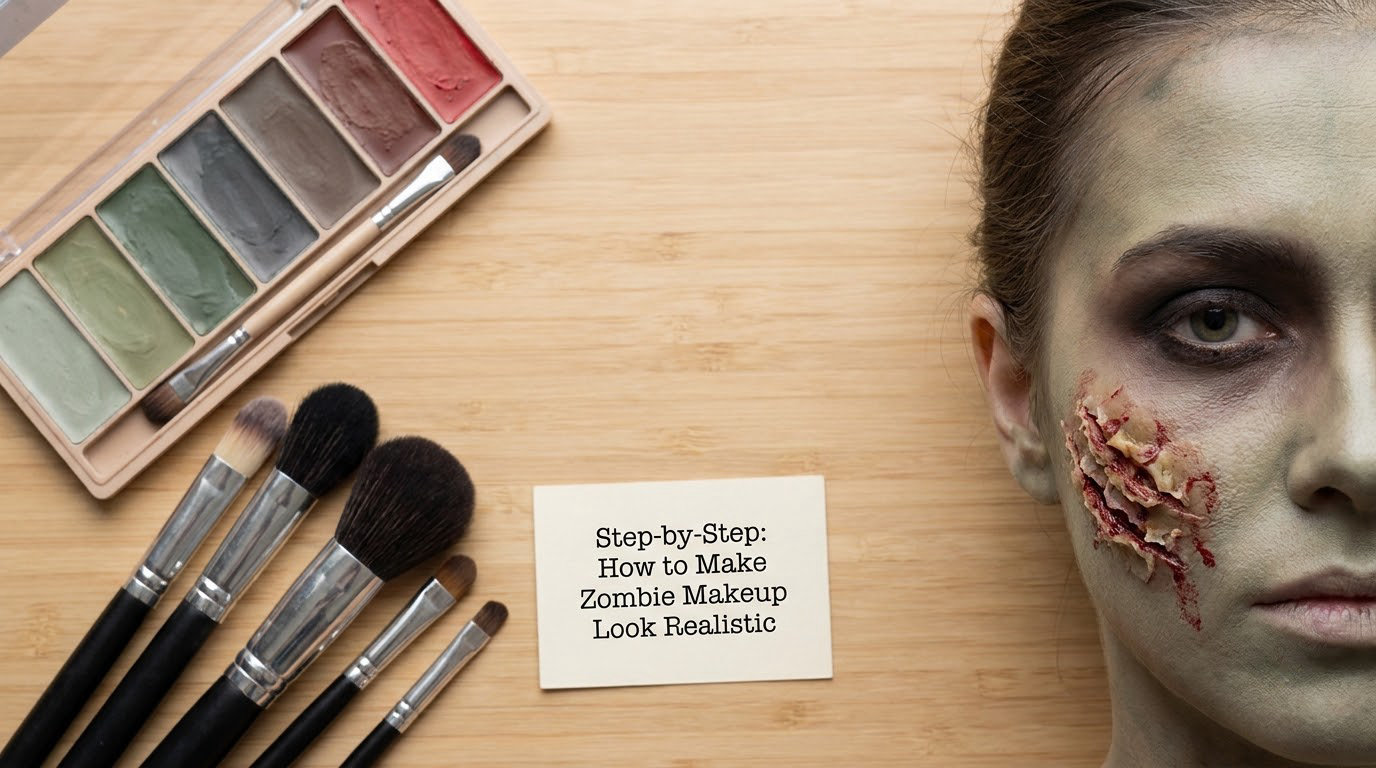
Work from the back of the face forward: skin, then shadows, then veins, then wounds, then eyes and mouth, then blood. Each layer needs a moment to dry so the next one doesn’t lift it.
Prepare and Protect Your Skin
Cleanse, moisturize and let the moisturizer sit for ten minutes before you prime. A hydrating primer stops the base from settling into dry patches and gives you something to blend against.
Then lay a thin base layer, not a coat. The test is simple: if you can’t see your skin texture underneath, you’ve gone too far. You can always add more color, but a thick layer sets like a shell and refuses to blend.
Build the Zombie Skin Color
Mix your green, grey and a little yellow on the back of a palette until the tone reads as a slightly sick version of skin rather than a bright pigment. Apply it unevenly with a sponge — heavier on the forehead, temples and jaw, lighter across the cheeks and around the mouth.
Blot some of it back off with a clean sponge. The unevenness is what stops it looking like a mask. Once it dries, stipple the surface with brown and ochre using a dry sponge, tapping rather than rubbing, so you get speckled decay instead of smooth paint.
Add Shadows, Wrinkles, and Decay
Empty-looking eye sockets and hollow cheeks do most of the work, so place shadow before you add anything red. Sweep brown or grey under the cheekbones toward the corners of the mouth, into the temples, and along the brow bone, then blend the edges until you can’t find where the shadow ends.
For bruising, remember the order: red underneath, blue or purple over it, then yellow or green fading out at the outer edge. That sequence mimics what a real bruise looks like as it ages, and it works on paper, in photos and in a dim room.
Add forehead lines and crow’s feet with a thin brush and a stiff crease, then blend across the lines so they read as shadow rather than drawn marks. A little ash grey mixed into the lines sells the aged look.
Create Wounds and Bruises
For latex wounds, dab small drops of latex with a cotton swab and let each one dry before adding the next — thick blobs lift at the edges and crack when you move. Press and lift with the swab rather than dragging it out, and set each layer with a hairdryer on cool. Ripped tissue pressed into the wet latex and painted over blends far better than a smooth sheet of it.
Follow that with a black base coat, then a red centre, then bruise colours around the rim: blue first, red over it, yellow at the outside. Without latex, build the same shape with dark red paint and torn tissue or paper towel.
Less blood reads as a corpse; more blood reads as a costume. Add droplets with a squeeze bottle rather than painting, blot the drips with a tissue so they streak and drip, and let a few dry naturally instead of moving them around.
Finish the Eyes, Mouth, and Teeth
Sunken eyes come from shadow, not liner. Smear dark brown or black into the upper lid, the inner corner and just under the lower lash line with a small sponge, then blend upward into the temple so there’s no edge. Keep mascara and liner away from the waterline, because a long night plus rubbing means smudged, irritated eyes.
Dull the lips with pale foundation or grey shadow first, then blot the centre of the lower lip so it looks dry and split. Blacken the teeth by rubbing black shadow along each tooth with a cotton swab and leaving the front two or three lighter — uniformly black teeth look like a mask.
Add blood at the corners of the mouth and along the lower lip, then set everything with a light dusting of powder so it doesn’t transfer to costume or hands.
Set the Makeup and Check the Finish
Dust the skin lightly with translucent matte powder, keeping it away from the latex edges, then finish with a setting spray. The powder traps oil that would otherwise slide the colors into a smear within an hour.
Check the finished look in daylight and in a mirror at eye level, not just straight on. Photograph it from both sides and from slightly below, because side lighting and a low angle reveal edges you can’t see facing the mirror. Finish the neck, ears, hands and nails — forgetting those is what makes a look look pasted onto a person.
Common Mistakes That Make Zombie Makeup Look Fake
Almost every beginner zombie fails on the same handful of things, and each one has a quick fix.
- The flat white base. It looks like a printed mask because it has no variation. Tint it with grey, green and brown, and stipple it so skin texture shows through.
- Hard edges. Visible lines around the eye sockets and cheek hollows are the single biggest giveaway. Every shadow needs a soft, feathered boundary — spend the extra minute blending.
- Too much blood. A fully smeared body reads as gore costume, not a corpse. Restrict blood to the mouth, one wound and the neck, and let most of the face stay dry.
- Drawn-on veins. Even, identical lines look painted. Veins branch, vary in thickness, fade at the ends, and follow the direction of the skin.
- Powder over latex. It settles into the edge and makes the piece crack and lift as soon as you move. Set the skin first, add latex second, powder lightly only if you must.
- Latex too close to eyes, lips or hair. It tugs all night and can pull hair out when it comes off. Keep a finger’s width of clearance.
- Stopping at the jawline. Paint the neck, ears and hands, darken the nails, and matt the hair or grease it back. The parts people forget are usually the parts that give the illusion away.
- Uniform teeth. All-black teeth look like a costume grin. Leave a couple of teeth partly clean and stain more heavily toward the back.
Frequently Asked Questions
How can I make zombie makeup look less green?
Green is a base tone, not a finished color. Most beginners paint green over the whole face and stop, and that flat avocado layer is what looks fake. Work grey, brown and yellow over the green in patches, leave plenty of your own skin tone showing, and keep the green heaviest on the forehead, temples and jaw.
What products do I need for realistic zombie makeup?
Five things cover most of it: a pale tinted base, a bruise-toned palette, a stipple sponge and small brushes, theatrical blood, and a matte setting powder. Liquid latex is optional and fine to skip. Budget substitutes work well: three plain eyeshadows instead of a palette, eyeliner for the teeth, and cornstarch to thicken homemade blood.
How do I make fake wounds look realistic without latex?
Build the wound in layers instead. Paint a dark red base, tear wadded tissue or paper towel into the shape of a gash, glue it down with spirit gum or school glue, then paint over the edges so skin tone fades into the wound. Add dried blood around the outside and one wet drop in the center. Irregular torn edges matter more than depth.
How long does zombie makeup take to apply?
Plan on 45 to 90 minutes for a full realistic look, including drying time. The quick no-latex version takes about 20 minutes: base, hollows, bruised eyes, dark mouth, dust. Adding latex wounds, a full bruise map, or painting the neck and hands pushes it toward the hour mark.
How can I make zombie makeup last through a party?
Set the skin with matte powder before any latex goes on, since powder over latex is what makes edges crack and lift. Once the look is finished, dust lightly and finish with a setting spray. Blot sweat with a tissue rather than your hands, and bring a small pot of matte powder to knock down shine on the forehead and nose.
Is zombie makeup safe for sensitive skin?
Patch test anything new on your inner arm for 24 hours first, especially spirit gum, latex and heavy pigments. Keep liquid latex off the eyes, lips, nostrils, eyebrows and hairline. Remove it with an oil-based cleanser first, then wash with soap and warm water, and skip the whole look if you have an active skin condition or open cuts.
Start with the base, not the blood. Get the pale tint and the hollowed cheeks right, blend the shadows until no edge is visible, and add wounds last. That order does more for a realistic zombie look than any single product you add at the end.