To make a Halloween costume reflective for night walking, add retroreflective tape or iron-on reflective fabric to the parts that move: shoulders, upper arms, waist, lower legs, and the back of the costume and treat bag. Retroreflective material sends a headlight beam straight back to the driver instead of scattering it, so you read as a person at a distance where an ordinary dark costume reads as a shadow. Twenty minutes and a roll of tape gets you most of the way.
That distinction matters more than any other part of this job. A costume that glows under a blacklight looks fantastic in a photo and does essentially nothing for a driver at 30 feet. Reflective material only works when a light source hits it, which means your placement has to line up with where headlights actually travel.
Here is the whole method, in the order I would do it in 2026: decide where the reflectors go, test that the surface will hold tape, apply it, let it bond, then walk out to the driveway after dark and check with headlights.
Table of Contents
- What You Need
- Step-by-Step
- Choose Where Reflective Details Will Go
- Clean and Test the Costume Surface
- Apply the Reflective Material
- Let the Materials Bond and Cure
- Test the Costume Outdoors at Night
- Mistakes That Kill the Reflective Finish
- Add Extra Visibility Without Losing the Costume
- Common Mistakes
- Frequently Asked Questions
- What is the easiest way to make a Halloween costume reflective?
- Can you wash a costume after adding reflective tape?
- Does reflective paint work well on costumes?
- How much reflective material should I add to a costume?
- Can I make a child’s Halloween costume reflective for night walking?
- Conclusion
What You Need
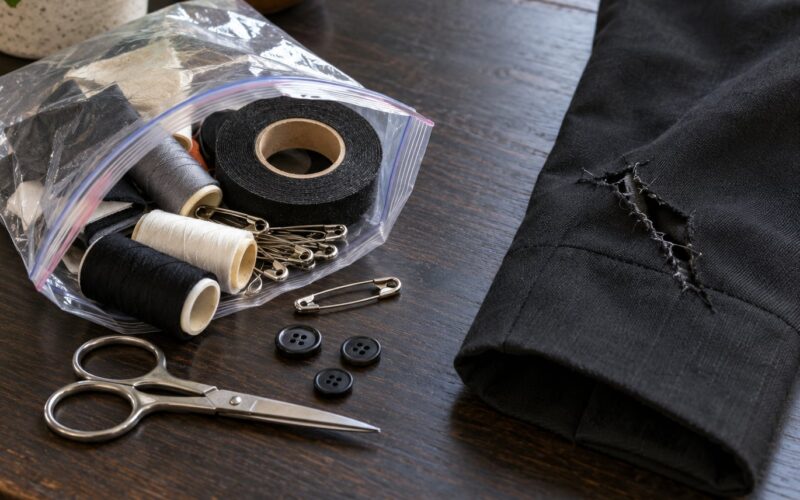
Most costumes come together with three or four supplies and nothing specialized.
- Reflective tape with an adhesive backing, roughly half an inch to an inch wide. Wider reads better at distance and gives you room to be sloppy with the cut.
- Iron-on reflective tape for fabrics that shed or stretch, or for anyone who does not want to fight a sticky backing.
- Reflective piping or trim that you can pin or sew along a seam, useful on capes, hats, and bag edges.
- Reflective spray paint or fabric paint for plastic props, masks, and areas where tape would look out of place.
- Safety pins, small binder clips, or cable ties for a no-sew attachment on anything you do not want to permanently alter.
- A flashlight you hold in one hand or set down to test from a distance.
- A clean cloth, a bit of rubbing alcohol, and a hair dryer or fan for prep and drying.
One clarification on materials, because people mix these up constantly. Retroreflective tape is built from microscopic glass beads or microprisms that return light to wherever it came from. Glow-in-the-dark material absorbs light and slowly releases a dim glow of its own, which stops being visible within minutes. LED and battery lights are active: they make their own bright light, work whether or not a car is coming, and are genuinely useful for seeing your own feet on a dark sidewalk.
Both matter. Reflective material makes you visible to other people. A light makes you visible to yourself and to pedestrians. Community advice on night-walking boards converges on the same point: use both, never one instead of the other.
Step-by-Step
Choose Where Reflective Details Will Go
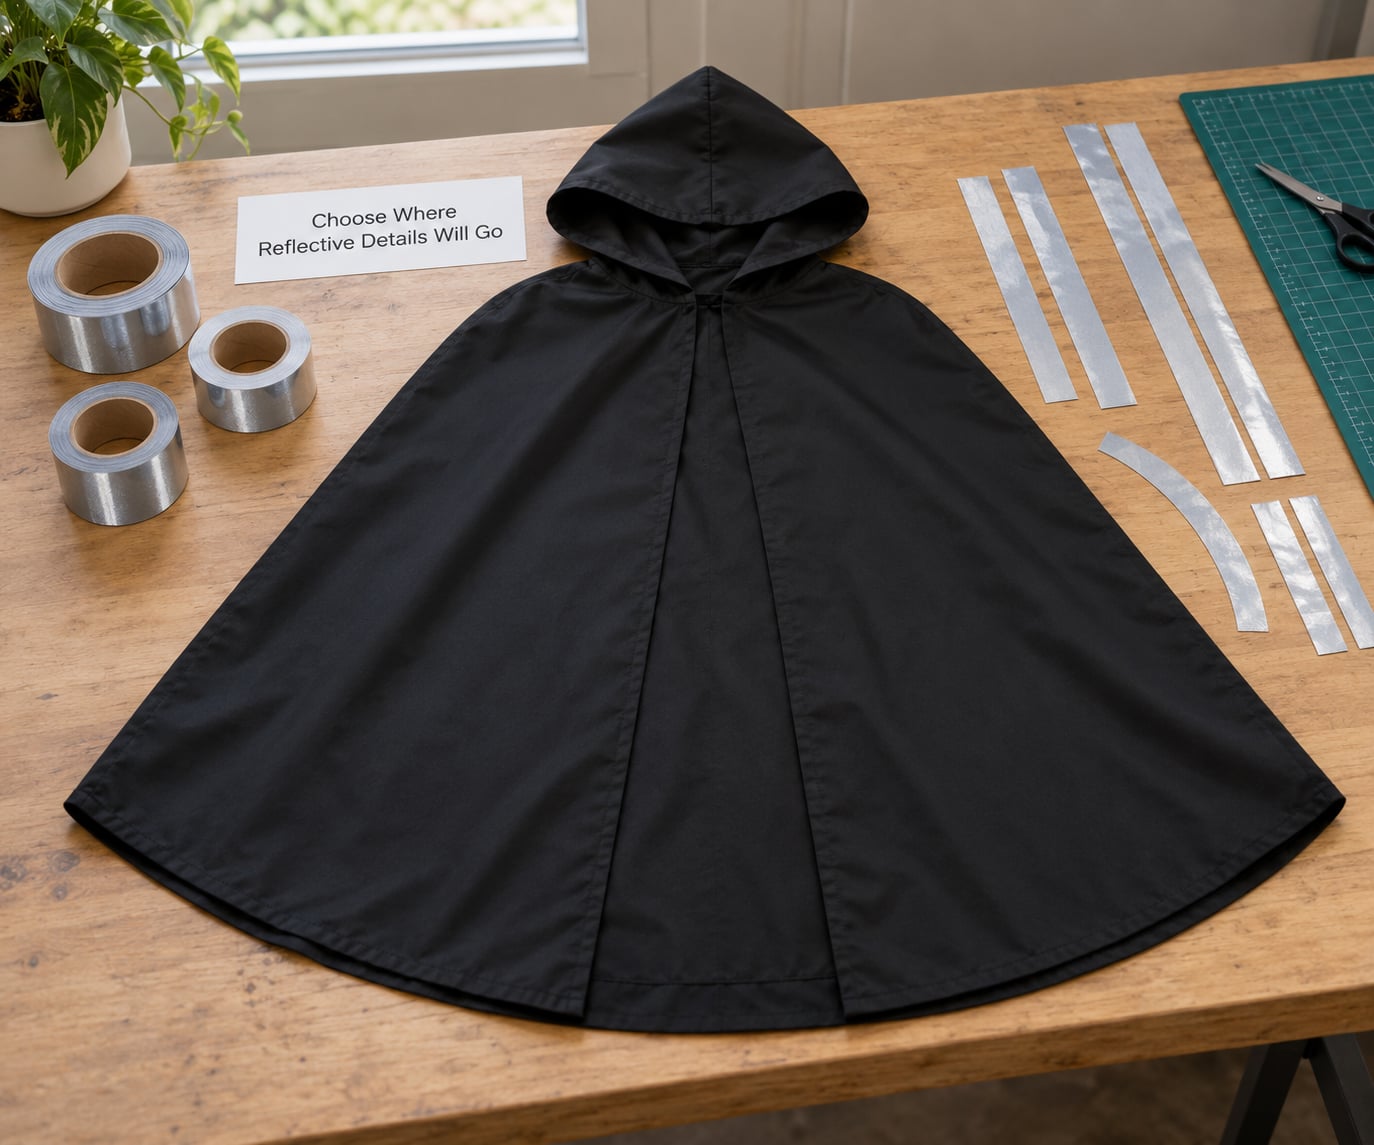
Put the reflective details on the parts of the costume that move, sit near waist height, and face backward toward traffic. Car headlights sit low and point slightly downward, so the beam lands across a torso, waist, and shin area rather than up at a face or hat.
My shortlist, in order of usefulness: upper arms and forearms, shoulders, the back panel from shoulder blades to waist, the waist or belt line, lower legs above the boots, and the treat bag. Bands around arms and legs catch the eye because motion reads as a person moving, which is exactly the cue a driver is scanning for.
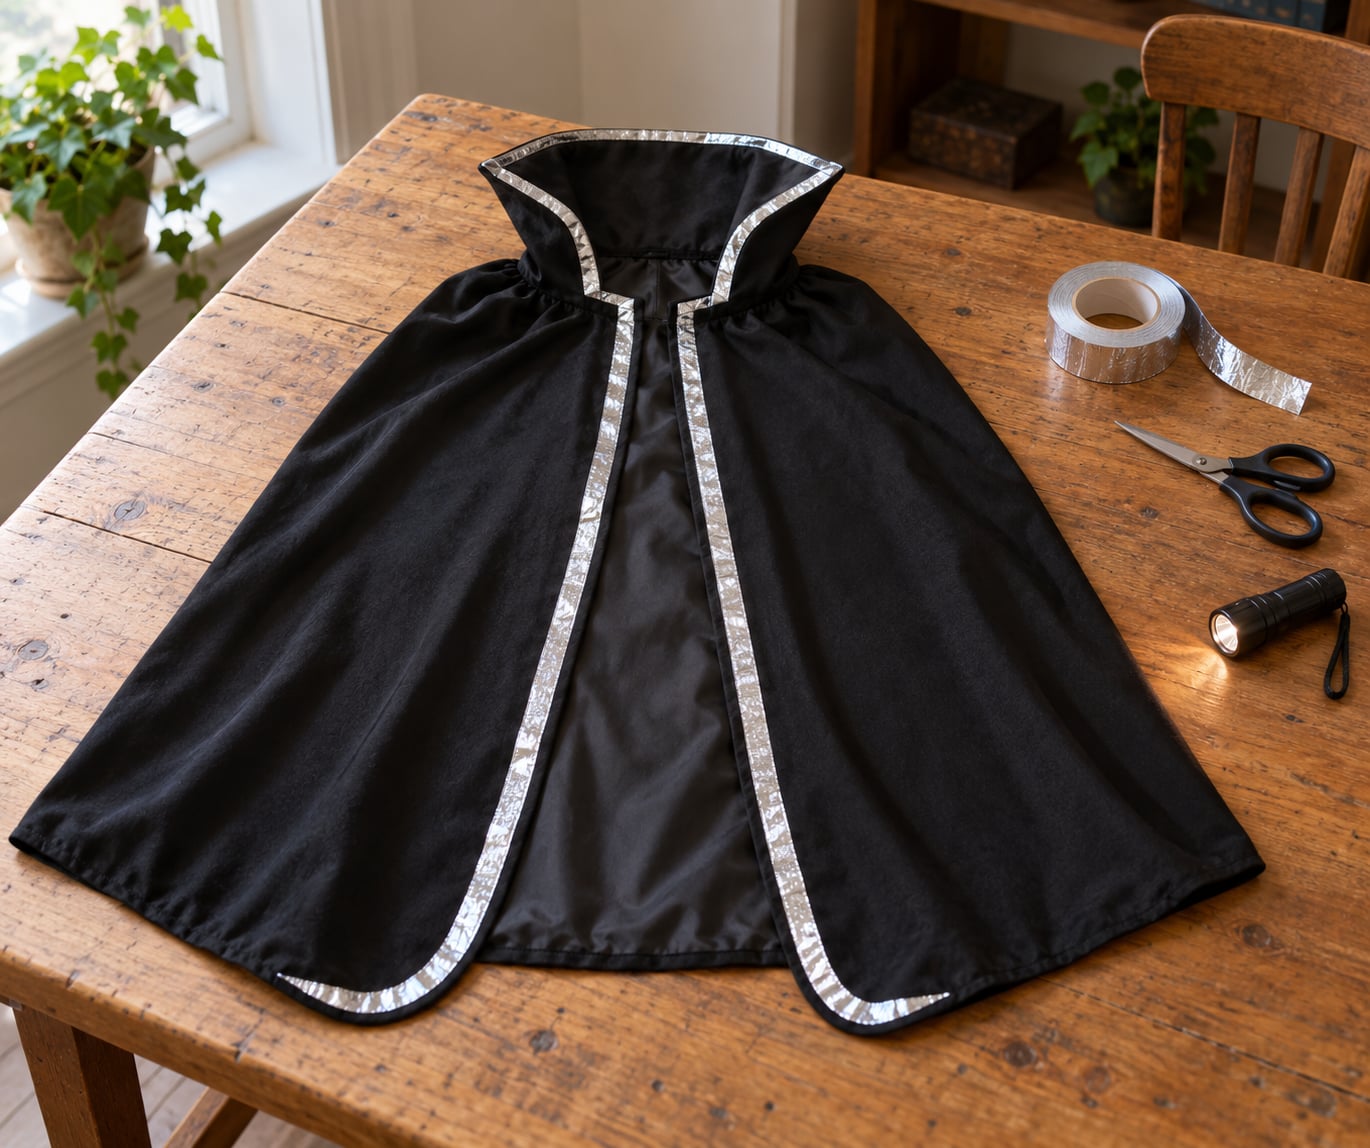
Skip the flowing bits. Reflective tape on a wide cape or a long skirt swings away from the body and often ends up facing away from the car at the moment it matters. If you want the cape to work, run piping along the collar and the two front edges where it wraps close to the shoulders, or staple-on safety pins at the hem so a strip swings back toward your side.
Cover the costume, not just the decoration. A black pirate hat, a dark cloak, and a dark bag read as one shadow, so put at least one band on each of them.
Clean and Test the Costume Surface
Tape fails on whatever is dirty, oily, or loose, so prep decides whether the job lasts one night or ten. Wipe the spot with a damp cloth, then a cloth with a little rubbing alcohol, and let it dry fully. If you are going over makeup, powdered face paint, or costume glitter, that has to come off first, because grime on the reflective face blocks the light exactly the way dirt on a headlight lens does.
Then test adhesion where nobody will see it. Stick a short strip inside the hem, wait an hour, tug at it, and flex the fabric a few times. Cheap tape that lifts at the edge will lift harder at the shoulder. Stretchy polyester and spandex blends are the worst surfaces, which is exactly why iron-on reflective tape exists.
Leather and faux leather take adhesive poorly but take reflective paint well. Hard plastic props take paint cleanly if you scuff them first with fine sandpaper. Painted or sealed fabric needs the alcohol wipe and extra drying time, and any surface with a heavy finish will likely refuse the adhesive entirely.
Apply the Reflective Material
Cut slightly longer than you need and round the corners with scissors; a square corner is where peel-outs start. Lay the strip down in one pass, starting at one end and moving outward, and press along the whole length with your thumb. Do not stretch the tape, and do not go over it a second time, because the extra passes lift the edge.
For iron-on tape, set the iron to the fabric’s care label temperature without steam, put the tape under a cloth, and press for 30 to 40 seconds. Let it cool flat before you move the costume. Steam melts the adhesive and guarantees a mess.
For no-sew attachment, pin the strip through the costume from the inside, or clip it along a seam with small binder clips. Both hold through a full night of walking and both come off cleanly afterward.
For reflective paint on a prop, apply two thin coats rather than one thick one, let the first dry fully, and follow the drying time on the can. Thick coats stay tacky, and tacky paint never returns light well.
Let the Materials Bond and Cure
Adhesive tape needs pressure and time. Give it at least a few hours before the costume goes on, and overnight if you possibly can. Iron-on tape needs a full cool-down plus several hours before flexing; bending it while warm is the number one cause of curling edges.
Spray and fabric paint follow the can, which usually means closer to 24 hours for a full cure. Check yours by pressing a clean fingertip into an inconspicuous spot. Tacky means keep waiting. If a corner lifts when you peel it lightly, the bond is not ready.
Weather matters too. Humidity and sweat soften adhesive, so if the night looks damp, do the reflective work the day before and let the costume dry thoroughly.
Test the Costume Outdoors at Night
Testing takes two minutes and it is the step most people skip. After dark, stand your wearer about 60 feet away from someone holding a flashlight at headlight height, or park the car across the driveway and look back at the costume. Bright silver patches should throw back an unmistakable glare.
Check three things: that the reflectors light up from behind and from the side, that you can still see out comfortably if you are wearing a mask, and that nothing rubs or digs in when you swing your arms. Walk the route once in the dark as well, because tape that looks great under a beam is useless on a sidewalk lit by nothing at all.
Reflective material is not a light and not a plan. It only shows up when something shines on it, so carry a flashlight, stay on lit streets, use crosswalks, and go with a group. For a child, keep an ID card in a pocket and let a neighbor know the route.
Mistakes That Kill the Reflective Finish
- Putting tape on loose or draping fabric. It swings away from headlights and catches on doorways. Anchor strips to something taut, like a waistband or shoulder seam.
- Skipping the clean. Makeup, sweat, and fabric softener film cut reflectivity more than cheap tape does. Wipe the reflective face right before you walk out.
- Placing everything where you can see it. You are not the audience. The back, the shoulders, and the bag matter most.
- Using too little. A couple of tiny crosses read as costume sparkle. Bands at least half an inch wide, wrapped or doubled, read as visibility.
- Judging it indoors. A lit room shows a dull grey strip. Darkness plus a moving light source is the only honest test.
- Covering reflectors under a cape or prop. Check that nothing hangs over the placement you chose.
Add Extra Visibility Without Losing the Costume
A small LED light on a clip or a glow bracelet adds a different kind of visibility, not a bigger share of the same one. A handheld flashlight lights your path and signals intent to drivers; it does nothing for a driver coming from behind you. A light on your shoulder or bag handles that, and a steady LED reads as a person from farther away than a blinking one.
Reflective shoes, a reflective-trimmed backpack, or a light-colored bag cover the case where you swap costumes halfway through the night. None of these replace tape on the costume itself, but each covers a gap tape cannot.
If you have ten minutes and no tape, safety pins plus a few inches of reflective trim pinned to the shoulders and shins will hold for an evening. It looks slightly homemade, and it works.
Common Mistakes
Most disappointing reflective costumes have a fixable cause, and it is rarely the tape itself.
Peeling tape: the surface was oily or the application was rushed. Clean with alcohol, press the strip down twice, and leave it overnight. If it still lifts, switch to iron-on tape or pin it instead of sticking it.
Sticky residue on a costume you love: use the no-sew route next time. Safety pins and clips leave the fabric untouched, which matters when the costume is vintage, hand-made, or sold as a collectible.
Reflectors that never light up: usually a placement problem or a dirty surface, not a product problem. Re-run the flashlight test after wiping the strip down. Remember that tape under a cape, inside a coat, or beneath a long wig is invisible by definition.
Comfort complaints: tape across the spine, under the chin, or around the knee bends constantly and will annoy a wearer, especially a child. Move it to the upper arm, the shoulder blade, or the waistband.
Expecting glow-in-the-dark to work: it will not, and no amount of extra glow material fixes it. If you want a driver to see you, you need retroreflective material or a real light.
A couple of habits go a long way. Buy tape with a weather-resistant adhesive and expect it to hold through rain and sweat, keep the costume from the dryer since heat is what kills adhesive backing, and carry a flashlight even on a well-lit route.
Frequently Asked Questions
What is the easiest way to make a Halloween costume reflective?
Peel-and-stick reflective tape is the fastest route, and it needs no sewing, ironing, or special skill. Cut bands about half an inch wide and apply them to the upper arms, shoulders, lower legs, back panel, and the treat bag. Press each strip firmly, leave the costume for several hours or overnight, and it will hold through an evening of walking.
Can you wash a costume after adding reflective tape?
It depends on the tape. Adhesive-backed reflective tape usually survives hand washing in cool water, but heat from a dryer or iron melts the backing and leaves a mess. Sew-on and iron-on versions tolerate a gentler cycle. Check the care label on the tape itself, air-dry the costume flat, and never iron directly over a reflective strip.
Does reflective paint work well on costumes?
Reflective paint is the better choice on plastic props, molded masks, and leather or faux-leather pieces where tape would not stick. Expect two thin coats and a full cure time on the can, often a full day. On fabric it works only if the surface is clean and untreated. Painted areas are slightly less brilliant than tape, so use both when you can.
How much reflective material should I add to a costume?
More than most people expect. As a rough guide, one band on each upper arm, one on each lower leg, one across the upper back, one at the waist, and one on the treat bag is a solid setup for an adult. For a child, the same zones work at a smaller size. Thin crosses and tiny dots read as decoration, while half-inch bands read as visibility.
Can I make a child’s Halloween costume reflective for night walking?
Yes, and it is one of the highest-value things you can add, because children are small and harder for drivers to judge at a distance. Use fabric-safe, non-toxic reflective tape on the costume, the sleeves, and the bag, and pin or sew it rather than relying on adhesive alone on stretchy fabric. Reflective material never replaces a flashlight, a group, and a route along lit streets.
Conclusion
Start on the parts that move and sit near waist height: shoulders, upper arms, lower legs, the back panel, and the treat bag. Clean each spot, test adhesion on a hidden hem, apply half-inch-wide retroreflective tape or iron-on tape with rounded corners, and give it several hours or overnight to bond. Then walk out to the driveway after dark with a flashlight and check the result from 60 feet away before you rely on it.
Keep a light in your hand on the night, stay on lit streets with the group, and if a child is wearing the costume, treat the reflective treatment as one layer of the plan rather than the plan itself.