If your costume rips an hour before you leave, the fastest fix is a safety pin or a strip of fabric tape on the inside of the seam. Glue dots work when you have about thirty seconds, and a hand stitch is the strongest option when you have five minutes. None of them need a sewing machine, and all of them hold for one night of trick-or-treating.
The rips almost always happen at seven in the evening, which is exactly the problem a thread titled costume broke literally right before Halloween keeps running into over on r/sewhelp. The advice there is consistent: open the seam, use what is in the drawer right now, and stop worrying about how neat it looks. Nobody is grading your stitching while you are standing on a porch holding a plastic pumpkin bucket.
So this guide is written for the ten minutes you actually have. Start at the supplies list, work through the steps, and keep a backup plan in your head for the costume that cannot be saved.
Table of Contents
- What You Need
- Step-by-Step: How to Fix a Rip Before Trick-or-Treating
- Step 1: Assess the Rip and Choose the Quickest Fix
- Step 2: Make the Repair Without Making the Costume Worse
- Step 3: Test the Fix and Finish the Halloween Look
- Common Mistakes to Avoid
- Frequently Asked Questions
- What is the fastest way to fix a Halloween costume rip?
- Can I use safety pins to repair a costume on Halloween night?
- How do I hide a tear in my costume after it rips?
- What should I do if my costume strap breaks and I have no sewing kit?
- Is it better to repair a costume or wear a backup on Halloween night?
- Can ordinary tape fix a costume rip safely?
What You Need
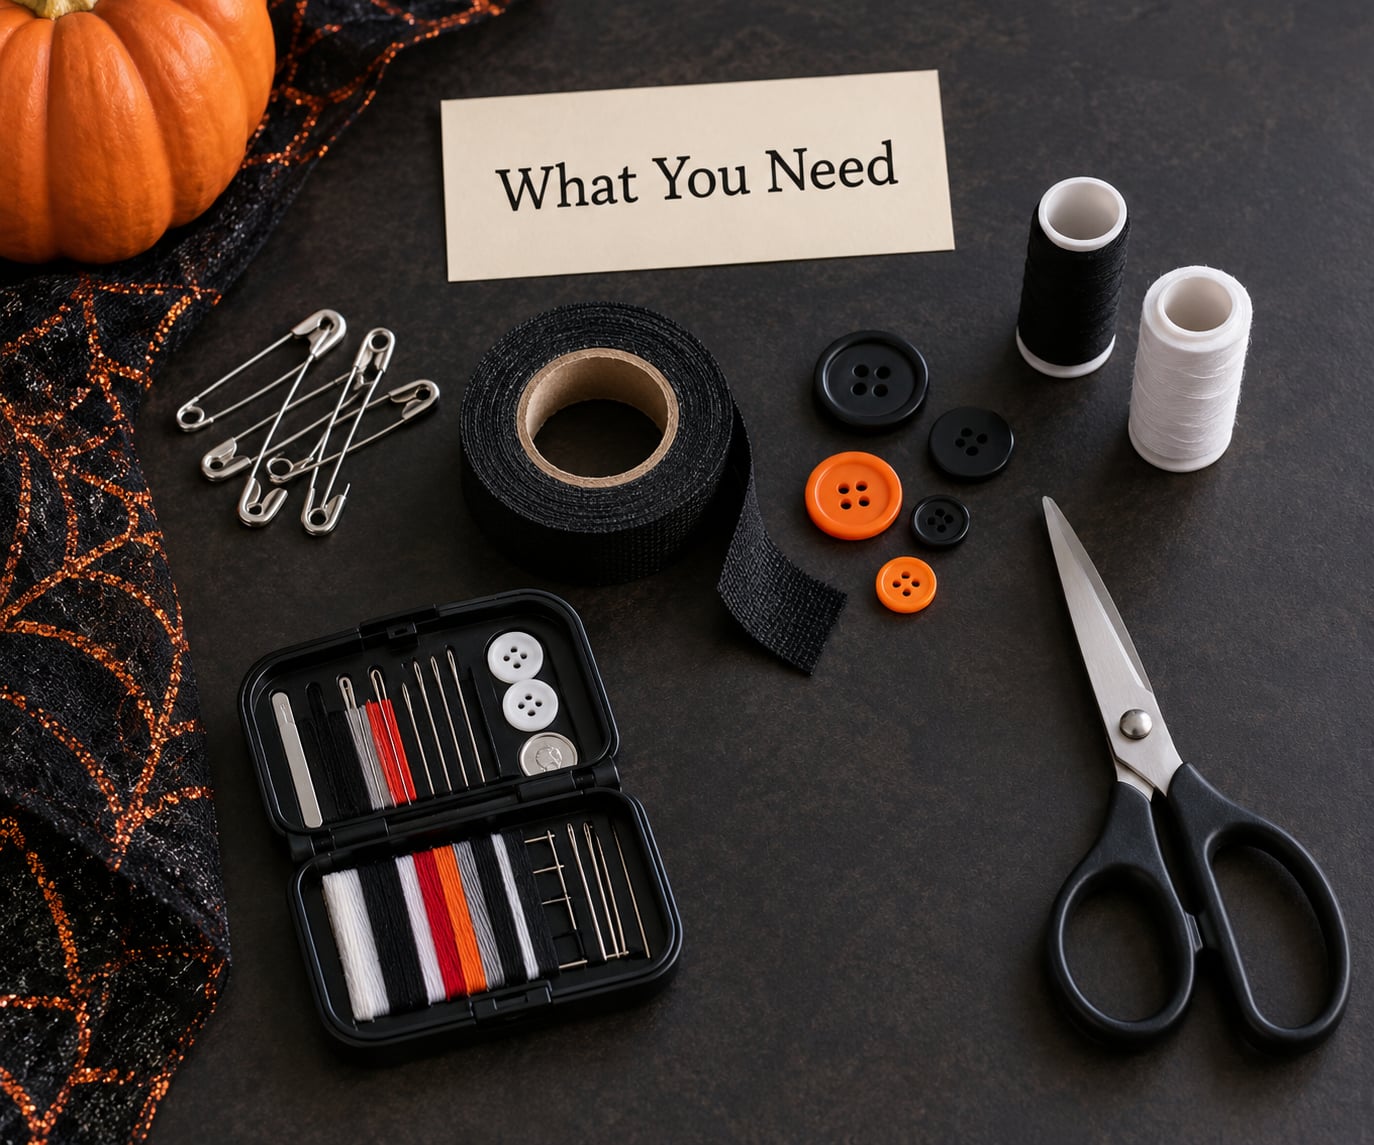
You need about six things, and three of them matter more than the rest. Gather them before you leave the house rather than hunting for them with a flashlight in one hand and a torn cape in the other.
- Safety pins — the single most useful item in any repair kit. They are cheap, they close a seam in seconds, and they hide under a layer.
- Fabric tape or fashion tape — a strong double-sided strip that bonds two edges without a needle. Fabric tape for knit and cotton, fashion tape for hems and necklines that need to be temporary.
- A needle, thread, and a spare button — thread in black, white, and one colour that matches your costume. If you have a hand sewing kit already, it covers this.
- Glue dots or fabric glue — glue dots grab fabric instantly with no drying time, which matters when you have thirty seconds. Fabric glue takes longer to set but holds a torn edge flat.
- Small scissors — for trimming thread and cutting a clean tape strip to size.
- Backup fasteners — spare clips, extra hooks and eyes, or a short length of ribbon to tie around the waist.
Optional but helpful: a bobby pin or hairpin to use as an emergency strap, a paper clip for a popped button, a small piece of cardboard under a broken prop, and a first aid kit for the pin pricks you are about to inflict on yourself. A full sewing kit is the one thing you can skip if you have no machine anyway; a hand needle works just as well in a dark hallway.
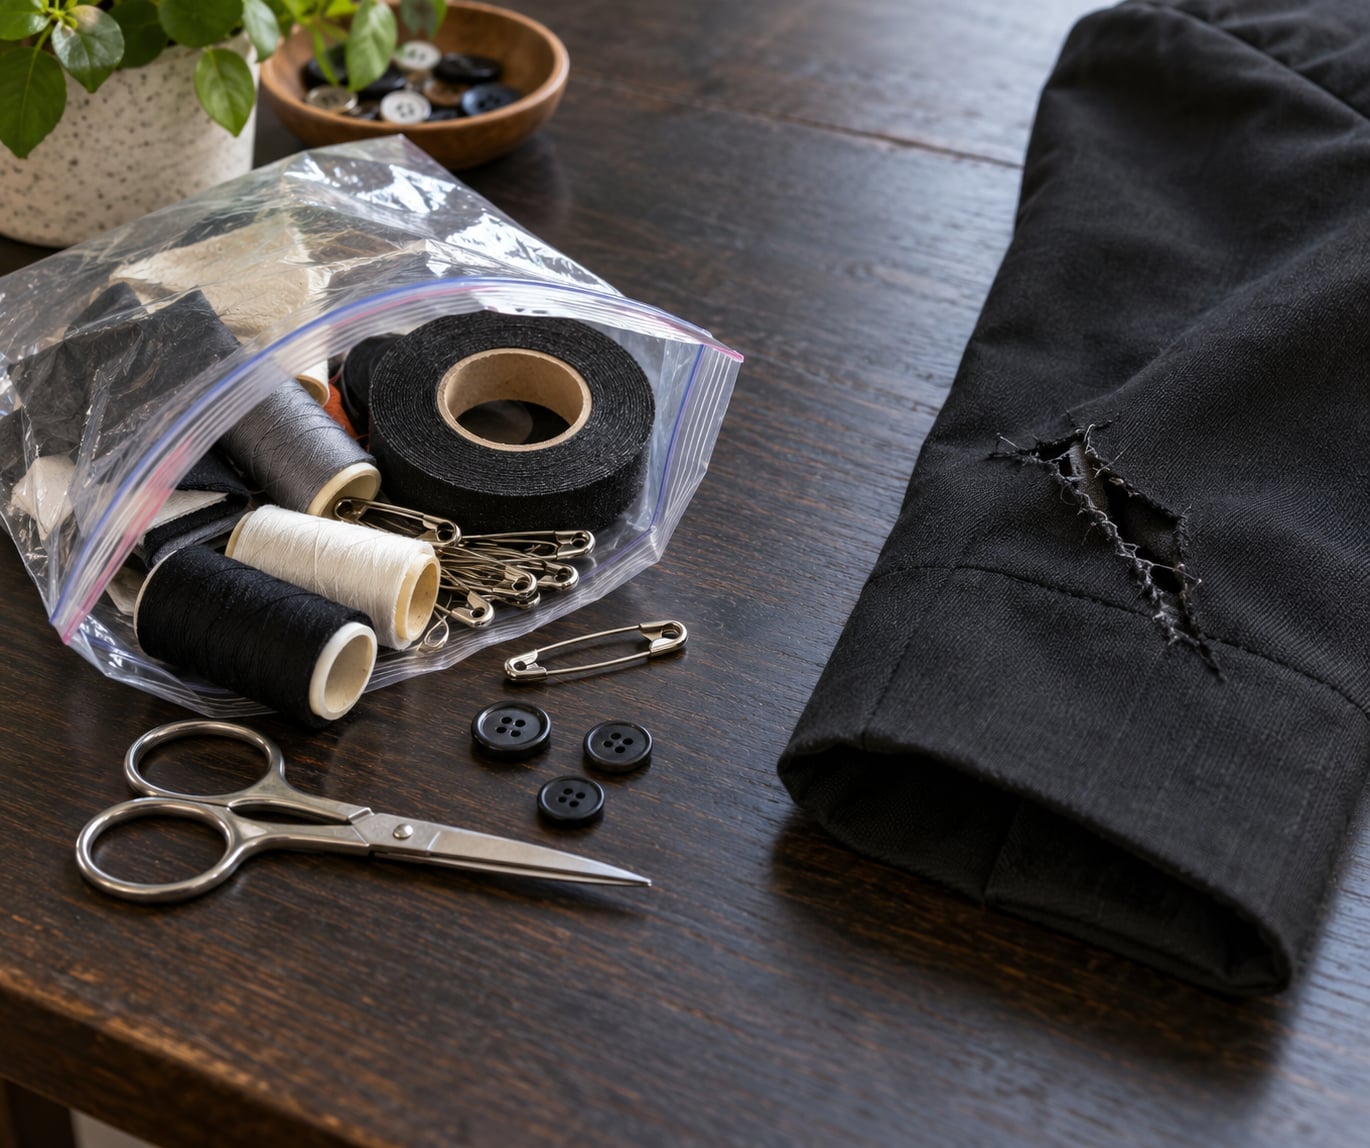
Pack the kit in a zip bag in the pocket of whoever is carrying the flashlights. Losing a bag of supplies in the dark is the most common way a fix that should have taken a minute turns into an hour-long problem.
Step-by-Step: How to Fix a Rip Before Trick-or-Treating
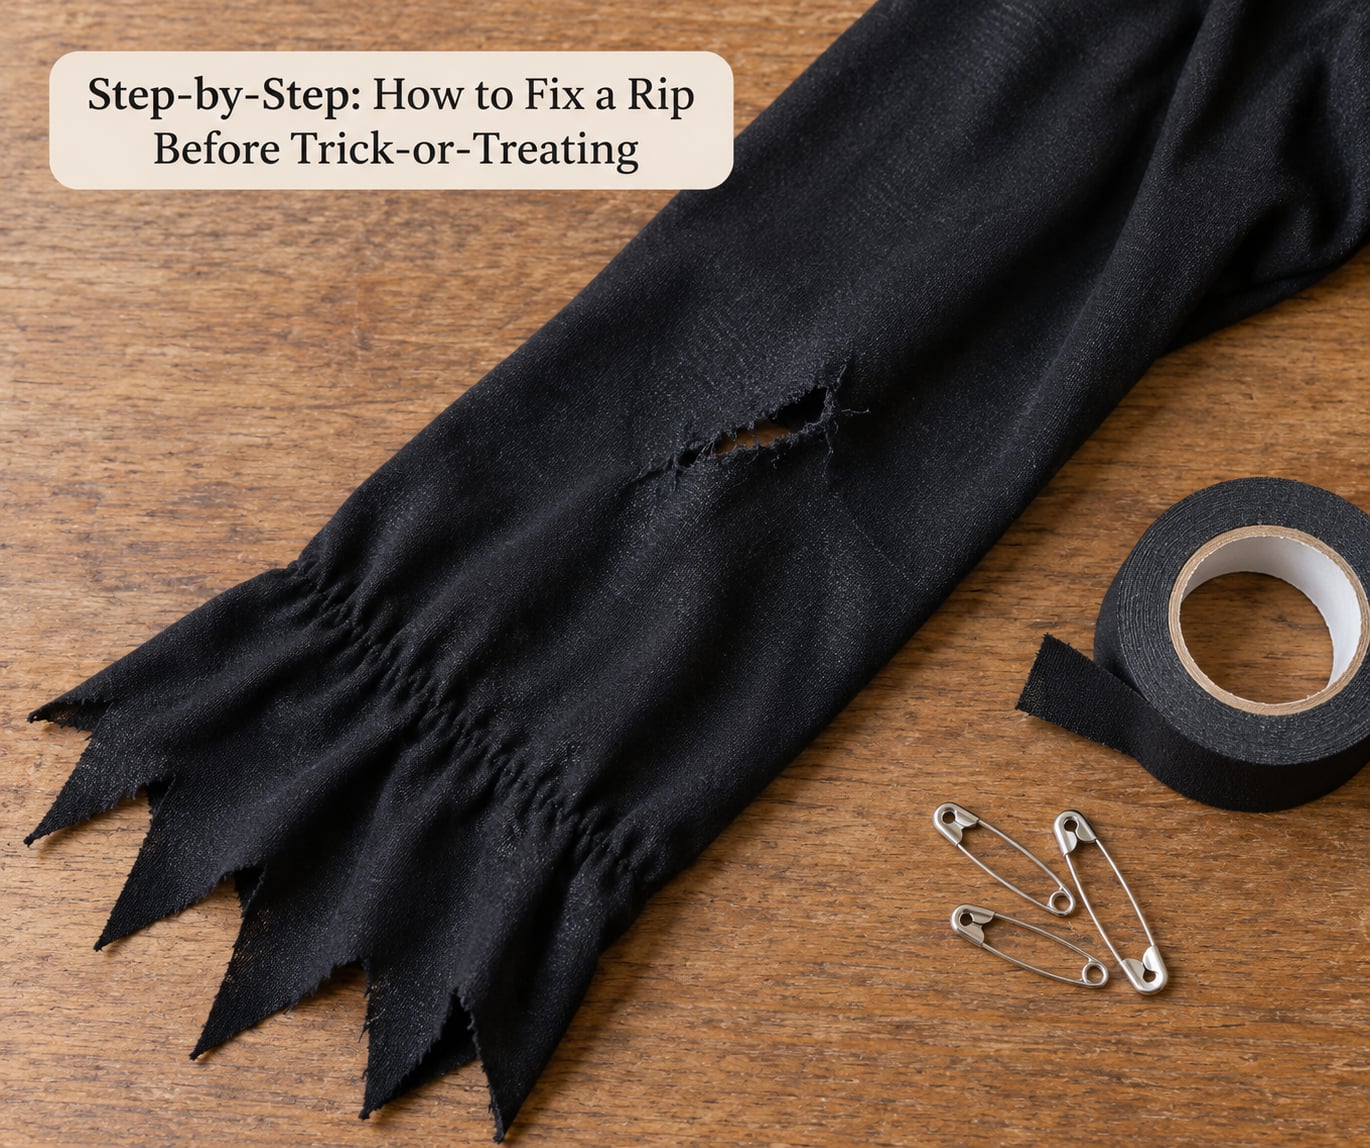
The order below is the one I would follow in a hurry. Assess first, repair second, test third, and change clothes only if the damage makes the costume unsafe or uncomfortable. Knowing what to do if your costume rips on Halloween night comes down to matching the fix to the fabric and to how much tension the torn area carries.
Step 1: Assess the Rip and Choose the Quickest Fix
Look at the damage from both sides before you touch it. A rip that runs along a seam needs the edges pulled together, while a tear through the middle of a panel needs the fabric patched flat. Here is how to tell them apart and what to reach for.
- Split seam on the bodice or pants — safety pin through both seam allowances, perpendicular to the seam. Under a minute.
- Torn sleeve near the elbow — fabric tape on the inside, pin the edge flat if it still lifts. About two minutes.
- Shoulder strap letting go — bobby pin across the strap, or a ribbon tied around the torso. About a minute.
- Popped button — paper clip through the buttonhole, or a safety pin into the button. About a minute.
- Falling hem — fold it under, then pin or tape it, walking at normal speed only. About three minutes.
- Broken zipper — safety pin above and below the gap so it stops splitting wider. About two minutes.
- Torn cape or cloak — tape the lining together first, since the lining carries the weight. About three minutes.
- Cracked foam prop or armor — hot glue along the crack, held in place for a minute. About five minutes.
Fabric matters as much as the damage does. The same tape that holds cotton will slide off satin and stretchy knit, and a straight stitch through spandex just creates a new tear.
- Cotton or poly knit — safety pin, hand stitch, or fabric tape all work. Nothing to avoid; it forgives almost anything.
- Satin — fabric tape or pins on the lining, never on the shiny face. Avoid hot glue and super glue, which scorch and stain.
- Stretch fabric and spandex — pull the edges together and pin them, leaving the seam slightly relaxed. Avoid straight stitches, which cut the fibres.
- Denim — hand stitch or safety pin; both hold well. Nothing worth worrying about.
- Tulle and mesh — glue dots or a tiny knot. Avoid wide tape, glue guns, and anything heat based, which pull the weave apart.
- Faux leather — fabric glue, then a pin to hold it while it sets. Avoid thread, which skips and tears the coating.
- EVA foam — hot glue, pressed together and held. Avoid pins, which punch through and leave holes.
Step 2: Make the Repair Without Making the Costume Worse
Work from the inside wherever you can. Every visible pin or tape edge on the outside of a costume announces itself under porch lights, while the same fix on the seam allowance disappears completely.
For a safety pin repair, line up both edges of the torn seam, push the pin through from the inside at a right angle to the seam, and close it. Cover the pin head with a small strip of tape so it cannot catch on a sleeve or a door frame. One pin holds a small split; two pins a few inches apart hold a seam that has burst under a shoulder.
For a tape repair, cut a strip longer than the tear, round the corners slightly so they do not peel, and press it firmly from the lining side. Fabric tape needs about ten seconds of pressure and gives up if you touch it right away. Check it by flexing the fabric gently, not by pulling.
For a stitch, use a doubled thread with a knot at the end and work a simple backstitch about a quarter inch from the torn edge, catching both layers each time. Leave the last stitch loose rather than knotting it tight, because a rigid repair fails first and fails loudly the moment you reach for a treat.
To cover an exposed edge, trim loose threads first with your scissors, then tape or glue the raw edge flat. Exposed threads snag on everything they brush against, and a snag turns a two-inch rip into a six-inch one.
If you are already out when the damage happens, the accepted routine is to find the nearest bathroom, borrow the host’s sewing kit if they have one, or ask a friend with better hands to do it. At a party, that conversation takes less time than hunting for a store.
Step 3: Test the Fix and Finish the Halloween Look
Dressed, run through the motions you will actually do tonight: bend at the waist, lift both arms, sit down, and walk a few steps. Any repair that moves, scratches, or pulls needs another pin before you leave the room.
Move tape and pins inside the costume where a layer will cover them. A pin at the shoulder under a cape or cloak is invisible and stays put. A pin on a bare shoulder is a poke every time you reach for a doorbell.
Then disguise what you can. A wide belt, a sash, a band of trim, or a layer of torn tulle breaks up a repaired waist or hip. Dark makeup rubbed along a torn edge turns a clean tear into a distressed look that looks deliberate. Add a drip of fake blood or stage dirt over the repair and nobody is examining it.
Keep the leftover supplies in your pocket and check the repair once more halfway through trick-or-treating. A taped seam that has started to lift can be pressed back down in about ten seconds, and you will not catch it in the act.
Common Mistakes to Avoid
Most costume damage on Halloween night gets worse because of the fix, not the original rip. These are the ones I see most.
- Super glue on synthetic fabric. It eats holes in polyester and nylon and leaves a white crust. Use fabric glue or tape instead.
- Hot glue on satin, tulle, or foam. The heat scorches the surface and foam collapses under it. Hot glue is for props and foam only.
- Exposed pin heads. Cover them with tape or turn them inward. A loose pin is a scratch waiting for a doorway.
- An over-tight knot. Tight thread cuts a stress line straight through the fabric next to your repair. Knot once, then leave a little slack.
- Ignoring a broken strap. A strap that lets go mid-walk takes the whole costume with it. Braid ribbon through it, tie it around your torso, or swap to a top that fits.
- Duct tape against bare skin. It pulls hair and skin off when it comes off. If it is all you have, put a shirt or tights underneath first.
- Staying in a costume that restricts movement. If you cannot climb stairs, bend comfortably, or see your own feet, the fix failed. Change into the backup.
A few last-minute habits help. Test every costume for thirty minutes before Halloween rather than on the night. Reinforce shoulder seams, waistbands, and crotch seams with a second line of stitching, because those are the stress points that always give first. And keep a plain black shirt and leggings in the car, not just in the house, for the costume that cannot be saved.
Frequently Asked Questions
What is the fastest way to fix a Halloween costume rip?
A safety pin on the inside of the seam is the fastest repair and works on most fabrics. It closes a split in seconds, costs almost nothing, and hides under a lining or an outer layer. If you have thirty seconds and no pins, use a glue dot to hold the two edges together. Save the needle and thread for when you have five minutes and want something that survives the whole night.
Can I use safety pins to repair a costume on Halloween night?
Yes, and they are the most trusted emergency fix because they need no skill and no drying time. Push the pin through both edges of the tear from the inside, at a right angle to the seam, then cover the head with a strip of tape so it cannot catch on anything. Use two pins for a burst seam. Avoid pins on stretch fabric that will pull, and never leave a pin head against bare skin.
How do I hide a tear in my costume after it rips?
Fix it on the inside whenever you can, then cover the area. A wide belt, sash, or band of trim hides a repaired waist, and a cape hides a shoulder. For a visible tear, darken the edges with stage blood or costume grime and tear a second edge deliberately so the result reads as a distressed detail rather than an accident. Trim loose threads first, because stray threads snag and turn a small tear into a large one.
What should I do if my costume strap breaks and I have no sewing kit?
Braid a length of ribbon or cord through the strap and tie it around your torso, which turns a broken shoulder into a halter style that holds. A bobby pin or hairpin crossed over the strap works in a pinch. If the strap is load bearing and none of that feels secure, change tops. A strap that gives out while you are climbing stairs is a fall, not a costume problem.
Is it better to repair a costume or wear a backup on Halloween night?
Repair it if the damage is a split seam, a torn sleeve, a popped button, or a falling hem, because those are quick fixes that hold all night. Wear the backup if the costume is badly torn across a bodice, if a strap or zipper has failed structurally, if the fabric is stretched out, or if any repair limits your movement or your vision. Nobody will notice a backup outfit; everybody notices a costume held together with tape.
Can ordinary tape fix a costume rip safely?
Fabric tape, double-sided fashion tape, and clear packing tape can hold a rip closed for a night. Skip super glue, which burns holes in polyester and nylon, and skip hot glue on satin, tulle, or anything stretchy because the heat scorches the surface. Never lay duct tape straight against skin, since it pulls hair off when removed. Press tape for a full ten seconds and flex the fabric gently to test the bond.
If your costume rips on Halloween night, do this first: pin or tape the seam closed from the inside, cover the pin head, and move on. The fix only has to hold for one night, not forever, so speed beats neatness every time. Keep a plain shirt and leggings in the car as your escape hatch, and if the rip exposes something you did not mean to show, change without hesitating.