The short answer: measure the coat you will actually wear, then build in extra room. You can widen the costume body by 4 to 8 inches of circumference, add a closure that lets two panels overlap instead of meeting edge to edge, or pick an open-front shape like a cape or robe that drapes over whatever you have underneath. Most people only try the first option and wonder why the front refuses to close.
Outdoors on October 31, the coat is not optional for most of the country, and it is the one layer you cannot compromise. The costume goes on the outside. That means the coat’s bulk at the chest, waist, and upper arms has to fit inside the finished garment, not share it.
This guide covers both halves of the problem: building a new costume with coat clearance built in, and widening a store-bought one that already exists in your closet. Either way you end up with something you can actually wear at 8pm in October. The whole process is a weekend project at most, and the measuring part takes ten minutes.
Table of Contents
- What You Need
- Step-by-Step: How to Make a Costume That Fits Over a Winter Coat
- 1. Measure the winter coat and plan the extra space
- 2. Choose a flexible base for the costume
- 3. Build the costume with wider panels and movable seams
- 4. Align closures with the coat zipper and fasteners
- 5. Design the collar, hood, and sleeves for layering
- 6. Secure bulky accessories outside the costume
- 7. Test the complete outfit for warmth and movement
- Common Mistakes
- Frequently Asked Questions
- What kind of costume fits over a winter coat?
- Should I make the costume one size larger?
- How do you hide a winter coat under a costume?
- What fabric is best for a costume worn over a coat?
- How cold can you safely stay in a costume with a winter coat?
- Conclusion
What You Need
Start with the coat. Not the costume you wish you had, the coat that is hanging on your door right now. Its bulk sets every number in this guide.
- The winter coat in the exact weight you plan to wear. A mid-weight puffer and a wool overcoat are different problems.
- The intended costume, whether bought or already cut and sewn.
- A measuring tape and a friend to hold the far end.
- Flexible fabric for any panels you add: stretch knit, fleece, or jersey.
- Fastening supplies matched to the coat: a long zipper, snaps, hook-and-loop tape, or safety pins for a no-sew version.
- Optional tools — fabric scissors, a sewing machine, pins, and a seam ripper for taking a store-bought costume apart.
When you judge a coat by bulk, four things tell you everything: how it hangs when buttoned, whether it has a collar that stands up, whether the zipper runs the full length, and how the sleeves are cut. A snap-front fleece pullover with set-in sleeves is far easier to dress over than a long wool coat with a tall collar and full-length zip.
Step-by-Step: How to Make a Costume That Fits Over a Winter Coat
1. Measure the winter coat and plan the extra space
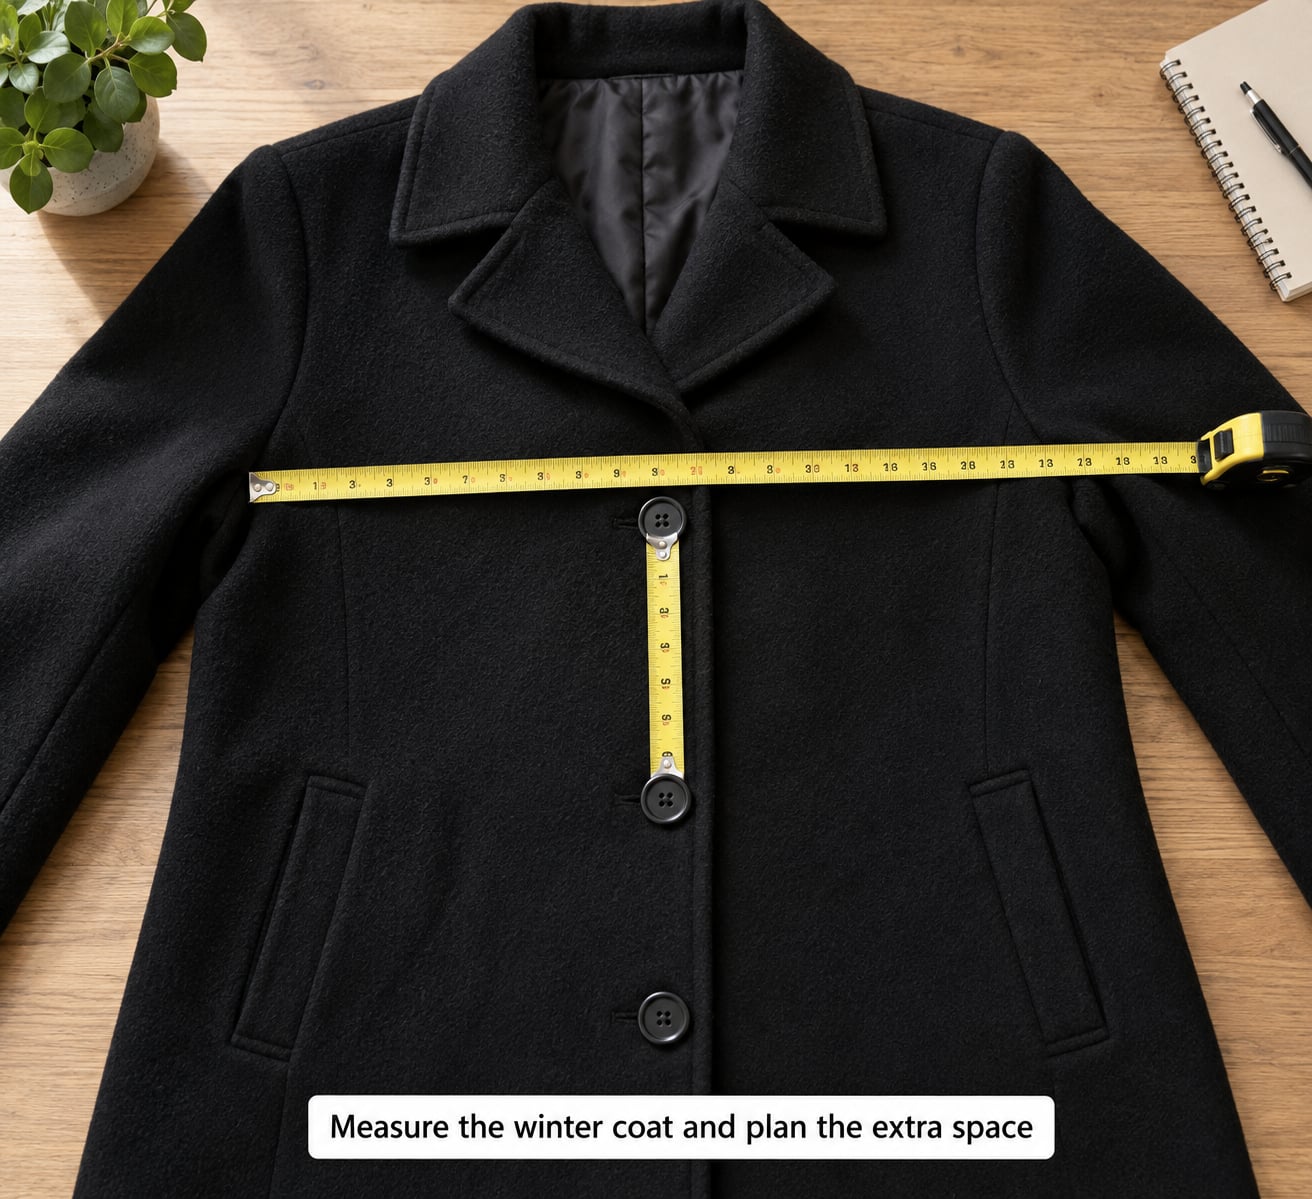
Measure the coat, not your body, and measure it buttoned or zipped the way you will wear it. Lay it flat on a bed or table and record the chest width, waist width, and hip width, then double each number for the circumference. Add shoulder width across the back and sleeve length from shoulder seam to cuff.
Next, measure the coat’s thickness. Fold a sleeve or the body in half and check the depth with a ruler, then add roughly a quarter of that figure as the compressed bulk the costume has to clear.
Here is the working allowance I use, measured as extra finished circumference at the body rather than per panel:
| Coat type | Extra circumference at bust | At waist | At hip |
|---|---|---|---|
| Fleece pullover | 4 in | 4 in | 3 in |
| Mid-weight puffer | 6 in | 6 in | 5 in |
| Down parka | 8 in | 7 in | 6 in |
| Wool overcoat with lining | 7 in | 8 in | 7 in |
Those figures are what makes the difference between a costume that closes over a coat and one that does not. When you are working out how to make a costume that fits over a winter coat, remember the costume is fitted to the coat, not to the person underneath it.
2. Choose a flexible base for the costume
Fabric choice decides whether the extra room you added survives a whole night of movement. Stretch jersey and ribbed knit give back a few inches when you bend your arms, which is worth more than it sounds. Fleece is warm, forgiving, and hides seams well. Mesh and tulle work for overlays and skirts because they add volume without adding weight.
Keep lightweight woven fabric for outer decorative layers only. It will not forgive a tight armhole and it drapes straight over whatever bulk is underneath, which is exactly the silhouette problem you are trying to avoid.
3. Build the costume with wider panels and movable seams
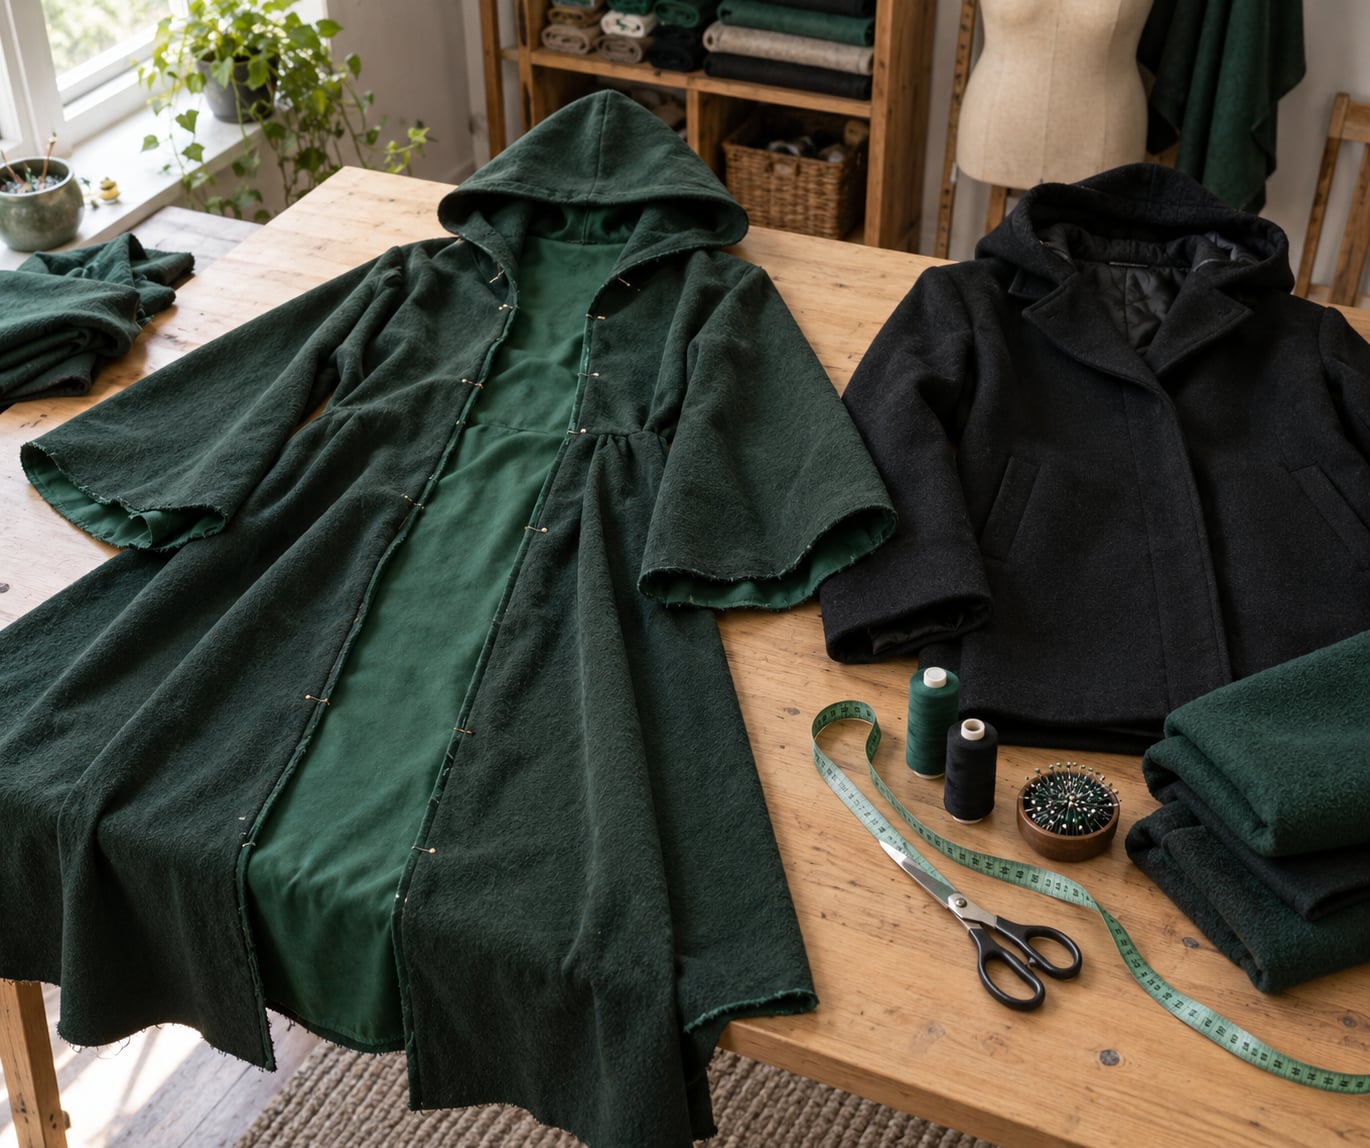
Cut the front and back bodice panels wider than the pattern by half your required allowance on each side, and stitch a matching strip down each side seam so the extra length has somewhere to come from. A gusset panel — a wedge inserted at the underarm — works even better because it adds room exactly where the coat is thickest.
Skirts and robes give you the easiest lift. Add 4 to 6 inches of fullness to the hem and the coat’s lower bulk simply disappears inside. For sleeves, cut them on the bias or use a two-piece sleeve rather than a single flat panel, so the elbow bends without tugging. Then add matching pockets, which let you warm your hands without pushing the whole sleeve up.
4. Align closures with the coat zipper and fasteners
Closures cause more failures than sizing does. A full-length zipper installed on the costume line, with the coat zipper directly beneath it, is the cleanest solution. If the costume already has a partial zipper, extend it with a matching coil zip and a few inches of placket.
If you cannot match the zipper, install a full-length hook-and-loop tape or snaps that run past the coat’s closure point, so the costume overlaps and fastens beyond the widest part of the coat. Offset the costume opening by an inch so the coat zipper and the costume zipper are never fighting for the same line. On the inside of that opening, add a small guard strip so the coat’s zipper teeth cannot catch the costume fabric.
An open-front design sidesteps the problem entirely. A cape, poncho, or robe needs no closure at all, which is why they work over any coat, and it is the fallback when you have no sewing machine.
5. Design the collar, hood, and sleeves for layering
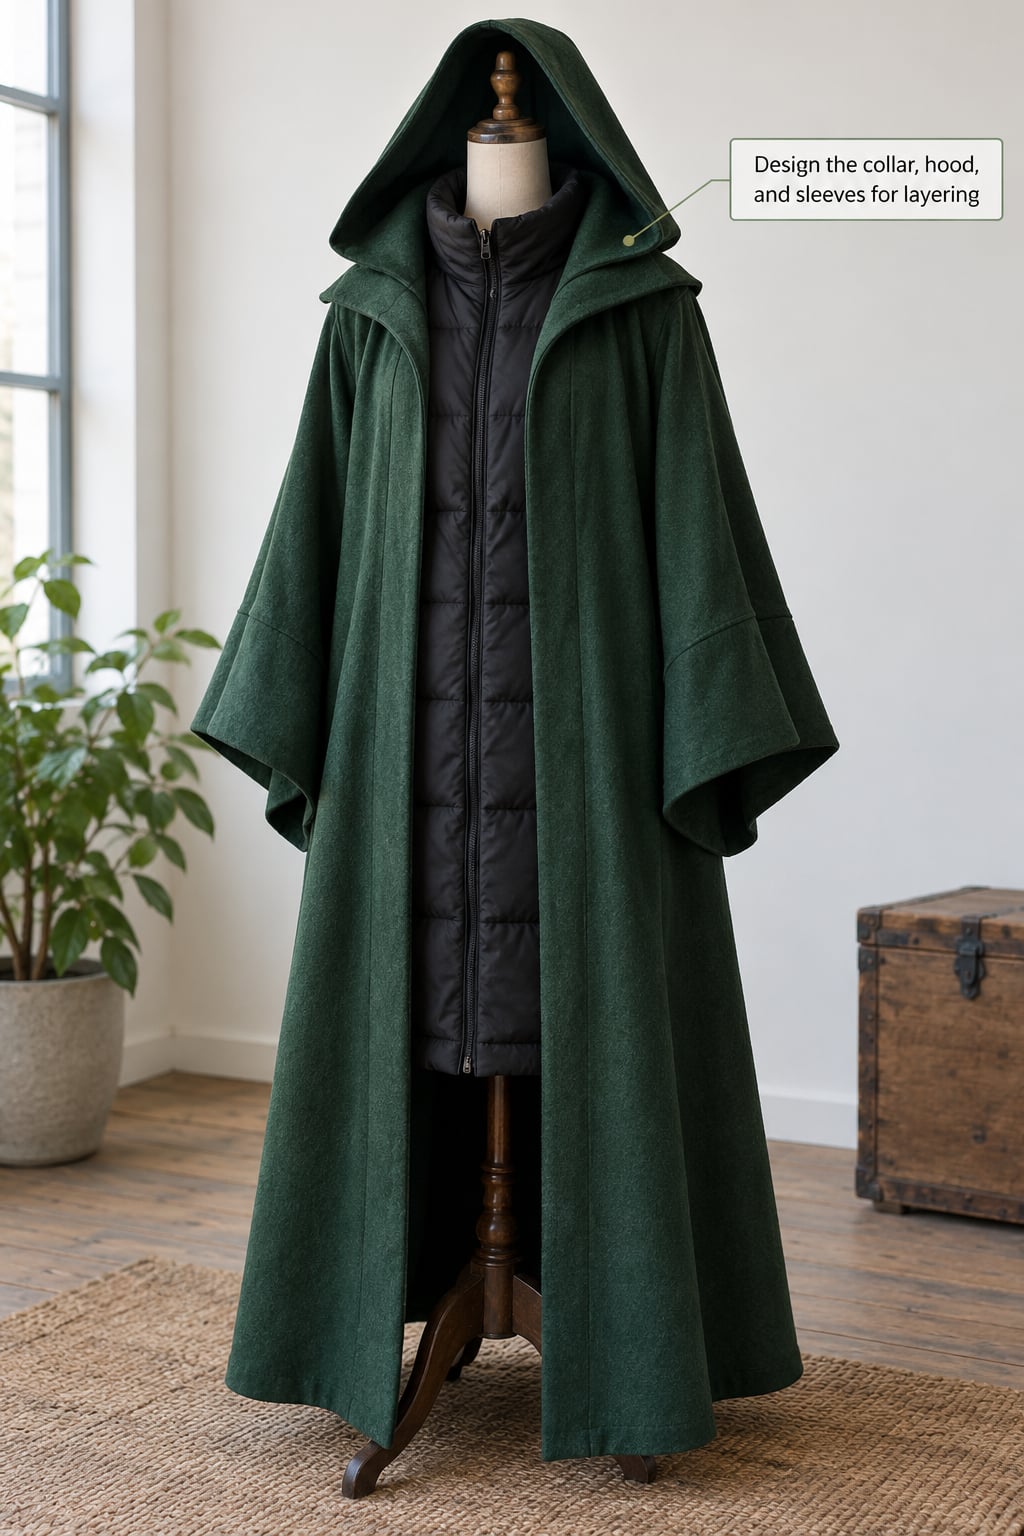
A standing coat collar is the single hardest thing to cover. Widen the costume neckline by at least 2 inches all the way around, drop the front neckline into a low V or a wide scoop, or build a detachable collar that fastens at the shoulders instead of the throat.
Armholes are the second problem. Make them deep enough to clear the coat shoulder seam, and set the costume sleeve at least an inch higher than the coat shoulder. If your costume has a hood, size it to go over the coat hood rather than under it. Keep in mind that a wig and a hat will both compete with a raised hood, so decide early whether the hood or the wig is the hero piece and design around the loser of the two.
6. Secure bulky accessories outside the costume
Anything heavy belongs on the outside of the costume, not on top of your coat. Wings, tails, backpacks, armor, prop weapons, and capes all attach to the costume’s outer layer or to straps running over the shoulders and around the waist.
Weight on your back pulls the hem upward, which is the complaint you will hear most from anyone who has tried this. Distribute it across the shoulder line and the waist rather than letting it hang from one point, and skip anything you cannot hold still on your own. A heavy backpack under a costume is a good way to end the night bent forward.
7. Test the complete outfit for warmth and movement
Do the full fitting wearing the coat. Stand, sit in a chair, walk around the block, bend forward to touch your toes, and raise both arms straight overhead. Then zip the coat from the bottom up while the costume is on and make sure nothing catches.
Check that a car seat fits. If you will be driving anywhere in the costume, sit belted before the night starts.
Mark every problem with a pin while you are wearing it: pressure points where the coat pushes through, gaps where the hem rides up, loose areas that snag, and sleeves that restrict your arms. Marking on the body while wearing it is faster than taking the whole thing off and putting it back on a dozen times.
Common Mistakes
Most costume-over-coat failures come down to six things, and every one has a direct fix.
- Nonstretch fabric in the bodice. Add a stretch panel down each side seam, or switch the bodice to knit. Sewing stretch to stable fabric works if you hold the seam with fusible interfacing.
- The costume was cut too close to the body. Take it in at the side seams first, then add panels. A side split of 3 inches per seam buys you 6 inches of circumference.
- Every closure lined up wrong. Fasten the coat, then lay the costume over it and mark where the coat’s zipper ends. That mark becomes the bottom of your costume closure.
- Sleeves cut too tight. Redraw them with a wider bicep measurement and add a gusset at the underarm. Check again with both arms up.
- The coat zipper is covered. Move the costume opening off that line, or add the guard strip mentioned earlier so the teeth cannot chew the costume fabric.
- Too much weight on the costume. Take off anything you cannot hold on your own and re-test.
- Never testing the full outfit. Do one complete dress rehearsal wearing everything, including the coat and accessories, a few days before the event.
For warmth, layer in this order: a thin base layer next to skin, a fleece or mid layer, the winter coat, then the costume over the top. Add a hat and gloves that match the costume rather than fighting it, and use reflective tape on the costume hem or cape if you will be out after dark.
One last tip worth taking. Build the costume so it is wearable afterward. A removable cape, an open-front robe, or snaps instead of glue means you get to wear the piece again instead of storing it in a bin until next October.
Frequently Asked Questions
What kind of costume fits over a winter coat?
Open-front designs work best: capes, ponchos, robes, and long open-front tunics, because they never need to close across the coat. Skirted dresses and roomy coats with a full front closure also work if you add extra circumference. Avoid anything fitted through the bust or upper arm, and skip jackets and vests sized for a normal body.
Should I make the costume one size larger?
One size larger is a start, not a solution. Store sizing varies wildly, so measure instead. Add 4 inches of circumference for a fleece pullover, 6 for a mid-weight puffer, and up to 8 for a down parka. Then add a closure that lets two panels overlap, because bulk plus closure beats bulk alone every time.
How do you hide a winter coat under a costume?
You rarely hide it completely, and pretending otherwise is where the cold-night photos go wrong. Instead, make the coat part of the silhouette: a matching color or trim at the collar and cuffs, a scarf or bandana over the front, and long sleeves that sit above the coat arms. Photographers shoot cold-weather costumes as layered looks on purpose.
What fabric is best for a costume worn over a coat?
Stretch jersey and ribbed knit give back room when you move, which matters more than thickness. Fleece is warm and forgiving and hides seams well. Mesh and tulle add volume without weight for skirts and overlays. Keep lightweight woven fabric for decorative outer layers only, since it will not recover a bent elbow.
How cold can you safely stay in a costume with a winter coat?
Temperature limits come down to the person, not the costume. Keep the base layer dry, cover your neck and hands, and take a break indoors every 20 to 30 minutes when it is genuinely cold. Children get cold faster and lose judgment about it sooner, so set a firm turn-around time before you leave the house.
Conclusion
Making a costume work over a winter coat comes down to three decisions: measure the coat you will really wear, add enough circumference to clear its bulk, and give the garment a closure that can overlap instead of meeting edge to edge. Get those right and the rest is fabric choice and a final dress rehearsal.
Start with the ten-minute measuring job this week. If you want to go further, this guide covers how to make a costume that fits over a winter coat step by step, from panel widths to the final fitting.