To make a wheelchair friendly Halloween costume, build the chair into the character instead of dressing somebody to stand up. That means a lightweight shell over the frame, fasteners that release in a minute, and nothing touching the wheels, brakes, or footrests. Most builds take an afternoon.
Store costumes are cut for people who walk. Hang one on a wheelchair and it drapes into the wheels, snags on the hand rims, and forces a caregiver into a wrestling match at the door. The fix is not a fancier costume, it is a different starting point.
Here is the version I hand people who ask every year: pick a character whose shape already matches the chair, keep the wearable part plain and comfortable, and attach everything with hook-and-loop straps or zip ties so it comes off without tools.
Table of Contents
- What You Need
- How to Make a Wheelchair-Friendly Halloween Costume: Step-by-Step
- Step 1: Pick a character whose shape already fits the chair
- Step 2: Decide what the chair wears and what the person wears
- Step 3: Measure the chair and the person, then write the numbers down
- Step 4: Build the shell light and build it twice where it matters
- Step 5: Attach only to non-structural parts, and make it removable
- Step 6: Test the whole costume seated, then hand over independence
- How to choose a costume that works with your wheelchair
- How to make the costume fit without restricting movement
- How to add decorations that will not damage the wheelchair
- How to test the finished costume for safety and comfort
- Common Mistakes
- Frequently Asked Questions
- What is an adaptive Halloween costume?
- How do you attach a costume to a wheelchair without damaging it?
- What materials are best for a wheelchair costume?
- What can I wear over my wheelchair for Halloween?
- Are wheelchair costume ideas only for kids?
- How do you make a costume fit a wheelchair?
- Conclusion
What You Need
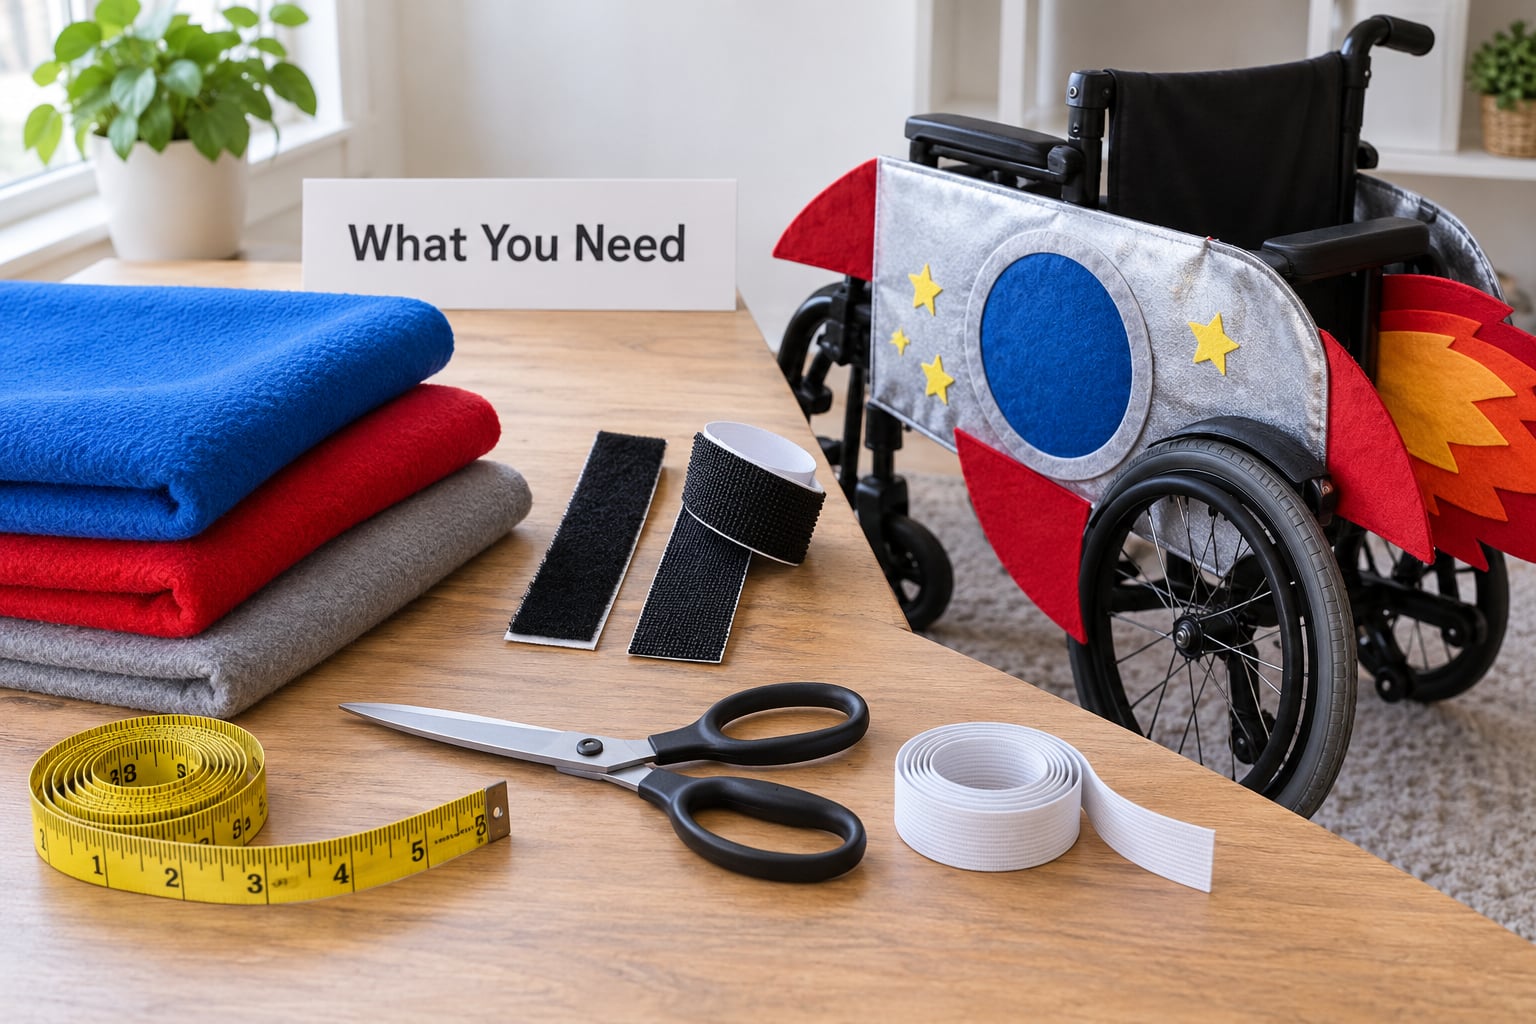
You do not need much, and most of it is hardware store stuff rather than costume supplies.
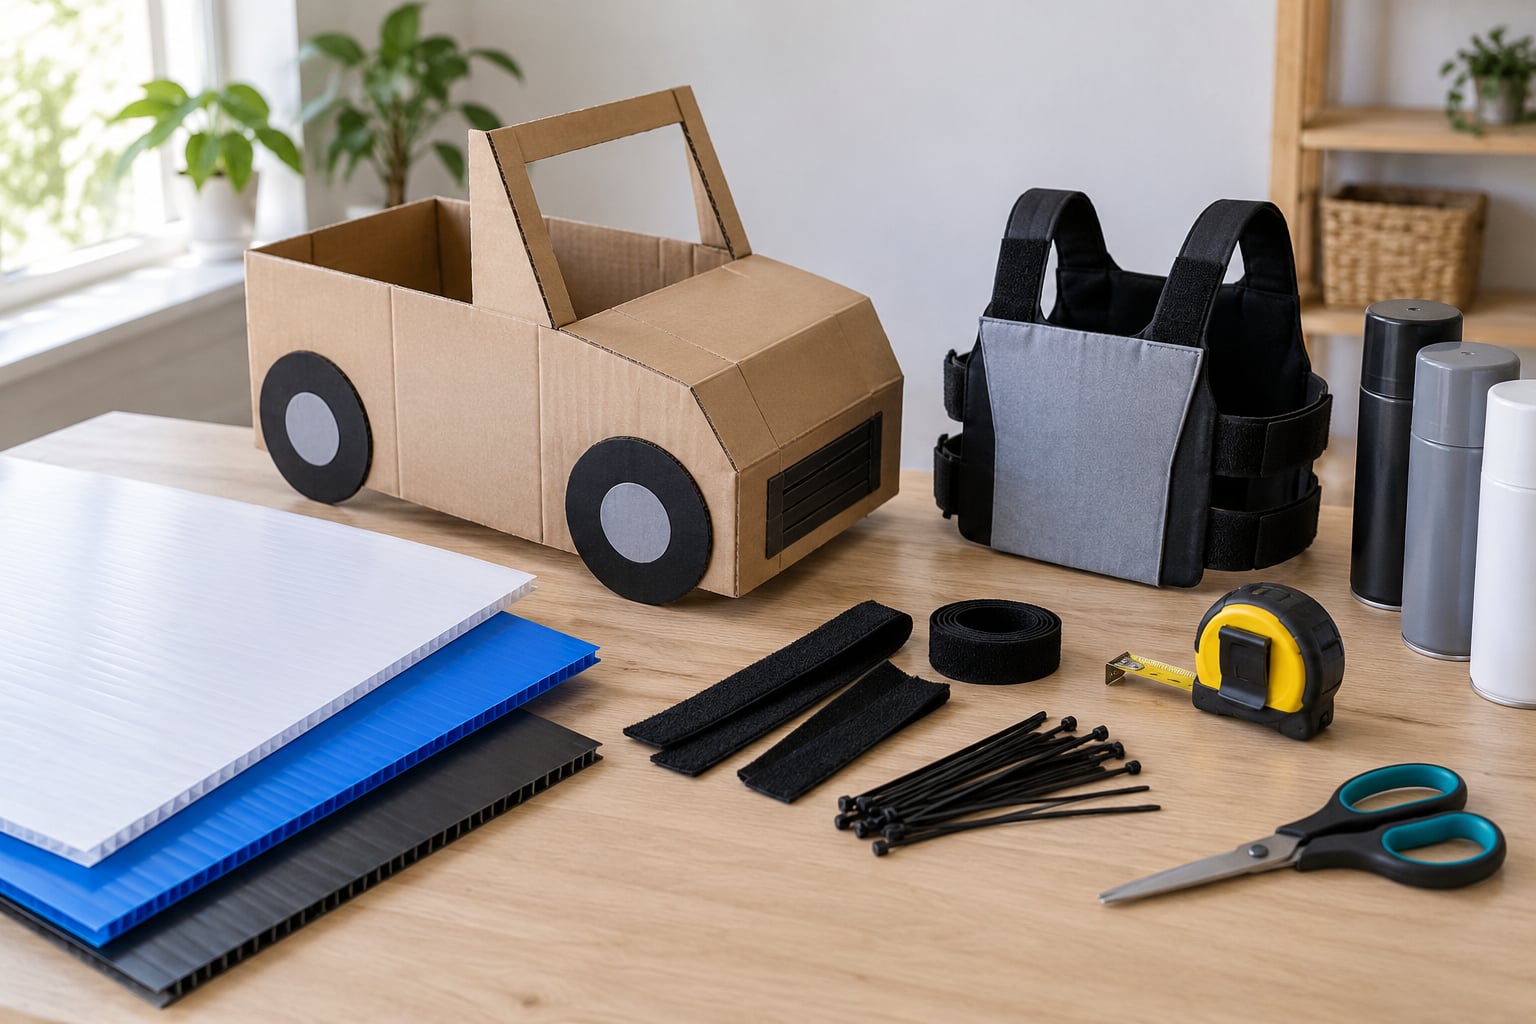
- Base materials. Corrugated plastic sheet (the stuff sign makers call coroplast) works far better than cardboard for structural panels, and foam board works for lightweight details. Cardboard is fine for templates you will throw away.
- Fasteners. Hook-and-loop straps in a few widths, zip ties, and a small roll of floral wire for shapes that need to hold a curve.
- Cloth for the wearable part. Fleece or a brushed jersey that stretches, plus elastic. Skip anything stiff near the shoulders and back.
- Adhesives. Hot glue gun, double-sided tape, and electrical tape for masking and wrapping edges.
- Paint. Acrylic paint for detail work, spray paint for large flat panels. Ventilate, and paint outside.
- Tools. Measuring tape, fabric scissors, a craft knife, a stapler, and washers plus small bolts with wingnuts for anything that has to survive a school day.
- Comfort items. A seat cushion cover, anti-sweat liner, and a cape or vest that opens flat in the back.
- Optional extras. LED string lights, a small battery pack, reflective tape, and one switch or button if the wearer wants to trigger the effect themselves.
If you are working with a limited budget or a short timeline, build the chair decoration first and buy a simple costume for the person to wear. That combination looks intentional and saves you the hardest part of sewing something that fits while seated.
How to Make a Wheelchair-Friendly Halloween Costume: Step-by-Step
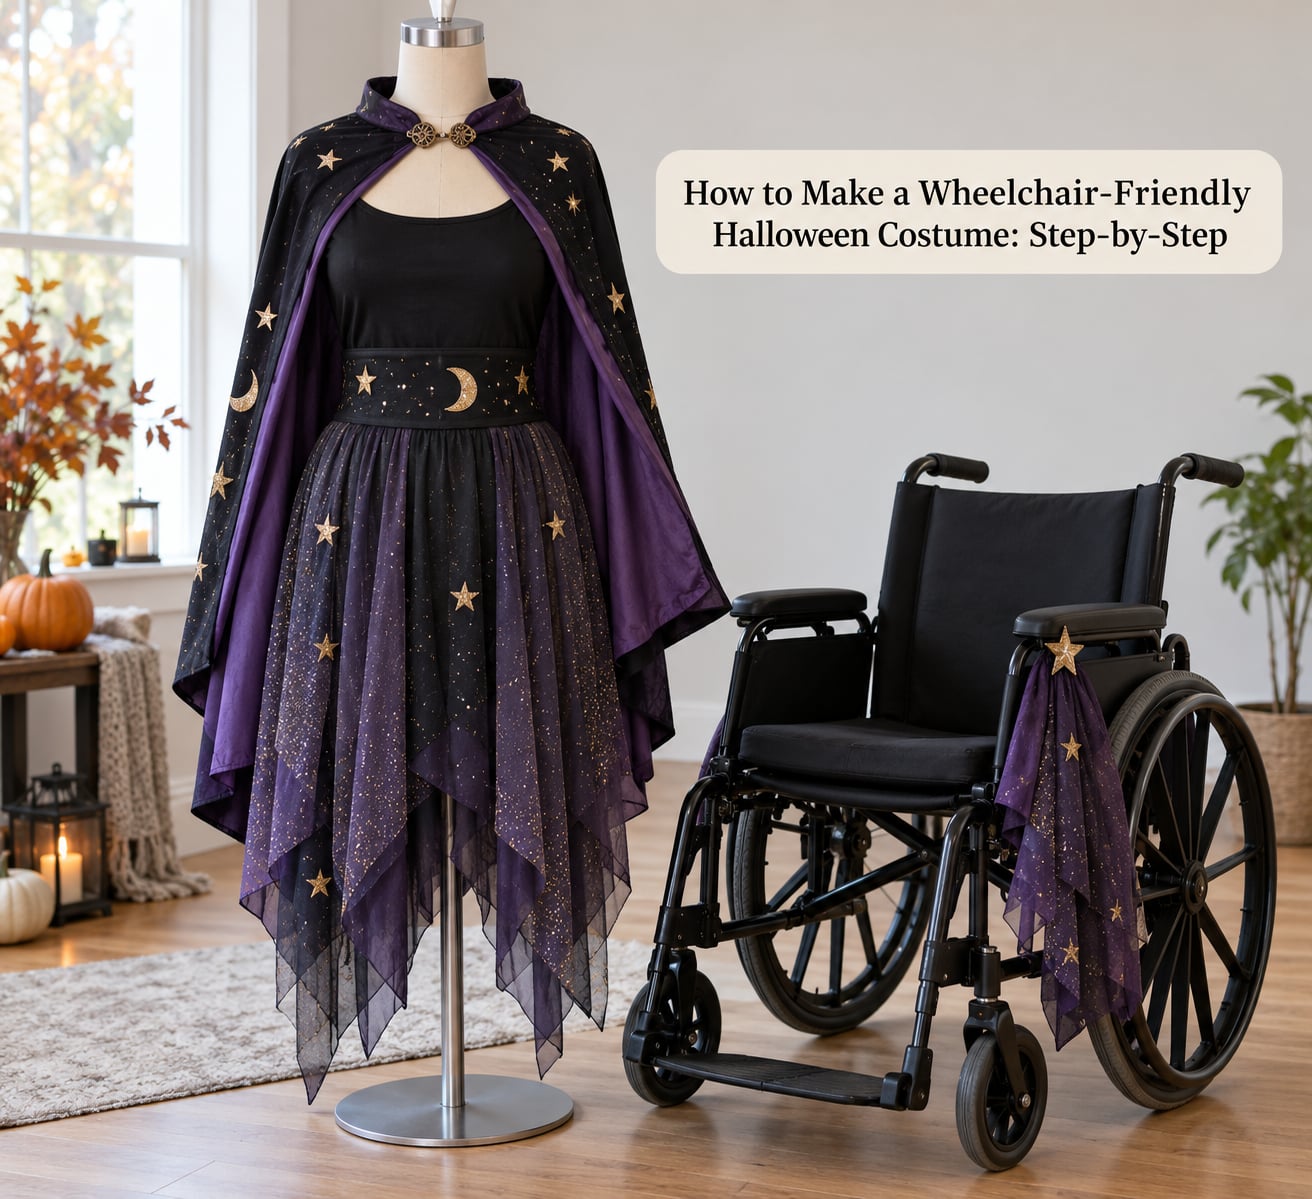
Six steps cover most builds, and the order matters. Measure before you cut, and test before Halloween night, not during it.
Step 1: Pick a character whose shape already fits the chair
Vehicles, machines, houses, drums, tanks and cottages work because the wheelchair outline already resembles them. A car costume, a tank, a carriage, a washing machine, a TARDIS or a news-anchor desk all read clearly once you add panels to the frame.
Skip characters whose silhouette depends on legs, like a soldier with a march or a character in a floor-length skirt cut for standing. Those look wrong seated and drag on the ground.
Step 2: Decide what the chair wears and what the person wears
Split the costume in two. The chair gets the big structural piece, the person gets a light garment: a vest, a hoodie, a tabard, a cape. Keep the garment simple so it can be worn for a full day without chafing.
This split also solves the dressing problem. Nobody has to pull a sweatshirt over a head that cannot lean forward, which is the single most common reason costumes get abandoned before trick-or-treating starts.
Step 3: Measure the chair and the person, then write the numbers down
Measure seat width, seat depth, back height, the distance from the seat back to the top of the footrests, and the overall width across the wheels including hand rims. Then measure the person: chest, waist, and shoulder width, plus arm length from shoulder to fingertip.
Add a couple of inches of ease to anything that has to go over clothing. These numbers are how you make a costume fit a wheelchair instead of guessing, and they take five minutes with a tape measure.
Step 4: Build the shell light and build it twice where it matters
Cut your base shapes from corrugated plastic or foam board, mark the details in pencil first, and fasten layers with bolts and wingnuts where they take stress. Hot glue alone has a habit of letting go by the second hallway bump.
Build two of every fragile element: antennas, decorations, mounted figures. Costumes regularly come home in pieces, and having the spare already made turns a ruined night into a two-minute fix.
Step 5: Attach only to non-structural parts, and make it removable
Hook-and-loop straps are the workhorse because they hold through a full evening and release without tools. Wrap them around the seat back frame or the push handles rather than bolting to the frame itself.
Zip ties work well for light, rigid pieces and are cheap, but they need snips to remove. Magnets are excellent on flat steel frame panels and are the fastest removal of all. Whatever you choose, run a soft edge over anything that sits near a hand rim or a spoke.
Step 6: Test the whole costume seated, then hand over independence
Sit in the costume and roll, push, turn, brake and transfer before the night of. Then step back: if a caregiver has to activate the lights or fix a cape, put the switch where the wearer can reach it.
A single accessible switch wired through a battery interrupter can turn string lights or a sound box on and off, so the wearer runs their own effect. That single change gets talked about more than the paint job.
How to choose a costume that works with your wheelchair
Choose a character whose outline already resembles the chair, and check that the wearer still wants to be that character. It sounds obvious, but the best-documented regret in family build logs is a helmet or mask the child was quietly unhappy about.
Also check the environment. Parades and school days punish anything that catches on doorframes or blocks vision. Ask whether the wearer wants to be the star of the costume or would rather the chair carry the character quietly.
How to make the costume fit without restricting movement
Cut garments open in the back and close them with hook-and-loop, and use stretch fabric with elastic anywhere it crosses the hips. A seated person needs more room across the lap and back than a standing person of the same size.
Keep hems above the footrests, keep sleeves clear of the hand rims, and never route a strap across the seat cushion where it becomes a pressure point after two hours. If the wearer has limited trunk control, build the front panel into the costume rather than hanging weight forward.
How to add decorations that will not damage the wheelchair
Hang decorations from fabric or hook-and-loop loops so they land on clothing, not on the chair frame. Reflective tape on the rear frame edges is a cheap way to be seen in the dark without adding bulk.
Never drill, screw into, or clamp anything that carries weight. It can damage the frame and affect the warranty, and it puts a hard edge near the spokes. Avoid heavy decorations in front of the chair, too: they block forward view, tip the balance, and are the first thing to snag.
On a powerchair, keep foam, plastic and fabric well clear of the battery housing and controller. Nothing that can melt or scorch belongs near a charging port or a warm motor cover, and corded lights should be taped along the frame so they cannot reach a wheel.
How to test the finished costume for safety and comfort
Run a full test: sit for twenty minutes, roll a straight line and a turn, use both brakes, do a transfer, and check for sweat under the seat cover. Anything that leaves a red mark needs padding or a shorter seam.
Then look for snag points with a flashlight at floor level, confirm you can strip the costume off in under two minutes, and agree on a signal if the wearer wants out mid-trick. Test it once outdoors, ideally at dusk, when the light is worst.
Common Mistakes
Building a silhouette that fights the chair. A floor-length robe or a tall standing figure will drag and catch. Cut to the seated outline instead.
Drilling or permanently bolting to the frame. It is the fastest way to damage a chair and can void coverage. Use straps, zip ties or magnets.
Making the wearable part too fancy. Zippers at the back, tight collars and stiff fabrics fight the person all night. Go open-back and stretchy.
Relying on hot glue alone. Glue carries light pieces fine and fails on structural ones. Add small bolts with wingnuts on anything that gets bumped.
Covering the wearer’s face. Wheel covers and helmets that enclose the head get mixed reactions. Ask first, and keep a version with the face open.
Adding weight in front. Forward bulk blocks the view of the path and the chair’s own sensors on some powerchairs. Keep the front light or empty.
Leaving the fasteners out of reach. If only an adult can fix a strap, the wearer cannot adjust it in a restroom. Long hook-and-loop tails solve this.
Skipping the dry run. Most failures show up in the first ten minutes of trick-or-treating. Test, then adjust.
Building so ambitious it stops being fun. If the project becomes stressful, drop to Plan B. A blanket cape and a paper crown is still a good Halloween.
Frequently Asked Questions
What is an adaptive Halloween costume?
An adaptive Halloween costume is one designed around how its wearer actually sits and moves, rather than how a standing body would. It uses open-back garments, stretch fabric, hook-and-loop or magnetic closures, and attachments fixed to non-structural parts of the chair, so the wheels, brakes and footrests still work normally and the costume can be removed quickly.
How do you attach a costume to a wheelchair without damaging it?
Wrap hook-and-loop straps around the seat back frame or push handles, use zip ties for light rigid pieces, and use magnets on flat steel panels. Avoid drilling, bolting to the frame, or clamping anything load-bearing, since that can damage the chair and affect the warranty. Leave a hand’s width of clearance from spokes and hand rims, and pad any edge a wearer could reach.
What materials are best for a wheelchair costume?
Corrugated plastic sheet is the most reliable structural material because it is light, stiff and easy to cut. Foam board suits lightweight details, and cardboard is fine for templates. Add zip ties, hook-and-loop straps, small bolts with wingnuts, hot glue and acrylic or spray paint. Anything flammable stays away from powerchair batteries and motors.
What can I wear over my wheelchair for Halloween?
A blanket-style cape, a poncho with an open back, a tabard, or a zip-up hoodie all work because they can be laid over the chair and the wearer without pulling fabric over a head that cannot lean forward. Add a costume shell over the frame for the character, and keep the wearable layer light so it stays comfortable for a full evening.
Are wheelchair costume ideas only for kids?
No. Plenty of adult ideas work well, especially vehicles, machines, cottages, tanks and parade-style floats. Adults tend to want subtler builds, so camouflage-style panels, a sharp jacket, or a themed chair cover often land better than a foam-board character head. Powerchair users get more room to work with than manual chair users, but the attachment rules are the same.
How do you make a costume fit a wheelchair?
Measure the seat width, seat depth, back height and overall width across the hand rims, then measure the wearer and add a couple of inches of ease. Cut garments open in the back and close them with hook-and-loop so nobody pulls fabric over their head. Keep hems above the footrests and sleeves clear of the push rims.
Conclusion
Start with the wheelchair, not the costume pattern. A character shaped like the chair saves you most of the work, and hook-and-loop straps or zip ties let you strip the whole thing off in a couple of minutes at the door.
Keep the garment simple, build two of anything fragile, and run one full seated test before Halloween night. Then ask the person in the chair what they want to look like. That answer outranks every trick in this guide.