The trick to making fake blood that washes out of clothes is the dish soap. Stir a surfactant into a corn syrup base so the pigment floats in the liquid instead of soaking into the fibers, and the whole effect rinses out in the sink. Ten minutes of mixing, an hour of drying, and your costume survives the night.
There are two versions worth knowing. A thin, pourable corn syrup version runs like real blood and soaks into shirts, which is what you want for drips and pooling. A cornstarch-heavy version holds its shape and dries to a tacky scab, which is what you want for cuts and slashes. Both wash out. Neither needs a special product.
If you rent your costume, borrow your partner’s clothes, or apply this in someone else’s apartment, get in the habit of testing a small batch on a scrap of the same fabric first. That one habit prevents almost every regret I have seen with fake blood.
Table of Contents
- What You Need
- Recipe ratios and yields
- How to Make Fake Blood That Washes Out of Clothes
- Step-by-Step: Cornstarch Fake Blood
- Step 1: Prepare the Clothing
- Step 2: Mix the Fake Blood
- Step 3: Apply It to Clothing
- Step 4: Let It Dry and Check the Result
- Step 5: Remove and Wash the Clothes
- How to Make Thick, Paint-Like Fake Blood
- Choosing a Formula for Different Fabrics
- Common Mistakes
- Safety Tips for Fake Blood on Skin and Clothes
- Frequently Asked Questions
- What is the easiest fake blood recipe that washes out of clothes?
- Will the washable fake blood recipe stain a white shirt?
- How do I remove fake blood from clothing after a costume event?
- Can I use cornstarch fake blood on skin?
- How can I make washable fake blood look thicker and more dramatic?
- Does hot water remove fake blood stains better than cold water?
- Conclusion
What You Need
The list is short. You need a syrup for body, a soap to keep it washable, and a colorant that will not bond to fiber.
- Base: light corn syrup, glucose syrup (Karo or a supermarket own-brand works), or a cooked sugar syrup. Cornstarch works too, mixed with cold water into a slurry.
- Surfactant: clear liquid dish soap, a no-tears baby shampoo if blood may get near eyes, liquid color-safe bleach (oxygen-based, sold as color-safe), or a mild all-purpose cleaner like Simple Green.
- Colorant: washable poster or tempera paint in deep red, liquid food coloring, or a combination of both.
- Darkener: cocoa powder, instant coffee granules, or a drop of blue food coloring to pull the red toward brown.
- Thickener: cornstarch, or a spoonful of glycerin for a slow, ropey drip.
- Optional sheen: a few drops of mineral oil so the dried blood catches light like a wet wound.
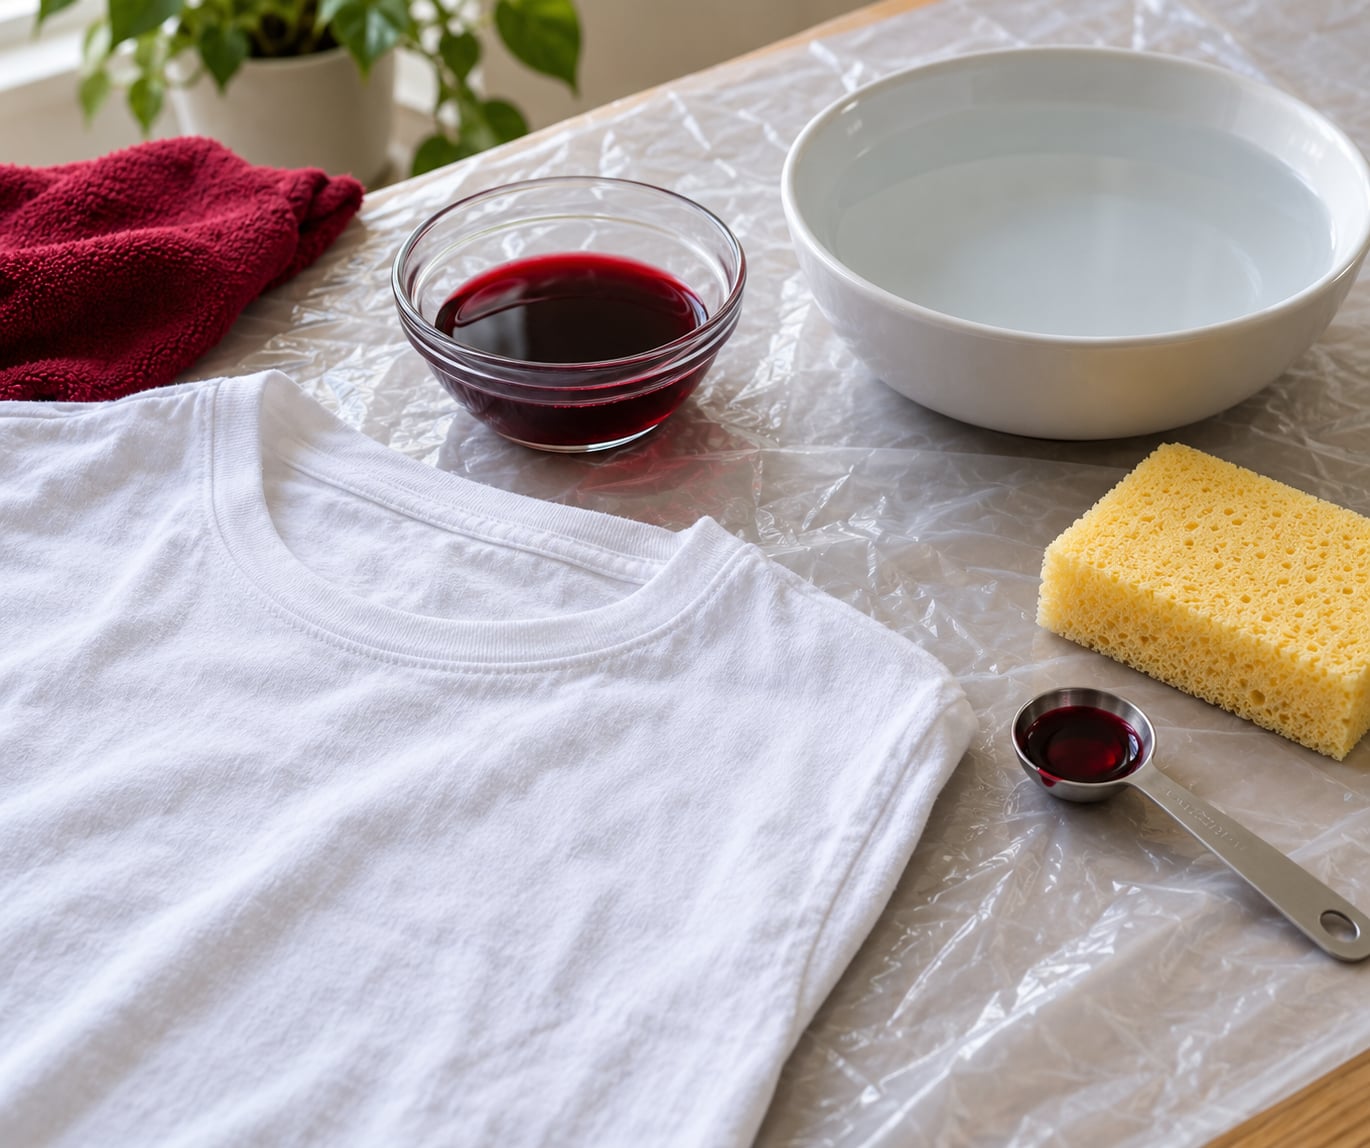
- Prep supplies: an old toothbrush, a sponge, a plastic sheet or trash bag to work over, and a scrap of the actual costume fabric to test on.
You will see these ingredients described a lot: a surfactant is simply the soap-like molecule in dish soap or bleach that surrounds dye particles and keeps them suspended instead of letting them settle into fiber. Washable poster paint is tempera paint, which uses a water-based binder rather than the oil-based binder in house paint. That binder swap is the second half of why this version rinses out.
Recipe ratios and yields
| Formula | Base and soap | Colorant | Yield | Good for |
|---|---|---|---|---|
| Liquid blood | 3 parts corn syrup, 1 part water, 1 part dish soap | Washable red poster paint | About 1 cup | Drips, spatters, pooling, most costumes |
| Paint-like blood | 1 part water, 1 part dish soap, 2 parts cornstarch | Washable red poster paint, cocoa powder to darken | About 3/4 cup | Cuts, gashes, dried scab effects |
| Dark venous blood | 3 parts corn syrup, 1 part water, 1 part dish soap | Red paint plus a pinch of cocoa or coffee, one drop of blue | About 1 cup | Older wounds, slow drips, torso smears |
| Scalable batch | Triple any row above, keep the ratios exact | Same, scaled | About 3 cups | A party where six kids are getting made up |
One cup covers a full shirt front and back on a single wearer. A tenth of that is plenty for a trick-or-treater’s hands and mouth area, which is where the volume usually goes.
How to Make Fake Blood That Washes Out of Clothes
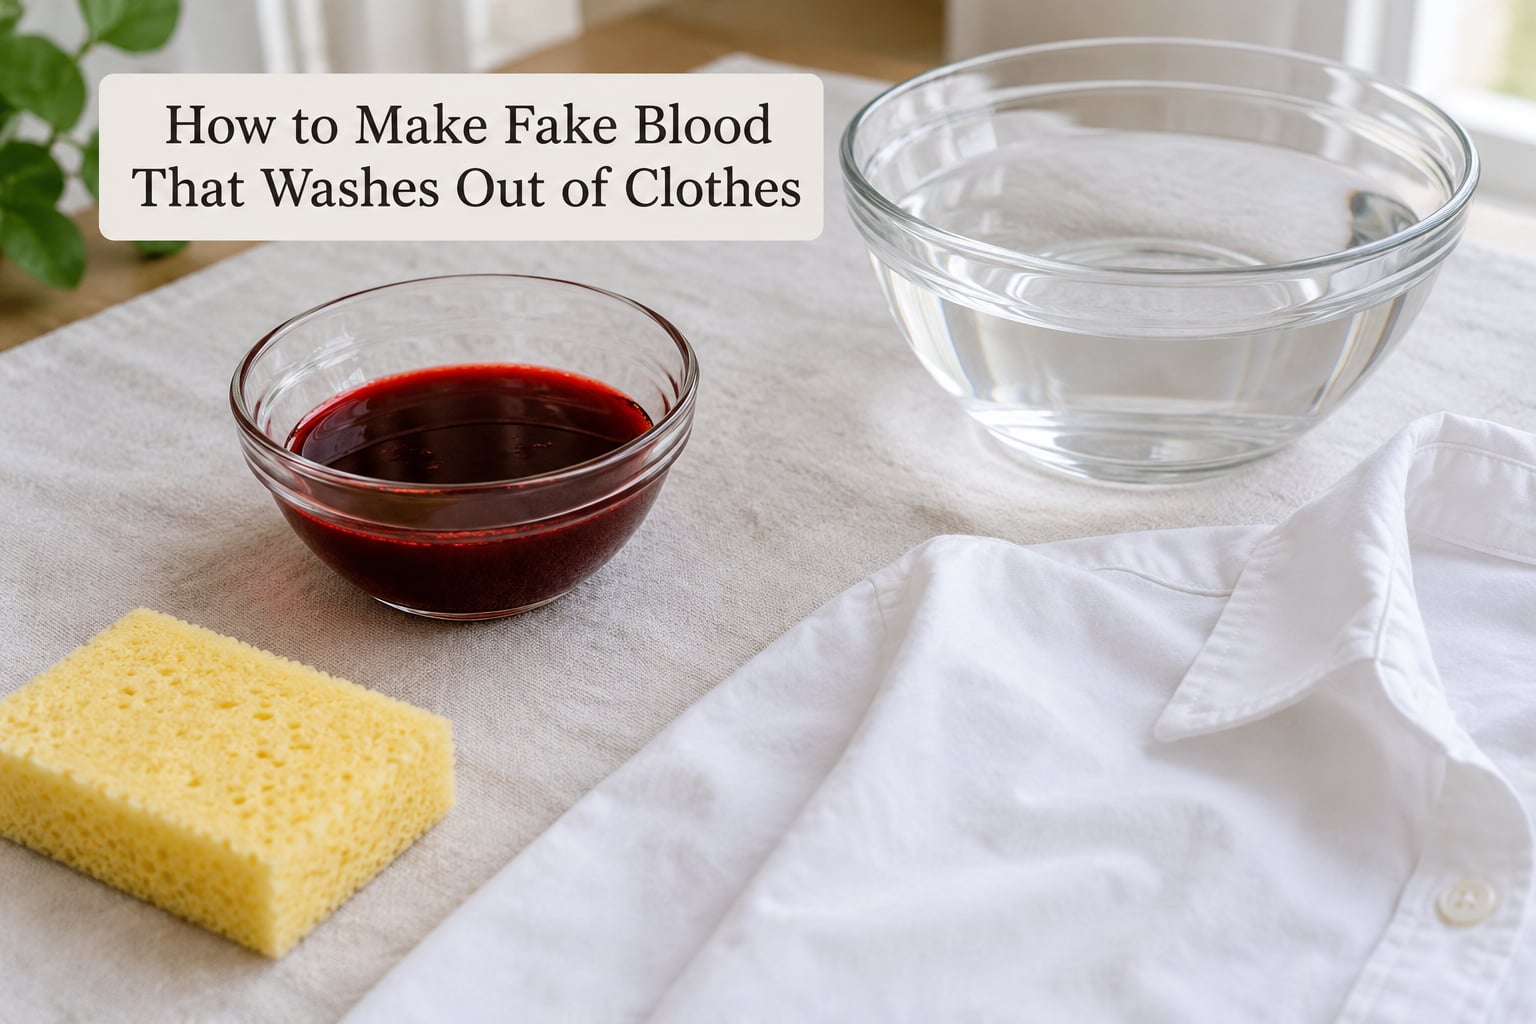
Staining happens when dye molecules bind to fabric fibers. Soap surrounds those particles and keeps them floating in the liquid, so water rinses them away instead. Swap concentrated food coloring for washable tempera paint and you have removed the oily binder that causes the permanent marks in the first place.
Here is the whole method in short form.
- Test your mix on a scrap of the costume fabric and let it dry fully before you judge it.
- Mix 3 parts corn syrup with 1 part water in a bowl until smooth.
- Stir in 1 part clear dish soap. Expect the mixture to thicken slightly.
- Fold in a teaspoon or two of washable red poster paint, then darken with cocoa or coffee if you want venous blood.
- Apply with a sponge or toothbrush, let it dry, and rinse out with cold water and dish soap afterwards.
Two things make it easier than most recipes online. First, add the soap before the color, because it coats the paint particles while they are still separate instead of trying to strip pigment off a finished mix. Second, keep the water ratio honest. Extra water gives you runny blood that soaks through to the back of the shirt before you can react.
Step-by-Step: Cornstarch Fake Blood
Step 1: Prepare the Clothing
Turn the garment inside out if you can, and lay it on a plastic sheet or trash bag you can roll up afterward. If the fabric is expensive, rented, or already carries a stain-repellent finish, spray a light coat of a fabric water-repellent onto a dry area and let it dry fully first.
Most important step: put three drops of your mixed blood on an inside seam or a scrap of the same material. Let it dry completely, then rinse it under cold water with a little dish soap. If the color comes away and the fabric shows no shadow, you are clear. Wait for the full dry before you test, because a wet dab always rinses out and a set one tells you the truth.
Step 2: Mix the Fake Blood
Combine 1 part water with 1 part dish soap in a bowl. Add 2 parts cornstarch a spoonful at a time and stir hard until the lumps clear. A few lumps that will not dissolve are normal; press them flat with the back of a spoon and keep stirring.
Now add a teaspoon of washable red poster paint. The mix should be the consistency of thin yoghurt: it holds a peak on a spoon for a second, then slowly folds over. If it pours like milk, add cornstarch by the teaspoon. If it stands up stiff, add water by the teaspoon.
Warm water in the last step, never boiling. Cornstarch breaks down and goes gluey if you cook it, and cooked paste dries like glue rather than like blood.
For a darker, more convincing venous tone, fold in a teaspoon of cocoa powder or instant coffee granules instead of adding more red paint. You get depth without adding more pigment that could bind to the fibers.
Step 3: Apply It to Clothing
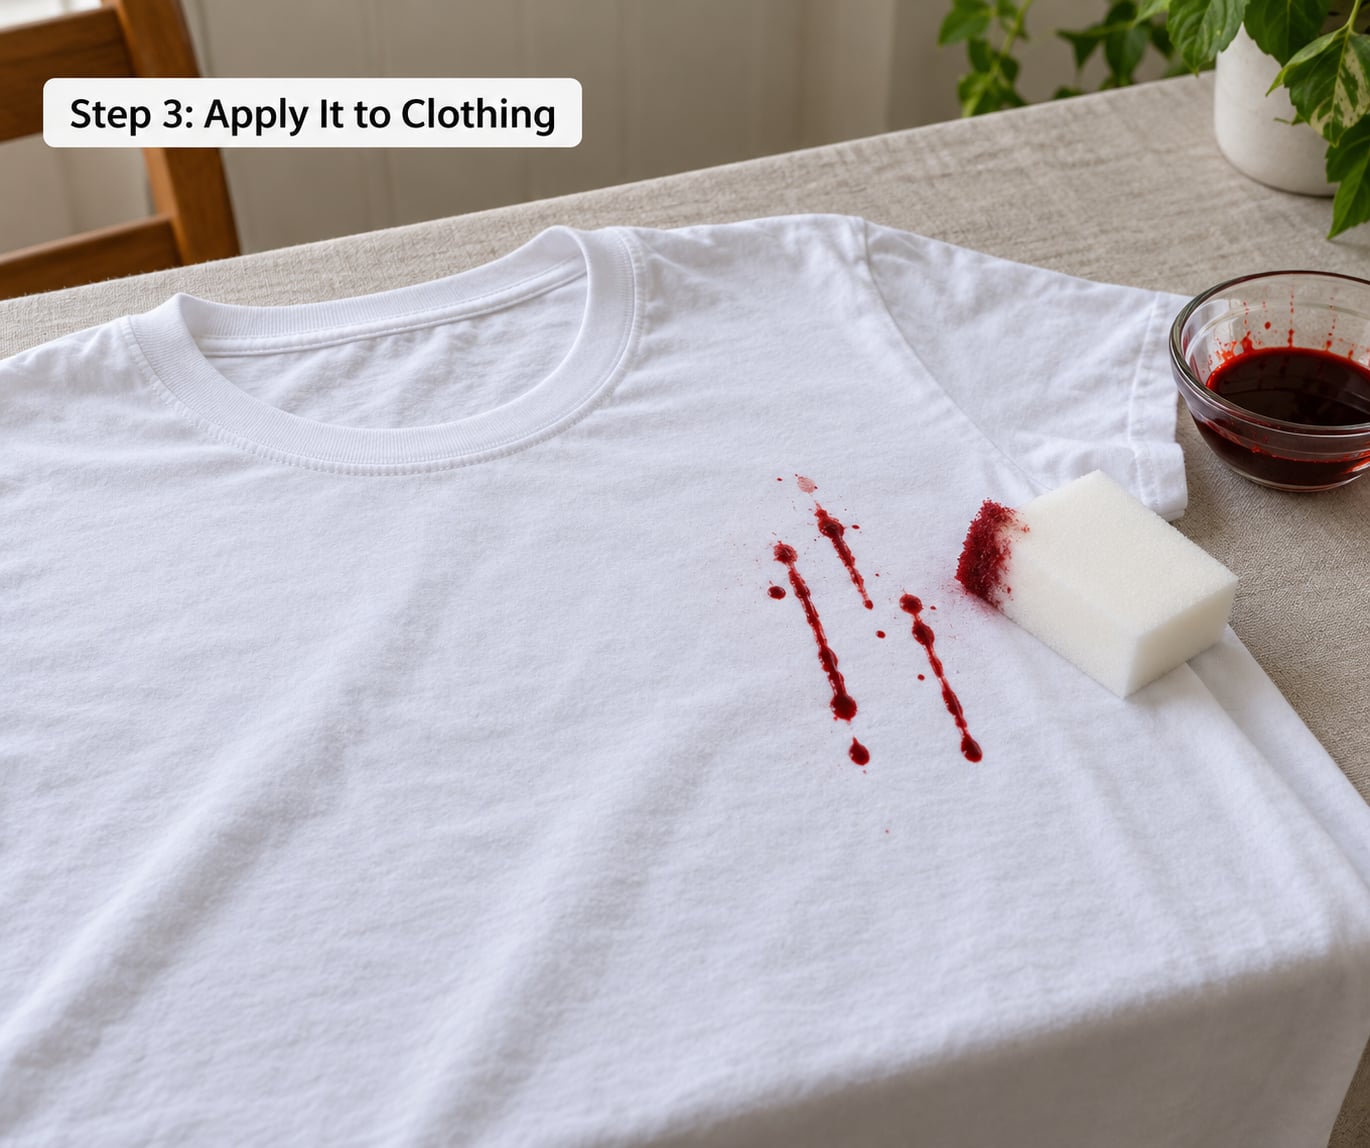
Work from the bottom of the effect upward so you do not smudge what you just did. Dab with a damp sponge for the ragged edges around a wound, brush upward with an old toothbrush for the stringy runs, and tilt the garment to let gravity pull real drips down from a wrist or an elbow.
For thin drips, thin the blood with a drop of water at the moment you apply it. A rinse brush loaded with water and a little soap gives you hairline runs that look like trickling rather than paint. For thick pooling, use the mixture straight from the bowl and add a second layer once the first has set.
Avoid scrubbing. Rubbing a soap-based mix drags it across the surface and it lathers into white foam, which is exactly the look you do not want in a photo. Pat and lift instead.
Step 4: Let It Dry and Check the Result
Stand the garment on a drying rack, or thread it onto a hanger with space around it. A warm room dries it in about an hour; a cool garage takes closer to three. Do not use a radiator, a hair dryer on high, or a tumble dryer, since heat sets any remaining color.
Cornstarch blood dries matte with a slight sheen if you added mineral oil. For darker, more defined edges, paint a thin second layer just inside the dry edge and let it set, building the wound in two passes rather than one thick coat.
Stand back a few feet. A convincing effect reads as a wound with a soft feathered margin and a couple of darker runs below it, not as a solid red shape.
Step 5: Remove and Wash the Clothes
This is where most people go wrong, and the fix is boring: cold water first, always. Heat sets protein and dye, so anything warm is the wrong first move.
- Turn the garment inside out so you work the back of the stain rather than the surface.
- Run cold water from the back of the fabric for several minutes. Most washable blood leaves entirely at this stage.
- If anything remains, add a drop of clear dish soap to the wet spot, work it in gently with your fingers, and leave it five minutes. Do not scrub hard.
- Rinse again in cold water and check while the fabric is wet.
- For a shadow that stays, soak the area in cold water with a tablespoon of white vinegar for 15 minutes, then rinse and launder as usual.
Two warnings. Hydrogen peroxide bleaches protein out of wool, silk, spandex and any dyed fabric, so save it for white cotton and only after everything else has failed. And an enzyme stain remover is gentler than bleach but works best with a longer soak, so use it on a set stain rather than expecting a quick rescue.
Air-dry to check the result before the garment goes back in the dryer. If a faint shadow remains while damp, repeat the dish soap step. Most of what looks permanent in a wet garment is already gone by the time it dries.
How to Make Thick, Paint-Like Fake Blood
Thicker blood suits wounds that should hold a shape: a slashed forearm, a bite on the neck, a gash across a torn shirt. You can either double the cornstarch in the liquid recipe or switch to a syrup base and add a thickener.
For a gel that clings and dries to a tacky scab, stir 1 part water into 1 part cornstarch and warm it in a pan over low heat, stirring the whole time, until it thickens to pudding. Cool it completely, then mix in one part dish soap and the washable red paint. Sugar syrup and cornstarch will not work here, so this is the one recipe where you do heat something.
A spoonful of glycerin gives a slow, ropey drip that is useful for a forearm or a dripping hand. A few drops of mineral oil on top of the finished mix give a wet glisten on skin and fabric that reads as fresh rather than old.
Application changes with thickness too. Drag a spoon or a craft knife through the gel to create a clean slit, then feather the edges with a damp fingertip. A toothbrush no longer works, since a stiff gel simply lifts off in a sheet. Keep a small bowl of the thinner liquid blood alongside to drip downward from the wound.
Thick gel dries harder than liquid blood and can feel like a shell on fabric. That is fine, and it still rinses out, but peel it gently and let it soften under the tap first rather than picking at a dry scab.
Choosing a Formula for Different Fabrics
The same mix behaves very differently depending on what it lands on. Fibers that absorb liquid soak the color deep in, while synthetics hold it on the surface where a rinse can lift it. This table is the difference between a costume you reuse and one you retire.
| Material | What to expect | Best formula and prep |
|---|---|---|
| White cotton | Absorbs fast and shows every speck. The acid test. | Liquid corn syrup blood, tested first. Paper underneath is optional if you have verified the mix. |
| Polyester and other synthetics | Holds color on the surface. Washes well if the dye is washable. | Any formula. Dye-set synthetics resist cleaning, so test first. |
| Linen | Absorbs like cotton and dries crisp. | Liquid blood, applied while the garment is damp so it settles less. |
| Wool and wool blends | Scales in hot water and dyes permanently with many colorants. | Test carefully. Avoid peroxide and heat entirely. |
| Silk | Damages with water and any alkaline soap. | Skip fabric blood. Use a SFX makeup product on skin, or apply a smaller effect to an underlayer. |
| Flocked or velour costumes | Stain spreads instantly and permanently marks the pile. | Do not apply blood directly. Spatter from a brush onto a separate removable layer. |
| Upholstery and carpet | Deep pile traps liquid and hides residue. | Use only the paint-like formula, and treat with an enzyme remover afterward. |
| Rented or borrowed costume | One mark and you owe someone money. | Test, pre-treat, and use a designated shirt or smock over the top. |
One more note on colorants. Liquid food coloring is less staining than powdered drink mix, but it is still a dye. Washable poster paint and tempera paint are the safest choice for fabric because the color lifts with soap. If you want a deep red without adding pigment, mix red poster paint with cocoa powder and you will get there with far less dye.
Common Mistakes
The mix is too watery and soaks through. You added too much water, or your cornstarch slurry was thinner than you thought. Fix it with a spoonful of cornstarch stirred in a little at a time, and test again on scrap fabric.
It lathered into foam when you smeared it. That is the dish soap doing its job, and it happens any time you rub hard. Pat with a sponge and lift, or lay on a thin second coat over the first instead of scrubbing.
The color looks like cherry candy syrup. Bright red food coloring is the culprit. Darken it with cocoa powder, instant coffee, or a single drop of blue food coloring. Arterial blood is genuinely bright, but only in a narrow spray; a costume covered in it looks like syrup.
A stain set anyway and will not move. Two likely causes: you dried it with heat, or the garment went through a hot wash before you rinsed it. Cold water and dish soap still shift most of it. Skip the dryer and repeat the soak.
Flaky red residue after washing. You used oil-based house paint or enamel instead of tempera. Oil-based binder does not lift with soap. Use washable poster paint next time, and treat the current garment with a citrus or enzyme cleaner to break the binder down.
The blood is too thick to apply. Paint-like formulas stiffen as they dry. Thin a little at a time with plain water right before use, never all at once, and keep the leftover gel in the fridge for a few days.
Blood got in someone’s eyes or mouth. Rinse eyes with cool running water for 15 minutes. For mouth contact, rinse and spit, then have a drink of water. Swap to the baby shampoo formula for anyone under five, and keep food-based mixes away from trick-or-treaters who will lick their fingers.
Safety Tips for Fake Blood on Skin and Clothes
Nothing in the washable formulas is dangerous in the ordinary sense, but a few habits keep it boring and problem-free.
- Use no-tears baby shampoo instead of dish soap for anything going on a young child’s face. People making up for film often substitute baby shampoo for exactly this reason.
- Do not use a formula with alcohol or shellac-based SFX blood on skin. Those are made to stay put, which is the opposite of what you want here.
- Keep food-based mixes out of reach of pets. Corn syrup attracts ants and flies, and the cocoa used for darkening is toxic to dogs and cats.
- Work over a plastic sheet, and remember that a drip landing on a finished floor or table can stain permanently even when the shirt survives.
- Patch-test on skin for 30 minutes if anyone has sensitive skin or an allergy history, especially with poster paint.
- Avoid hydrogen peroxide on wool, silk, spandex, and anything already dyed.
The pragmatic move for a party full of kids is a white sheet worn as a smock, or a designated stain shirt that nobody minds ruining. Most costume departments do the same thing. It saves the good shirt and takes the whole anxiety out of the night.
You can also make a separate edible batch for mouths. Corn syrup, a drop of red food coloring, and a spoonful of honey taste fine and pose no risk if a trick-or-treater licks their fingers. Keep that one off clothing, because honey attracts insects and attracts every pet in the room.
Frequently Asked Questions
What is the easiest fake blood recipe that washes out of clothes?
Mix 3 parts light corn syrup with 1 part water and 1 part clear liquid dish soap, then stir in a teaspoon of washable red poster paint. The soap keeps the pigment suspended so it rinses out instead of bonding to fibers. Test a dab on scrap fabric and let it dry fully before you commit to the whole costume.
Will the washable fake blood recipe stain a white shirt?
A dish soap and washable poster paint mix on white cotton will rinse out under cold water, provided you test a dab and let it dry first. The recipes that permanently mark white shirts are the ones built on corn syrup and concentrated food coloring with no soap in them. Dye-set polyester is the harder case, so test that fabric separately.
How do I remove fake blood from clothing after a costume event?
Turn the garment inside out and run cold water from the back of the fabric first, which shifts most washable blood on its own. Work a drop of dish soap into anything left, wait five minutes, and rinse again. For a set stain, soak in cold water with a tablespoon of white vinegar for 15 minutes, then launder without heat.
Can I use cornstarch fake blood on skin?
Yes, if the mix is made with no-tears baby shampoo rather than dish soap, and you patch-test first. Skip anything thickened with cornstarch that has been cooked, since cooked paste forms a film on skin and hair that is hard to wash away. Rinse off with lukewarm water and a mild face wash afterwards.
How can I make washable fake blood look thicker and more dramatic?
Add cornstarch a teaspoon at a time until the mix holds a peak on a spoon, or warm 1 part water with 1 part cornstarch over low heat, cool it, then add soap and paint. A spoonful of glycerin produces slow ropey drips, and a few drops of mineral oil give a wet glisten. Thinner drips are best made by diluting the liquid recipe at the moment you apply it.
Does hot water remove fake blood stains better than cold water?
No. Hot water sets protein and dye into the fibers, which is why standard corn syrup and food coloring blood becomes permanent after a warm wash. Always rinse in cold water first and let the garment air-dry so you can check the result. Save hydrogen peroxide for white cotton, and never use it on wool, silk or spandex.
Conclusion
Start by preparing the garment and testing a small washable batch. Put three drops of your corn syrup, dish soap, and washable poster paint mix on an inside seam, let it dry all the way, then rinse it in cold water. If it comes away clean, you have your answer and the rest of the night is just technique.
Beyond that, remember the three rules that matter: soap in the mix, cold water for removal, and no heat at any stage. Get those right and the costume is reusable, the rented flat is safe, and nobody ends the night regretting a red mark on a white shirt.