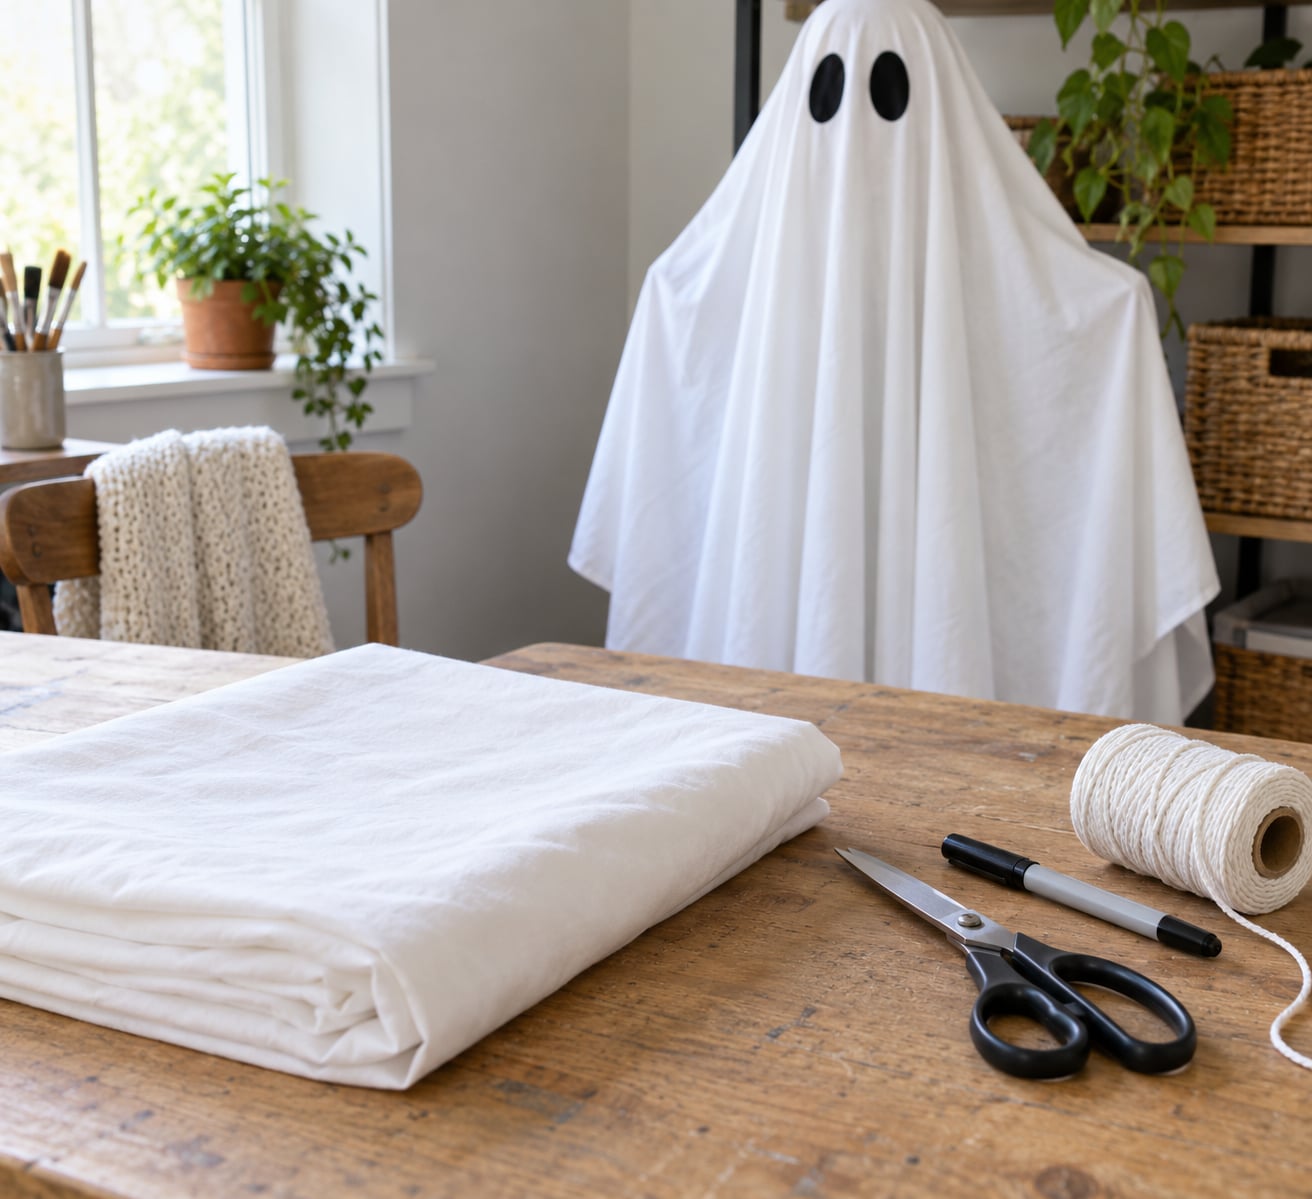
To turn an old sheet into a ghost costume, lay the sheet flat, mark and cut two eye openings near one corner, then drape it over the wearer and shape the bottom edge however you like. Add a black marker face or glued felt eyes if you want more character. The whole job takes about 20 minutes, costs nothing if the sheet is already in the house, and needs no sewing.
This is still the first costume most families reach for, and it deserves a bit more thought than folding the sheet and poking two holes in it. The difference between a costume that looks homemade and one that looks good comes down to where the holes go, how the hem is finished, and whether you can actually see out of it.
Table of Contents
- What You Need
- How to Turn an Old Sheet Into a Ghost Costume: Step-by-Step
- Prepare the Sheet and Choose a Ghost Style
- Cut the Eye Openings
- Add the Face and Character Details
- Shape the Bottom and Finish the Costume
- Put It On and Test the Fit
- Common Mistakes
- Frequently Asked Questions
- What kind of sheet works best for a ghost costume?
- Can I make a ghost costume without cutting holes in the fabric?
- Will the costume survive to be worn again next year?
- How do I make a friendly ghost instead of a scary one?
- Can a child wear a sheet ghost in a stroller?
- Conclusion
What You Need
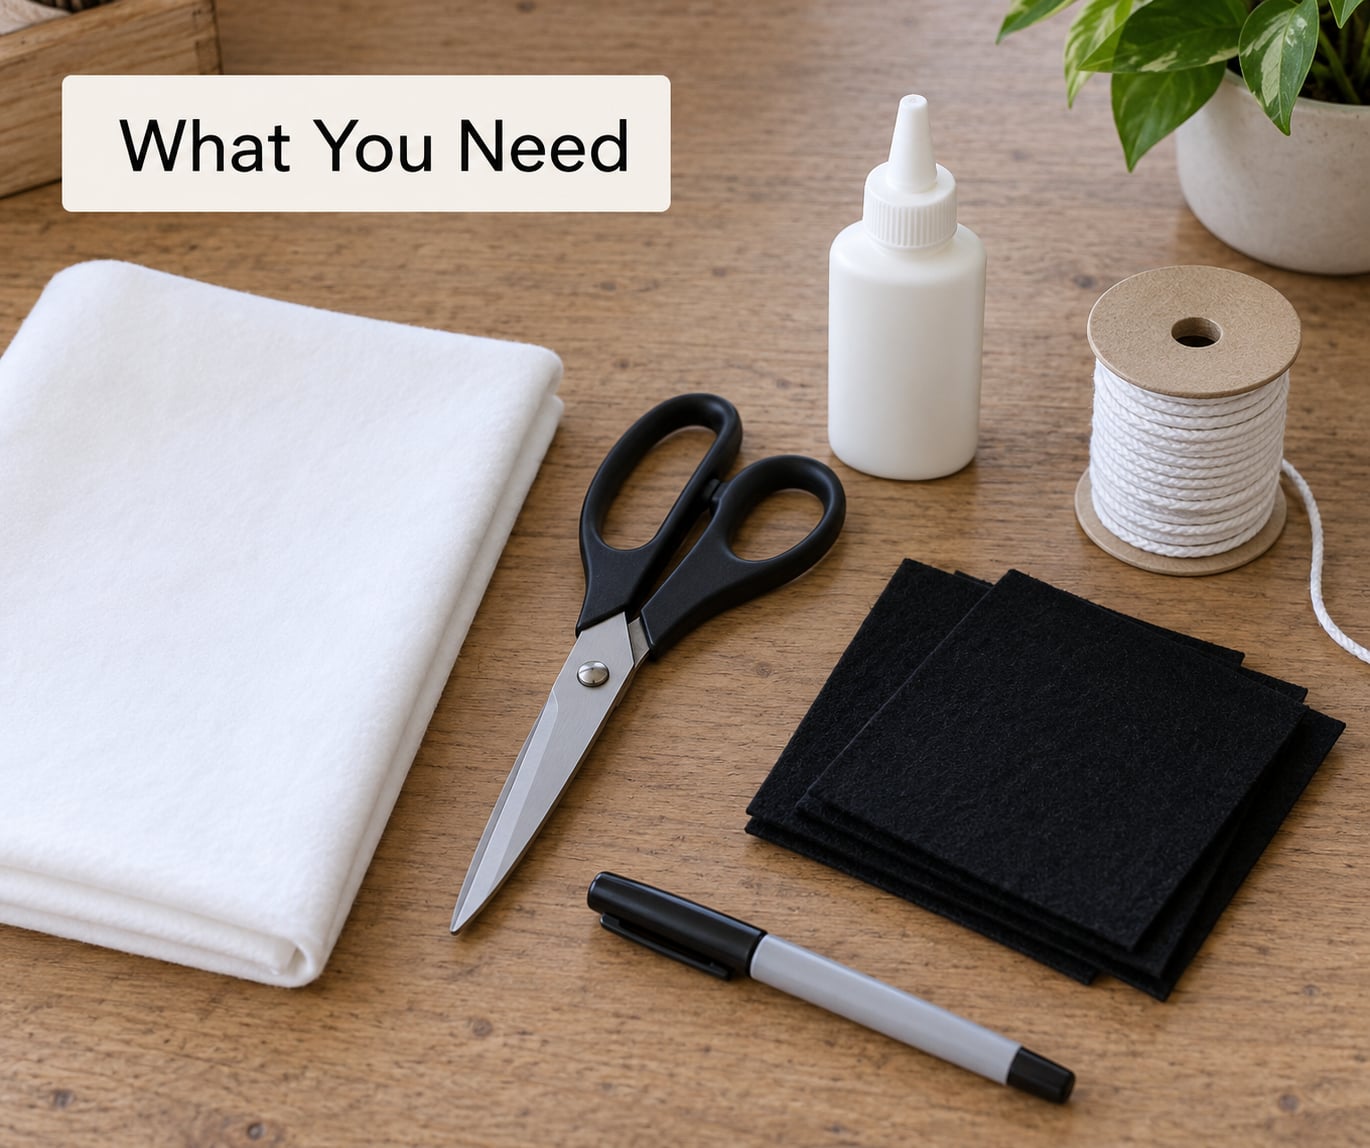
The core list is short. Everything beyond the sheet and scissors is optional, and most of it probably already lives in a craft drawer.
- One white or pale flat sheet, roughly the length of the wearer from head to floor
- Sharp fabric scissors or heavy household scissors
- A black felt-tip marker or permanent marker for marking the eye openings
- A tape measure, plus a pencil if you want a paper template
- Optional: black felt or craft foam cutouts, fabric glue or a glue gun, and a strip of elastic or white cord
- Optional: white face paint, glow-in-the-dark paint or a black light if the costume needs to read at night
Before the first cut, check that the sheet has no holes, bleach marks or a worn-through patch in the area you plan to use. A printed or patterned sheet will not read as a ghost in low light, so a plain white one is worth insisting on.
How to Turn an Old Sheet Into a Ghost Costume: Step-by-Step
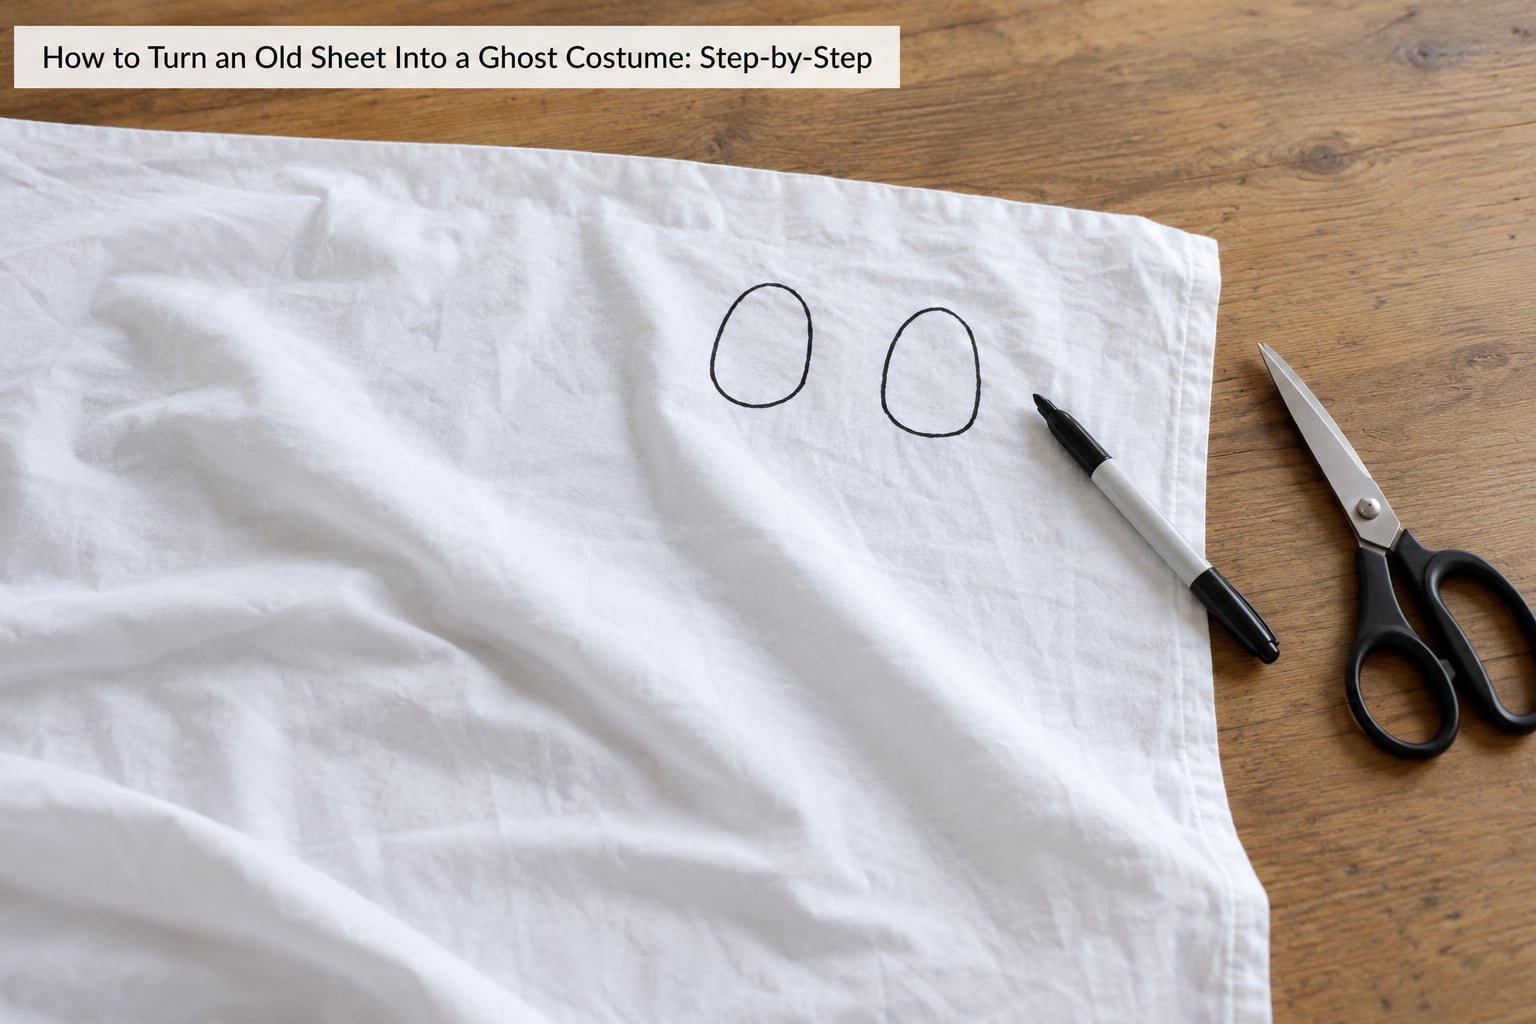
Work on a clean floor or table with the sheet smoothed out flat. Most of the mistakes people make with this costume come from cutting a folded or bunched sheet, so flatten it properly before anything else.
Prepare the Sheet and Choose a Ghost Style
Decide which ghost you are making before the scissors come out. The classic rounded ghost only needs eye holes, the ragged sheet ghost wants an uneven hem, and the no-cut version skips scissors entirely and uses glued-on or drawn eyes.
For sizing, measure from the top of the wearer’s head to the floor and add 4 to 6 inches for drape and hem. A twin sheet works for most children, a full or queen sheet covers a typical adult, and anyone over roughly 5 foot 10 is better served by a king.
The sheet does not need to reach the floor. A hem that stops at the shin gives a floating look, and hemming it up with a rolled-and-pinned edge in about a minute prevents anyone tripping.
Cut the Eye Openings
How to cut eyes in a sheet is the part worth getting right, because there is no undoing it. Fold the sheet in half lengthwise, lay it flat, and mark the two eye openings about 3 to 4 inches apart in the folded layer so both cuts mirror each other exactly.
Each opening should be roughly 2 inches wide and 1.5 inches tall, and they should sit about 6 to 8 inches down from the top edge. Cut the smallest hole you think will work, then trim a little more if needed. Large eye holes turn the wearer into a floating cloth with no visible face.
To avoid fraying, trace the eye outline twice with the marker before cutting so the blade never runs on a bare thread. A simple stab-and-turn cut through a single layer is easier for beginners than trying to cut a perfect oval.
Add the Face and Character Details
The traditional ghost face is two black eyes and an open mouth, drawn straight onto the fabric with a permanent marker. A round oval mouth reads as spooky; a small curved smile reads as friendly, which is the version most parents with young kids end up preferring.
For a look that lasts longer than the first wash, cut two circles and a mouth shape from black felt and attach them with fabric glue. Glue alone can let the pieces slide or come apart during a long night of wear, so if you have iron-on fabric tape in a drawer, use that instead.
Other details are cheap and quick: grey or red smudged over the eye openings for a decaying look, a couple of stitched X marks drawn on the cheeks, or a black bow tied at the neck for a Victorian ghost.
Shape the Bottom and Finish the Costume
Three hem styles cover almost everything. A straight hem uses the existing factory edge and looks neat and modern. A zigzag edge gives a tattered hem without any sewing. A torn-looking edge is made by snipping small notches every inch or two and then pulling the threads straight out so the bottom unravels into fringe.
Spray the cut hem with fabric stiffener or fabric starch and scrunch it with your hands. Cheesecloth and fabric spray is the standard trick for making a ghost hold a shape instead of collapsing around the wearer, and it works just as well on a full-size cotton sheet.
For a floating-ghost effect, hide a wire hoop or a pool noodle ring under the shoulder area so the sheet stands away from the body. A round foam ball or a lightweight plastic bowl tucked into the hood area gives the ghost a defined head shape, a simple trick that works with any light plastic bowl and a cheap tablecloth underlayer.
Put It On and Test the Fit
Have the wearer put the sheet on before anything else is added to the hem. Adjust the eye openings by moving them over the wearer’s brow until they look through them without tilting their head back.
The fabric should not trail underfoot. If it does, roll the bottom edge inward and pin it, or cinch it with a strip of elastic at the sides so the ghost has a waist. Check that the wearer can walk, turn and climb steps without the hem catching.
Finally, test in the light you will actually be in. Under a porch light or street lamp a thin white sheet can turn see-through, which is uncomfortable for most adults and teens. Layer a white t-shirt and leggings underneath, or add an opaque white slip under the sheet to fix it.
Common Mistakes
- Cutting the eye holes on a folded or bunched sheet. Spread the sheet flat and mark both openings before cutting, so the two sides match.
- Cutting the holes much too big. Start smaller than looks right and trim gradually. Fabric glue or a felt patch is the only fix once a hole is too wide.
- Picking a sheet that is too short. Measure head to floor first, then add 4 to 6 inches. Use a bigger sheet rather than a hem that drags.
- Forgetting to test the costume worn. Do a full walk-and-turn test before finishing the hem, then adjust the eye height.
- Using solvent glue or heavy paint that damages fabric. Stick to fabric glue, iron-on fabric tape and washable acrylic paint, and test a hidden corner first.
- Skipping the neck and shoulder fit. Add elastic or cord at the sides so the sheet stays on and the head does not fall forward.
One more that comes up constantly: the costume slipping. It happens when the sheet is cut for the wearer to peek out from under the top edge rather than through the holes. Cut through the holes instead, and the fit problem mostly disappears.
Frequently Asked Questions
What kind of sheet works best for a ghost costume?
A plain white or cream flat sheet in cotton or cotton-poly blend works best. It drapes, breathes and shows up in low light better than patterned or synthetic sheets. A fitted sheet is trickier because the elastic hem creates an uneven edge, though you can cut above it and use the flat section. Avoid very thin or loosely woven fabric, which shows more than most wearers want.
Can I make a ghost costume without cutting holes in the fabric?
Yes. Draw the eyes and mouth straight onto the sheet with a permanent marker, or cut black felt shapes and glue them to the fabric. This is the safer option for toddlers, since it removes any rough cut edges around the face. The trade-off is that a drawn face looks flat from the side and marker lines can fade or bleed after a wash.
Will the costume survive to be worn again next year?
Usually, if you reinforce the eye openings. Trace each hole twice with a marker before cutting and the edge resists fraying, but the fabric around a hole still weakens each year. Fold the costume loosely, keep it somewhere dry, and it will last several seasons. Skip the fabric stiffener if you plan to wash it, since starch leaves a stiff residue on the hem.
How do I make a friendly ghost instead of a scary one?
Use round eyes with a small curved mouth rather than hollow black sockets, and stay away from grey or red face paint. A rounded hem without snips keeps the silhouette tidy, and pale yellow or pastel eyes keep it playful. Plenty of parents building this for a school Halloween party find the cheerful version gets worn far longer than the spooky one.
Can a child wear a sheet ghost in a stroller?
They can, but drape the sheet over the stroller rather than the child. Let it fall over the hood so the child is not covered, and never leave a sheet draped over a stroller with a child inside, since it can block airflow and trap heat. For walking trick-or-treaters, check that the hem clears the wheels and that the eye holes line up with your child’s face.
No sheet at all? A white tablecloth or two pillowcases pinned together will work nearly as well, and a shower curtain cut from the top panel gives a shinier, more modern ghost. A lightweight cheesecloth layer draped over the stiffened sheet adds a second, wispier layer for a floating look.
Conclusion
Three actions do most of the work: choose your ghost style before cutting, mark the two eye openings flat with a measuring tape in hand, and test the finished fit by walking in it. Everything past that is decoration, and it is the part that makes the costume yours.
Pick the face first, then decide on the hem, and you will have a result that takes under half an hour and costs nothing beyond what the house already holds.