If you want to know how to make papier mache masks at home, the short version is this: build a shape from a balloon, a foil-and-wire armature or a flat cardboard base, then glue paper strips to it in thin layers, letting each one dry before the next goes on. Paper mache and papier mache are the same thing, spelled two ways, and a wearable mask takes three to four days of drying time spread across a week or so of evenings. Most of the work is waiting.
Budget two or three hours of actual hands-on time and the rest is drying. That slow pace is exactly why people start in August if they want a finished mask for Halloween 2026.
Table of Contents
- What You Need
- Two paste recipes and how to pick one
- Choosing a mask base method
- Step-by-Step
- Prepare the Mask Base
- Apply the First Papier Mache Layers
- Build Up the Mask Shape
- Dry the Mask Completely
- Remove and Finish the Mask
- Common Mistakes
- Frequently Asked Questions
- What kind of paper is best for making a papier mache mask at home?
- How long does a papier mache mask take to dry?
- Can I make a papier mache mask over a balloon instead of a head form?
- How do I keep my papier mache mask from cracking or peeling?
- How do I paint a papier mache mask without making it look flat?
- How should I attach the finished mask so it feels comfortable to wear?
- Start This Week If You Want It Worn by Halloween
What You Need
A papier mache mask needs very little, and most of it is already in the house. The four things people forget are a barrier coat for the base, something to reinforce thin spots, an eye-cutting step, and a place for the mask to dry where nothing touches it.
- Paper. Newspaper works, and so does plain printer paper, kraft paper, paper towels or brown paper bags. Newspaper print can bleed through paint, so if you plan to paint light colors, use kraft paper or printer paper on the final two layers.
- Adhesive. Either a flour-and-water paste or white glue diluted with water. Both work; glue dries harder and holds up better on something you will wear.
- A base form. A large balloon, an armature made from wire and aluminum foil, a plastic store-bought costume mask, or flat cardboard cut to a mask shape.
- Barrier coat. Petroleum jelly, cooking spray, or a thin coat of gloss paint if the base is plastic.
- Tools. A bowl, a spoon or whisk, a wide flat brush or foam brush, scissors, and a paintbrush for smoothing seams.
- Sandpaper or a file. Fine grit, for trimming edges and smoothing the shell before paint.
- Finishing supplies. Acrylic paint, a primer such as gesso or white acrylic base coat, and a clear matte or gloss sealant.
- Wearable hardware. Elastic, a stapler or hot glue, and small pads of foam or felt for the forehead and cheeks.
- Safety gear for kids. Dust mask for sanding, and a non-toxic surface seal if small children will handle the finished piece.
Two paste recipes and how to pick one
White glue paste is the better choice for a wearable mask because it dries harder and shrugs off humidity. Flour paste is cheap, non-toxic and smells fine in a classroom, but it takes longer to dry and can soften again on a damp night.
| Recipe | Ratio | Dries in | Strength | Best for |
|---|---|---|---|---|
| Flour paste | 1 part flour to about 3 parts water | 6 to 8 hours per layer | Moderate, slightly brittle | Decorations, school crafts, anyone avoiding liquid glue |
| White glue paste | 1 part white glue to 1 part water | 3 to 4 hours per layer | Firm and flexible when dry | Wearable masks, outdoor use, anything that gets handled |
| Neat glue | Undiluted PVA brushed straight on | 4 to 6 hours | Strongest | Reinforcement strips and internal supports |
Mix flour paste until it is the thickness of thick cream, then let it sit for fifteen minutes so the flour hydrates. Test it by lifting a spoon: the paste should fall slowly in a ribbon, not pour like milk and not sit in a stiff lump. That ribbon test is the same diagnostic people use in r/papermache when they suspect a watery mix, and it catches a bad batch before it goes anywhere near paper.
Choosing a mask base method
The base decides the shape of the finished mask more than any other choice. A balloon gives you a smooth full head with no hard work. Wire and foil give you a face with real features. Cardboard gives you a flat masquerade mask that takes an evening.
| Base | Difficulty | Time to build | Shape you get | Watch out for |
|---|---|---|---|---|
| Balloon | Easiest | 5 minutes | Full rounded head | Popping during a rough session, and no room for a jaw that opens |
| Wire and foil armature | Medium | 60 to 90 minutes | Sculpted face with brow, cheeks and chin | Poke-throughs, so cover the wire in extra layers |
| Plastic store-bought mask | Easiest | 0 minutes | Whatever shape you buy | Eye holes are already there, which saves real time |
| Cardboard cutout | Easy | 20 minutes | Flat masquerade or calavera style | Not full-face, and it needs a headband to stay on |
For a first attempt, I would use a balloon or a plastic base. The armature method is more satisfying but it is a sculpting project before it is a papier mache project.
Step-by-Step
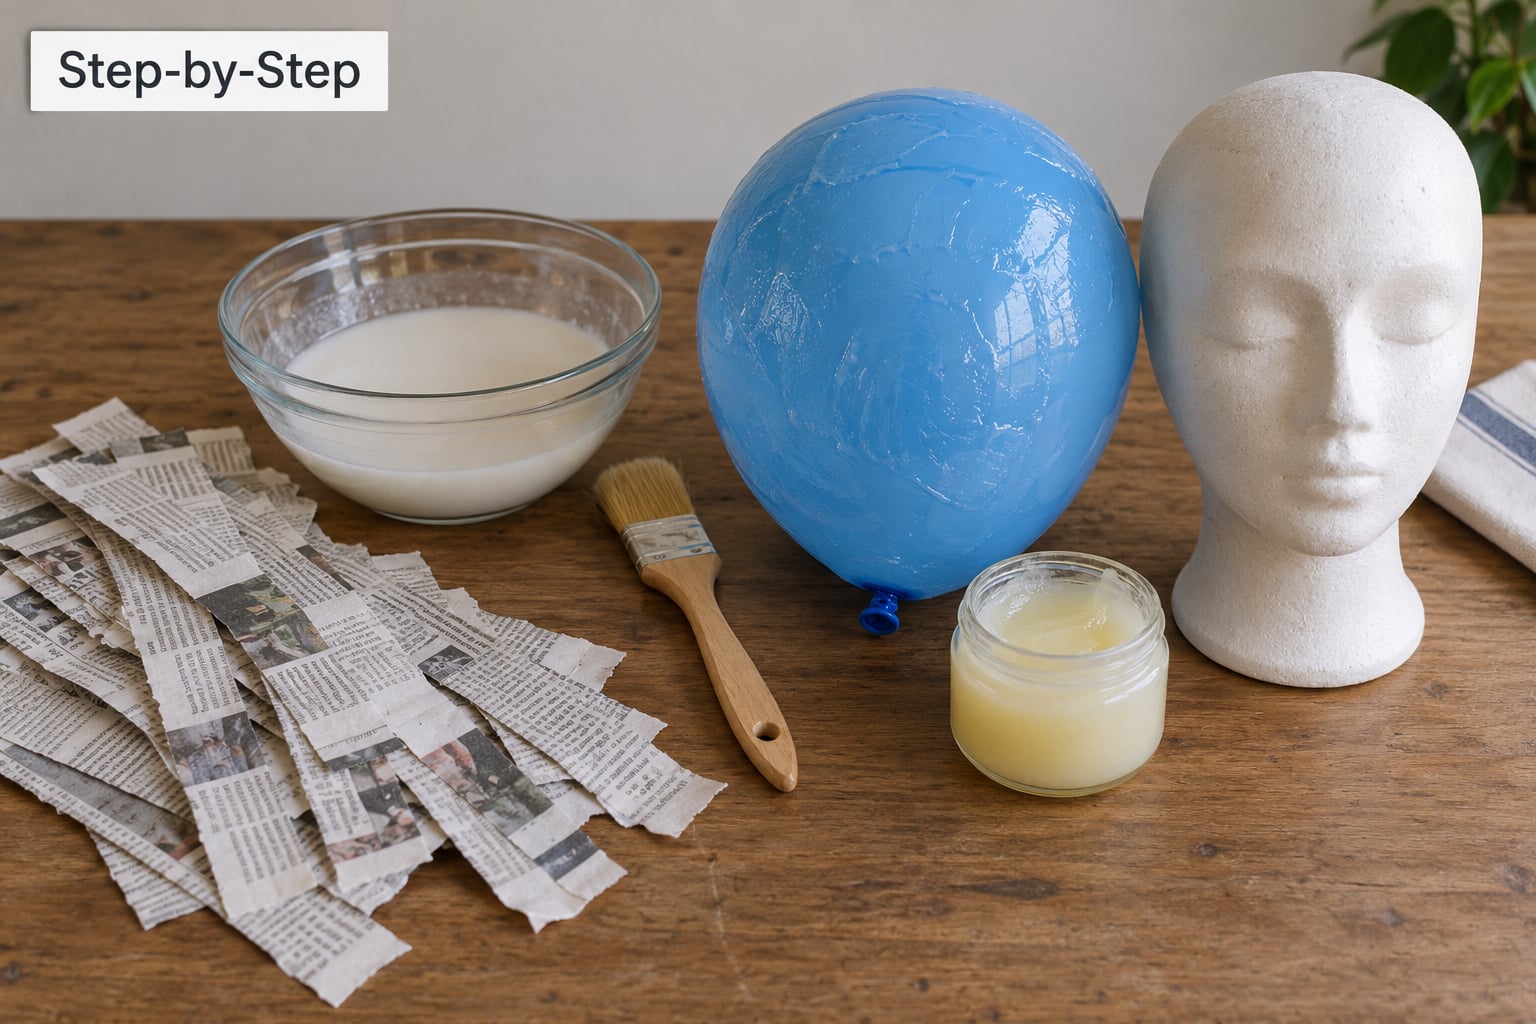
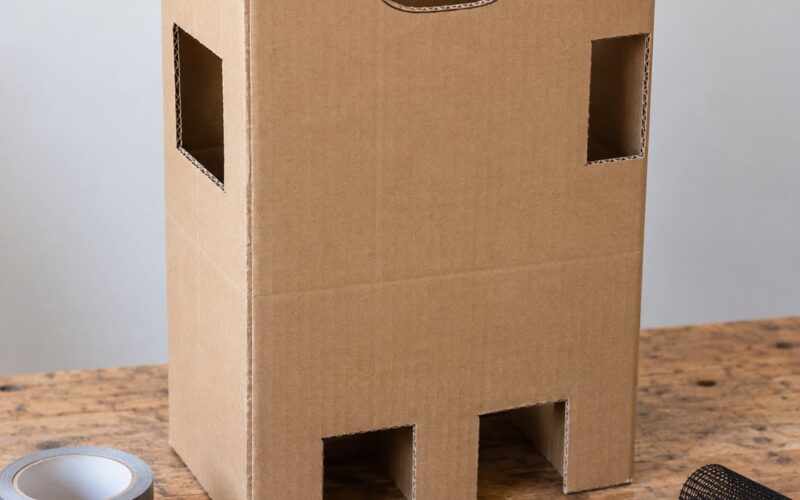
Work in a space where the mask can stay put for hours, and cover the surface below it. A cardboard box on a table catches drips and gives the shell somewhere to sit while it dries.
Prepare the Mask Base
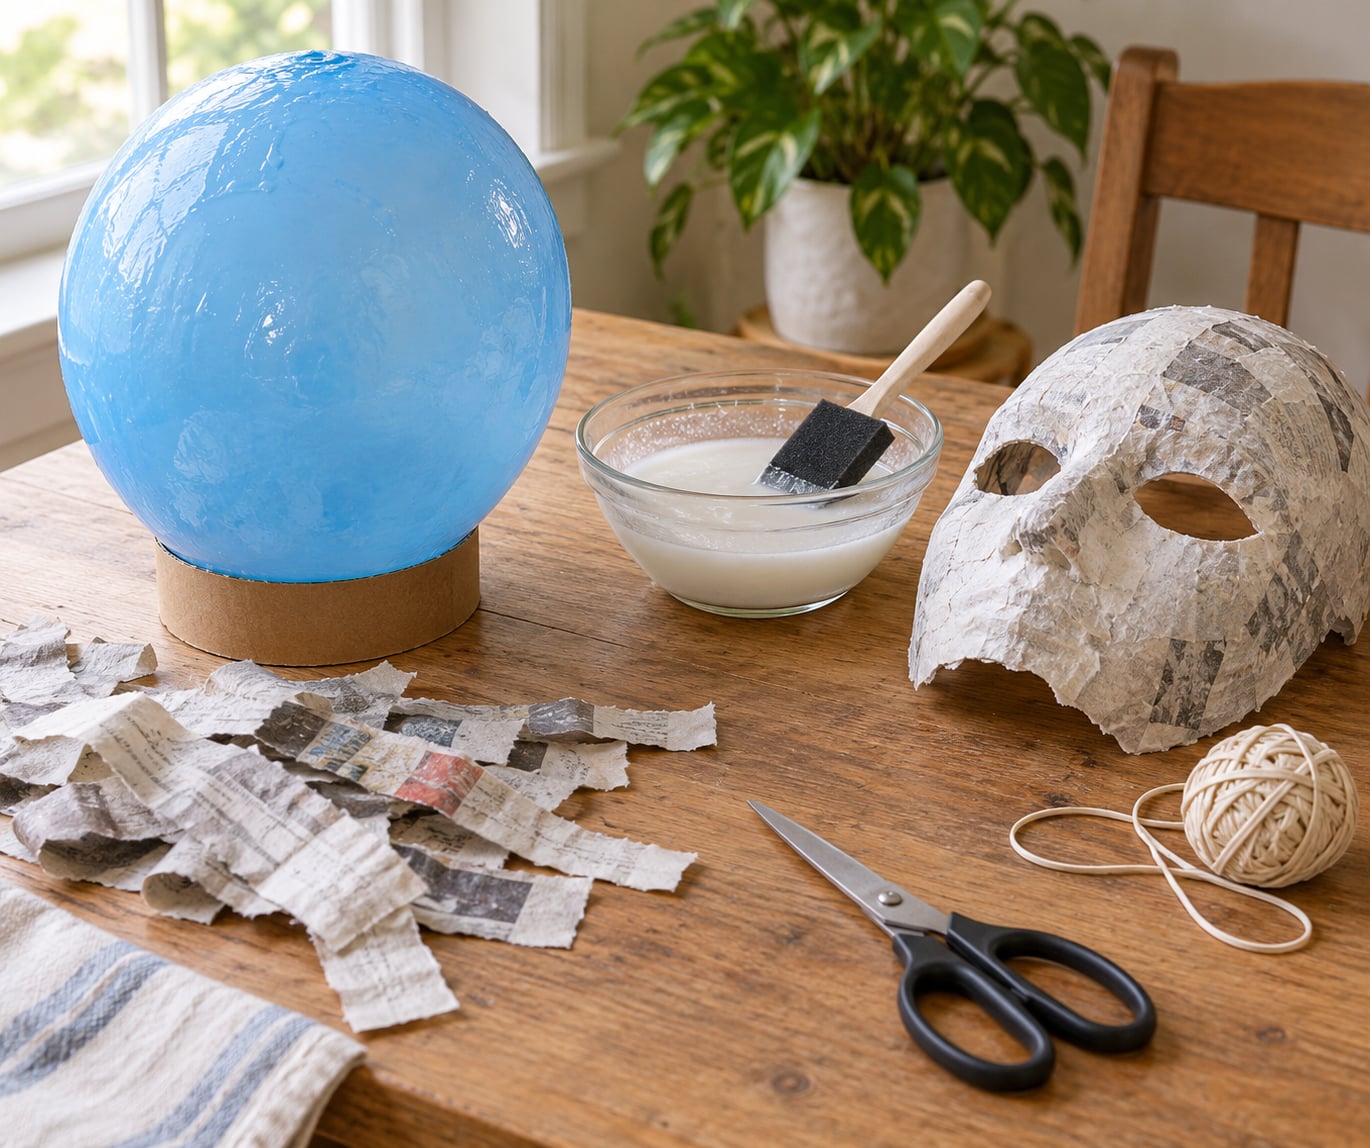
Inflate the balloon to a head-sized round, tape it to a stick or a cardboard collar so it does not roll, and paint three or four thin coats of petroleum jelly over the entire surface. Let each coat sink in before the next. If any patch stays tacky, dust it with a little cornstarch and the paper will not stick to it.
For a wire armature, twist two or three lengths of medium craft wire into a nose profile, add cross-wires across the brow and jaw, and pad the whole thing with crumpled aluminum foil. Wrap the foil smooth, because every ridge you leave shows up permanently in the shell. Cardboard bases get the same petroleum jelly treatment, plus a coat of gloss paint if the paper might bleed through.
Apply the First Papier Mache Layers
Tear paper into strips roughly two inches wide and six inches long, tearing with the grain so the edges stay straight. Ragged feathered edges are what cause lumpy seams, and that lumpiness is the single most common complaint from first-time makers in craft forums.
Brush paste onto the base first, lay the strip down, then brush paste over the top. Overlap each piece by about half an inch and skip the last third of the second coat to save paste. Work from the bottom of the form upward so the wet edge stays above your hand.
Build Up the Mask Shape
A wearable mask needs three to four paper layers, plus extra reinforcement where the shape is weakest. On a balloon build, three thin layers of kraft or printer paper with two full layers of glue paste is enough. Reinforce the nose bridge, the chin and the area around the eye openings, since those three spots carry the flex every time the mask is put on and taken off.
If you want a deep brow, a raised cheekbone or a long nose, add strips of extra paper there rather than layering the whole mask more times. Paper clay or air-dry clay does the same job faster and sanders down to a clean surface. Cardboard or small pieces of metal mesh inside the shell stop long ears from snapping in a breeze.
Dry the Mask Completely
Three to four hours per layer with glue paste, closer to six with flour paste, is the honest number. Test by lifting an edge that will be hidden later, like under the chin or at the back of the neck. If it flexes at all, it is not ready. Cool, moving air dries it faster than heat, so a fan in the room beats a hair dryer held close, which warps the shell.
Remove and Finish the Mask
Cut the eye openings from the inside edge outward toward the cheek in a shallow curve, rather than cutting straight in from the edge. Small round holes about an inch across work well for adults; for a child, measure the gap between their eye and eyebrow and cut an inch and a half so they can actually see. Sand the cut edge and any rough spot with fine grit paper.
Prime the whole shell with two coats of white acrylic or gesso so the paper does not drink the paint and newspaper text stays hidden. Paint from a dark base coat up to your colors rather than straight to the final shade, and add detail with dry brushing. Seal with a clear matte varnish for a skin-like finish or gloss for a lacquered look.
Attach elastic to reinforced points on either side of the head, using a stapler or hot glue and a strip of tape over the join. Add thin foam pads at the forehead and temples and the mask stops rubbing. Then test it: put it on and wear it for twenty minutes before you call it done.
Common Mistakes
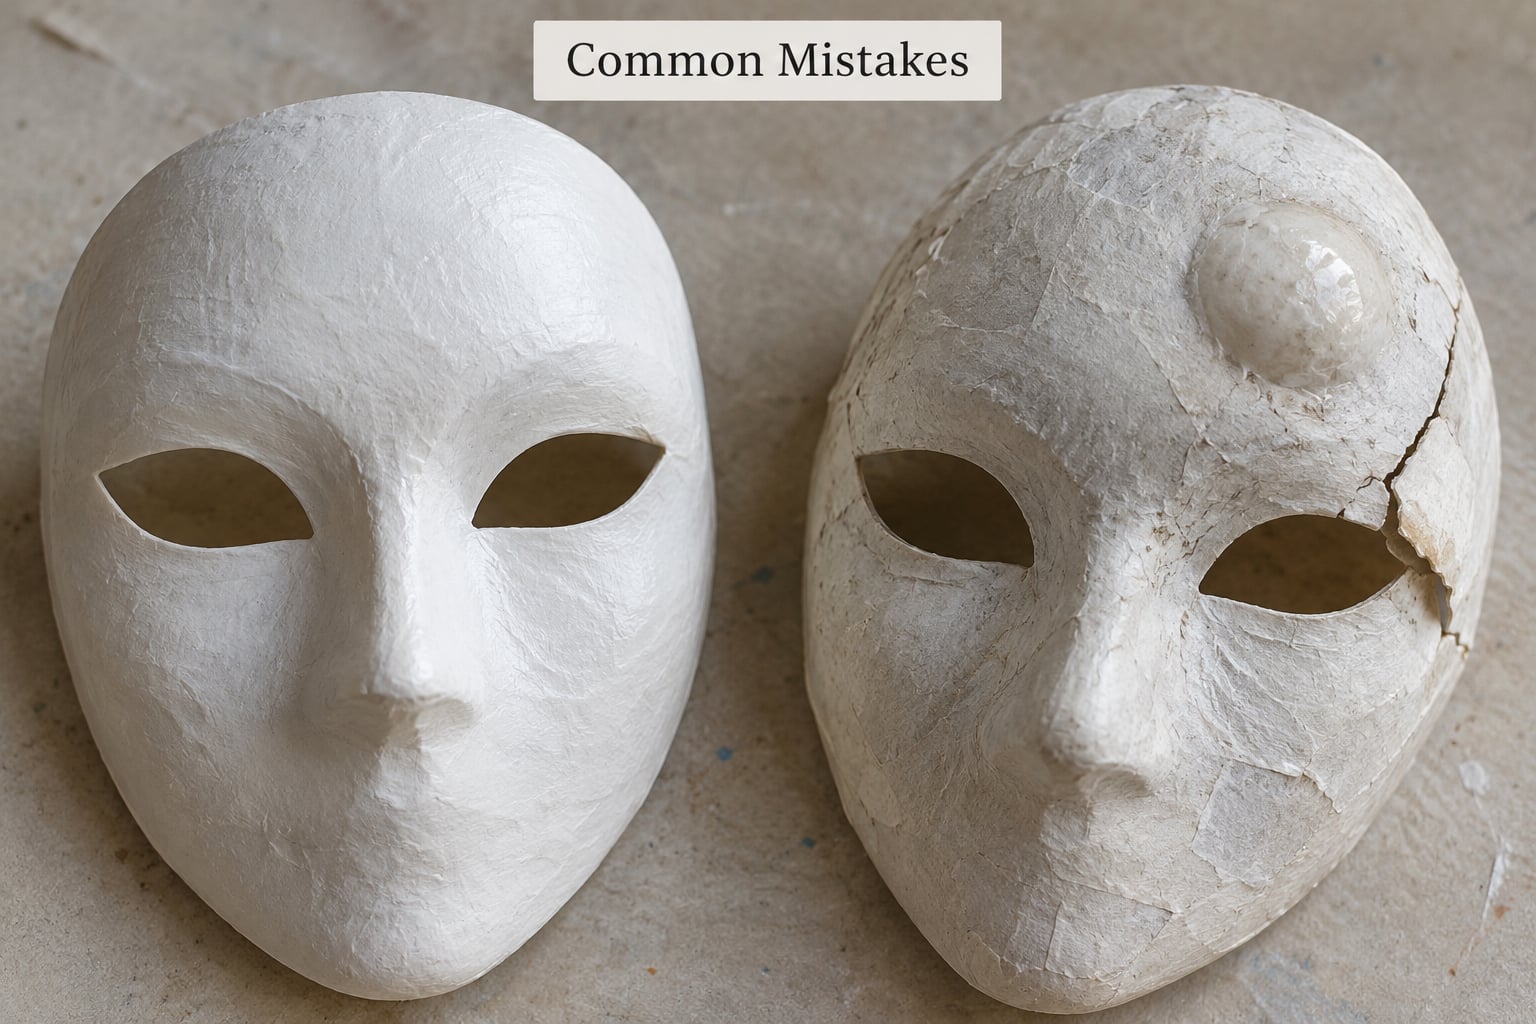
Nearly every failed papier mache mask comes down to one of eight things, and all of them are fixable without starting over. Match your symptom in the table first, because a soggy layer and a cracked layer need opposite treatments.
| Problem | Cause | Fix |
|---|---|---|
| Mask is soft and sags | Too much water in the paste, or layers stacked before drying | Let the shell dry fully, then add two more layers of neat glue and paper |
| Cracks near the nose or mouth | Not enough layers, or too few reinforcement strips in high-flex zones | Patch from the inside with two glued paper patches, then repeat the same area twice |
| Lumpy seams and ridges | Feathered paper edges and too much paste in the overlaps | Sand down while dry, fill low spots with paper clay, prime and repaint |
| Wrinkles and bubbles | Strips pushed down with a finger instead of smoothed with the brush | Lay the strip, brush it flat, and never push with a fingertip |
| Shell is warping | Rapid heat drying on one side, or removing it off the base too soon | Air dry both sides evenly and wait a full extra day before removal |
| Newspaper print shows through paint | Thin paint on top of printed paper | Two coats of white primer over the last two layers, or use unprinted kraft paper |
| Musty smell or grey speckles | Mold growing between damp layers | Discard the mask, then restart with one thin layer at a time and full drying between |
| Edges dig into the face | Unfinished cut edges and no padding | Sand the edge, wrap it with tape or fabric, and add foam pads |
Users on r/papermache who finish wearable pieces mostly report the same pattern: paper and dry, repeat, and expect several rounds. Treating each round as normal rather than as a failure is what keeps people going to the end.
If the mask has to be worn and there is any doubt about strength, the cheapest insurance is an inner layer of neat PVA glue brushed over the whole shell before the final paper layers. It adds ten minutes and turns a fragile shell into one that survives a night of wear.
Frequently Asked Questions
What kind of paper is best for making a papier mache mask at home?
Kraft paper or plain printer paper is best for the final layers, because neither prints and both take paint evenly. Newspaper is fine for the first two layers and costs nothing if you already have it, but its ink can bleed through light paint. Brown paper bags, paper towels and tissue paper all work too. Avoid anything glossy or coated, since the paste will not bond to it.
How long does a papier mache mask take to dry?
Plan three to four hours per layer with glue paste and six to eight with flour paste, plus one full overnight dry before you remove it from the base. A three-layer balloon mask usually takes two days of drying time spread over a week of evenings. Speed it up with a fan moving air across the surface, never a close hair dryer, which warps the shell.
Can I make a papier mache mask over a balloon instead of a head form?
Yes, and for a first project it is the easiest method. Inflate the balloon to roughly head size, tape it to a stick so it stays still, and cover it in three or four coats of petroleum jelly before you start. Work in short sessions so nothing pokes the balloon. The finished shape is a smooth full head with no jaw movement, which suits horror, alien and character masks.
How do I keep my papier mache mask from cracking or peeling?
Cracking comes from thin, fast-dried layers, and peeling comes from weak paste or paint applied to unsealed paper. Give every layer a full drying window, reinforce the nose, chin and eye areas with two extra pieces of paper, and brush neat glue over the whole shell once it dries. Prime with two coats of white acrylic before painting and seal when you finish.
How do I paint a papier mache mask without making it look flat?
Build value in stages instead of painting the final color in one coat. Start with a dark base coat in a slightly deeper version of your color, then add the mid tone, then the highlight. A dry brush with very little paint picks up the texture underneath and gives you skin, bone or weathered metal. Two thin coats always read better than one thick one.
How should I attach the finished mask so it feels comfortable to wear?
Reinforce two points on each side of the head with extra paper, attach elastic there with hot glue or a stapler, and cover the join with tape. Cut eye openings about an inch across for an adult and an inch and a half for a child, measuring the gap between their eye and eyebrow first. Foam or felt pads at the forehead and temples stop rubbing during a long night.
Start This Week If You Want It Worn by Halloween
Pick your base first, because that is the decision everything else depends on. A balloon and a jar of white glue will get you a wearable mask if you keep to three or four thin layers, dry each one fully, and reinforce the nose, chin and eye openings.
Start with the base tonight, mix your paste tomorrow, and by the weekend you should have a shell to prime. Waiting for each layer is the whole trick, and it is the step people rush.