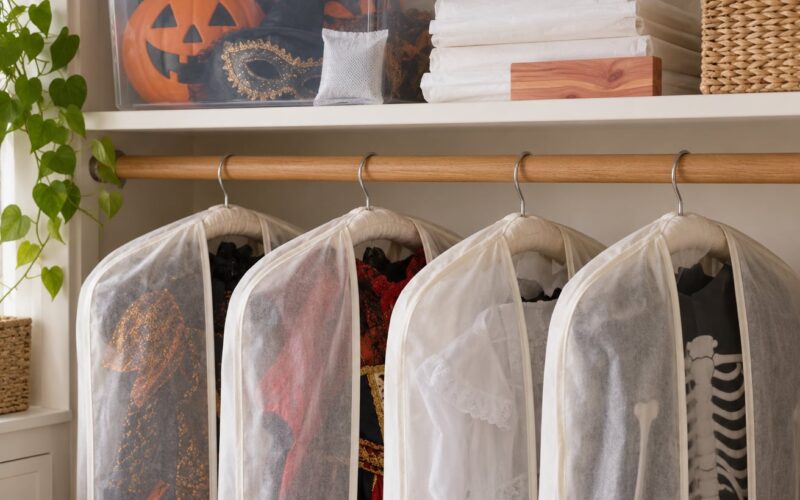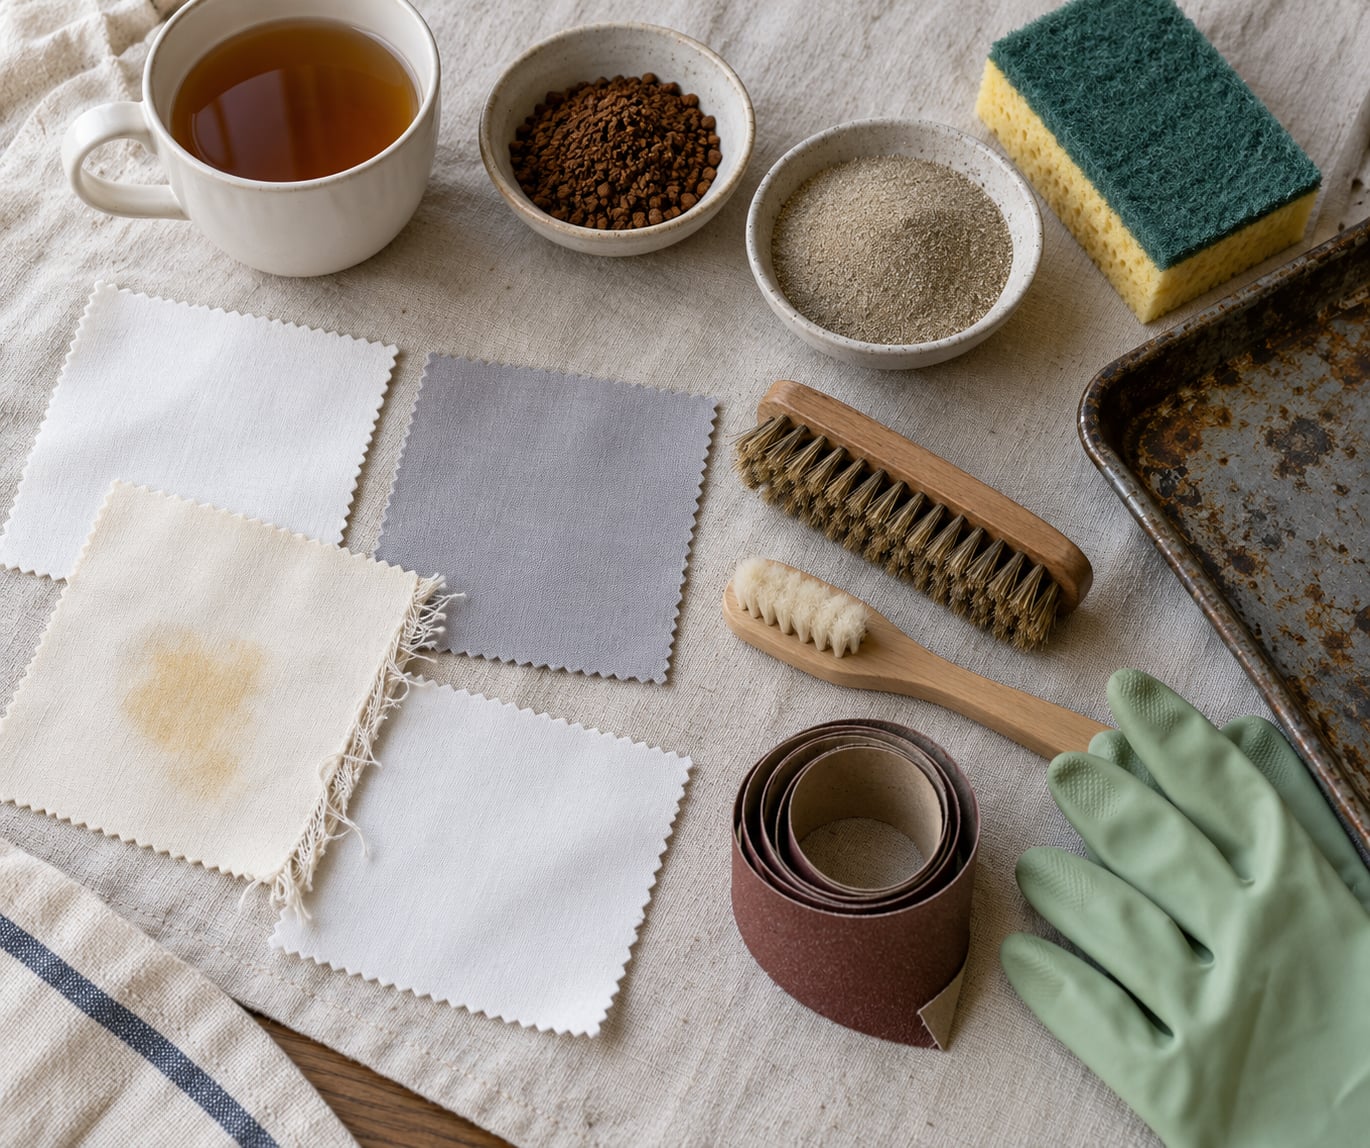
Fabric aging means deliberately making new cloth look old, worn and decayed so it reads as haunted or abandoned. To age fabric to look worn and haunted, you layer a color change (tea, coffee, sun or peroxide) with grime and stains, then add physical wear like fray and abrasion, letting each layer dry before the next. A single method looks fake; two or three layered together look real.
Most pieces take 20 minutes for a quick distressing pass, and a full dye-and-dirty treatment takes an afternoon plus drying time. Haunted house builders, costume makers and set dressers all use the same basics, and none of it needs specialist equipment.
One safety note before you start: never burn fabric to scorch it, and never work with bleach or peroxide in a closed room. Ventilate, wear gloves for the soaking and staining stages, and keep every dye bath away from where children and pets can reach it.
Table of Contents
- What You Need
- Step-by-Step
- 1. Test the Fabric and Choose Your Haunted Finish
- 2. Prewash and Work on a Protected Surface
- 3. Fade the Fabric With Tea or Coffee
- 4. Add Dirt, Dust, and Age Spots
- 5. Distress Edges and Surface Fibers
- 6. Add Faint Soot or Smoky Shadows
- 7. Dry, Soften, and Inspect the Finish
- Common Mistakes
- Distressing Tips for a Believable Haunted Look
- Frequently Asked Questions
- What is the safest way to age fabric for Halloween decorations?
- Can I age fabric without tea, coffee, or dye?
- How do I make white fabric look yellowed and old?
- How do I make distressed fabric look aged instead of torn?
- Will the aging technique make curtains, clothing, or other fabric stiff?
- Can I age fabric in a washing machine?
- Conclusion
What You Need
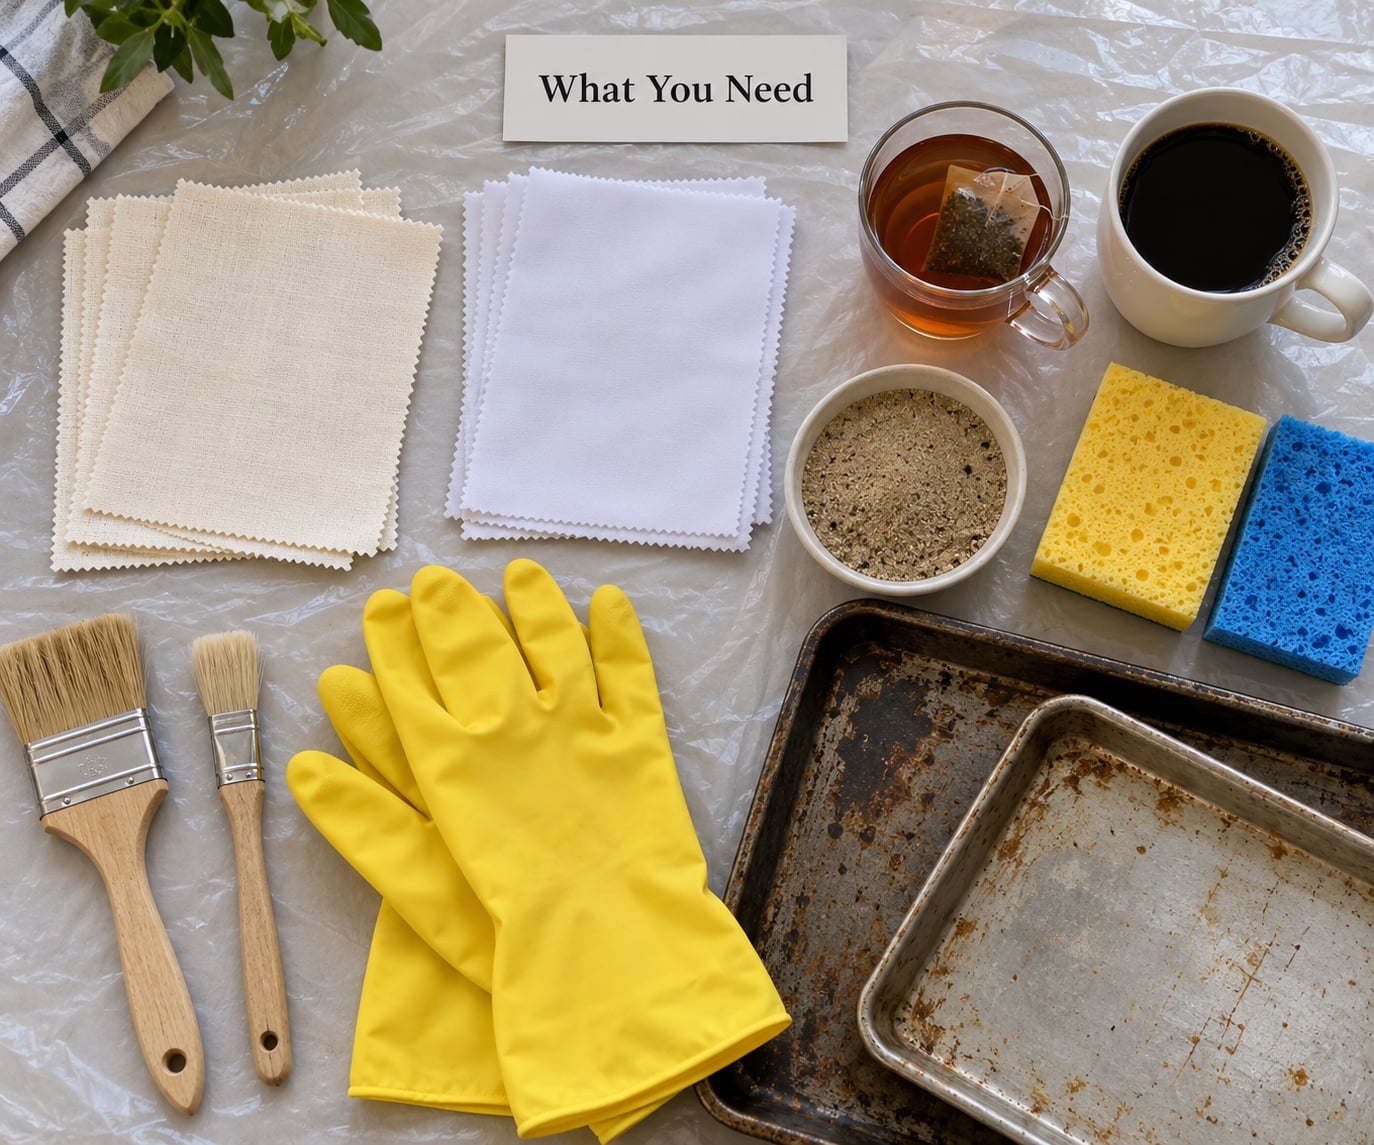
Start with the tools. You need a large tray or basin that the fabric can lie flat in, rubber gloves, old towels or drop cloths, a sponge, soft and stiff brushes, and somewhere with airflow. Have a spray bottle of plain water on hand so you can reactivate dried stains instead of building up more pigment.
For the stains themselves, put out a small kitchen scale and three or four options. Strong tea bags or loose black tea and instant coffee give the base color shift. Diluted potting soil, fuller’s earth or kaolin clay give dirt. Sand gives dust and grit that settles into the weave. Costume-safe soot or grey makeup pigment handles smoky shadows without fire. A 3 percent hydrogen peroxide solution handles sun-style fading on natural fibers.
For physical wear, gather fine and coarse sandpaper, a wire brush, a pumice stone or stiff nylon brush, sharp scissors, a seam ripper, and a bit of matte fabric medium if you plan to use acrylic paint. Matte medium matters: plain acrylic paint on fabric dries stiff and crunchy, which is the single most common complaint from people who have tried this before.
Step-by-Step
1. Test the Fabric and Choose Your Haunted Finish
Every method behaves differently depending on fiber, dye and color, so test before you commit. Cut a 3-inch square from a hidden hem, run the whole treatment on it, then judge the result against your finished piece. That ten minutes saves the costume.
Cotton, linen and muslin drink color readily. Rayon takes stain fairly well but weakens when wet. Denim holds grime without much effort. Polyester and other synthetics barely take tea, coffee or any water dye, so on those you should plan around pigment-based acrylic paint thinned with matte medium, plus surface abrasion. If a store-bought polyester costume cannot be made to work, sewing in a cotton lining panel for the visible surface is faster than fighting the chemistry.
Decide the finish before you start, because each one takes a different route. Faded means color subtraction with sun or peroxide. Stained means uneven yellowing and dirt. Frayed means broken edges and worn-through spots. Dusty means pale grey grit settled into seams. Soot-darkened means smoky shadow along folds and hems.
2. Prewash and Work on a Protected Surface
Wash the fabric first, on its own, with a cool neutral wash and no softener. Washing removes factory sizing, which is a stiffening agent that blocks stain and stops dye from bonding evenly. Sizing is the reason a “tea-dyed” sheet still feels like new bedding.
Some colors bleed in the wash. If the water clouds or runs dark, the fabric will keep bleeding through every stage after that, so set it aside and test a different piece. Lay down a drop cloth, put your trays on it, and hang fabric where air moves across it. Nobody should be able to see tea or coffee stains on the carpet when you are done.
3. Fade the Fabric With Tea or Coffee
Boil water, then add roughly two strong tea bags or two tablespoons of instant coffee per quart. Steep 10 to 15 minutes. Stronger tea with more tannin gives deeper color on cotton, and if the tone needs to be warm rather than gray, add a spoonful of instant coffee or a cinnamon stick to the bath.
Wait for the bath to cool to warm before the fabric goes in, then soak for 30 minutes to overnight. Submerged pieces fade evenly. For patchy results, drip the concentrated solution onto damp fabric and blot rather than scrub, because scrubbing spreads the pigment into a uniform smear. Lift the fabric out, blot the excess with a towel, and hang it to dry completely.
Check the dried result, not the wet result, since tea and coffee dry lighter than they look in the bath. Rinse in cool water with a small amount of vinegar if the color feels too heavy, and repeat the whole cycle for a second pass rather than trying to fix one dark dip. Tea-dyed cotton that has been rinsed, dried and pressed usually stops bleeding afterward.
The main mistake here is stopping short of rinsing. Undiluted tea leaves tannin sitting on the surface, and the fabric feels stiff and smells like a cup. Rinse until the water runs clear.
4. Add Dirt, Dust, and Age Spots
Mix a washable dirt solution by stirring a spoonful or two of potting soil, fuller’s earth or kaolin clay into a cup of water. It should be the color of weak coffee, not mud. Test on the hidden swatch first, because clay stains permanently once it dries into the fiber.
Dab the diluted mix on with a sponge or old toothbrush, working in small irregular patches rather than even coats. Concentrated stains come from the undiluted mix: drop it on heavy mud areas, hem lines, seams and anywhere fabric would rub against itself, then let it sit 10 minutes and blot the excess off while it’s still damp. Rubbing a dried stain spreads it; lifting it preserves the weave underneath.
For grit, dust sand or pumice powder over the damp fabric and brush off the loose excess. The powder that stays in the threads is what makes the surface read as dusty and lived-in rather than painted.
5. Distress Edges and Surface Fibers
Distressing works best where real wear happens: cuffs, elbows, knees, seat seams, collar lines, hems and the edges that get handled. Follow that logic and the result reads as used. Distress randomly and it reads as damaged on purpose.
For fade-and-thin wear, rub coarse sandpaper along a hem or a seam line until the color thins and fibers begin to lift. Use finer sandpaper for high-contact spots like elbows and knees, and coarse for hems. Sand with the grain of the weave, not across it, or you get a fuzzy bald patch instead of a worn edge.
A wire brush, stiff nylon brush or pumice stone pulls up surface fuzz for knits and synthetics that won’t take dye. On synthetics, stop early: those fibers ball and cut instead of fraying, and a quick pass looks better than a destroyed panel.
For frayed hems, snip small notches along the edge with sharp scissors, pull a few threads free with your fingers, then tease the rest with a stiff brush. A seam ripper helps open deliberate tears along a stitch line. Never cut into structural seams or anything you will hang weight from, since you want frayed edges, not a garment that falls apart.
6. Add Faint Soot or Smoky Shadows
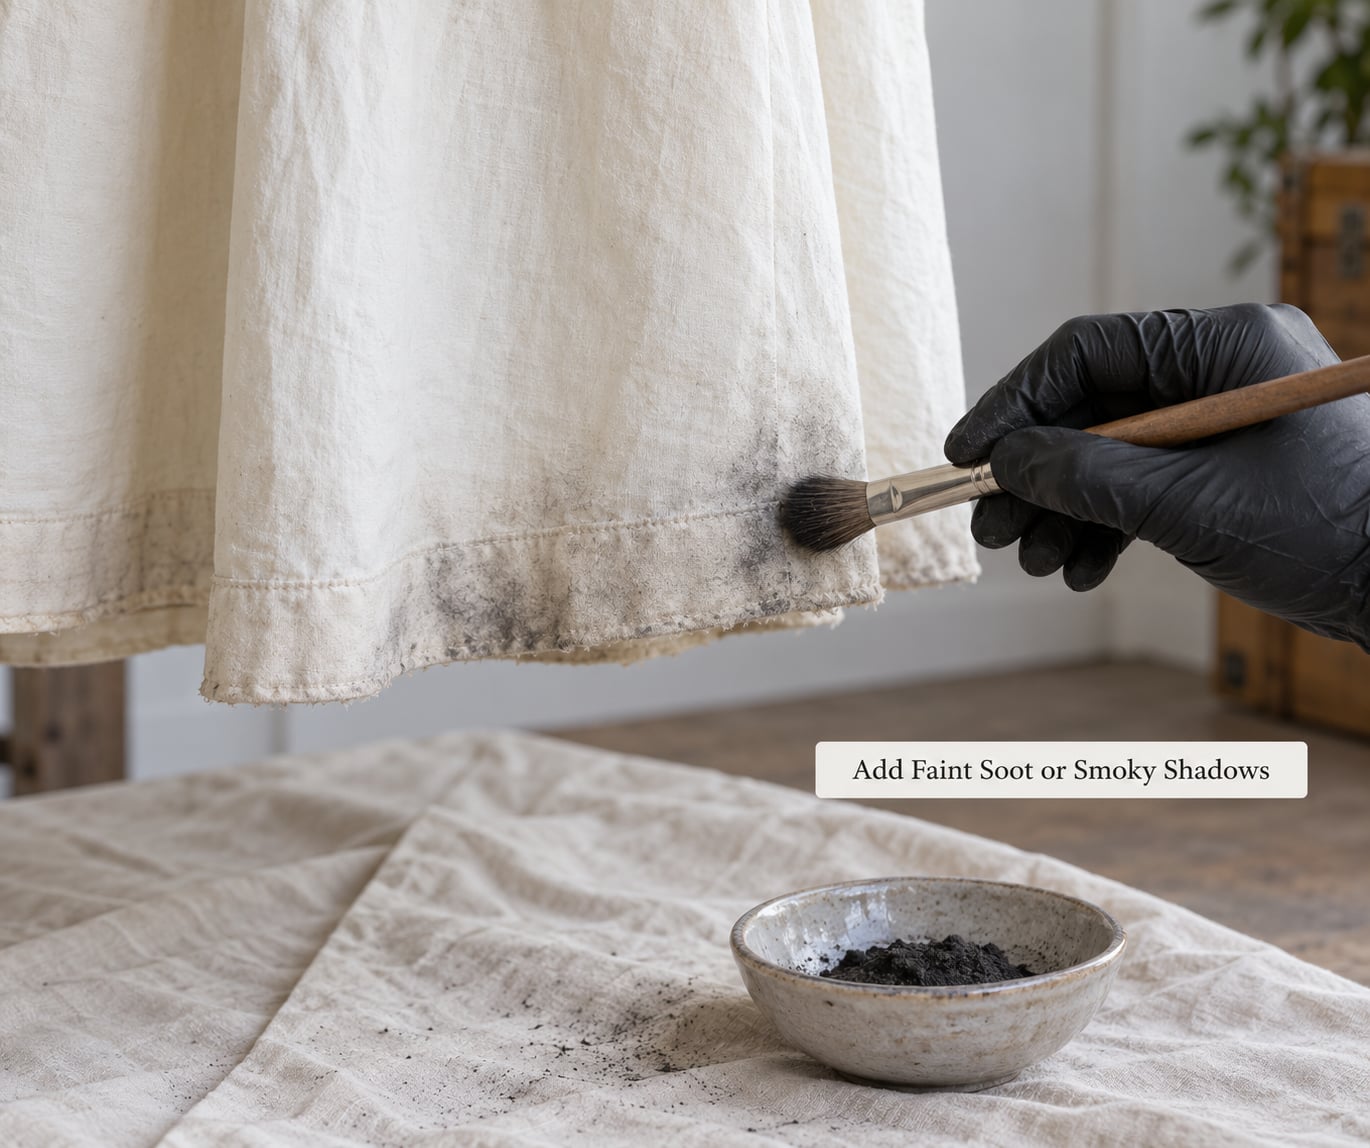
Soot sells the haunted look because it mimics years of candle smoke and fireplace residue, and it collects exactly where it should. Use costume soot, theatrical smoke pigment or grey makeup pigment. Nothing that requires flame.
Load a small amount onto a dry flat brush, tap off most of it, then shade along hems, inside folds, under seams and behind where the piece will hang. Fade the edge of each pass so the shadow has no hard outline. Work light and add a second pass later rather than loading the brush once and committing.
Never hold fabric over a candle, a lighter or a stove, and never burn a sheet back to simulate scorching. Hot fibers melt, the smell soaks into a room permanently, and the smoke is genuinely dangerous to breathe. If you want scorch marks, simulate them with diluted tea or a brown paint sponged on with a stiff brush so the result keeps its weave.
7. Dry, Soften, and Inspect the Finish
Let each layer dry fully before adding the next, and check the piece from both sides in different light. Wet fabric hides problems, and a stain that looks soft in a cool bathroom can read as a hard blotch under porch lights.
Once everything is dry, brush off loose grit with a soft brush, and rub the surface gently with your palm to soften any stiffness. Test for transfer by pressing a white paper towel firmly onto the fabric; if color comes off, add one more rinse or a light fixative pass. Finally, shake the piece out and inspect for loose fibers that could snag on wires or lights.
Common Mistakes
The stain went muddy brown or harsh yellow. Concentration is almost always the cause. Weak tea and coffee diluted down to the color of weak tea give a believable dingy ivory, while a strong bath on a small piece gives orange-brown. Re-rinse with cool water and a splash of vinegar, then hang the fabric in daylight for a few hours to lift the tone.
Dye bled onto everything it touched. Test first, and prewash a separate piece on its own. If a piece already bled, rinse it alone in the sink until the water runs clear and dry it away from other props. Set the fabric and avoid rain or damp floors.
The fabric feels stiff or crunchy. That is sizing, undiluted tea left on the surface, or plain acrylic paint. Rinse out the sizing, blot rather than soak when you can, and if you already used paint, mist the area with plain water and massage it gently before drying.
The seams or silhouette are ruined. Sand and cut only near hems, edges and high-wear points, and take short passes. If the shape is wrong, turn the piece inside out, stitch a new hem, and reassemble; you cannot undo cut fibers.
Edge wear looks fake. Fuzz that is uniform along a whole hem reads as sanding. Vary the intensity, concentrate on a few corners and grab points, and leave long stretches untouched. Real wear is patchy.
Soot transfers onto skin, walls or furniture. You used too much and it was applied too wet. Dust off aggressively with a stiff brush while dry, then set the piece with a light mist of matte medium. Test with a white cloth afterward.
Wrinkles appeared after drying. Dipped fabric shrinks unevenly. Hang it while damp and steam or iron it on the reverse, low heat, pressing out the wrinkles before you add the next layer of dirt.
Distressing Tips for a Believable Haunted Look
- Vary the intensity panel by panel. Two curtains in the same room should never match exactly; keep one noticeably cleaner so the eye reads real neglect.
- Protect hems and attachment points. Fringe reads as wear, but if the hem that hangs from a rod is destroyed, the piece looks broken rather than old.
- Use multiple low-intensity passes. Four light dustings beat one heavy coat, and you can stop after any of them.
- Concentrate grime in seams, creases and folds, where dirt actually settles and where it reads most clearly from a distance.
- Match the finish to the story. Damp, mold-blotched fabric suits an abandoned room; soot and frayed edges suit a burned-out one; heavy sun fading suits something left in an attic for decades.
- Test the piece in the lighting where it will hang. Yellow stains read orange under warm bulbs, so check before you commit to a second coat.
Frequently Asked Questions
What is the safest way to age fabric for Halloween decorations?
Water-based methods are the safest. Tea, coffee and diluted clay need gloves and a ventilated space, but nothing fumes and nothing burns. Skip burning or singeing fabric entirely: it melts, the smell never leaves, and the smoke is a real breathing hazard. Keep bleach and 3 percent peroxide away from closed rooms, and lay down a drop cloth so no dye reaches the floor.
Can I age fabric without tea, coffee, or dye?
Yes, and it works well when combined with physical methods. Sunlight, repeated saltwater soak-and-dry cycles, diluted potting soil or clay, sand, heavy abrasion with sandpaper or a wire brush, and soot pigment will all age fabric on their own. The result just leans more dusty and damaged than tinted. For the haunted look, layering one of these with a light tea pass usually reads best.
How do I make white fabric look yellowed and old?
Tea is the gentlest route. Steep two strong bags in a quart of boiling water for 10 to 15 minutes, let it cool to warm, then soak white cotton for 30 minutes to overnight. Start short, since white takes color fastest. Blot the excess, dry it flat in shade rather than sun, and check the dried tone before repeating for a deeper tint.
How do I make distressed fabric look aged instead of torn?
Age and destruction are different. Real aging shows soft fading, grime caught in the weave, and wear concentrated at cuffs, elbows, knees, collars and hems. Sand lightly in those spots, thin the color with tea or sun, and add dirt along seams and folds. Keep long stretches of fabric nearly untouched so the damaged areas read as wear from use, not damage from a blade.
Will the aging technique make curtains, clothing, or other fabric stiff?
It can, and the usual culprits are factory sizing, undiluted tea, and plain acrylic paint. Wash the fabric first to strip sizing, keep your tea and coffee baths weak, and always rinse until the water runs clear. If you need paint, thin acrylic with matte fabric medium so it moves with the fiber instead of forming a film. A final gentle mist of water and hand-rub softens mild stiffness.
Can I age fabric in a washing machine?
Only for the prewash and for fades you want to be temporary. Machine-washing strips sizing and softens the fabric, which is a good first step, but it will not age anything on its own and it can remove tea or coffee staining you have already added. Age stained pieces by hand in a tray, rinse them separately, and never put them through a dryer once the distressing is done.
Conclusion
Aging fabric to look worn and haunted is a layering job, not a recipe. Shift the color first, add grime where wear would collect, fray and abrade the edges people actually touch, then finish with a faint smoky shadow.
Start with a small swatch cut from a hidden hem, pick one aging method, and build up in light passes you can stop and correct. That way you learn the fabric’s limits before a full curtain or costume is at stake.