If you want glowing accents on a costume, the reliable method is a photoluminescent material — glow paint, glow fabric paint, glow thread or glow stickers — laid over a light base coat, then charged under sunlight, a lamp or a UV flashlight for a few minutes before you put it on. The details store that light and release it slowly, so they are brightest for the first half hour and fade across a night of trick-or-treating. Adding a small UV torch to your pocket lets you top the charge up outdoors at dusk.
That is the whole idea, and it is genuinely achievable without electronics. If you do want lights that stay bright until the last house on the street, a battery-powered LED strip or EL wire will run for hours without any charging at all — it simply needs a hidden battery pack at the belt or collar.
Working out which route suits your costume takes about five minutes, and the decorating itself is usually an evening. Here is how to make glow-in-the-dark costume details that hold up in real darkness rather than just looking convincing under a lamp on a workbench.
Table of Contents
- What You Need
- Step-by-Step
- Choose the Right Glow Effect
- Prepare the Costume Surface
- Apply the Glow Details
- Charge and Test the Glow
- Make the Details Last
- Common Mistakes
- Frequently Asked Questions
- How can I make my clothes glow in the dark?
- How do you activate glow-in-the-dark paint and fabric?
- How can I make the glow last all night?
- Is there a way to make glow-in-the-dark effects permanent?
- What glows the brightest without electronics?
- Conclusion
What You Need
The materials you need depend almost entirely on the surface you are decorating. Paint behaves very differently on a plastic mask than it does on a cotton tunic, and nothing you paint will flex properly on a costume piece that gets stretched over a shoulder.
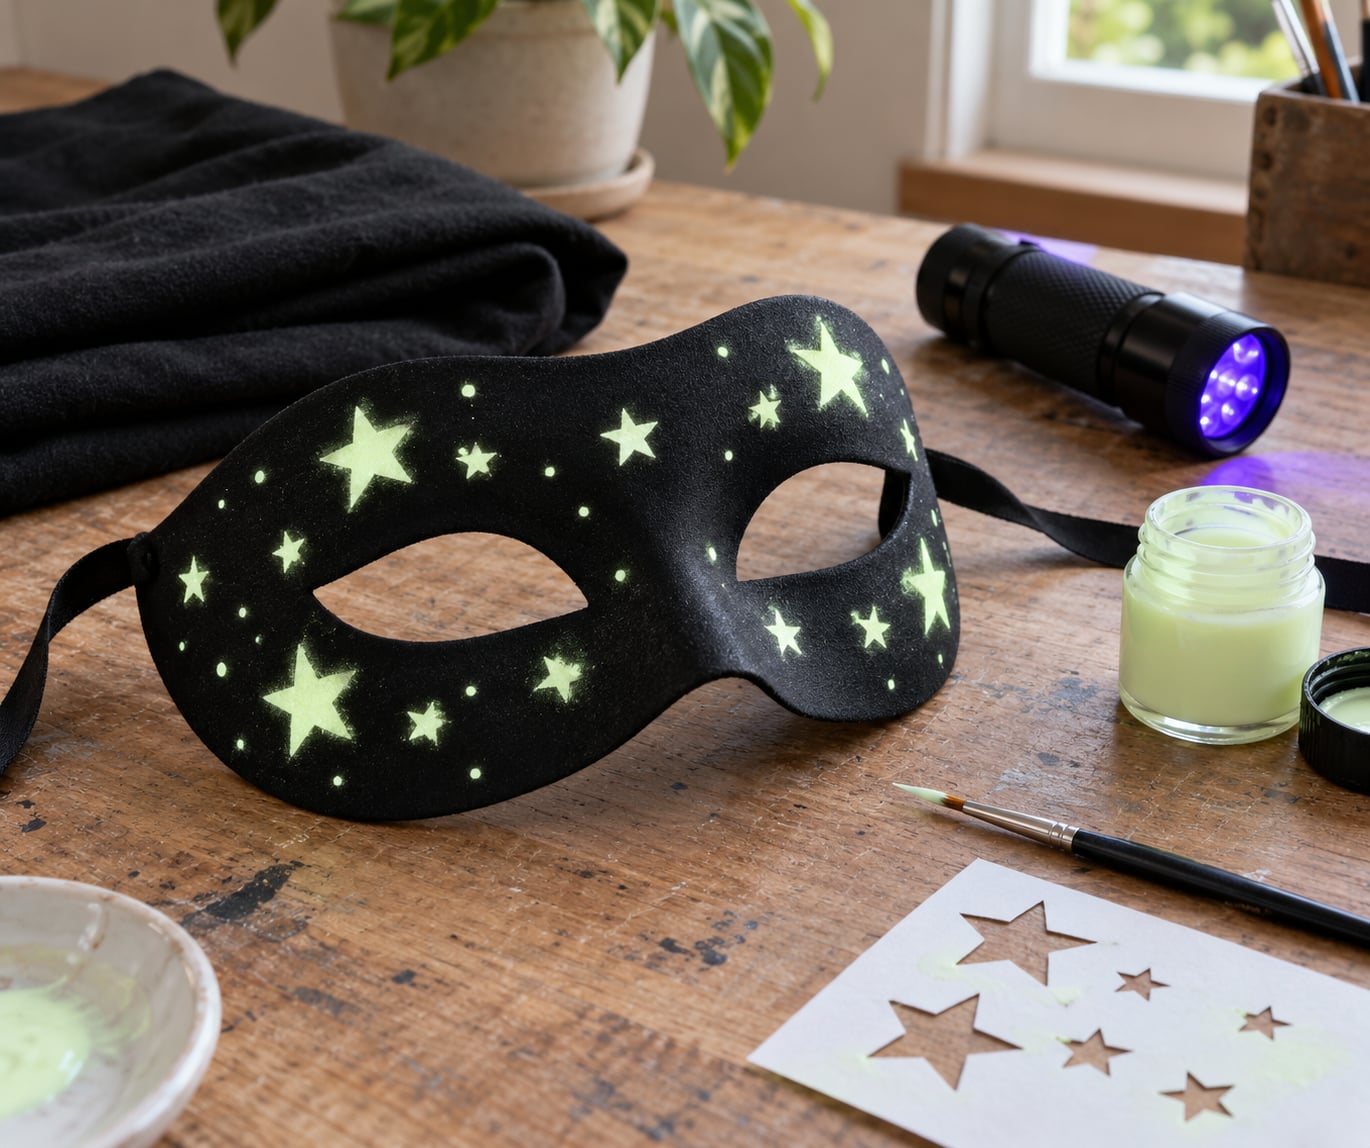
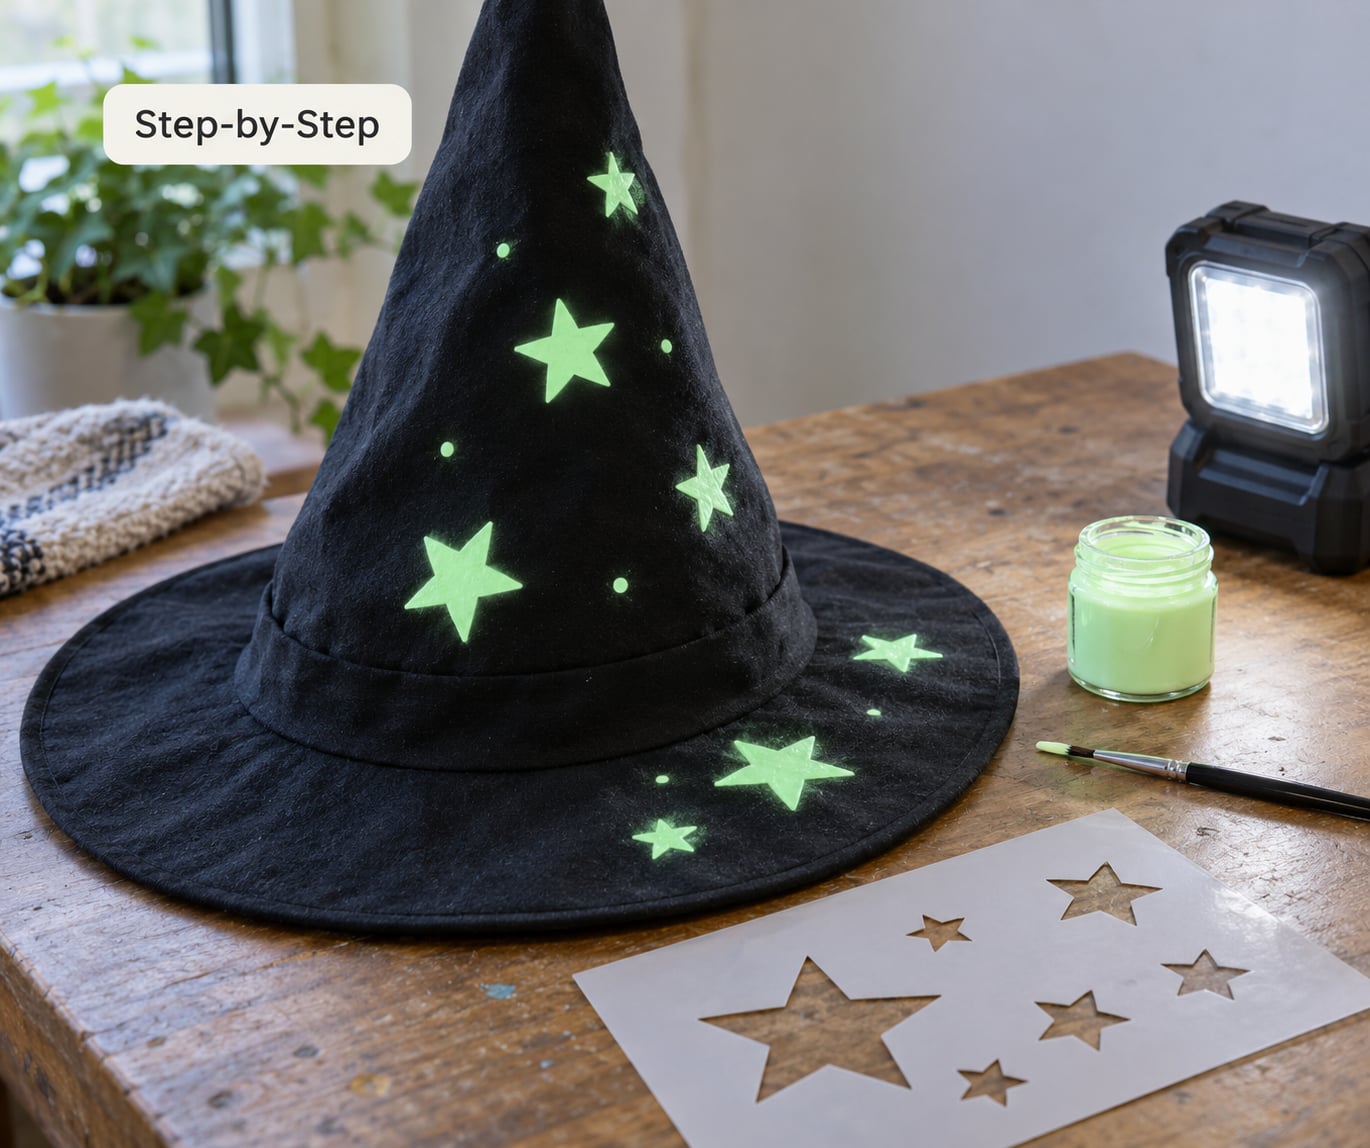
For painted details you want glow-in-the-dark paint or glow-in-the-dark fabric paint, plus a white or light-grey base coat if the costume fabric is dark. A cheap white acrylic base works fine underneath — its only job is to give the pigment something bright to sit on. Add a small stencil brush or a fine detail brush, painter’s tape for straight edges, and stencil paper or a printed template for bones, runes and spiderweb shapes.
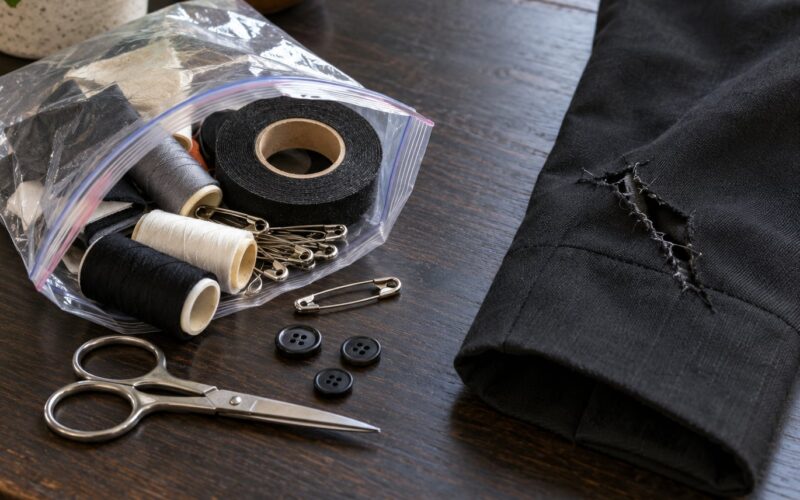
For sewn details you want glow-in-the-dark thread and a bobbin that will hold a decent amount of it. Densely stitched thread registers visually; sparse stitching looks like ordinary thread until you charge it, then does almost nothing. A sewing machine is not required — dense backstitch by hand works, it just takes longer.
For details you want removable or child-safe, glow stickers, water-activated glow-in-the-dark temporary tattoos, and glow paint pens all apply straight to fabric with no drying time at all. A packet of glow sticks gives you chemiluminescent light that needs no charging but fades on its own timeline.
For always-on light, a flexible LED strip or EL wire needs a battery pack, a small switch, and some tape or a clip to hide the pack in a belt loop, under a collar, or behind a shoulder blade.
A few support items matter more than people expect. Nitrile gloves keep paint off your hands and off the skin of whoever wears the costume later. A clear acrylic sealant or fabric-safe clear finish extends the life of painted details that will get bent and breathed on all evening. A black light or UV flashlight charges faster than any lamp and is the single best tool for finding weak spots before the night starts.
A quick comparison of the main options:
Glow paint — best for masks, props and hard surfaces. Easy to apply, holds a visible glow for two to four hours after charging, and is not washable; water-based paint stays put but fades over time.
Glow fabric paint — best for bones, runes and veins on clothing. Easy, two to four hours of glow, and usually not washable.
Glow thread — best for trim, piping and embroidery panels. Medium skill, two to three hours, and only if you stitch it densely enough to register. Hand wash cold.
Glow stickers and temporary tattoos — best for kids’ costumes and quick fixes. Easy, three to five hours, and fully removable rather than permanent.
Glow sticks — best for bones, wands and party favours. Easy, with a fixed total of roughly six to eight hours and no charging at all. Washing does not apply.
UV-reactive paint or tape — best for patterns that should only show under a black light. Easy, and visible only under a UV lamp. Washability varies by product.
LED strip or EL wire — best for a bright, all-night effect. Medium skill, glowing for as long as the battery pack lasts. Remove the electronics before cleaning.
Plenty of experienced makers skip paint entirely when they need all-night brightness. One approach is wearing lights loose over a black bodysuit rather than taping them to skin, because taped-on LEDs create hot spots while a loose layer spreads the light out. Another is resin: pour epoxy into a small mould, set a small dark bead as a pupil and embed an LED in the centre for wolf eyes that stay bright indefinitely. Both beat trying to make paint do an electronics job.
Step-by-Step
Choose the Right Glow Effect
Glow-in-the-dark sounds like one thing but splits into two very different families. Photoluminescent material absorbs light and stores it in its crystal structure, then releases it slowly as visible light once you switch the charging light off — paint, fabric paint, thread, stickers and trim all work this way, and they can be recharged as often as you like. Chemiluminescent material runs a chemical reaction instead — a glow stick glows for a fixed number of hours and is finished. Nothing you do brings it back.
Within the rechargeable family, brightness and duration track with the pigment grade. Older zinc sulfide paints glow dim and fade within an hour or two. Strontium aluminate pigment, which most modern craft paint uses, holds a much brighter glow for several hours and reacts strongly to UV light.
Use ordinary glow paint on plastic masks, cardboard props and anything rigid. Use glow fabric paint on clothing, because it stays flexible as the fabric moves instead of cracking like ordinary acrylic. Use glow thread when you want a clean line of light along an edge, a piped seam or a panel of embroidery.
Use glow stickers and temporary tattoos when you want something removable or when you are making a kids’ costume an hour before they need to wear it. One popular no-sew project uses a white bin bag with water-activated glow tattoos pressed into the surface — a whole ghost costume in about fifteen minutes.
UV-reactive paint and tape behave differently again: they are nearly invisible in a lit room and light up only under a black light. That is a feature for a party photo op and a problem on a street with no UV source. Use them where you control the lighting, not for trick-or-treating.
Choose LED strip or EL wire when you need real brightness that does not decay. Weigh the comfort question first. Inflatables and light-up suits get widely criticised for being impossible to sit down in, so loose-worn lighting over a dark base layer usually beats anything tight or rigid.
Prepare the Costume Surface
Start by cleaning the area. Body oils and fabric softener leave a film that stops paint adhering, so wipe the surface with a little rubbing alcohol and let it dry fully.
Then test on a hidden spot — an inside seam, a hem allowance, a patch that will sit against the body. Apply a small dot of your glow material and leave it for the full drying time the label specifies. Fabric paint that soaks in and dries chalky will never glow properly, no matter how many coats you add.
If the costume is black or navy, add a white base coat first and let it dry completely. This is the mistake that trips people up most often: dark fabric swallows the glow, the details look weak in daylight, and the maker assumes the paint is faulty. A pale undercoat gives the pigment a bright surface to sit on, and thin coats over white look far brighter than a thick coat over black.
Decide how permanent the effect should be. Paint is the most durable and the least forgiving. Stickers and tattoos peel off cleanly and can be repositioned. A removable spray adhesive film lets you add temporary details to a costume you wear once and then put back in the cupboard.
Apply the Glow Details
Work in thin coats. Two or three light coats catch more light than one heavy coat, because pigment sitting on the surface is what actually glows — a thick layer can hide the charged layer underneath.
For crisp edges, tape before you paint and peel while the paint is still slightly damp. For bones, runes, spiderwebs or constellation patterns, tape or a stencil gives you cleaner lines than a steady freehand hand, and the template only takes a minute to make from card.
For hand-drawn details like veins, cracks and scars, use the detail brush with light pressure. Multiple short strokes read better than one long one, and thinner lines glow more evenly than thick ones.
Let each coat dry completely before the next. Rushing this is the second common failure — a second coat laid onto a tacky first coat lifts the first one and leaves patchy, uneven coverage that glows in blotches.
Put on gloves for anything painted, and keep the costume off skin until it is properly cured. Paint that transfers onto a child’s arm during a long trick-or-treating night is a bad surprise for a parent.
If you are using LED strip or EL wire, route the wire along seams and under trim rather than across flat panels, and keep the battery pack somewhere you can reach it without stripping off. A waistband, a boot lining, or a pocket on the back of the belt all work.
Charge and Test the Glow
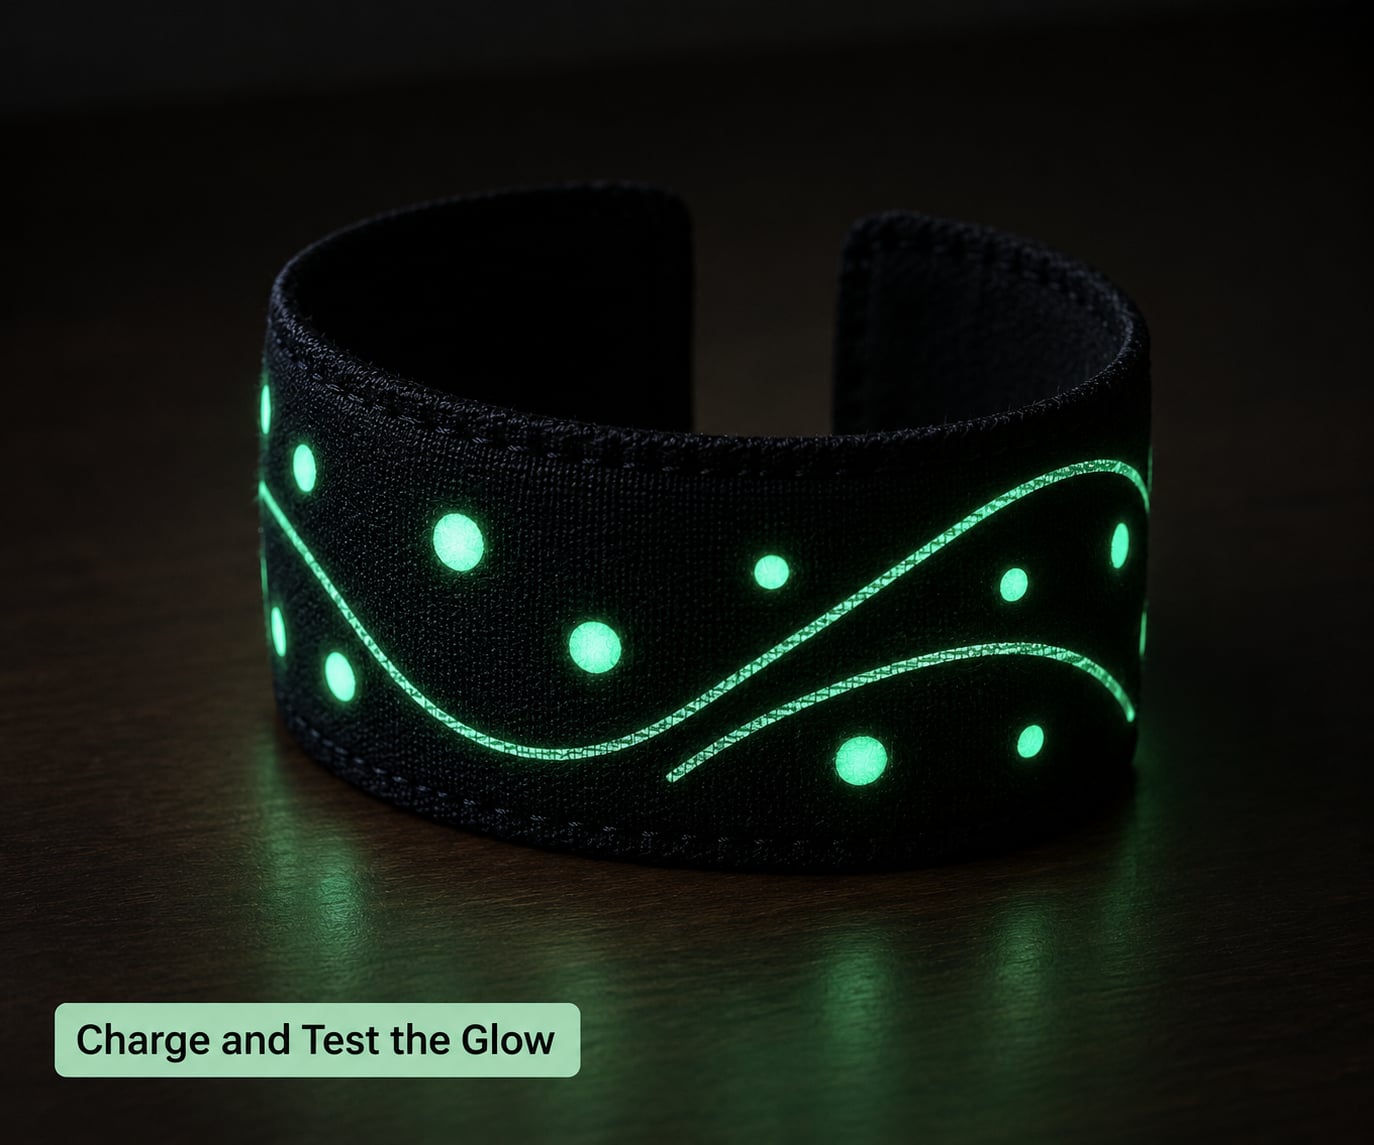
Charging is the step people skip, and it is the difference between details that glow and details that sit there looking grey. Hold the painted area under sunlight for five to ten minutes, under a bright lamp for a few minutes longer, or under a UV flashlight or black light for roughly 30 to 60 seconds. UV light charges fastest and gives the brightest starting point, which is why it is worth keeping one in the toolkit.
Then go somewhere genuinely dark — a windowless closet, a garage, a bathroom with the lights off — and look. Daylight leaking under a door will fool you into thinking the paint has failed when it has not. Give your eyes a minute to adjust before you judge the brightness.
Judge three things: whether the glow is bright enough to see across a room, whether it fades evenly or has dull patches, and how it looks against the rest of the costume. Dull patches almost always mean an uneven coat, so go back and add one more thin layer rather than trying to fix it with a heavier one.
Photograph your test at the same point you expect to be shooting on the night — roughly fifteen minutes after charging in a dark space, not immediately. A phone camera with night mode or a slightly longer exposure will pick up details your eyes miss in the moment. If a detail has faded away by the time you take the picture, add more coverage to that spot.
Make the Details Last
A thin clear finish over cured paint slows down wear and flacking, and it also slightly boosts how much light gets back to the pigment. Keep the finish flexible on fabric — a hard clear coat on a moving costume panel cracks within an hour. On masks, props and other rigid surfaces, a clear acrylic sealer is safe and lasts years.
Storage matters more than most people expect. Paint cured on a folded garment can crack along the fold line. Hang the costume or lay it flat with nothing resting on the painted areas, and keep it somewhere cool and dark, because heat and long exposure to light drain the stored charge.
Carry a small UV torch in a pocket or a phone with a UV flashlight app. Two minutes of charging in a doorway before you knock restores most of what you lost walking between houses, and nobody on the street will think twice about it.
Clean gently if you can. Spot-clean painted details with a barely damp cloth, and never put painted costume pieces in a washing machine. Remove any electronics before cleaning a wired costume, and follow the maker’s guidance for the battery pack.
Common Mistakes
Painting straight onto dark fabric. The result looks weak in daylight and barely registers at night. Fix it with a white or light-grey base coat, dry it fully, then apply two thin coats of glow paint over the top.
Skipping the charge. Glow material sitting in a dim room has almost no light to give back. Charge under sunlight, a bright lamp or a UV flashlight right before the costume goes on, not the morning you painted it.
One thick coat instead of several thin ones. Thick paint dries unevenly and hides the charged layer. Two or three light coats dry faster and glow brighter.
Not waiting for each coat to dry. A second coat applied to tacky paint lifts the first one. Follow the drying time on the label and give it longer in humid weather.
Expecting a visible effect in bright light. In daylight or a lit room, glowing details read as a slightly lighter grey-green. That is normal. Check them in real darkness before you decide a technique has failed.
Taping LEDs or wire directly to skin. It creates hot spots, looks patchy, and gets uncomfortable within an hour. Wear the lighting loose over a dark base layer instead.
Washing painted costume pieces. Most glow paint is water-based and will not survive a machine cycle. Cold hand-washing and air drying preserves it better, and sealed paint lasts longest of all.
And if the glow fades faster than you expected mid-night, the cause is usually one of three things: the details were only lightly charged, the coat was too thin to hold much energy, or the fabric underneath was dark. A quick UV top-up solves the first two. The third one needs a base coat next year.
On safety, for children’s costumes use non-toxic craft paint and keep it off bare skin, and swap LEDs and coin-cell batteries for an adult-made project. Keep any lighting away from the face and eyes, and never leave heat-producing lights running against skin under a tight costume.
Frequently Asked Questions
How can I make my clothes glow in the dark?
Paint the details in glow-in-the-dark fabric paint over a white base coat, let each layer dry fully, then hold the garment under sunlight or a bright lamp for five to ten minutes before wearing it. A UV flashlight charges in under a minute. Glow thread works well too, but only if you stitch it densely enough to be visible once the light goes off.
How do you activate glow-in-the-dark paint and fabric?
Activation means exposing the dried paint to a strong light source so the pigment stores that energy. Sunlight and a bright lamp both work, though a UV flashlight charges fastest and gives the brightest start. Give the paint its full drying time first, then charge it immediately before the costume goes on. Recharge it mid-evening with a pocket UV torch.
How can I make the glow last all night?
Charge the details hard right before you leave, keep a small UV torch in a pocket for top-ups, and add more coverage so each area holds more light. Sealing cured paint with a clear flexible finish slows down wear. For a full night of bright, fading-free light, use LED strip or EL wire with a battery pack instead of paint.
Is there a way to make glow-in-the-dark effects permanent?
Nothing is permanent, but you can get close. Clear sealing over cured paint protects the pigment from rubbing and flaking, and resin or epoxy encapsulation makes costume details such as glowing eyes or teeth last for years. Adding an LED inside a resin piece gives you permanent light rather than permanent glow. Expect photoluminescent paint to fade gradually over a season or two of wear.
What glows the brightest without electronics?
Modern strontium aluminate paint, glow fabric paint and glow thread all outperform the older zinc sulfide products, and they are brightest immediately after a UV charge. Glow thread needs dense stitching to register at all. Chemiluminescent glow sticks hold a steady bright light with no charging but never recharge, so they suit accents like bones, wands and party favours.
Conclusion
Start small. Pick a hidden seam, test your glow material on it, let it dry properly, then charge it under a UV flashlight and look at it in a genuinely dark room. That ten-minute check tells you whether the material suits your fabric and how many coats you need before you commit an evening to the whole costume.
Once you have a result you like, scale it up: a white base coat first, two or three thin coats of glow paint or fabric paint, full drying time between layers, and a fresh charge just before trick-or-treating. Keep a UV torch in your pocket for the walk between houses. If you need brightness that never fades, add LED strip or EL wire over a dark base layer instead.
Happy making, and good luck with the details in 2026.