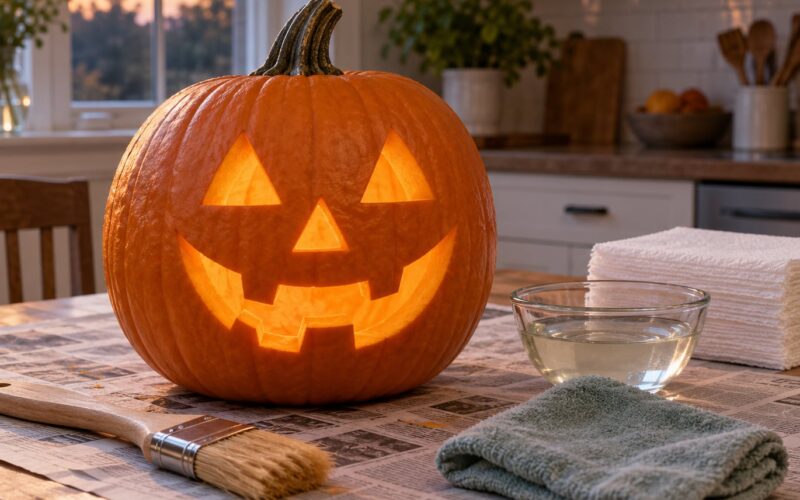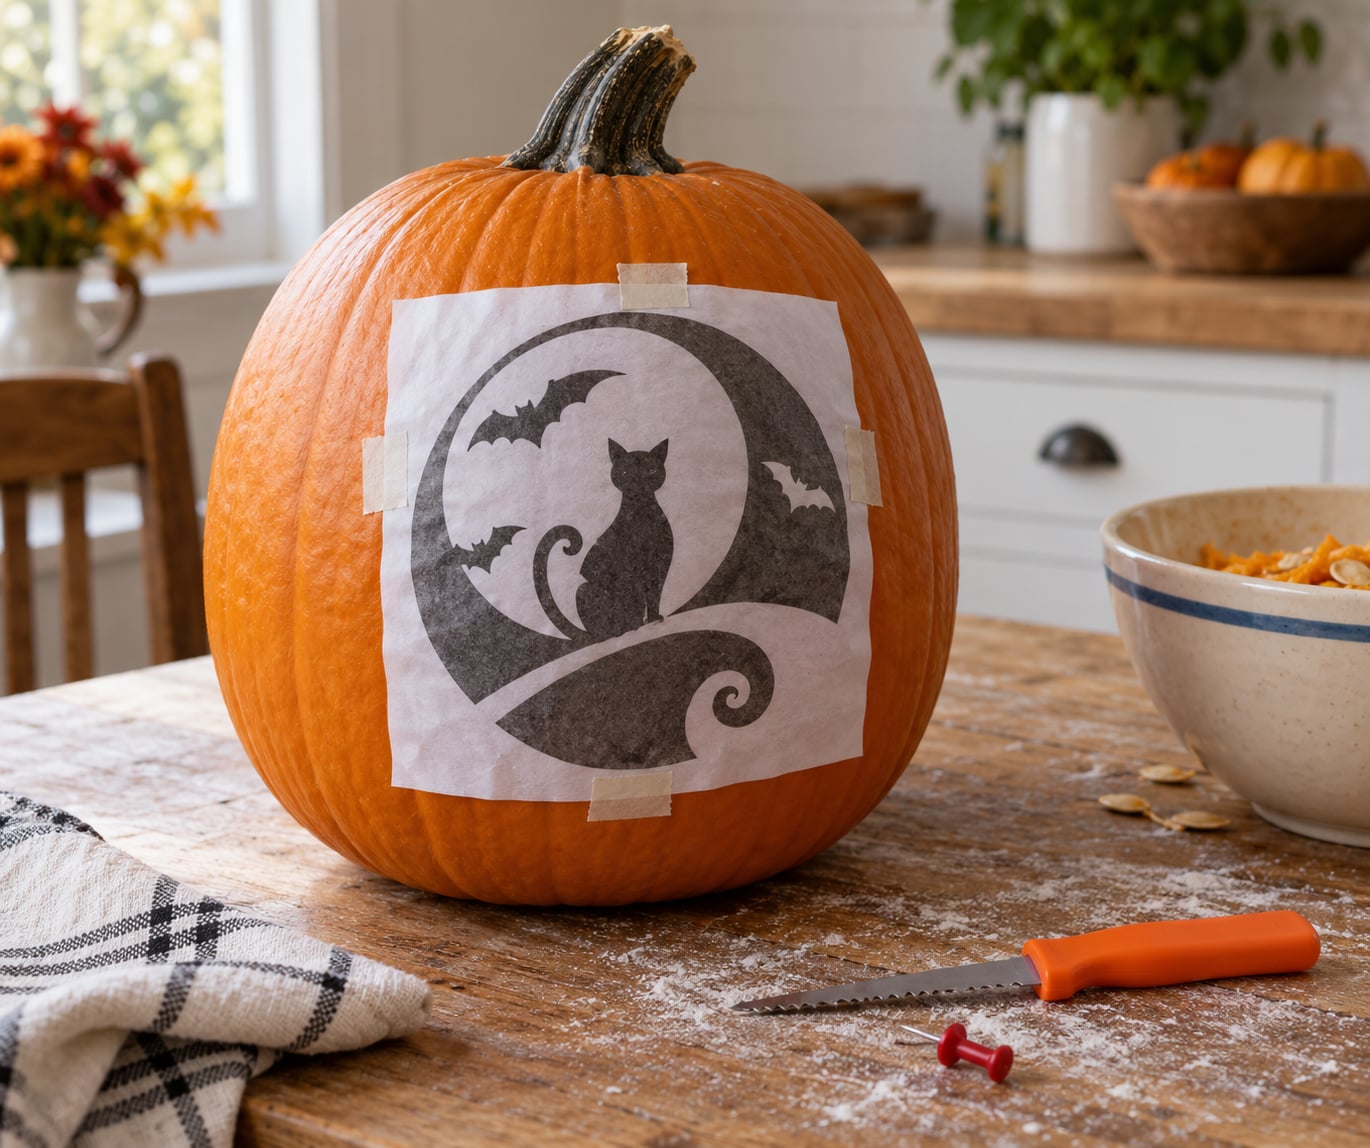
The fastest way to transfer a pumpkin carving pattern is the poke-and-peel method: tape or pin your printed design to the pumpkin, prick closely spaced holes along the lines with a pushpin, then peel the paper off and carve through the dots. Set aside 15 minutes of setup and an hour of carving, and the whole thing works on any curve or rib.
That matters because freehand drawing is where most first attempts fall apart. A ruler line curves away from you on a ribbed gourd, and by the third segment you have no idea where the nose goes.
Table of Contents
- What You Need
- Step-by-Step: How to Transfer a Pumpkin Carving Pattern
- Choose the Best Transfer Method
- Prepare the Pumpkin and Pattern
- How to Transfer a Pumpkin Carving Pattern Without Smudging
- Check the Lines Before Carving
- Common Mistakes and How to Fix Them
- Frequently Asked Questions
- What is the easiest way to transfer a pumpkin carving pattern?
- Can I use carbon paper instead of tracing paper?
- How do I transfer a pattern onto a curved pumpkin?
- What should I use if my transferred pencil lines are faint?
- Should I trace a pumpkin pattern before or after cutting the lid?
- Can I transfer a pumpkin carving pattern without tracing paper?
What You Need
The core kit is short. Everything else is a substitute for one of these items.
- The pumpkin. Wipe it down with a damp cloth. An unblemished, evenly shaped one carves cleaner, and a kitchen sponge takes dirt off the skin without scratching it.
- Your pattern, printed at the right size. A letter-size sheet works if the design is small and simple. Photo-realistic designs need a printer or a craft plotter.
- Pushpins, thumbtacks, or a carving poker to poke the outline through.
- Optional transfer paper if you would rather draw the design onto the pumpkin than prick holes. Blue or graphite paper both work, though they leave different marks.
- Low-tack tape to hold the pattern, or pins if the skin is still damp.
- A small serrated carving saw and a gouge or scraper for the thin walls.
- An ice cream scoop or metal spoon to hollow it out.
- Flour or charcoal dust for revealing poked dots before you commit with a blade.
Keep a damp towel under the pumpkin so it does not roll while you work. And if kids are carving alongside you, hand them the poking tool and a spoon, not the knife. Adults do the cutting, and hands get washed before and after.
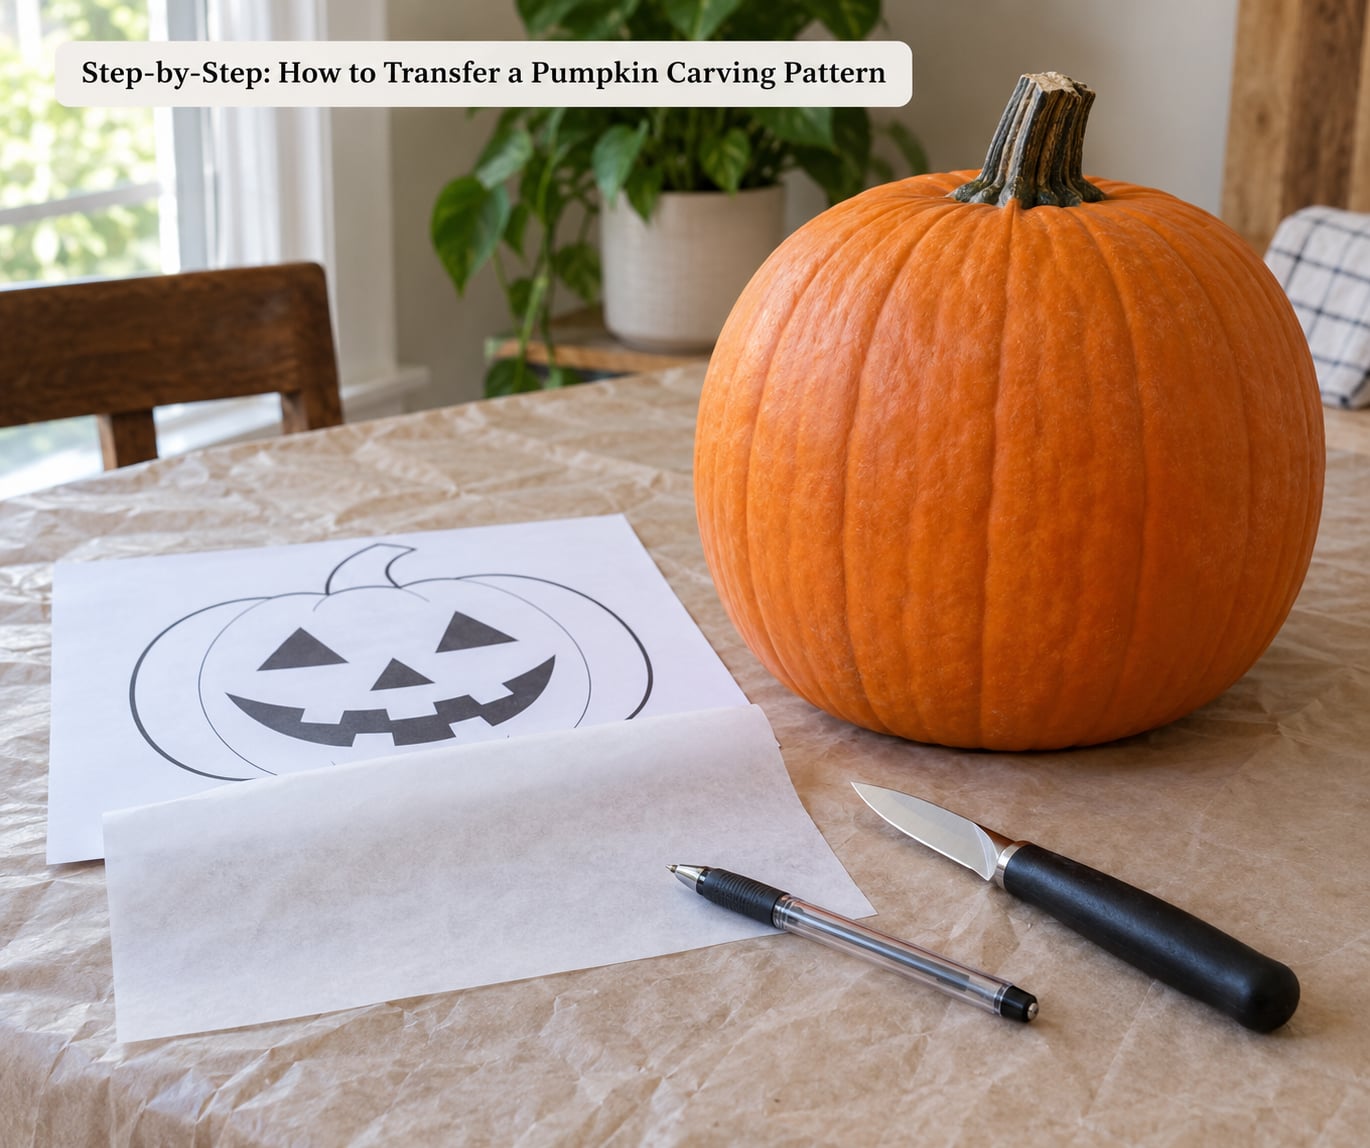
Step-by-Step: How to Transfer a Pumpkin Carving Pattern
Choose the Best Transfer Method
Four methods cover almost every situation. Match one to your design and your patience level.
- Poke-and-peel (recommended default). Pushpins, thumbtacks, or a carving poker; a toothpick for the smallest holes. Works on curved and uneven surfaces, takes no cleanup, and leaves dots you carve just inside of.
- Graphite or carbon transfer paper. Graphite paper, carbon paper, or blue Saral-style transfer paper. Best for line art, text, and logos where you want a continuous dark line to follow, and for thin-wall pumpkins where holes would blow through.
- Glue transfer. Soak the printed pattern in water for a few minutes, smear washable school glue on the back, and press it onto the skin. Popular on Halloween carving forums because it hugs curves with no tape and no pins.
- Paint, not carve. Stencil adhesive or painter’s tape on the pumpkin with a foam pouncer. The design lasts the season, costs nothing to redo, and is the gentlest option for a kid’s first attempt.
Prepare the Pumpkin and Pattern
Cut the lid and scoop out all the seeds and stringy pulp before you tape anything on. Hollowing takes time, and a firm, thin-walled shell holds pins and lines up far better than a heavy one.
- Wipe the skin dry and pick the smoothest, flattest side of the pumpkin. Ribs and dents are exactly where paper buckles.
- Cut around the stem to remove the lid, then scoop out the insides, scraping the walls down to roughly half an inch if you want to carve both faces.
- Size your pattern to the pumpkin. On your printer’s scale box, print mini pumpkins (under 5 pounds) at 60 to 75 percent, average 10- to 15-pound pumpkins at 100 percent, and large 25- to 35-pound gourds at 130 to 150 percent.
- Dry-fit the paper against the pumpkin before taping. If it overlaps a deep rib or hangs off the bottom, scale it down rather than trying to force it.
If you are carving a photo or a downloaded image, turn it into a bold stencil first. Drop the saturation, push the contrast until it is pure black and white, erase the background so only the silhouette remains, and check that thin islands of white stay connected to the main shape.
Slit the paper edges with scissors or a craft knife so the flat sheet can bend. Then tape the pattern down with loops rather than long strips, or push a pin through it at the highlights and key shapes. Pushpins bite into a damp skin where tape adhesive just slides off.
If you are working without a printer, trace the pattern by holding it against a window or a tablet screen and copying the lines onto regular paper with a ballpoint. That paper is thin enough to poke through cleanly.
How to Transfer a Pumpkin Carving Pattern Without Smudging
With the poke method, space your holes about 2 to 3 millimeters apart along each line. Any wider and the carving wanders; much closer and you spend ten minutes on one section. Use one hand to press the paper flat while the other pokes, and re-press after every few inches so the paper cannot shift under your fingers.
Follow corners with two or three holes rather than one, since the dots you actually carve need to sit right at the turn.
With transfer paper, the coated side faces down against the pumpkin and your drawing goes on top. Tape your pattern, slip the transfer paper underneath with the colored side toward the pumpkin, and trace every line with firm, even pressure from a ballpoint pen. Small carvers get through fine print at 100 percent; fine detail work better at 130 percent or so.
The same sheet can be reused several times, and blue or graphite traces wipe off with a damp cloth if you change your mind, though they leave a light gray film that takes a bit of scrubbing.
Once the pattern is off, the dots are hard to see. Rub a light dusting of flour or charcoal dust over the pumpkin and brush off the excess, and the dotted outline pops out clearly. Then cut just inside the dots rather than on them, and the holes disappear inside the carved channel.
Carve the inside shapes first and the outer outline last. Small floating pieces, like a nose or a tooth, survive much longer when the surrounding wall is still intact to hold them.
Check the Lines Before Carving
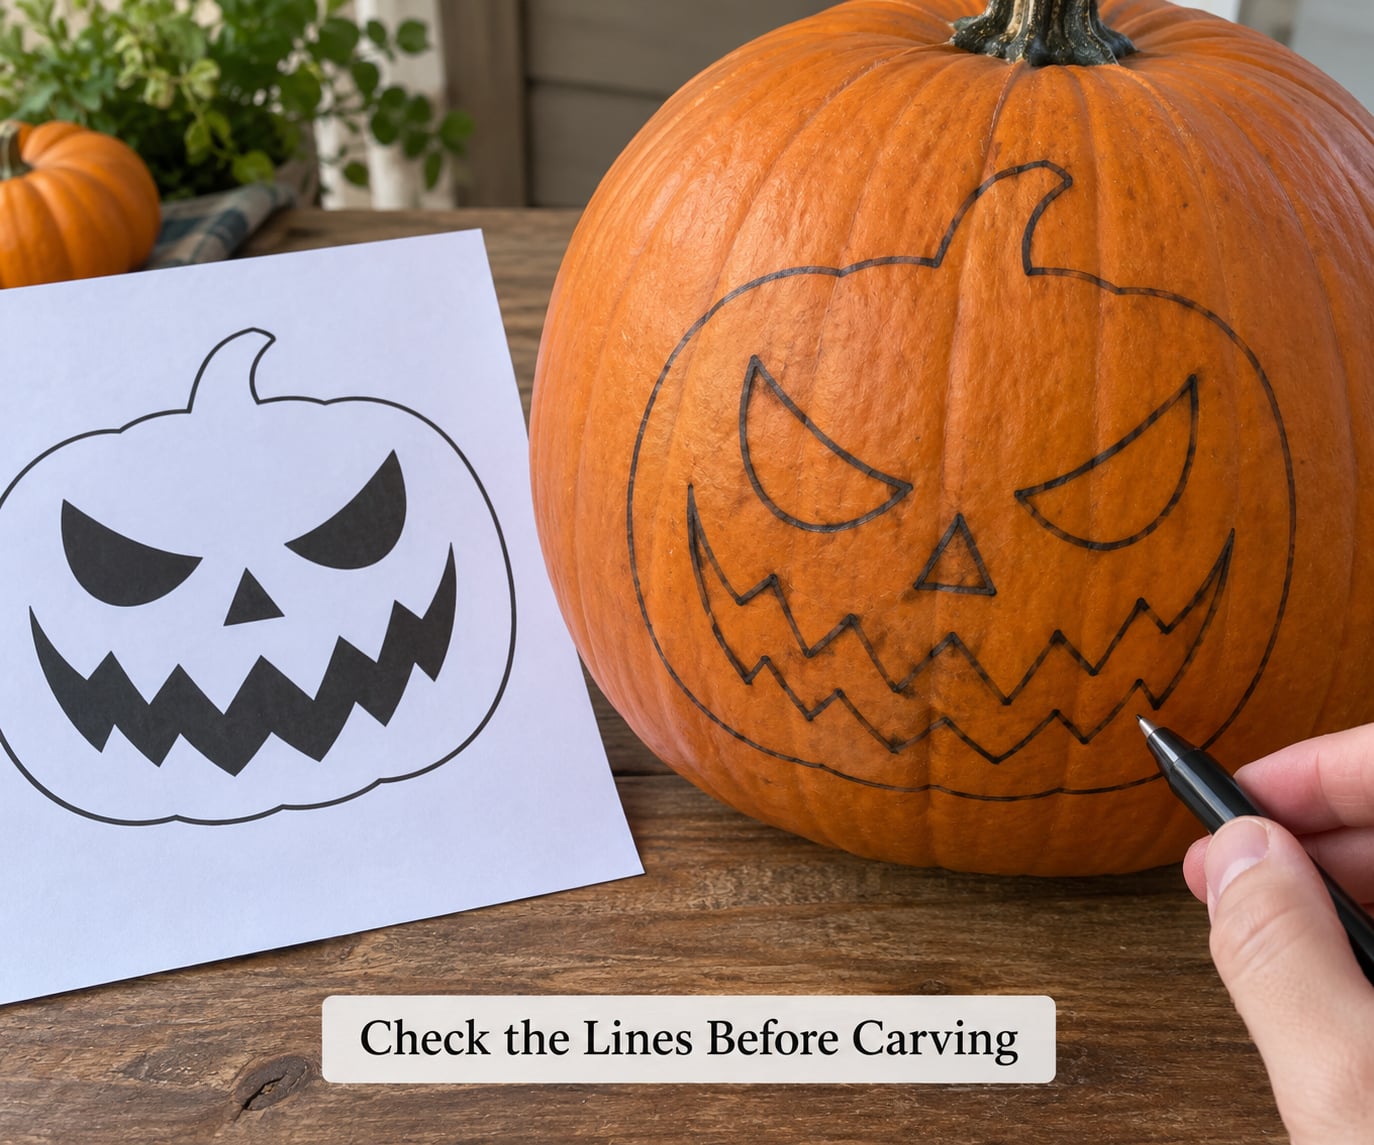
Turn the pumpkin slowly in front of a light and read the whole outline, the way you would proof a page before printing it. A dotted line that wanders off the ridge or doubles back on itself is much easier to fix now, with a pushpin and more tape, than after the saw has already gone through.
Graphite lines that look dark on the table often turn faint on a curved, waxy skin. Go over any pale stretch twice with the pen. If a line smudged or lifted into a blob, dab it with a paper towel while it is still fresh rather than trying to erase it later, since graphite ground into the skin is a nuisance to scrub off.
Give one short test cut on a scrap of the skin or on the pumpkin’s base, where mistakes are hidden. If the saw tracks instead of cutting, the blade is probably going the wrong direction. Check that every tooth is pointing toward your hand.
Common Mistakes and How to Fix Them
- The pattern slides or lifts mid-carve. Usually damp skin and tape adhesive. Pat the pumpkin dry, or switch to pins through the highlights.
- The paper wrinkles and tears on the ribs. Flat paper cannot hug a curve. Slit the paper edges, or use the glue method, which shrinks with the skin as it dries.
- Transferred lines are faint or patchy. Too little pressure, or a hard, cold pumpkin. Warm the pumpkin in a sunny spot first and trace twice with a fresh pen tip.
- Graphite smudges when you touch the pumpkin. Let it set for a few minutes, and handle the pumpkin by the lid or the base rather than the drawing.
- You cut the wrong side of the line. Decide before you start: for line art and text, cut along the outline. For solid silhouette stencils, cut out the black areas and leave the white ones as raised wall.
- Fine detail holes merge into a blur. The design is too small for that pumpkin. Print it 30 to 50 percent larger, or simplify the pattern.
- You started carving before drying. A wet skin dents and gummy blades tear it. Let the pumpkin sit for an hour after washing or gluing.
- The dotted outline curves away from the blade. You are cutting on the outside of the dots. Shift a couple millimeters inside.
Seasonal timing matters more than most guides admit. A carved pumpkin holds up well for about a week indoors and longer outdoors in cool weather, so carve close to Halloween rather than at the start of the month.
A thin coat of petroleum jelly or a spray of water on the carved edges slows down drying and wrinkling, if you want it to look good for a full week on a porch.
Frequently Asked Questions
What is the easiest way to transfer a pumpkin carving pattern?
The poke-and-peel method is the easiest for most people. Tape or pin your printed pattern to the pumpkin, prick holes along the lines every 2 to 3 millimeters with a pushpin, then peel the paper off. Rub flour or charcoal dust over the pumpkin to reveal the dots, and carve just inside them so the holes vanish. It needs no special paper and works on curved or uneven surfaces.
Can I use carbon paper instead of tracing paper?
Yes. Carbon or graphite transfer paper works well and leaves a continuous line, which suits logos, text, and thin patterns better than poke holes. Tape the pattern down, lay the transfer paper underneath with the coated side against the pumpkin, then trace over every line with firm, even pressure from a ballpoint pen. The same sheet can be reused several times.
How do I transfer a pattern onto a curved pumpkin?
Use one of three tricks: slit the paper edges with scissors so the flat sheet can bend into the ribs, pin the pattern with pushpins through the highlights instead of taping it, or soak the pattern in water and coat the back with washable school glue before pressing it on. All three let the paper follow the curve instead of bridging over it. Steer clear of the deep rib valleys when placing the design.
What should I use if my transferred pencil lines are faint?
Trace the faint sections a second time with firm pressure, and make sure the transfer paper’s coated side was facing the pumpkin. If the lines still will not show, the skin is probably too cold or waxy, so warm the pumpkin in a sunny spot for an hour first. The poke-and-peel method sidesteps the problem entirely if faint lines keep happening.
Should I trace a pumpkin pattern before or after cutting the lid?
After. Always cut the lid and scoop out the seeds and pulp before you tape on a pattern. A hollowed, thin-walled pumpkin is lighter, holds pins firmly, and gives you a stable surface to carve. It also stops you from tracing onto a pumpkin that is about to shrink and shift as it dries, which drags the whole design out of alignment.
Can I transfer a pumpkin carving pattern without tracing paper?
Yes, and most carvers never use it. The poke-and-peel method needs only a printed pattern, a pushpin, and tape. Another option is soaking a hand-drawn pattern in water and coating the back with washable school glue, then pressing it onto the skin. If you have no printer either, hold the pattern against a window or tablet screen and copy it onto plain paper with a ballpoint pen.
Start with the poke method. Hollow the pumpkin, tape on your pattern, prick the outline every 2 to 3 millimeters, dust it with flour to check your lines, and cut just inside the dots. Reach for transfer paper only when you are working with text, a logo, or a pattern too delicate to read as a line of holes.