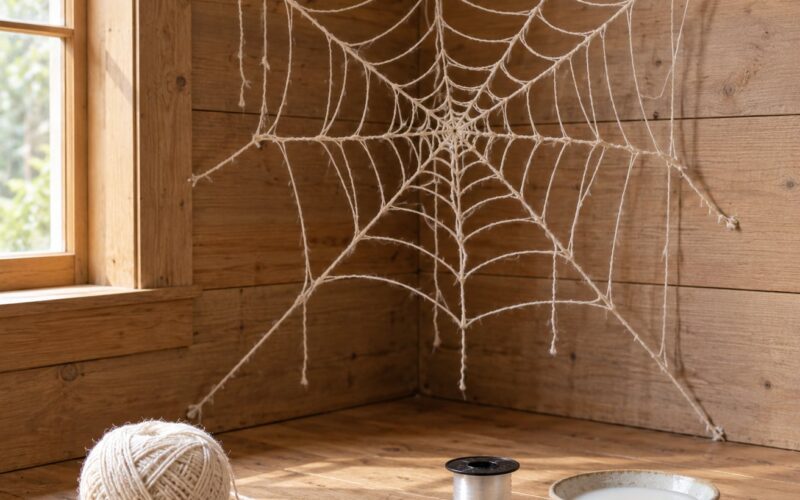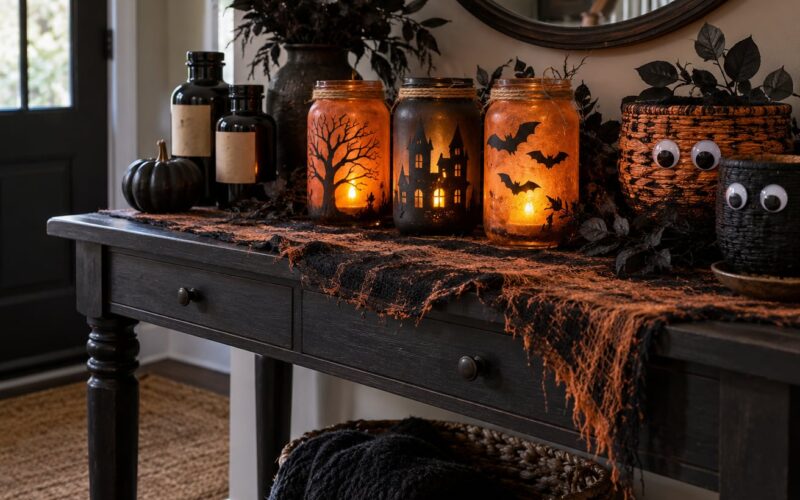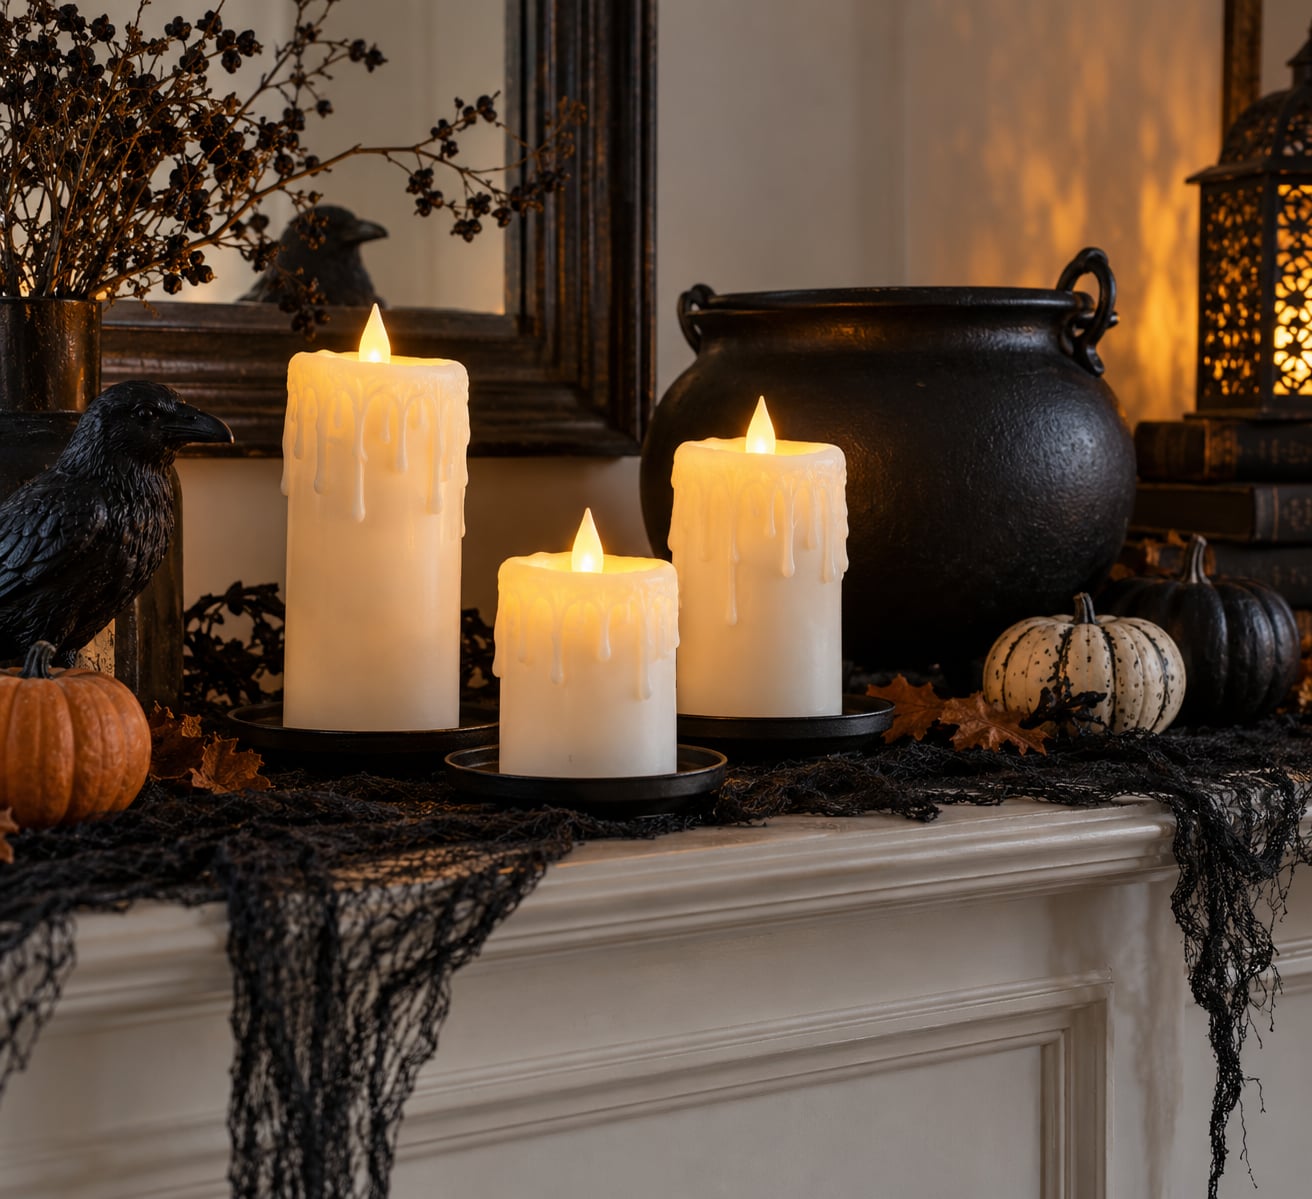
The safest way to make dripping candles that are not a fire hazard is to skip the wick entirely. Build the whole effect around a battery-operated LED candle, then add the wax tears with cool-touch glue that never gets heated. There is no flame near fabric, no pot of molten wax on the stove, and nothing for a curious pet to knock over. If you would rather work with real wax, the same effect works with a water bath, a stable heatproof vessel and strict burn rules, which I cover below.
Both routes give you that slow, hardened wax run down the sides of a taper that makes a Halloween mantel look convincingly haunted. The difference is what happens if a sleeve catches on a drip, a pet knocks the display, or the house empties out for ten minutes while you are in the kitchen.
This guide covers the flameless method in full, then the real-wax method with the burn rules that no competitor tutorial bothers to state. Budget about 45 minutes for a flameless set of three candles, including drying time.
Table of Contents
- What Makes a Dripping Candle a Fire Hazard
- What You Need for How to Make Dripping Candles That Are Not a Fire Hazard
- Step-by-Step
- Plan the Layout and Test the Surface
- Make the Wax-Drip Effect
- How to Make Dripping Candles That Are Not a Fire Hazard
- Finish and Inspect the Display
- How to Light and Burn a Dripping Candle Safely
- Flame-Free Ways to Get the Drip Look
- Common Mistakes
- Frequently Asked Questions
- Are flameless dripping candles safer than real candles?
- Can I use hot glue to make wax drips on a candle?
- Can I add fake wax drips to a real burning candle?
- What is the best surface for dripping candles?
- How do I make fake candle drips harden quickly?
- Can children or pets be near flameless dripping candles?
- Conclusion
What Makes a Dripping Candle a Fire Hazard
A drip candle is not more dangerous than a taper by some large margin. It is dangerous in four specific ways, and once you know them, three of the four are easy to design out.
| Fire hazard | What actually goes wrong | How to prevent it |
|---|---|---|
| Open flame next to layered wax | The decorative wax you added softens faster than the base candle, and softened wax can slump toward the flame or run onto the holder. | Light with a long lighter and keep the flame low, or use a flameless LED candle. |
| Runaway melt pool | A drip candle melts a wider surface than a taper. Wax spills over the rim and pools on the surface below, which is hot enough to burn skin and can scorch wood. | Choose a shallow, wide, non-porous vessel and never burn a container down to an empty shell. |
| Unstable vessel | Decorative tins, teacups and paper props tip, shatter or ignite. People ask about this constantly on candle forums because it is the single most common worry. | Use a purpose-made heat-resistant holder with a flat base, set on a tray. |
| Combustible surroundings | Drips land on a runner, a paper garland, dried foliage or a wreath, and the surface area of exposed wax carries heat further than a normal candle. | Keep at least 12 inches of clear space on all sides, away from draughts. |
Burned wax is a burn hazard before it is a fire hazard. Wax melted in a home kitchen regularly causes contact burns, and most of those come from tilting a container to pour rather than from anything catching alight. Tongs, a stable surface and a tray under every pour handle most of it.
The real-world failures people report are rarely dramatic. A candle set on a wreath at a party is the common one, and the outcome was a destroyed wreath and a call to the fire department. Nothing about that needed an open flame near a dry twig wreath to go wrong. Distance and an unlit or flameless option handle it.
What You Need for How to Make Dripping Candles That Are Not a Fire Hazard
Everything below assumes the flameless route. It uses no heat source at all.
- Battery-operated LED tea lights or pillar candles — pick ones with a flat, stable base and a flicker or steady-glow setting.
- Cool-touch craft glue or a cool-set glue gun — the low-temperature type that will not blister your fingers if you brush against it.
- Clear or white craft glue — this gives you a translucent, wax-like drip rather than a plastic-looking blob.
- Utility shears — for trimming hardened drips flat against the candle.
- Tweezers — for pulling a drip into a taper instead of a lump.
- A sturdy tray, plate or shallow bowl — one per candle, so nothing reaches the furniture.
- A plastic tablecloth or silicone mat — your working surface.
- Optional Halloween props — plastic cauldrons, black trays, faux cobwebs made of stretchy nylon, battery lanterns.
What not to improvise with: exposed bulbs without a battery base, fabric or paper wrapped around any light source, and real matches. If a material is not rated for heat and you are unsure whether it is, treat it as a no.
Step-by-Step
Plan the Layout and Test the Surface
Choose a dry, level, indoor surface away from children, pets, draughts, curtains and other decorations. A mantel shelf works if the candles sit at the back edge, away from where people will brush past them on the way to the door.
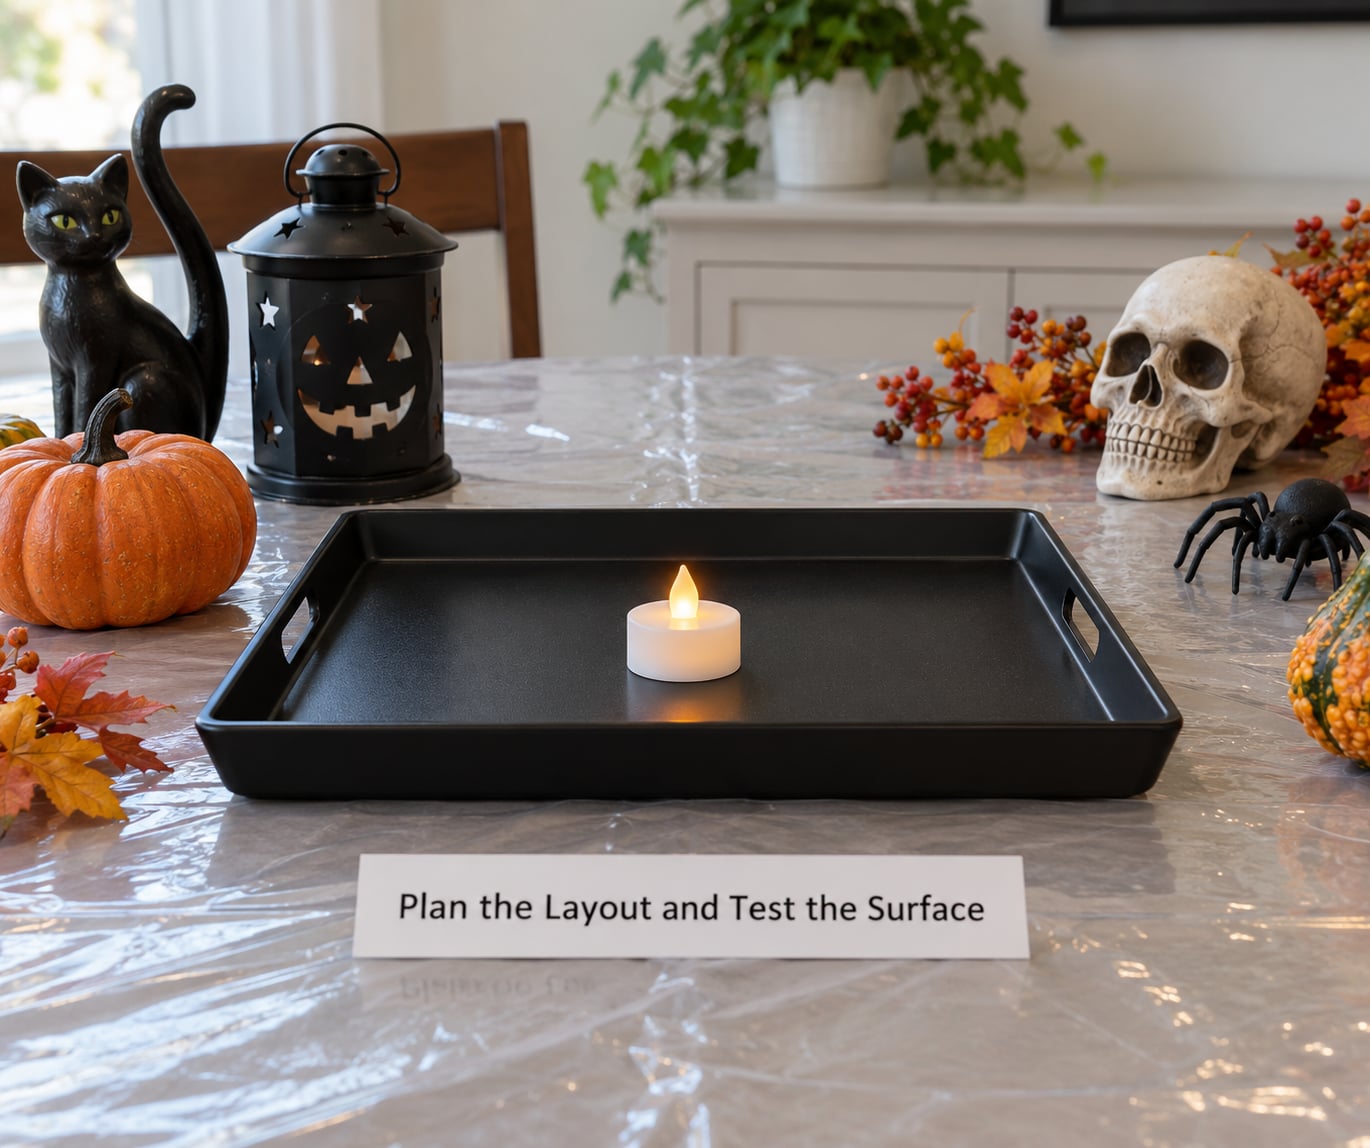
Cover the surface with a plastic tablecloth or silicone mat, then set one LED tea light in the centre of a tray. The tray is not optional decoration. It is the thing that catches anything that shifts, slides or tips during a busy Halloween night.
Turn the candle on before you start. Some battery candles have a timer or a dim setting that makes them look dead from across a room. Better to find that out now than after the glue has set.
Make the Wax-Drip Effect
Work on a protected surface with the candle unlit or switched off. Squeeze a small amount of clear craft glue onto the upper edge of the candle body, then let gravity do the rest.
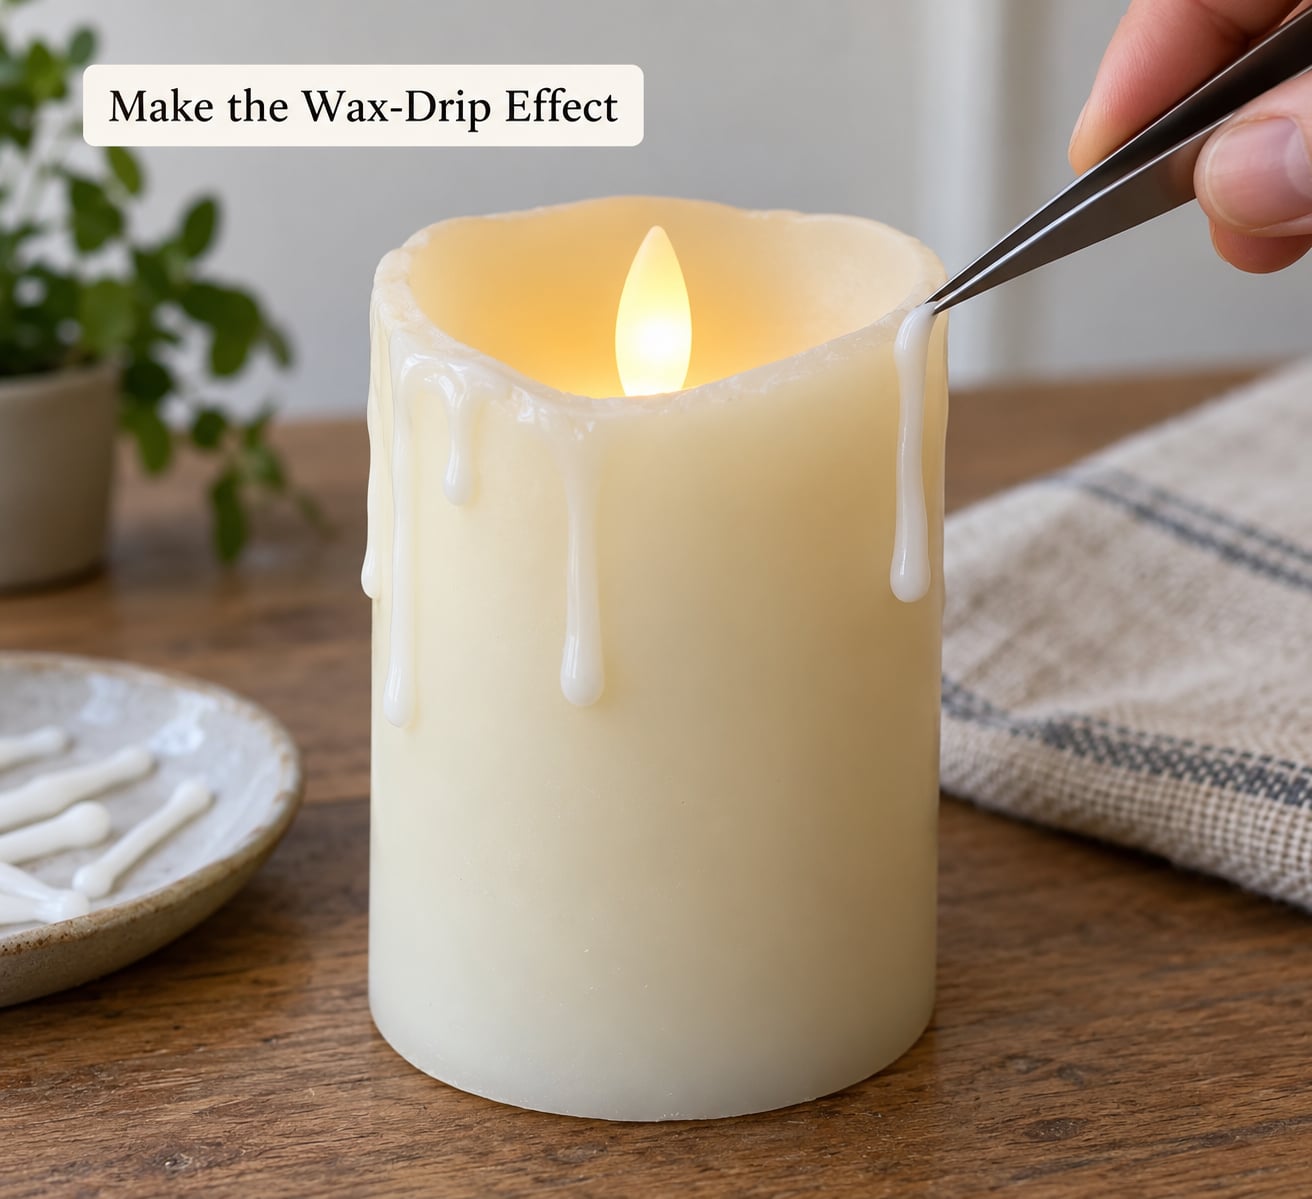
Vary the lengths. Three drips of different heights look like a candle that has been burning for months; six identical drips look like a glue gun went wrong. Put the thicker, shorter drips near the top and the thinner, longer ones lower down, the way real wax thins as it runs.
Build each drip in layers. Let the first bead set for a minute, then add a small amount underneath to extend it. Use tweezers while the glue is still soft to pull the tip into a point. One heavy application gives you a blob. Layers give you a taper.
Keep every drop of adhesive on the outside of the LED housing. Do not let it run over the top edge into the light, the switch, or any vent slot. Those are the parts that make the candle work.
Alternative technique: if you want a thicker, more wax-like look, use the cool-touch glue gun for the outer layer and craft glue underneath. Hot glue gives the shine but it will soften and slump on a warm battery candle, so pick a battery model with a cool-running base or keep the layers thin.
How to Make Dripping Candles That Are Not a Fire Hazard
The key rule is simple: use only battery-operated flameless candles for decorative drips, and never place a real flame beneath or beside a melted-looking decoration.
Electrical candles remove the open flame. They do not remove the need for stable placement and compatible materials. A flameless candle knocked off a tray still lands on your table, and glue on a switch still means a candle that stops working mid-party.
If you want to go the real-wax route for the drips and still have an open flame, then it is a hot craft. Use a double boiler or a heatproof bowl over simmering water, never a bare pan of wax on a burner. Direct heat sends wax to its flash point, and the result is a flash fire in your kitchen. Add a wax thermometer and a drip plate. Melt in batches so you never hold a full bowl of molten wax while trying to decorate.
Clear the area before you pour. Keep paper, tissue, plastic bags, feathers, dry foliage, matches and a lighter somewhere else entirely.
Finish and Inspect the Display
Let every drip harden completely before you move the candle. Ten minutes for craft glue, longer if you used several layers. Move it early and you will lift the drip off the surface.
Trim uneven tips with the shears, cutting flush against the candle body so the drip ends in a rounded bead rather than a spike.
Then run the inspection. Switch the candle on and confirm the light, the timer and the battery compartment all work. Check that no glue has crept onto the switch or the top edge. Confirm the candle sits flat on its tray with no gap at the base. Confirm nothing within a foot of it is fabric, paper, straw, dried leaves or a wreath.
If tipping is possible where you are placing it, secure the candle to the tray with a small removable dab of adhesive underneath. If guests, pets or furniture bump the area, battery candles are the better call.
How to Light and Burn a Dripping Candle Safely
Some readers want the real flame and the flicker. That is a reasonable choice as long as the burn is controlled. These are the numbers, because “burn it for a while” is not guidance.
- One inch of wax burns roughly one hour. Use it to estimate a session before you light.
- Four hours is the ceiling for a single burn. Long burns let the container heat past what the wick and vessel were tested for, and soot builds up on the glass.
- Stop with 2 inches of wax still in the base. An almost-empty container runs hotter than a full one and its walls can crack.
- Never burn an empty vessel. This is the rule that starts house fires. Once the fuel is gone, the wick keeps burning.
- Light the wick, not the wax. A long lighter keeps your hand out of the drip zone and prevents wax from catching near the flame.
- Snuff, do not blow. Blowing scatters hot wax droplets and can flare the wick. A wick snubber or a metal lid pressed straight down puts the flame out cleanly.
- Never move a lit candle. Carry it by the tray, and only when the wax has fully hardened.
- Never leave one unattended. Set a phone alarm if you need to be in another room.
You will see these numbers described online as the 84 rule, the 3-hour rule and the 8:10 rule. They are community nicknames for the same handful of guidelines above rather than separate standards, and the honest version is simply: burn no longer than four hours, stop when two inches of wax remain, and never burn an empty container.
Wax choice changes how controlled your drips are. It also changes how hot the melt gets.
| Wax type | Typical melt range | Drip behaviour | Safety note |
|---|---|---|---|
| Paraffin | About 120 to 150 F | Runs freely and easily. Best for glossy, fast, dramatic Halloween drips. | Burns hotter and dirtier than soy. Never heat over direct flame. |
| Soy | About 120 to 135 F | Slower, softer runs with a more natural curve. | Cleaner burn and a cooler melt pool. Follow the supplier instructions. |
| Beeswax | About 145 to 154 F | Thick, slow, opaque drips that set firm. | Highest melt range of the three. Needs the most careful heat control. |
Overheating wax is the danger in all three. Wax becomes a fuel once it is hot enough to give off vapour, which is why a water bath and a thermometer matter more than the wax choice. Water inside the wax spatters violently, so keep every drop of water out of the bowl.
Flame-Free Ways to Get the Drip Look
This is where a Halloween display gets easier, and it is the part almost no tutorial covers.
- Glue drips on an LED candle. The method above. Works on any battery pillar or tea light.
- The sideways hold. Hold an unlit taper horizontally over a low heat source or over a warm radiator until the upper edge softens, then set it upright and let the melt run. Candle people report this works well on cheap taper candles, and it needs no bowl at all.
- Crayon drips, decor only. Melted crayon makes a convincing blood-red drip on a white pillar. Treat it as a permanent decoration and never light that candle. Crayon pigment is not formulated as candle fuel, and it is not a food-grade surface either.
- Cauldron pours. A battery tealight sitting in a plastic cauldron with glue drips over the rim reads as overflowing wax from across a room.
- Nothing at all. A pillar candle with a slow, uneven run already applied, unlit, next to your flameless set. Nobody checks the battery in a decoration that sits still.
Do the sideways-hold method while the taper is unlit and over a controlled low heat. Never hold a taper sideways over a burner, a lighter or a candle flame.
Common Mistakes
Every one of these is a repeat of somebody’s real night going wrong.
- Covering a real burning candle with fake wax. The flame sits far closer to the softened decoration than it does on an untouched taper. Fix: build the drip effect on an unlit candle first, then use a flameless model for display.
- Glue on a hot housing. Adhesive on a warm LED body will slump and slide off before it sets. Fix: use cool-touch adhesive only, and let the candle cool fully.
- Drips over bedding, paper or fabric. Melted wax on a tablecloth is both a burn and a scorch risk. Fix: tray under every candle, 12 inches of clear space around it.
- Unattended lights. A battery candle left in a draught can fall, and a lit one will not care. Fix: place away from doorways, fans and open windows.
- Moisture reaching the battery compartment. Water in a hollow base ruins the candle and can corrode the contacts. Fix: indoor use only, dry surface, check the seal before you set it down.
- A melt pool that overruns the rim. This is the top complaint on candle forums, and it is a genuine burn risk. Fix: a shallow, wide, non-porous vessel sized so the wax cannot climb out, plus a drip plate.
- Decorative tins, teacups and paper props as holders. Repurposed vessels can shatter or ignite. Fix: a purpose-made heat-resistant holder with a flat base.
- Tunnelling. A narrow hole burns down the side of the candle and leaves a collapsing wax cylinder. Fix: trim the wick to a quarter inch before every burn and keep the container warm all the way round on the first burn.
- Fragrance overload. Too much fragrance oil causes smoking and, in a closed room, real respiratory complaints. Fix: use less than the supplier recommends and never heat fragrance directly in an open bowl.
- Loose cords. If you use plug-in candles or string lights in the display, tape the cords down and out of walkways.
A few habits that make the whole thing easier. Rotate your batteries so a dim light never gets blamed on a dead candle. Test the entire display before guests arrive rather than in front of them. Store finished candles upright in a cool, dry cupboard, out of sunlight, so the drips do not soften and slide over the off-season. And if there are children or pets in the house, put the display where nobody walks and use flameless candles throughout, including the small tea lights tucked inside fake pumpkins.
Wax on wood and fabric gets its own fix. Do not scrape hardened wax off a finished surface; you will take the finish with it. Lay a paper towel or brown paper over the spot and press with a warm iron, then lift the paper that has absorbed the wax. Repeat with fresh paper. On fabric, wash after the wax is fully cool. On a wooden table, the honest answer is that a deep soak may not fully come out, which is exactly why the tray matters.
Frequently Asked Questions
Are flameless dripping candles safer than real candles?
Yes. A battery-operated LED candle removes the open flame entirely, which removes the ignition source, the wick that can fall into a melt pool and the hot wax pour. You still need a stable surface and clearance from fabric and paper, because a candle knocked off a tray still lands somewhere and glue on a switch stops the light working.
Can I use hot glue to make wax drips on a candle?
You can, on a flameless candle, as long as you use a low-temperature glue gun and keep the layers thin. Standard hot glue gives a convincing shine but slumps on a warm battery candle and can drip onto the switch. Work on a protected surface, keep the glue on the outside of the housing, and let each layer set before adding the next.
Can I add fake wax drips to a real burning candle?
It is safer not to. Decorative wax softens faster than the candle body, so the flame sits closer to softened material and the melt pool can slump or run over the holder. Apply the drip effect while the candle is unlit, let it harden fully, and if you want an open flame later, light it before the display goes up and stay in the room.
What is the best surface for dripping candles?
A dry, level, hard surface with clearance from curtains, paper, dried foliage and draughts, and always a tray or drip plate underneath. A mantel works if the candles sit at the back edge away from passing sleeves. Avoid wood with an existing wax stain, fabric runners and anything that tilts, and keep at least 12 inches of clear space on all sides.
How do I make fake candle drips harden quickly?
Apply small amounts in layers instead of one heavy pour. Cool-touch craft glue sets in a few minutes, so a thin bead followed by a second thin bead underneath gives you a taper you can shape with tweezers. Leave the candle untouched for about ten minutes before moving it, and use a cool dry room rather than a warm one, since warmth slows the set.
Can children or pets be near flameless dripping candles?
They are much safer than lit candles but not harmless. A flameless candle can still be knocked onto a table, and hardened drips or tray edges can be sharp enough to worry a pet that chews at them. Place the display above reach, keep it away from walkways, and check that no glue is accessible to curious hands or paws.
Conclusion
The safest first step in how to make dripping candles that are not a fire hazard is to build the effect around a stable battery-operated LED candle rather than an open flame. The drips come from cool-touch glue applied in thin layers, allowed to harden fully, then trimmed flat, and the whole thing sits on a tray in a clear, dry spot.
If you do want a real flame, the burn rules are the whole job: four hours maximum, stop with 2 inches of wax remaining, never burn an empty vessel, snuff rather than blow, and never leave it alone in the room. Either way, inspect the display before guests arrive and keep it away from combustible materials and curious hands.