Weatherproofing outdoor Halloween props means matching the protection to the material: seal porous surfaces so they stop absorbing water, cover or shelter the prop, keep every electrical connection dry, and anchor it so wind cannot take it. No single spray works on foam, resin, fabric, and paper at the same time.
This guide walks through how to weatherproof outdoor Halloween props step by step, from identifying weak points through sealing, covering, anchoring, and a storm plan. Most of the work takes an afternoon per prop, and the cheap methods work surprisingly well.
The honest limit is worth knowing up front. No method makes an indoor-rated prop fully waterproof, it just buys you time until the next dry night. Foam cracking and fabric fading are the two failures nobody fully prevents.
Table of Contents
- What You Need
- Step-by-Step: How to Weatherproof Outdoor Halloween Props
- 1. Identify the Prop Materials and Weak Points
- 2. Clean and Dry the Prop Thoroughly
- 3. Seal and Coat: How to Weatherproof Each Material
- 4. Seal Seams, Joints, and Openings
- 5. Secure the Prop for Rain and Wind
- 6. Add a Cover or Quick Storm Plan
- Common Mistakes
- Frequently Asked Questions
- Is clear spray sealant safe to use on carved foam props?
- How do I keep cardboard and paper props from dissolving in the rain?
- How do I protect props overnight and still use them the next night?
- Will rain ruin fabric and painted props outdoors?
- What sealant works on papier-mache and resin props?
- Conclusion
What You Need
Start with cleaning supplies, because every coating and sealant fails if it goes onto dust, wax, or moisture.
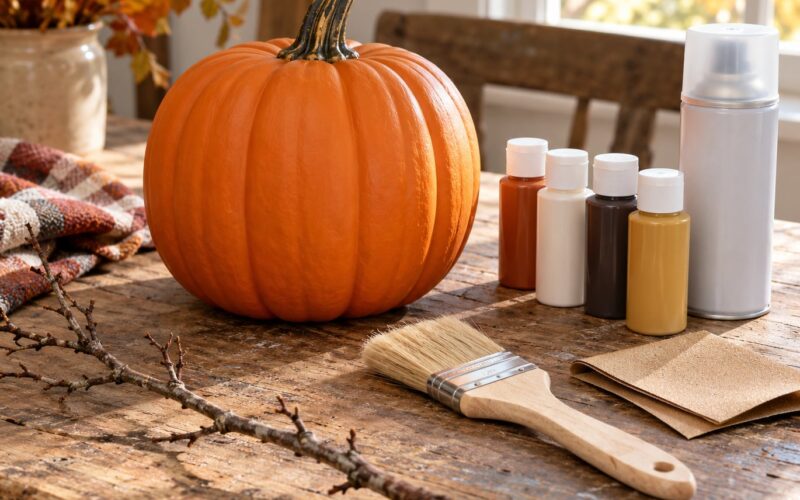
- A stiff brush, a damp microfiber cloth, mild dish soap, and a plastic scraper for flaking paint
- A fan or a hair dryer on the cool setting for drying seams and fabric creases
- Exterior-rated options: a flexible acrylic or polyurethane clear sealer, water-based exterior paint rated for outdoor use, and an exterior-grade silicone or acrylic caulk
- Paper and cardboard props: a broad water-resistant craft sealer or spray waterproofing rated for paper
- Fabric and burlap: a UV-blocking fabric protector and outdoor fabric paint for touch-ups
For covering, heavy-duty trash bags and 6 mil plastic sheeting are the community default, with bungee cords or cable ties to cinch them tight. A fitted poncho-style cover works better on animatronics because it leaves the face clear.
Anchoring needs more thought than most people expect. Gather weighted bases or sandbags, yard stakes, auger stakes for hard soil, and guy lines for tall pieces. Stainless-steel fasteners resist rust where plain hardware streaks rust onto painted surfaces in a season.
For anything powered, you need outdoor-rated extension cords, weatherproof safety seal connectors, and access to a GFCI-protected outlet. A mechanical timer or smart plug is worth having so you can cut power from inside.
Read the label on any coating before you use it. Confirm it lists outdoor use and your prop’s material, use it where the manufacturer directs, and skip anything that leaves a slick surface you or a child will brush against. Gloves, eye protection, and a dust mask are sensible whenever you are spraying coatings outdoors.
Step-by-Step: How to Weatherproof Outdoor Halloween Props
1. Identify the Prop Materials and Weak Points
Walk the display with a flashlight and turn each prop over. You are looking for the places water enters, not the places that look most exposed.
Foam has seams and knife cuts that open up. Hollow plastic and resin skulls have a neck opening and eye sockets that funnel water straight inside. Cardboard bases soak from the ground up. Cloth faces and burlap wick along the hem. Painted wood fails at end grain, joints, and screw holes. Make a short list per prop, because the treatment follows the weak point, not the shape of the prop.
2. Clean and Dry the Prop Thoroughly
Wash off dirt, wipe away loose paint flakes, and strip wax or silicone residue with dish soap and a cloth. Let the prop dry completely, inside and out, before anything goes on.
A clean surface is what lets a coating grip instead of peeling off in sheets. Trapped moisture under a sealant is what grows black mold spots by November, and mold on a foam face or papier-mache skin is usually permanent. Fans and a cool hair dryer get into hollow skulls and cloth folds where the weather never reaches.
3. Seal and Coat: How to Weatherproof Each Material
Match the coating to the substrate, then test a hidden spot and give it a full day before judging the result.
- Carved foam: a water-based acrylic sealer slows absorption but leaves the pits. For a carved head or tombstone, brush a flexible exterior coating into the surface, or use a rigid scenic coating that can be sanded and painted afterward.
- Papier-mache and paper-mache pulp: flexible exterior sealer brushed on thin. A rigid coating cracks the moment the paper flexes.
- Resin, vinyl, and painted plastic: acrylic sealer or exterior polyurethane, sanded and repainted after curing.
- Latex skin and rubber faces: most sealers stiffen or make these slippery. Cover them instead of coating them.
- Plywood and wood: exterior paint or spar urethane, pushed into end grain and screw holes.
- Metal: exterior paint directly over the surface. Rust blooms around fasteners and welds first, so paint those before the rest.
- Fabric and burlap: fabric protector plus outdoor fabric paint for color, never a hard coating.
- Cardboard and paper: a water-resistant craft sealer, but expect one soaking to warp it. A cover buys far more time.
Thin coats dry and bond better than one heavy pass, and follow the label’s cure time before the prop goes outside. A prop that still feels tacky the next day will pick up dust and shed its finish in the first wind.
4. Seal Seams, Joints, and Openings
Run a bead of exterior caulk along foam seams, hollow plastic joins, and the base where a prop meets its stake or board. While the bead is wet, press a strip of gaffer tape over it for a mechanical backup.
You will not hit 100 percent waterproof, and pretending otherwise is how people get disappointed. Most leaks come from seams, joints, and openings rather than from the flat faces. Leave moving parts, vents, and light openings alone, since sealing a motor’s vent traps heat and kills it faster than rain would. A poseable head that must tilt needs the joint kept free, so cover it with a fitted hood instead.
5. Secure the Prop for Rain and Wind
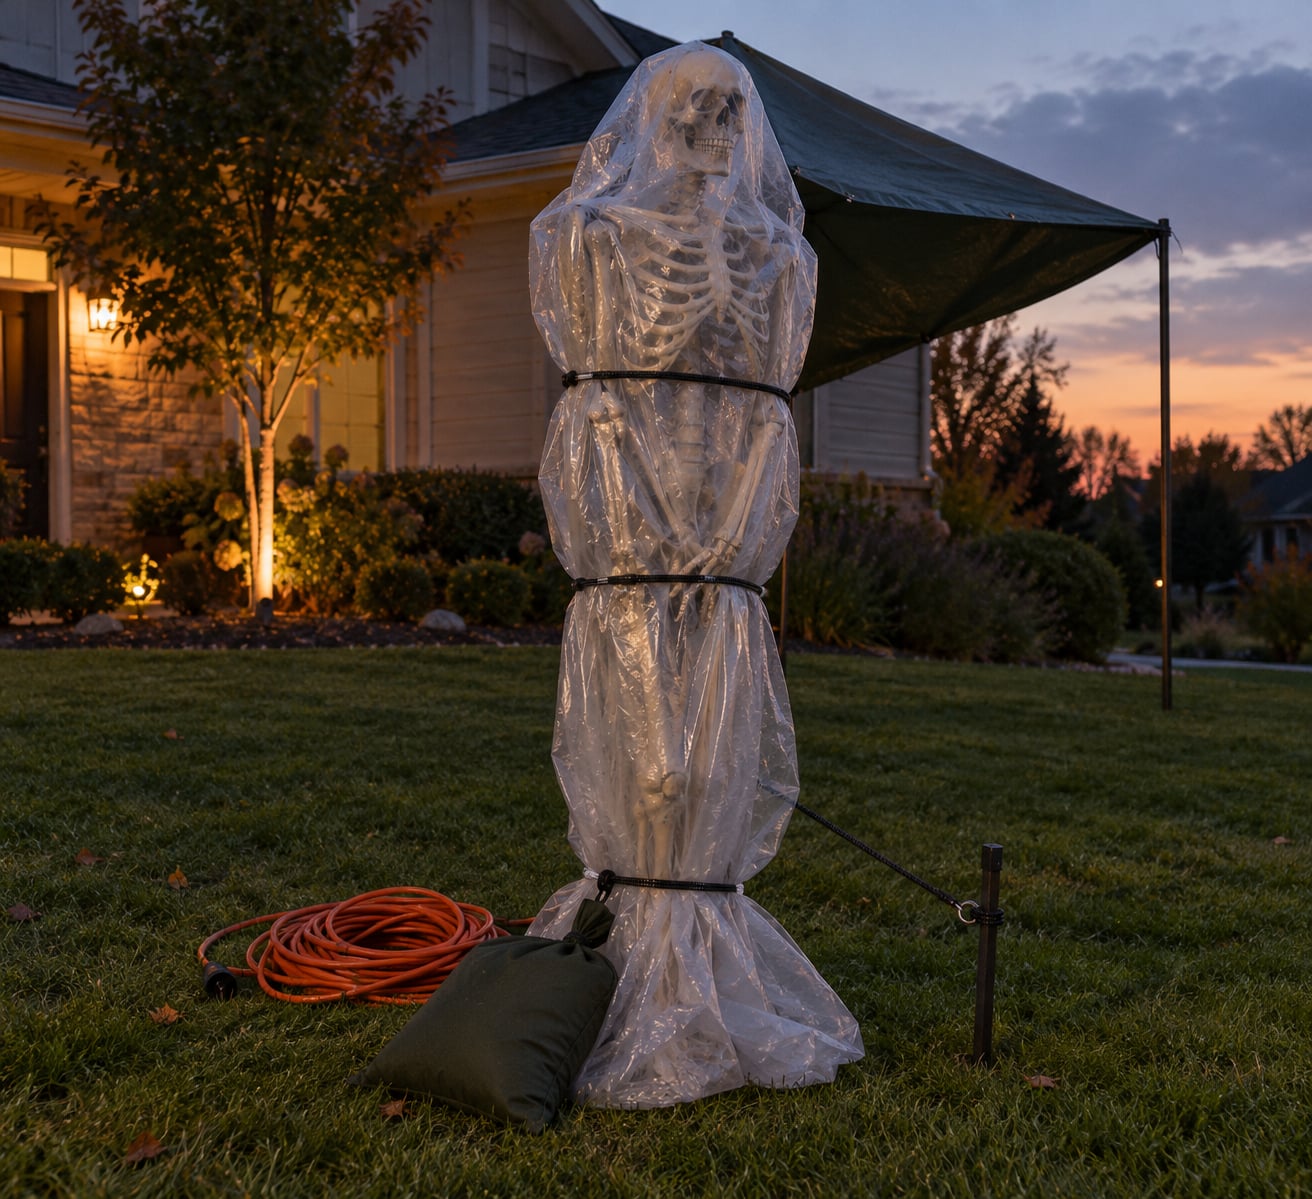
Push an auger stake or yard stake into the ground and screw the base to it, then add weight. Sandbags on the base work for anything under about three feet tall, and anything taller wants a stake plus a guy line running to a second anchor point.
Mounting is where most displays fail. Adhesive hooks and strips let go in rain and wind every time, so screw through plywood or metal and use stainless-steel fasteners. Set tall pieces where nothing overhead hangs, keep cords and stakes out of walking paths, and think about what a wind gust turns a lightweight prop into. The best anchor is the one you forget is holding a prop back.
6. Add a Cover or Quick Storm Plan
Use a fitted cover on animatronics, a breathable tarp on anything already damp, and a small canopy if the display is worth hours of setup. A tarp pulled tight with corner lines keeps rain off and stops wind from getting underneath to loft it like a sail.
Pooled water does more harm than falling rain. Slope covers so water runs off, and never stretch plastic tight enough to touch a damp surface, because condensation under a sealed cover wicks through foam and softens cardboard. Covers go on when rain is forecast and come off on dry nights.
The community pattern that keeps coming up is simple: cover the prop and unplug it. A poster in one DIY Halloween group described putting ponchos on indoor-rated props whenever rain is forecast and unplugging them from the timer, and that two-part habit solves more problems than any spray. The r/HalloweenProps answer for a first-year display with a tall skeleton was heavy-duty trash bags and bungee cords, which works fine overnight as long as you stake the prop underneath.
Common Mistakes
Almost every ruined display comes down to one of these.
- Coating a damp prop. Moisture under a sealer turns black by October. Fix: dry for a full day inside, then coat.
- Using indoor glue. PVA and school glue dissolve into a sticky mess the first time it rains. Fix: exterior-rated adhesive only, and keep glue out of the coating plan entirely.
- Sealing every opening. Covered vents and sealed motor housings overheat. Fix: keep vents clear and protect them from above instead of sealing them shut.
- Ignoring wind anchors. A covered prop with no stake acts like a sail. Fix: stake first, cover second, always.
- Painting over texture without testing. Some clear coats turn a foam surface glossy and blotchy. Fix: test a patch on the back and wait a day.
- Deploying before the coating cures. Tacky finishes pick up dust and grass clippings and never fully harden outdoors. Fix: follow the label’s cure time.
Whatever you did, do one inspection the evening before Halloween and again after any rain. Look for lifted seams, pooled water, loose stakes, and exposed connectors.
Frequently Asked Questions
Is clear spray sealant safe to use on carved foam props?
Usually yes, as long as the sealant lists foam or polystyrene as a compatible surface. Sprayed acrylic sealers slow water absorption, but they will not fill the pits and cracks that carved foam opens up in cold weather. For a carved head or tombstone, brush a flexible exterior-grade coating into the surface instead, and test a patch on the back for a full day first.
How do I keep cardboard and paper props from dissolving in the rain?
You cannot fully waterproof paper, but you can buy it time. Wrap the prop in plastic sheeting or a heavy-duty trash bag and cinch it with bungee cords, then set it under a porch or gazebo rather than in the open yard. Laminating a printed flat completely before assembly works well for signs and placards. Expect single-use paper props to warp after one soaking.
How do I protect props overnight and still use them the next night?
Cover, then disconnect. Put the poncho or sheeting on, then unplug the prop from the timer or smart plug so no power sits in a wet connector overnight. Keep covers off during dry nights, because condensation under a tight cover does more damage than a short shower. Dry the prop fully before re-energizing it, and never power a wet motor.
Will rain ruin fabric and painted props outdoors?
Fabric fades and sags long before it rots, and the usual culprit is sun rather than rain. Treat clothing and burlap with a UV-blocking fabric protector, keep painted wood and resin off damp ground, and expect touch-ups on any prop in full sun after a few weeks. Rinse mud off once the season ends, because dried mud stains become permanent otherwise.
What sealant works on papier-mache and resin props?
Papier-mache needs a flexible exterior sealer brushed on thin, because a rigid coating cracks wherever the paper pulp flexes. Resin and vinyl accept water-based acrylic sealer or exterior polyurethane, and both can be sanded and repainted afterward. Latex skin is the exception, since most sealers leave it stiff and slippery, so cover those props instead of coating them.
Conclusion
Do these four things first: identify the material, dry the prop completely, apply a compatible exterior treatment, and stake the prop before rain or wind arrives. Everything after that, covers and ponchos and connectors, is a refinement on that base.
Start early in the season so coats have time to cure and you can fix whatever fails in the first week of nights.