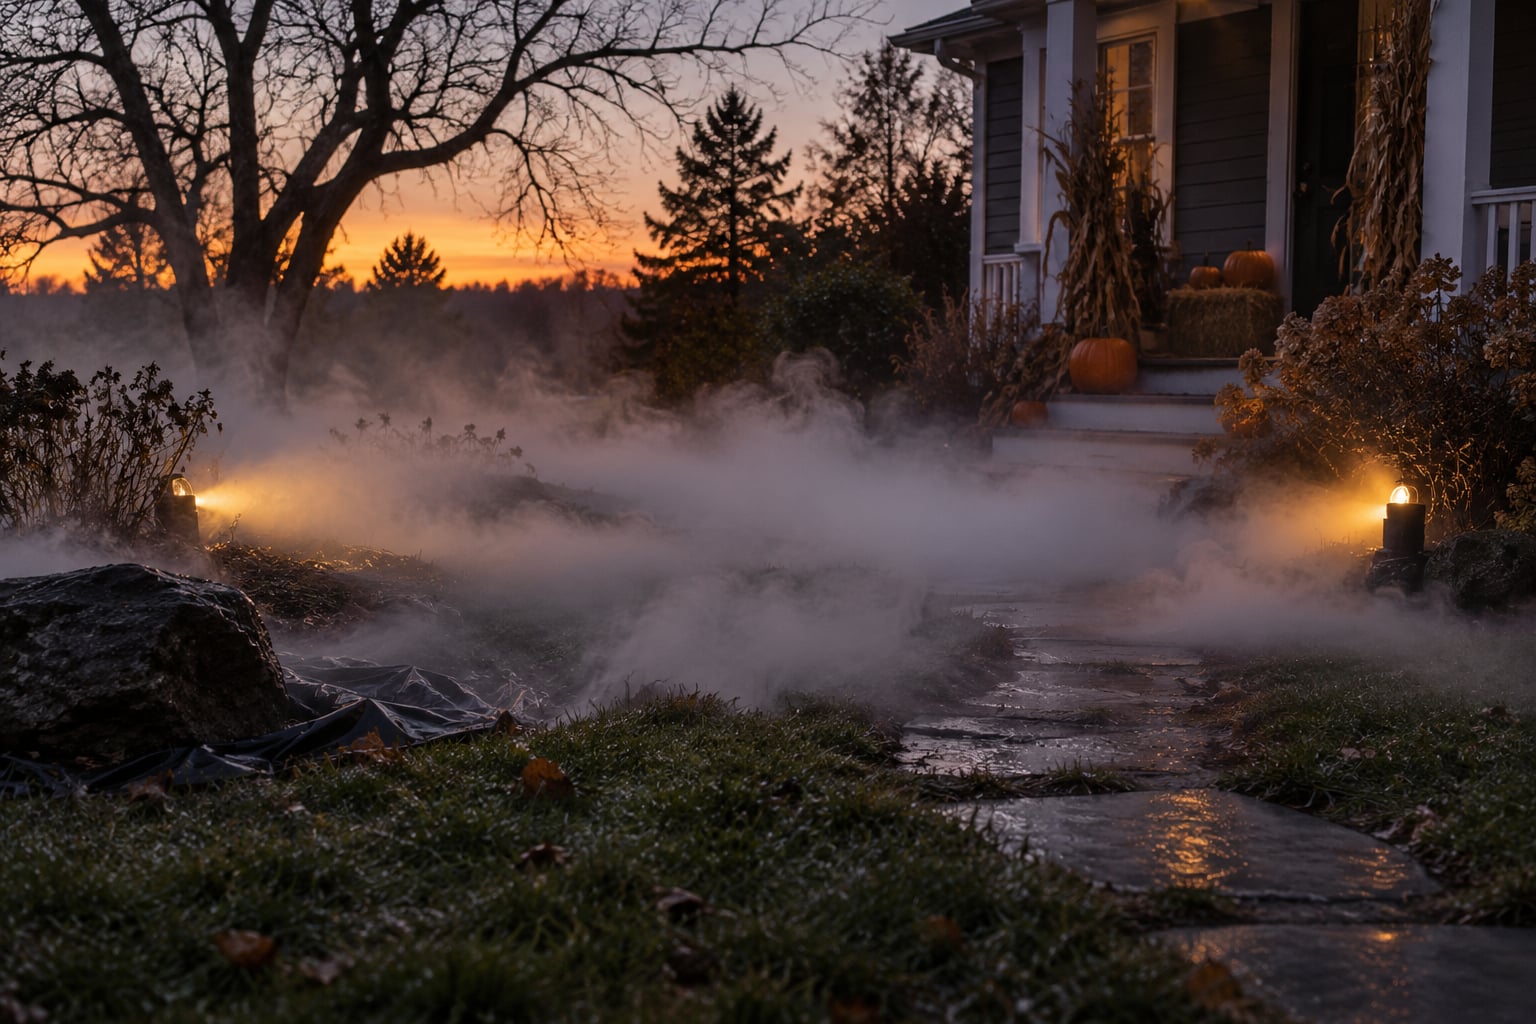
To make fog stay low to the ground, you have to cool the machine’s output until it is colder than the air around it, because warm fog is lighter than room air and shoots upward. A DIY fog chiller between your nozzle and the walkway does exactly that, and it takes about an hour to build plus one evening of tuning.
The reason most first attempts fail has nothing to do with the machine. It has to do with physics: a fog machine heats water- or glycol-based fluid into warm vapour, and warm vapour billows to the ceiling. Cool that vapour in a chamber packed with ice and it leaves colder than the room, so gravity keeps it on the grass where you want it.
Cold fog is not permanent, though. It warms as it spreads, which is why low ground fog is always a race against temperature, wind and airflow. Plan for a layer that travels 15 or 20 feet and hugs the ground for a minute or two at a time rather than a solid wall of fog.
Table of Contents
- What You Need
- Step-by-Step: How to Make Fog Stay Low to the Ground
- How to Run the Chiller: The Push-Through Rhythm
- Swapping Ice for Dry Ice
- Skipping the Chiller Entirely
- Common Mistakes
- Frequently Asked Questions
- Does low-lying fog juice work in a regular fog machine?
- Which fog juice stays low to the ground?
- How long will a pound of dry ice make fog?
- Can you put dry ice in a fog chiller or a fog machine?
- Does a fog machine set off sprinklers or fire alarms?
- Conclusion
What You Need
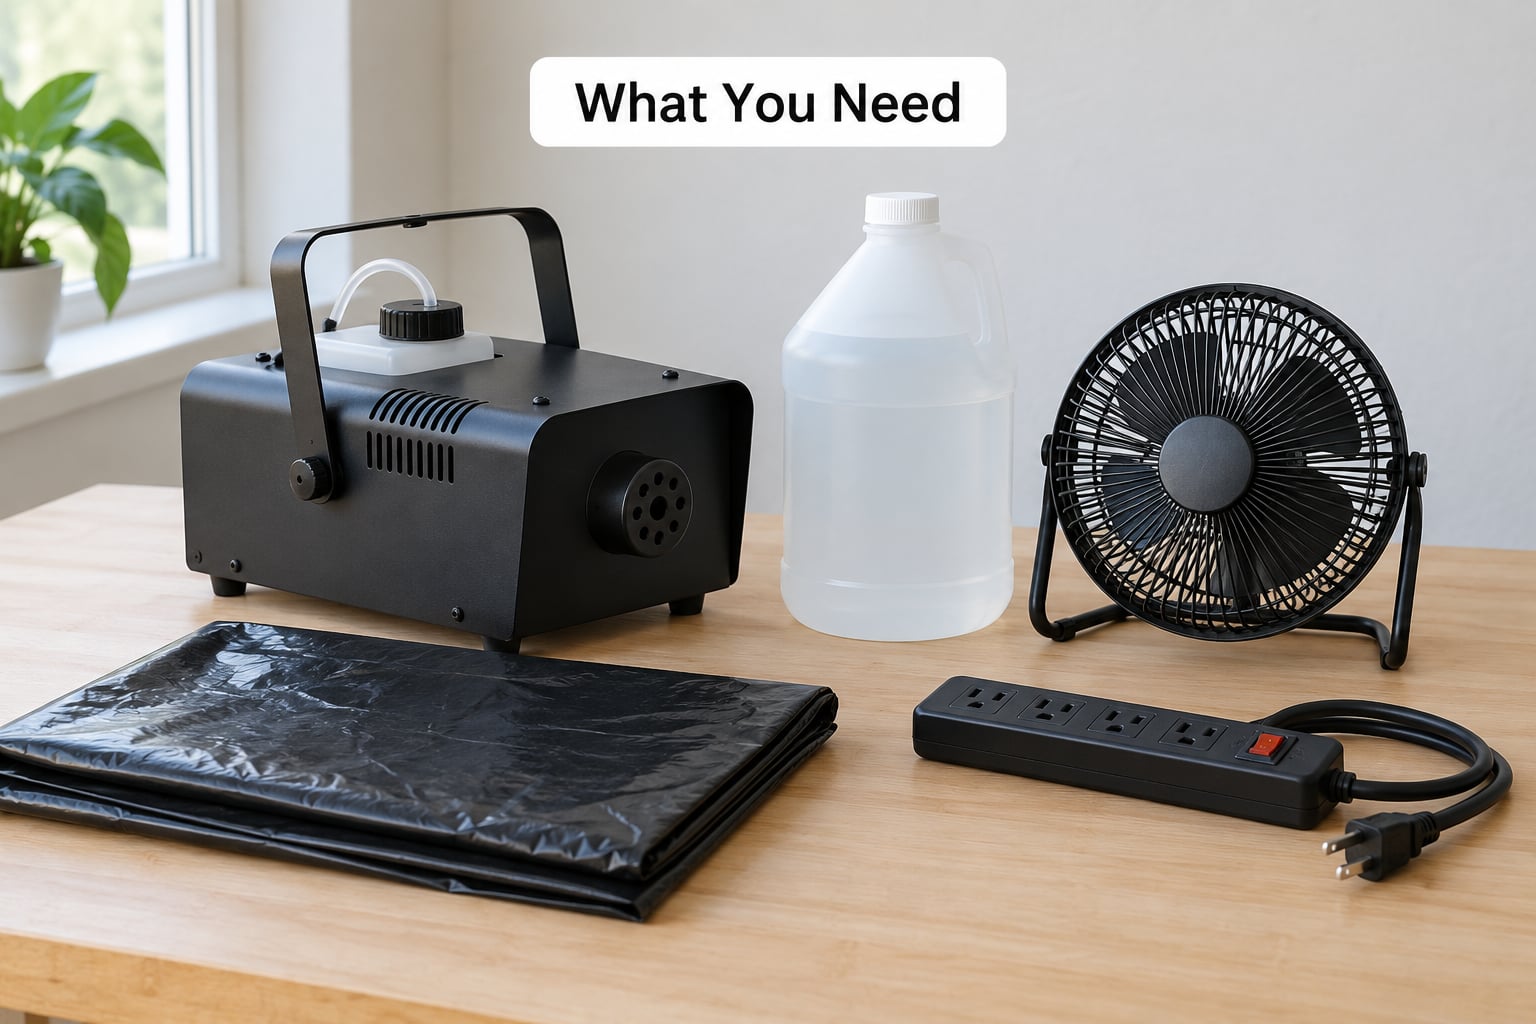
- A fog machine you trust. Posters on r/halloween and r/techtheatre keep repeating the same advice: buy the reliable unit, not the bargain one. A clogged pump or a clogged heater block is the most common mechanical failure people report, and it ruins the night.
- A container for the chiller. A large storage tote with a lid works. A cooler, a plastic bin, or a cardboard box lined with a bin bag all do the same job.
- Two hose fittings. One for the intake, one opposite it for the exit. PVC pipe, aluminum flex ductwork, or a short length of garden hose pushed up through the wall.
- Wire mesh or chicken wire. Enough to build a raised floor inside the container so ice sits above the holes instead of sealing them shut.
- Ice. Cubes, bagged ice, reusable ice packs, or gallon jugs of water frozen solid. Dry ice works too and is covered further down.
- A drop cloth or black plastic sheeting. The lawn and any walkway under the effect will end up wet and slippery.
- A garden hose. Damp ground lets the fog travel much farther than dry ground.
- A box fan (optional). Mounted low and pointed across the ground, a fan spreads the layer instead of letting it pool in one spot.
- Cryo gloves (optional). Needed if you use dry ice, and worth having anyway for handling ice and cold drip lines.
Water-based fluid is easier on the machine and gives a bigger cloud, but it leaves more residue. Glycol-based fluid is cleaner and slower, which suits a long display. Either works once you chill the output.
Step-by-Step: How to Make Fog Stay Low to the Ground
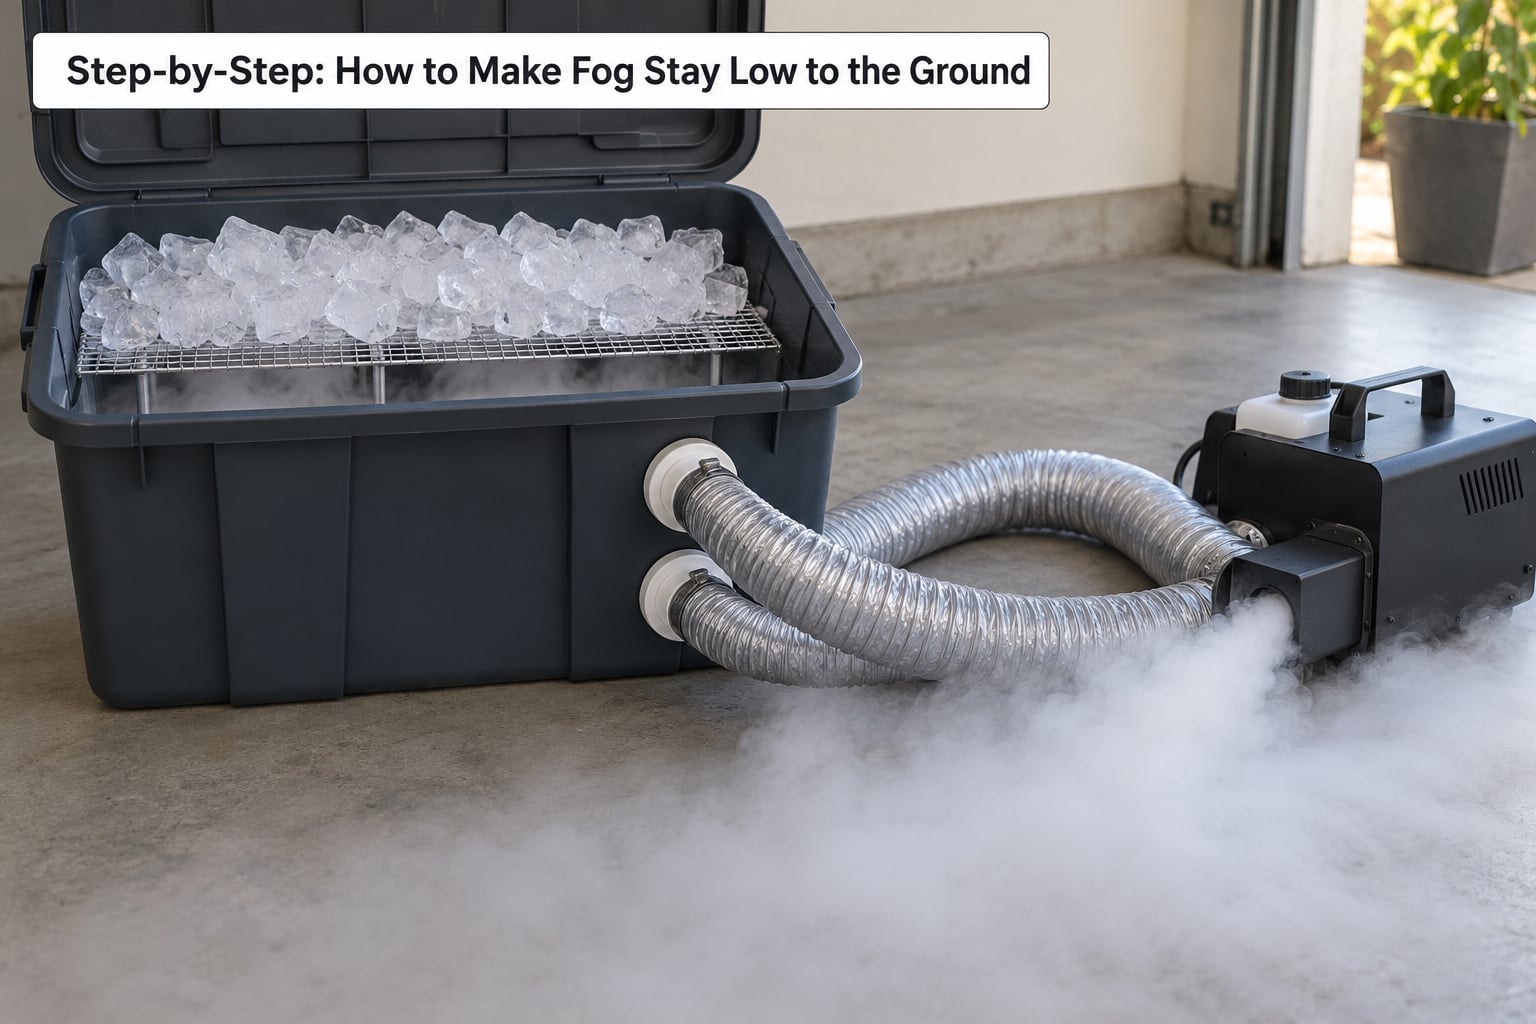
Build the chiller, set the machine back from the action, then load and run. Builders on r/HalloweenProps and r/halloween describe almost the same geometry, and the sequence below follows theirs.
- Pick a sheltered, cool spot. Check the wind forecast first. Even a light breeze will strip a fog layer off a lawn in seconds, and a warm night (60s to 70s F) fights you the whole time. A cold night near 40 F gives you a much easier run.
- Cut the intake and exit holes. Mark one hole low on one side of the container and a matching hole directly opposite. Both need to sit above the level where ice will settle.
- Build the raised wire mesh floor. Stretch the mesh across the container a few inches above the bottom and fasten it to the sides. Ice dropped straight on the floor settles over both holes and chokes the airflow, so the rack is the part people skip and regret.
- Fit the ductwork. Push the intake tube through one hole and secure it with a hose clamp. Run the exit tube from the opposite hole, long enough that you can put the chiller wherever the scene needs it. Seal the fittings with foil tape so warm, dirty fog does not leak into the ice.
- Hold the nozzle a few inches from the intake. Do not seal the nozzle tight against the intake pipe. Leave a 2 to 3 inch gap. The machine needs room to push smoke into the chamber, and an airtight seal kills the effect completely.
- Load the chiller with ice. Set jugs of frozen water on the mesh first, then pile cubes or ice packs around and above them so air can still pass through. A tote-sized container usually takes around 20 lb of ice for a couple of hours of intermittent bursts.
- Position the machine back and high. Put the machine on a table, shelf, or second cooler so the chiller exit sits low, roughly 6 to 12 inches off the ground. High and back keeps the hot part of the machine away from the cold part and stops the nozzle from spitting straight down into the grass.
- Run it in short bursts. Two or three seconds on, then a pause. Continuous output pushes warm fog through faster than the ice can cool it, and you end up billowing a column. Aim the exit tube along the ground rather than across it, and let a box fan push the layer sideways at floor level.
- Water the ground first. A damp lawn gives the cold fog a cool, moist surface to travel along instead of soaking into dry soil. HauntForum builders and the Scarrie Halloween tutorials both call damp ground the difference between fog that creeps and fog that stops in a puddle.
How to Run the Chiller: The Push-Through Rhythm
The trick nobody explains well: you do not blast fog into the chiller and expect cold fog to come out the other end. You fill the chamber, let it cool, and let the next burst push the cold fog out. Fill, wait, then a small burst to move the chilled air through.
Expect a 30 to 60 second delay between turning the machine on and seeing fog at the exit. People who start with a long spray are usually reacting to that delay and overfeeding the machine. Slow and steady gets you a thicker, colder layer with far less fluid wasted.
Swapping Ice for Dry Ice
Dry ice cools harder and lasts longer than plain ice, which is why lighting pros on ControlBooth recommend it when the goal is the coldest possible output. Load it above the wire mesh on top of regular ice, keep the container vented, and handle it with gloves. Bar frostbite: never pick up a piece with bare hands, and never seal dry ice in an airtight container.
Keep dry ice in the chiller or in a separate pan of warm water, not in the machine’s fluid tank. A fog machine’s heater block and pump are not built for solid chunks of solid carbon dioxide, and running machine fluid through a dry ice bath is a bad idea.
Skipping the Chiller Entirely
- A chest of frozen water bottles. Run the fog through a tub or chest packed with frozen jugs. djpowerfx notes it also exposes lasers and light beams, which makes it a cheap two-for-one if your yard has uplighting.
- Fluid chilled overnight. Fill the tank and put the whole machine in a walk-in cooler, a garage, or the coldest room you have. Cold fluid starts closer to the temperature you need and gets you further before the ice load dies.
- A damp surface. Costing nothing, watering the lawn is the single cheapest upgrade available, and it works on a warm night too.
- An ultrasonic mister. A multi-head mister over a shallow tub holding 6 to 12 inches of water and ice makes fog that hugs the ground with no heater at all. Keep the water and the power connections apart, and never let the unit run dry.
Common Mistakes
- The fog billows up in a column. The output is not cold enough or is arriving too fast. Shorten the bursts, lower the nozzle, and add ice.
- It works for 90 seconds, then disappears. The ice load is too small or too warm. More ice, or dry ice underneath the regular ice.
- Nothing comes out of the chiller exit. Ice has settled over the holes, or the nozzle is sealed airtight against the intake. Pull the mesh rack up or reopen that 2 to 3 inch gap.
- The fog drifts off to one side. Airflow. An HVAC vent, an open door, a fan pointed at the scene, or a warm light source nearby will move it. A pro lighting member on ControlBooth lists HVAC, doors, fans, drafts, and heat sources as the usual culprits.
- The floor ends up soaked. Too much output for too little area, and you skipped the drop cloth. Cut the duty cycle.
- The machine runs but produces almost nothing. A clogged pump or heater block, which is the most common mechanical complaint across tech theatre and lighting forums.
- Low-lying fluid disappoints. Low-lying formulas dissipate fast by design. People on r/techtheatre suggest testing the fluid and setup in the actual space before the night, because what works in a driveway can fail in an open front yard.
Frequently Asked Questions
Does low-lying fog juice work in a regular fog machine?
It runs in a regular machine, and it does produce fog that is heavier than standard juice, but it dissipates faster and it will still rise without cooling. Low-lying fluid is a supplement to a chiller, not a replacement for one. Pouring it into a standard machine and hoping for a ground-hugging layer on technique alone is the most common first-timer mistake.
Which fog juice stays low to the ground?
Denser, slower formulas sold as low lying or ground fog fluid are the right choice, and they work in any machine that can heat them. Water-based fluid gives a bigger cloud but leaves more residue; glycol-based fluid is cleaner and slower. Whichever you pick, the deciding factor is still temperature: cool the output in an ice chiller and it stays down regardless of the juice.
How long will a pound of dry ice make fog?
In a pan of warm water, expect roughly 10 to 20 minutes of heavy low fog from a single pound before it sublimates away. Inside a chiller acting as a coolant, the same pound keeps the output cold far longer, often running a whole short display. Buy it a day or two before you need it, keep it in an insulated cooler, and never store it sealed.
Can you put dry ice in a fog chiller or a fog machine?
In a chiller, yes, and it is the strongest cooling option available. In the machine’s fluid tank, no. A fog machine’s heater block and pump are not designed for solid carbon dioxide, and the temperature swings can damage them or cause the fluid to stop flowing cleanly. Keep dry ice in the chiller chamber or a separate pan and vent the container.
Does a fog machine set off sprinklers or fire alarms?
Fog is water vapor, so the moisture is a real concern indoors. At a venue or indoor haunt, check the fire alarm and sprinkler specification with the property owner before you run anything, keep detectors reachable, and never block exit signage with a fog layer. Also keep the floor dry. Wet residue under a crowd is a slip hazard that matters more than the effect.
Conclusion
Start with four adjustments, in this order. Drop the nozzle to a few inches above the ground and leave a 2 to 3 inch gap into the intake. Run two-second bursts with a 30-second pause instead of a continuous spray. Set a box fan low, blowing across the surface rather than up. And pick a flat, sheltered patch with damp ground and no wind.
After that, build the chiller. Cut two holes opposite each other, add the raised wire mesh floor, fit the duct, and load it. Rehearse on a night close in temperature to Halloween night itself, because that is usually why a display that worked in September disappoints in October.