How to make a DIY yard haunt for under a hundred dollars means one theme, five visible zones and a total supply budget you write down before you buy anything. Most of the money goes on lighting and one large focal prop; everything else comes from cardboard, a thrift-store tablecloth and whatever you already own.
A realistic budget lands at about 99 dollars total, and roughly half of that buys the two things people notice from the sidewalk: a big silhouette and light coming from underneath it. Prop density matters far less than most first-timers assume.
I’ve built small yard haunts on tight budgets and the recurring lesson is that lighting does the work expensive props are usually bought for. A foam-board tombstone lit from below reads as more expensive than a molded plastic one lit from above.
Table of Contents
- What You Need
- How to Make a DIY Yard Haunt for Under a Hundred Dollars, Step by Step
- Start With One Theme and a Clear Path
- Build the Main Prop From Cardboard or Wood
- Add Low-Cost Lighting and Sound
- Create a Short Walk-Through Route
- Finish With Details and a Safety Check
- Common Mistakes
- Frequently Asked Questions
- What are some cheap and easy DIY Halloween decorations I can make?
- Can I use chicken wire to make yard ghosts?
- How do I light a Halloween graveyard when cheap LEDs seem dim?
- How do you keep Halloween props from tipping over in the wind?
- How do I build a yard haunt in a small or rented yard?
- Conclusion
What You Need
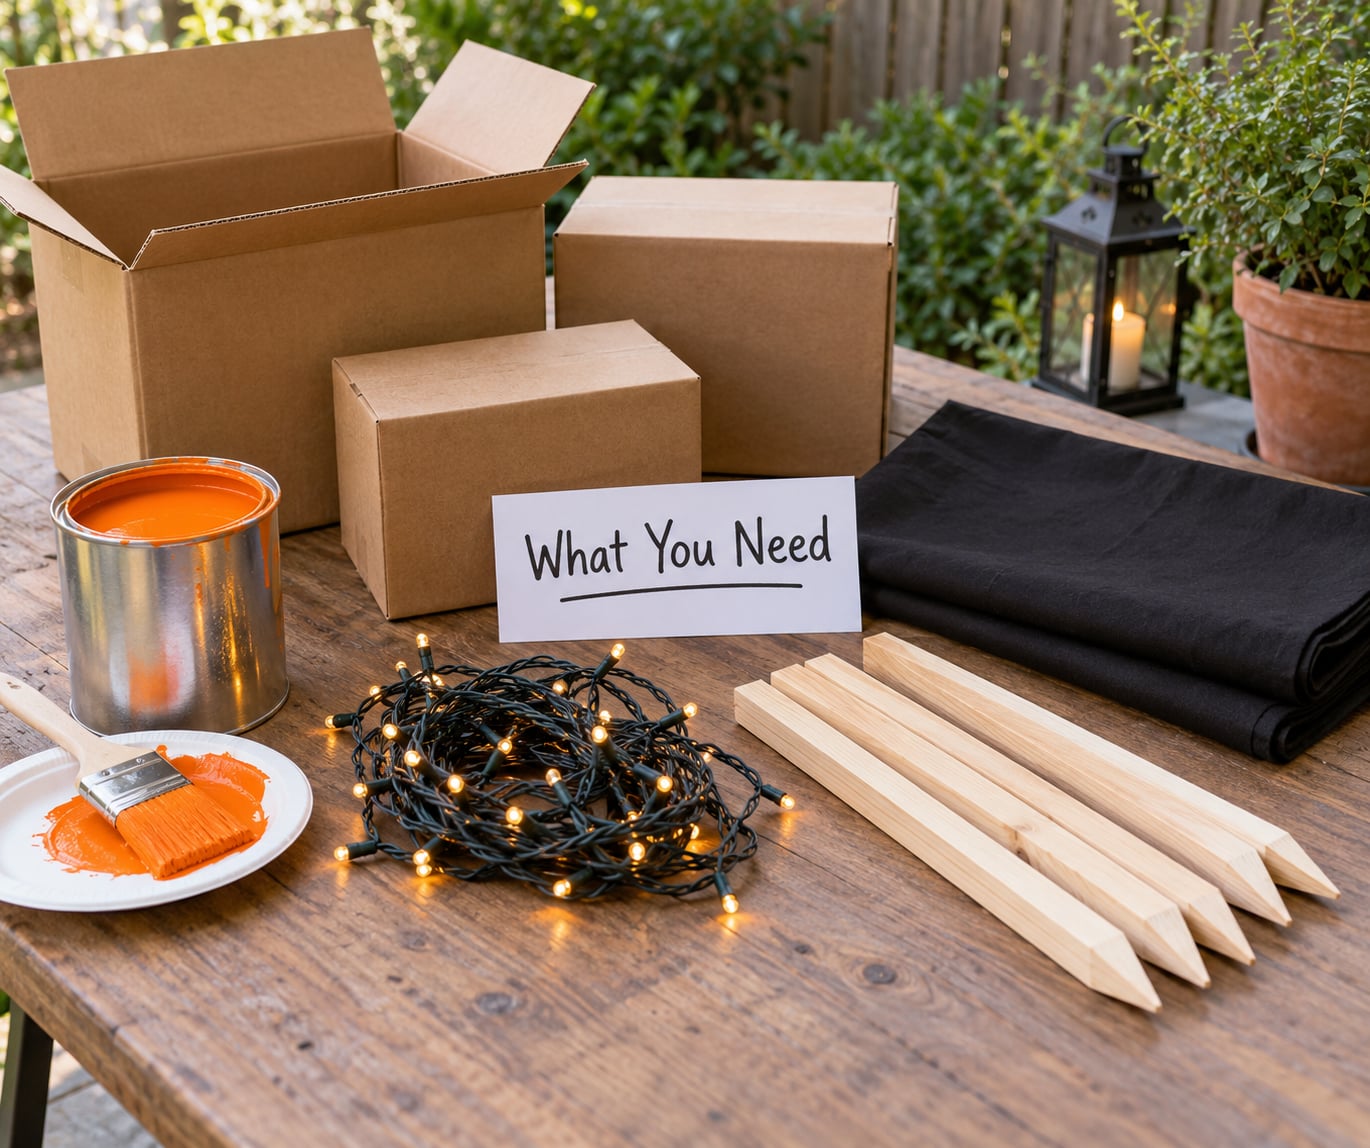
This budget covers a display visible from roughly 30 feet, which is about as far as trick-or-treaters and passing drivers actually see. Bigger yards need a second lighting run rather than a bigger centerpiece.
| Zone | What to buy | Cost |
|---|---|---|
| Structure | Corrugated cardboard, foam board, plywood scraps | 12 dollars |
| Finish | Exterior paint in black, orange and white, plus brushes | 12 dollars |
| Ghost frames | Flexible chicken wire and zip ties | 8 dollars |
| Ghost bodies | Tomato cages, thrifted white tablecloths and sheets | 9 dollars |
| Path and accent light | Battery LED string lights and solar stake lights | 14 dollars |
| Focal light | Blue bulb and blacklight bulb for the porch fixture | 8 dollars |
| Sound | Portable Bluetooth speaker | 12 dollars |
| Atmosphere | Stretchy spiderwebbing and plastic spiders | 5 dollars |
| Anchoring | Wood stakes, duct tape, pool noodles, sandbags | 9 dollars |
| Mist | Small handheld mist maker or a bowl of dry ice | 6 dollars |
| Signage | Foam board and a paint marker | 4 dollars |
| Total | 99 dollars |
Dollar stores and dollar lots supply the paint, webbing, lights and stakes. Thrift stores supply tablecloths, sheets, old picture frames and anything with a good silhouette. Free is a real sourcing category: cardboard shipping boxes, a spare tomato cage from a neighbor, an old shopping cart, a wheelbarrow.
If you want the cheapest single upgrade in the whole build, buy good exterior paint rather than more props. Cheap paint flakes off cardboard in a week of rain and a gray, streaky tombstone undoes the effect you paid for.
How to Make a DIY Yard Haunt for Under a Hundred Dollars, Step by Step
Start With One Theme and a Clear Path
Choose one theme and stay inside it. A graveyard reads as a graveyard when the ground is bare, the light comes from below and nothing is round or brightly colored. Mixing pumpkins, ghosts and skeletons in the same sightline makes the yard look cluttered rather than intentional.
Lay out a path from the sidewalk to the front door before building anything. Walk the route yourself and mark the spots where you want a visual beat, usually three: something at the gate, something at mid-yard, and one big piece near the house.
Then pick a single focal prop and let everything else support it. Budget haunts fail when the centerpiece is small and the yard is full of small things, because nothing registers from the road.
Build the Main Prop From Cardboard or Wood
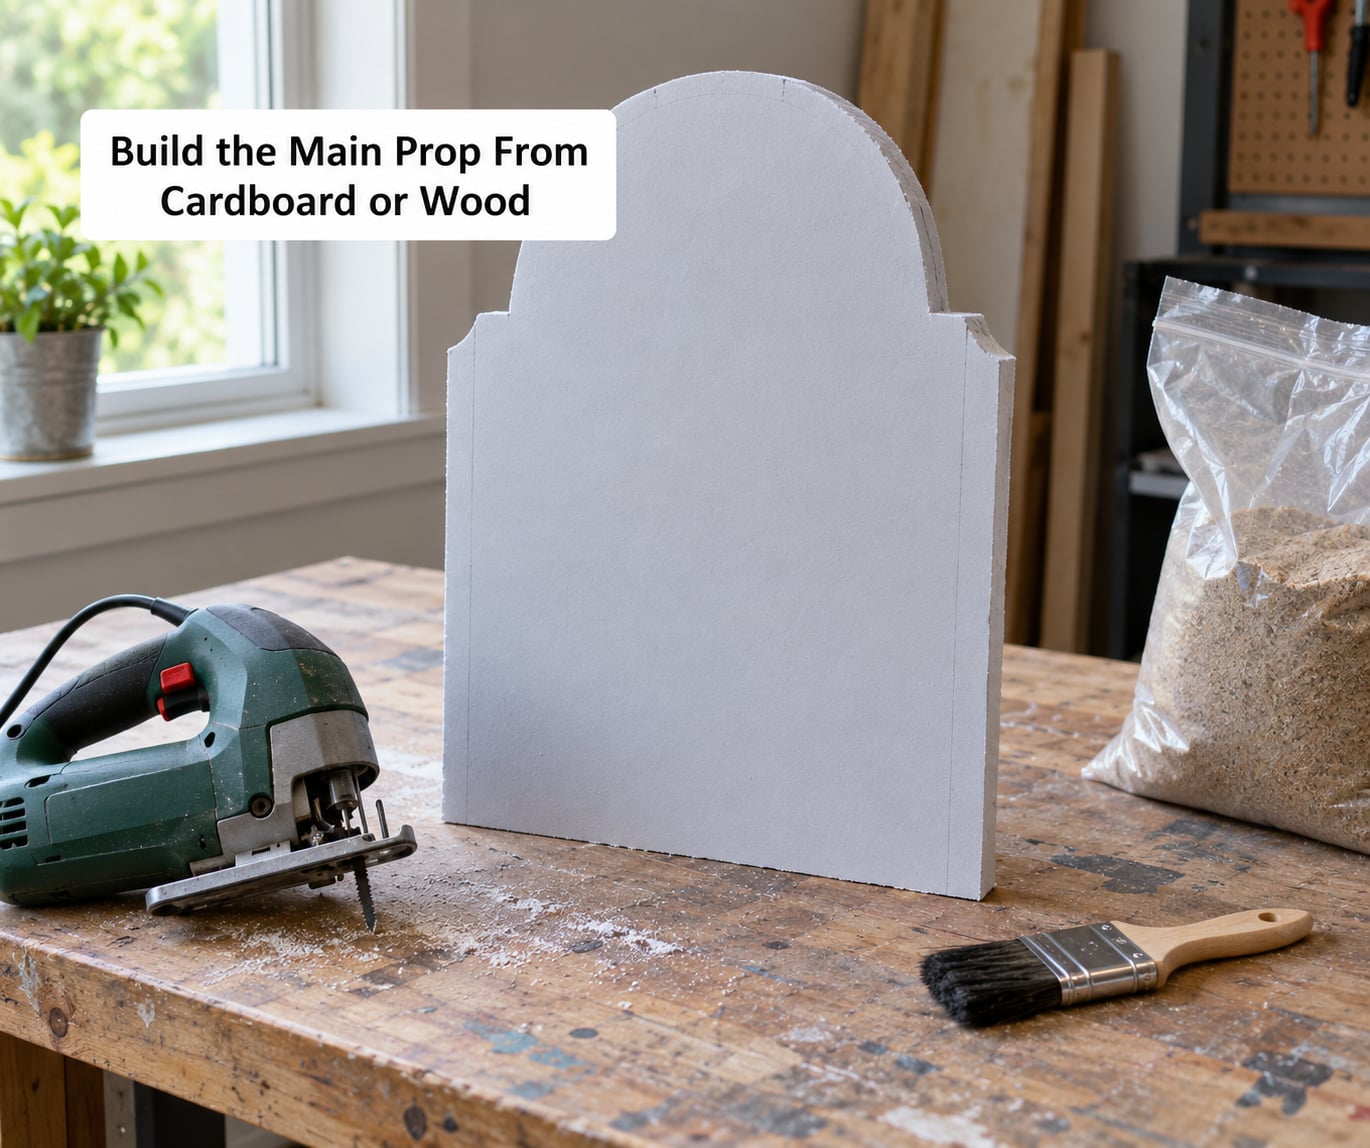
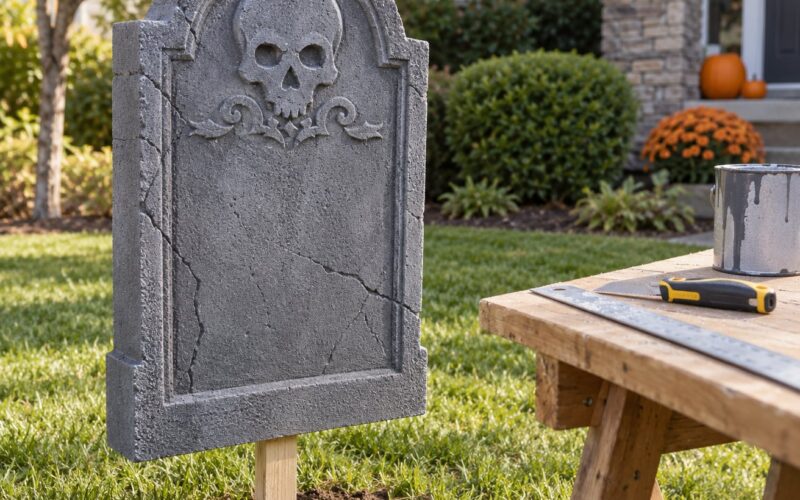
Cut the silhouette from one large sheet rather than piecing strips together, because seams are where cardboard props snap in wind. Free delivery boxes are the easiest source: flatten them, tape the joins flat on the back and cut the outline in one pass.
Reinforce the prop with two wood stakes driven into the ground behind it, or with a crossbar screwed across the back. A tombstone needs a stake at each lower corner, and anything tall and narrow needs a brace down its center of gravity.
Paint in two coats so the corrugation lines stop showing through, then age it by dry-brushing a lighter color over the edges or gluing on scraps of artificial moss. The aging trick costs nothing and is what separates a hand-cut tombstone from a flat painted board.
Seal exposed seams with duct tape on the back side, never across the front face. Gaffer tape on the back is better because it will not print through when the sun hits it.
Add Low-Cost Lighting and Sound
The cheapest lighting win is swapping the porch bulb. A blue bulb makes everything on the porch look drained, and a blacklight bulb makes white surfaces glow in a way that daylight never prepares people for. Both cost a few dollars and take about a minute.
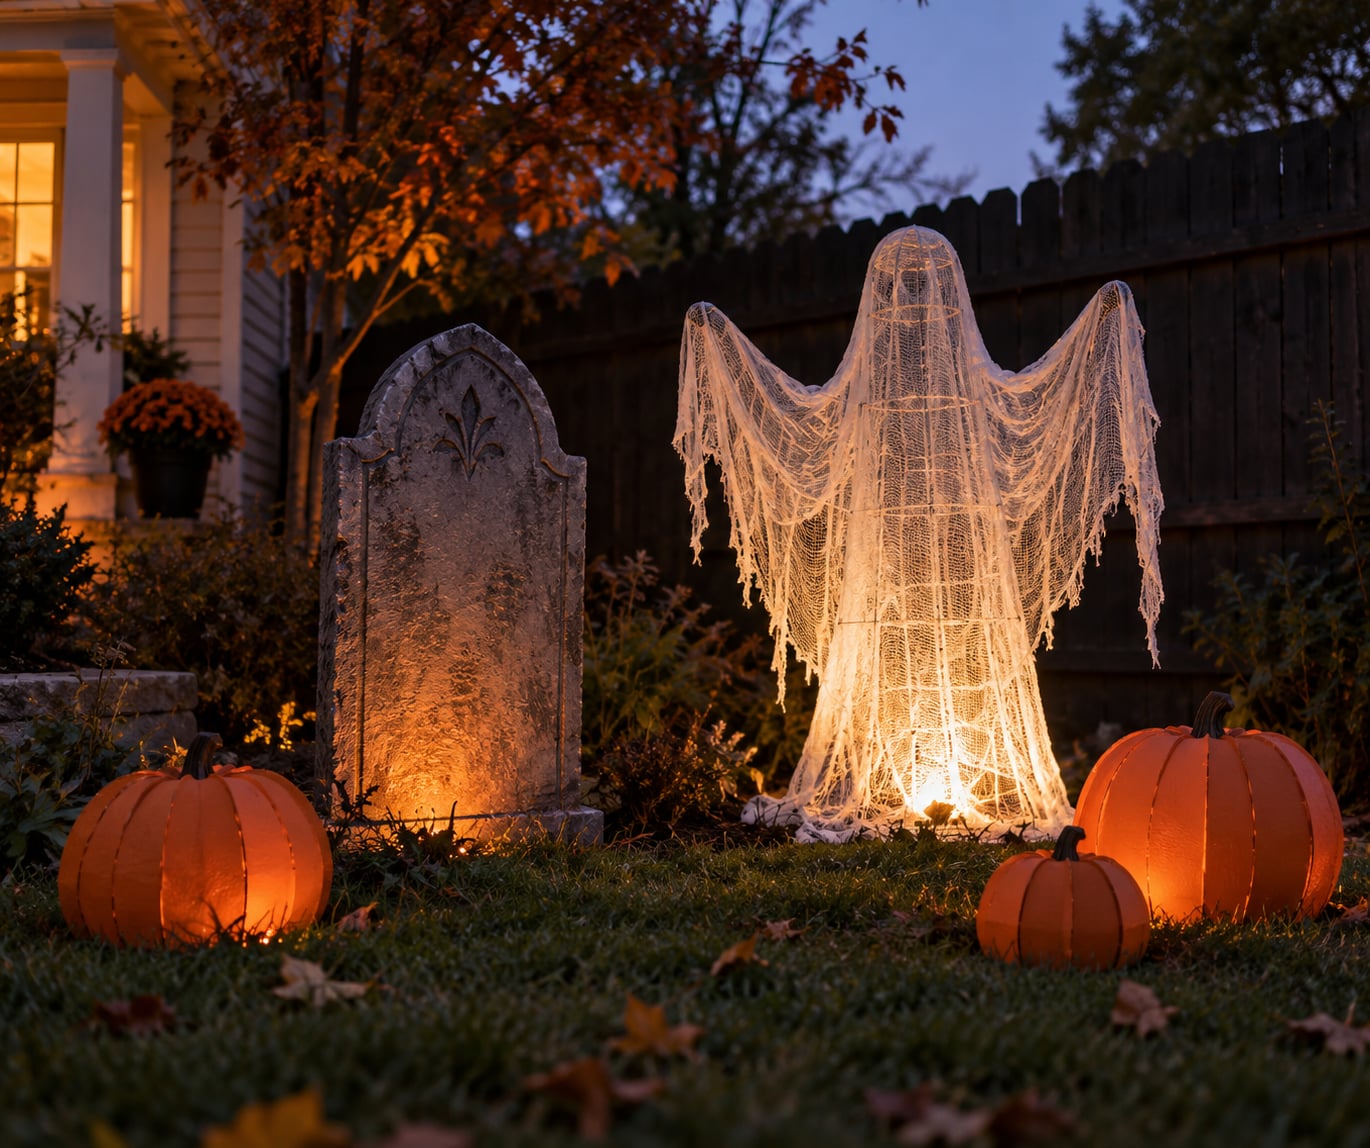
Next, light from underneath. Aim battery LED string lights or solar stake lights up at the base of the tombstone or ghost from below, and the shadows do the rest. Lighting from above flattens a prop; lighting from below makes it look wrong in the way you want.
Brightness is where cheap builds usually disappoint, mostly because people spread a small budget across too many points of light. Fewer lights, closer together and pointed at one subject read better than many lights scattered evenly.
For sound, a small Bluetooth speaker plays a loop of low drones, wind and distant knocks. Run it all evening rather than saving it for a trick, and keep it inside the porch or behind a prop so nobody has to guess where the noise is coming from.
Skip extension cords across any walkable surface. Battery and solar light covers the path, and one outdoor-rated cord along the back of the house for the speaker is the only run you need.
Create a Short Walk-Through Route
A short route works better than a long one. Three or four stops beat a trail of small surprises that spreads the budget too thin, and a tight path keeps the whole scene visible in one glance from the street.
Hang fabric or webbing from a branch or a length of PVC so it breaks up sightlines and catches light. Tensioned, it also frames the walkway without hanging into head height.
Motion-triggered decorations belong at the first stop, not the middle of the path. Put something moving where a kid is already walking, never where they have to stop and turn around to see it.
Keep the walking surface clear and lit. Anything at ankle height is a trip hazard for adults in costumes and for kids running, so keep stakes, sandbags and cable runs off the path or cover them with bright tape.
Finish With Details and a Safety Check
Add texture last. Tissue paper torn and glued to foam board makes rotting wood, dry leaves scattered over painted cardboard kill the flat look, and a few thrift-store objects placed at odd angles make the scene feel lived in.
Then walk the route at dusk and again at full dark. Look at it from the sidewalk first, since that is the view you are designing for, and note anything that disappears at night and needs a light of its own.
Finish with the safety pass. Push or tug every prop and make sure nothing shifts, confirm nothing leans into the sidewalk or a neighbor’s property, and check that any mist or dry ice sits where nobody can step in it. Never use real flame anywhere in the display.
Common Mistakes
The most expensive mistake is putting most of the budget into one centerpiece. A 60 dollar animatronic in an otherwise bare yard gets ignored from the street, and 20 dollars of lighting spread across the scene would do more.
The second is overdecorating. Every extra object competes with the focal prop, and clutter reads as unfinished from a distance even when the yard is full of work.
The third is lighting from the wrong direction or from too far away. Under-lighting costs nothing extra and changes the entire read of a prop, while a single bright light at the far edge of a large yard lights pavement instead of props.
The fourth is blocking the walkway. Cords, stakes and low props on the path create real injury risk, and a hazard-free setup also keeps you on good terms with the neighbors whose porch you are borrowing light from.
The fifth is skipping the night test. A haunt that reads well at 4pm in the afternoon can vanish after sunset, and the only way to know which props need their own light is to look at it after dark.
The sixth is buying flimsy dollar-store light chains. A string that fails halfway through October wastes more budget than a slightly better string would have cost, so test every chain before it goes into the yard.
Frequently Asked Questions
What are some cheap and easy DIY Halloween decorations I can make?
Foam board tombstones cut with a jigsaw and painted in two coats, ghosts from a chicken wire frame under a thrifted white tablecloth, and stretched spiderwebbing on the fence are the three cheapest. All three use materials you already have or buy by the sheet at a dollar store, and each one reads clearly from a driveway after dark.
Can I use chicken wire to make yard ghosts?
Yes, and it is the most useful material for free-form ghost shapes. Bend chicken wire into a head-and-shoulders frame, zip tie the joints, then drape a thrifted tablecloth or an old sheet over it and glue the hem at the shoulders so the fabric keeps its shape. Anchor the wire tail into a concrete paver or a mound of leaves.
How do I light a Halloween graveyard when cheap LEDs seem dim?
Stop spreading lights evenly and aim a few at one subject from below. Battery LED string lights placed six inches off the ground, pointed up at a tombstone, produce a stronger effect than twice as many lights scattered around the yard. Swapping your porch bulb for a blue or blacklight bulb adds reach for the cost of one bulb.
How do you keep Halloween props from tipping over in the wind?
Drive two wood stakes into the ground behind each prop and tape or screw them to the back of the frame, or push the frame itself into the ground for wire and fabric builds. Weight low and wide with a sandbag or a concrete paver on any tall narrow piece. Check every prop with a firm tug during setup, because wind finds the ones that move.
How do I build a yard haunt in a small or rented yard?
Use the fence as the backdrop and build depth toward it instead of spreading out. Hang ghosts and webbing from the fence, set two or three small tombstone shapes at its base, and put all your lighting on that one plane. Renters can use stakes and freestanding frames rather than anything attached, and can carry the whole display away in a weekend.
Conclusion
Start with the largest visual element and secure it properly, because that single prop does most of the work from the street. Then add light from below, a short clear path, a loop of low sound and a few aged details.
If you keep the 2026 build, store the stakes, light strings and painted pieces in labeled bins and next October costs you almost nothing but a new sheet of webbing. That is where the real savings live on a DIY yard haunt, not in the first year’s budget.