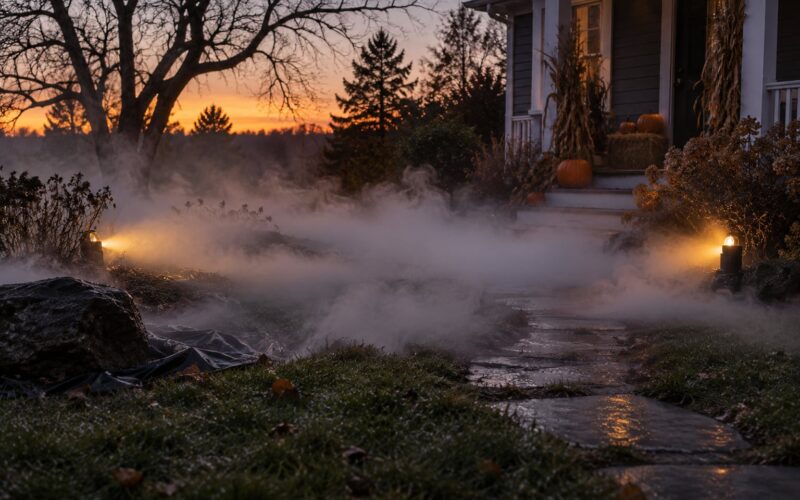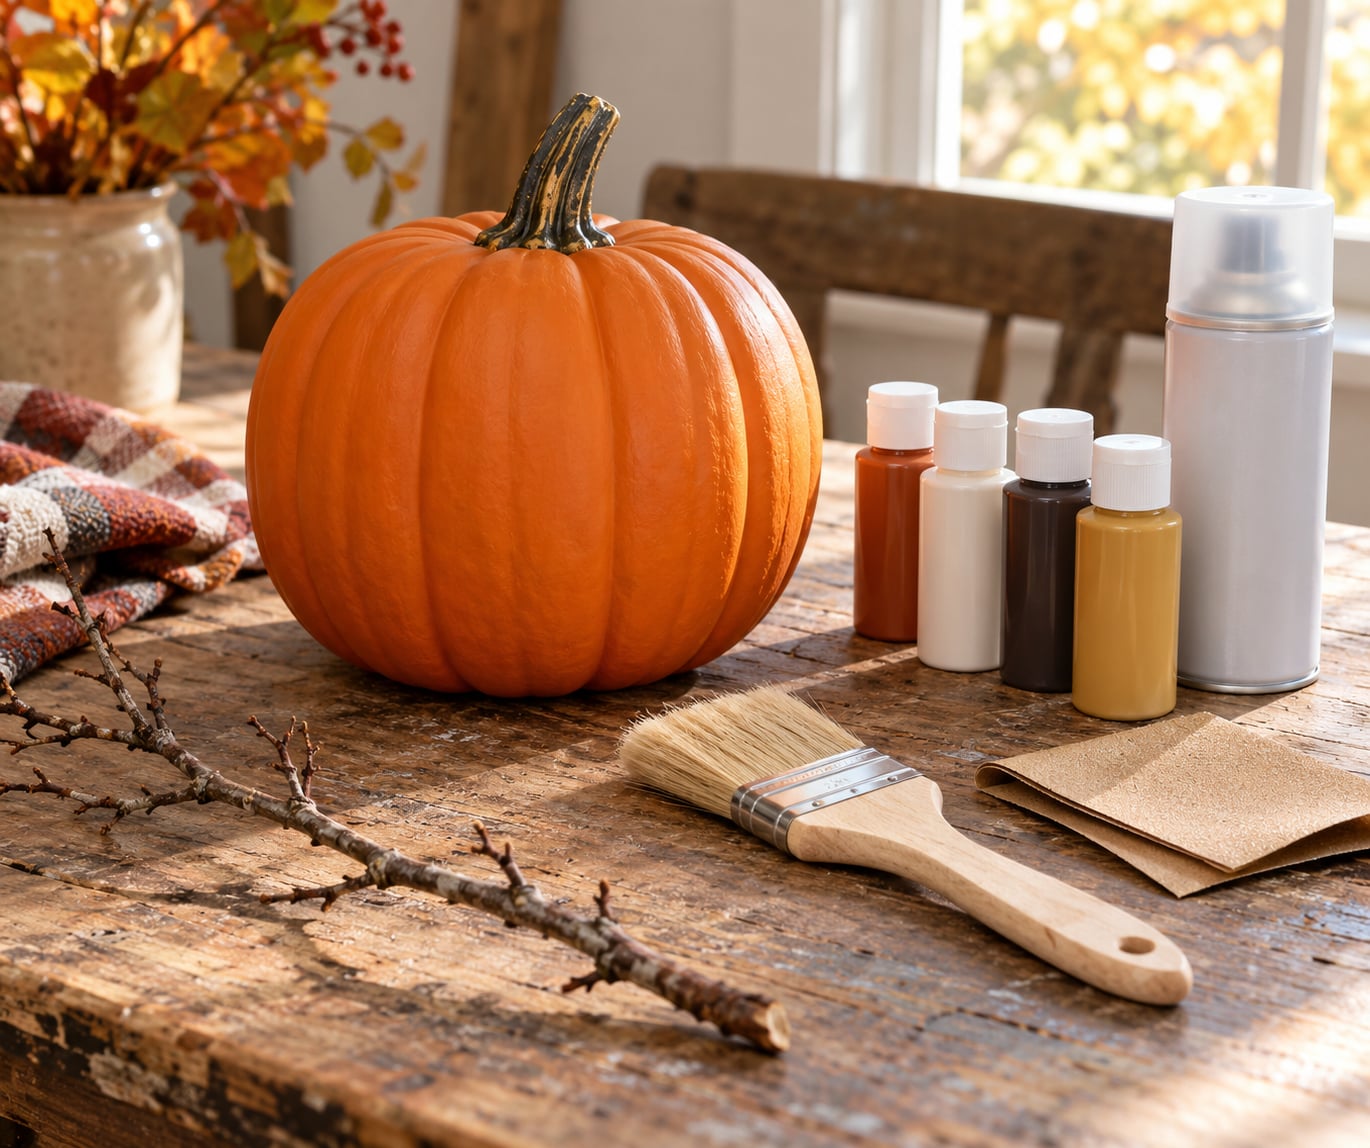
You can make fake pumpkins look real by adding antiquing paint to the creases and replacing the plastic stems with real ones. Work diluted burnt umber or raw umber acrylic into every groove, wipe the ridges back clean so only the low spots hold shadow, swap the molded stem for a twig or a saved real pumpkin stem, and finish with matte sealer instead of gloss. That combination kills the factory sheen that gives faux pumpkins away.
Budget about an hour per pumpkin plus drying time. It is beginner-level work, and the biggest mistake most people make is skipping surface prep on plastic.
Before the steps, it helps to know what your eye is actually complaining about. Four things tell you a pumpkin is fake, in this order:
- Gloss. Factory plastic catches a hard white highlight that real skin never produces.
- Perfectly even ribs. Grown pumpkins bulge, dent, and lean. Molded ones are identical copies.
- One flat orange. Real pumpkins run from pale yellow-orange to greenish shoulders to rust in the shadow.
- The plastic stem. It is the most obvious give-away, and most people paint right over it and call it done.
Every technique below targets one of those four. Pick one pumpkin first, do all seven steps, then decide whether the method needs changing.
Table of Contents
- What You Need
- What paint works best to make fake pumpkins look real
- Surface-specific supplies worth picking up
- Step-by-Step: How to Make Fake Pumpkins Look Real
- 1. Prepare the pumpkin surface
- 2. Choose a realistic base color
- 3. Add natural color variation
- 4. Paint the ribs and recessed areas
- 5. Make the stem look convincing
- 6. Add wear, dust, and surface texture
- 7. Finish and style the pumpkin
- Common Mistakes
- Frequently Asked Questions
- What material can I use to make fake pumpkins look real?
- How do you make an artificial pumpkin look less shiny?
- Can I paint a foam pumpkin without it cracking?
- What colors make artificial pumpkins look the most realistic?
- How do I make a plastic pumpkin stem look natural?
- Can I use the finished fake pumpkins outside?
- Conclusion
What You Need
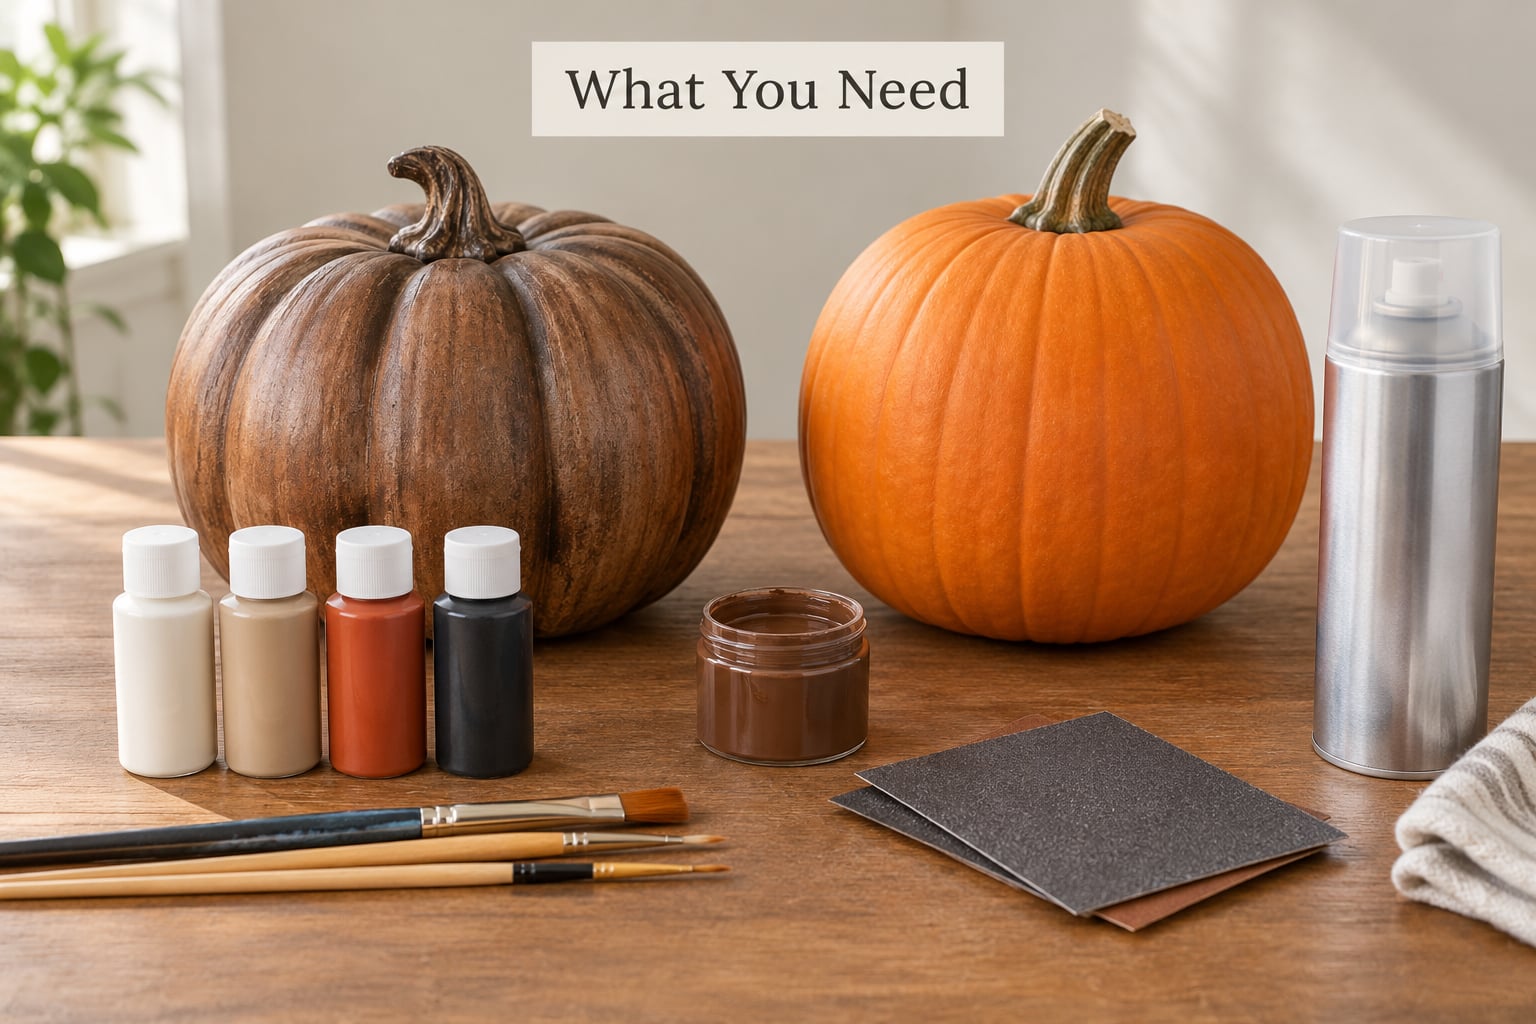
Most of this list is a hardware store or craft aisle stop. You probably already own half of it.
- A faux pumpkin: plastic, foam, ceramic, papier-mache, or wood
- Burnt umber and raw umber acrylic craft paint
- Antique white or your chosen base color, plus a lighter and darker orange if you are staying realistic
- Paper towels or an old rag for wiping back
- A stiff chip brush and a soft detail brush
- 220 grit sandpaper and isopropyl alcohol
- A clear matte sealer (spray or brush-on)
- A hot glue gun and one or more real stems, twigs, or driftwood pieces
What paint works best to make fake pumpkins look real
Water-based acrylic craft paint is the workhorse. It glues to a properly prepared plastic surface, dries fast, and takes a matte sealer without turning gummy. Burnt umber gives you the warm, almost-black shadow you see in real pumpkin grooves; raw umber is softer and greyer, which suits the pale or heirloom looks.
Chalk or milk paint sits on top of the plastic rather than merging with it, so it suits a deliberately flat, vintage farmhouse pumpkin and less so one that should read as real. Spray paint gives you fast, even coverage, but it is the hardest finish to blend and it encourages a uniform look unless you follow up with the umber antiquing step. Enamel paint adheres better than acrylic to bare plastic, but the fumes make it a poor choice for a kids project or a closed garage.
Whatever you pick, matte is the only finish that belongs on this project. Gloss sealer is the single most common reason a painted pumpkin still looks like plastic.
Surface-specific supplies worth picking up
The base pumpkin matters more than most guides admit, because the same technique behaves differently on each surface.
Plastic needs an isopropyl alcohol wipe to cut the factory oils, a light scuff with 220 grit to give the paint something to bite, and either a bonding primer or two thin coats. Acrylic on unprimed plastic peels in sheets within a week.
Foam and styrofoam are the easiest surfaces of all. Skip the alcohol and the sanding, keep coats thin, and use a water-based sealer only, since any solvent-based product will dissolve the foam. Never use spray adhesive on it either.
Ceramic is glassy and needs the alcohol wipe, light sanding, and a bonding primer. It holds paint beautifully once it grips.
Papier-mache is thirsty. Seal it first with diluted Mod Podge or a light gesso, or the first coat will sink in and leave you painting a pale ghost of itself.
Wood just needs sanding, dust off, and paint.
Step-by-Step: How to Make Fake Pumpkins Look Real
1. Prepare the pumpkin surface
Wash the pumpkin in warm water with a drop of dish soap and dry it fully. Then wipe the whole shell with isopropyl alcohol on a paper towel until the towel comes away clean; that is you removing the mold release coating and skin oils that block adhesion.
Next, scuff the surface lightly with 220 grit sandpaper. You are not trying to remove anything, just to break the glossy skin so paint has texture to hold. Wipe the dust off with a damp cloth and let it dry.
For plastic and ceramic, put on a thin coat of bonding primer or gesso now. It is an extra fifteen minutes that buys you years of reuse.
How to tell it worked: the pumpkin should look duller than it did out of the bag, with no reflective hotspots. If it still shines, keep sanding.
2. Choose a realistic base color
Real pumpkin skin is never one color, so pick a base that behaves like a base rather than a finish. Pale orange with a green cast at the shoulders is more convincing than bright craft-supply orange, which always reads as painted.
For the classic look: two thin coats of a mid orange, letting each dry fully before the next. Users report that factory orange needs three or four light coats to disappear under chalk paint; with acrylic and a primer it is usually two.
For a terracotta look, use a muted red-orange base, then wipe raw umber into the grooves. For a white or cream heirloom pumpkin, antique white over a beige shadow coat works better than plain white, which flattens the form. A galvanized or concrete look comes from gray base plus a spackle texture coat in step 6.
How to tell it worked: the color should change when you turn it under a light. Flat, shadowless color means you still need another coat or a lighter tone on the ridges.
3. Add natural color variation
This is the step that separates a convincing pumpkin from a craft project. Real skins are blotchy, and no two ribs carry the same tone.
Load a soft brush with a lighter orange, barely touch it, and scumble it over the upper curve and the raised parts of the ribs, leaving the valleys alone. Barely touching is the whole trick. A soft dry brush deposits pigment unevenly by design, so pressure control is what gives you variation.
Then load the same brush with a deeper rust or olive green and drag it lightly near the stem and in a few random patches. Random is important; symmetrical placement looks designed.
How to tell it worked: at arm’s length the pumpkin should have two or three distinguishable tones, and you should not be able to point to a repeating pattern.
4. Paint the ribs and recessed areas
Put a pea-sized amount of burnt umber on a paper towel and fold it, then blot it into the grooves with a stiff chip brush. Work the dark paint into the recesses where the shadow belongs, then wipe down the raised ribs with a clean, barely damp paper towel. The towel lifts the paint off the peaks and the shade stays behind in the valleys.
That single wipe-back is what recreates the light-and-shadow pattern of a real pumpkin, and it is the technique the search results keep pointing at. Repeat the cycle a couple of times, thinning the umber with water each time, until the grooves read as shadow instead of dirt.
Watch the two failure modes. Paint pooling thick in the creases turns the whole pumpkin muddy grey-brown, and dry-brushing with a stiff brush leaves scratchy streaks that read as dried mud. Thin paint and a light touch.
How to tell it worked: the pumpkin should look shadowed in the grooves and bright on the ridges without a single coat of paint visible.
5. Make the stem look convincing
Crafters consistently rate the stem swap as their favorite part of the project, and it is the detail people notice most without knowing why.
Most molded stems twist out of the socket with a firm counter-rotation. If yours will not budge, score the seam with a craft knife, then lever it out with a flat screwdriver. Others are glued in, so run a thin line around the base and pry. Save the socket ring if it stays put; it becomes the anchor.
For the replacement, the best supply is a real pumpkin stem. Carve them the night you carve the pumpkins, scrub and dry them, and they will keep for years in a jar. Outside of October, twigs cut fresh in late summer, dried driftwood, or short lengths of birch branch all work. Hot glue the stem into the socket, fill any gap with a little extra glue or a squashed bit of tissue paper, and let it set before handling.
Paint the stem separately if it is wood: a few coats of raw umber thin with glaze medium, wiped back the same way, gives the bark depth.
How to tell it worked: the stem should have bark texture, a slight lean, and a color that differs from the pumpkin body. A stem in the same orange as the fruit looks wrong every time.
6. Add wear, dust, and surface texture
Real pumpkins pick up scuffs, soil marks, and a faint dusty bloom. Faux ones are flawless, and flawlessness is what your eye reads as fake.
For texture, mix a little spackle with Mod Podge to a thick paste and stipple it on with a stencil brush, focusing on the lower half and around the base. Sand the dry result with 400 grit to knock off the high spots. Fine sand or coffee grounds pressed into wet Mod Podge give a coarser, more natural skin.
For wear, dab on a pale beige speckle with a stiff brush and stamp a few faint brown scuffs with a crumpled cloth. Cinnamon or cocoa dusted very lightly off a paper towel reads as ground dirt. Keep it sparse; the moment the pumpkin looks neglected, it stops looking convincing.
One thing to know about WD-40: it is a real-pumpkin trick, not a faux-pumpkin trick. Sprayed on a real pumpkin, it dulls and seals the natural waxy bloom so the skin stops looking shiny and holds moisture. On plastic it does nothing useful, and the oily film left behind can stop your paint from adhering. If someone tells you to use it on a faux pumpkin, wipe the shell with alcohol afterward before you start.
How to tell it worked: run your hand over it. Smooth and glossy means missing texture; rough and gritty means you overdid it.
7. Finish and style the pumpkin
Let everything cure for a few hours, then seal with clear matte sealer in thin, even passes, following the can’s directions for drying. Matte removes the specular highlight and locks in the scuffs. Two light coats beat one heavy one, which can look cloudy.
For outdoor use, the matte sealer is your main weather protection. Keep the finished pumpkin out of direct afternoon sun, since UV fades the base color fastest, and shelter it under a porch roof if you can. Set it on something heavy or add a dab of hot glue to the bottom so a gust does not send it across the yard. Store it indoors in a padded bin rather than the attic, and you can pull it back out year after year.
For placement, group pumpkins in odd numbers at different heights rather than in a straight line, and wedge a few in among dried grasses, corn husks, or galvanized buckets. Warm light at a low angle, the kind you get from a single lantern or a strand of lights hidden behind the group, makes the grooves read deeper than overhead lighting ever will. If you are painting them with children, use water-based acrylic and a water-based sealer with ventilation, and skip the antiquing umber until they are older; the wipe-back step is the fun one for small hands anyway.
How to tell it worked: set it outside at dusk beside something real, if you have one. In low light, most finished faux pumpkins disappear into the scene.
Common Mistakes
Thick, single-coat paint. Heavy coats read as craft project. Fix it by sanding back with 220 grit and redoing the coat thin, or accept it and move on to the antiquing, which hides a lot.
One uniform orange. A factory-flat pumpkin is the original problem, so painting it a different single flat color does not solve anything. Fix it with the scumbling pass in step 3 and the wipe-back in step 4.
Gloss sealer. The most damaging single choice. There is no fix once it is on; sand it back with 400 grit and reapply matte.
Skipping surface prep on plastic. Paint peels in sheets within days. Fix: alcohol wipe, 220 grit, bonding primer, thin coats.
Paint pooled in the creases. The pumpkin turns grey-brown and dirty. Fix: wipe the ridges harder and thinner, and add a lighter dry brush to the peaks.
Overdone aging. Heavy dust and dark speckles look like a haunted prop rather than a real pumpkin. Fix: wipe most of it back while damp.
Mismatched stems. A bright new dowel next to an aged body, or no stem at all. Fix: stain the stem to match, or gather twigs at a consistent thickness.
Flat overhead lighting. Correct paint can still look fake under a bright ceiling light. Fix: light the display low and from one side.
Frequently Asked Questions
What material can I use to make fake pumpkins look real?
Any of them, with different prep. Plastic needs an alcohol wipe, light sanding, and a bonding primer. Foam needs thin water-based coats only, since solvents dissolve it. Ceramic needs sanding and primer. Papier-mache needs sealing with diluted Mod Podge first or the paint sinks in. Wood needs only sanding and dust removal.
How do you make an artificial pumpkin look less shiny?
Sanding with 220 grit to break the gloss, then finishing with clear matte sealer rather than gloss, is the reliable fix. A thin coat of matte gesso or chalk-style paint over the whole surface also kills the shine. Avoid gloss sealers entirely, and do not use WD-40 on plastic, since the oily film does nothing but block adhesion.
Can I paint a foam pumpkin without it cracking?
Yes, as long as you avoid solvent products and heavy coats. Foam is porous and flexible, so acrylic craft paint and water-based matte sealer sit on it without cracking. Spray paint and spray sealers contain solvents that melt the surface. Keep each coat thin, let it dry fully, and skip spray adhesive, which also dissolves foam.
What colors make artificial pumpkins look the most realistic?
Muted, slightly varied oranges work best: a pale orange base with lighter yellow-orange scumbled over the ribs and rust or olive green near the stem. Uniform bright orange always reads as craft paint. For other looks, cream over a beige shadow coat gives an heirloom pumpkin, and a muted red-orange with raw umber in the grooves reads as terracotta.
How do I make a plastic pumpkin stem look natural?
Twist the molded stem out with a firm counter-rotation, cutting or prying it out if it is glued in. Glue a real pumpkin stem, a twig, or a short piece of driftwood into the socket with a hot glue gun. Then stain the replacement with thinned raw umber wiped back, so it is a different tone from the body rather than the same orange.
Can I use the finished fake pumpkins outside?
Yes, with a clear matte sealer and sensible placement. The sealer protects the paint from moisture, but direct afternoon sun will fade the color over a season or two. Set the pumpkin in a sheltered spot or weight it down with hot glue on the base so wind does not move it. Store it indoors after the season and it will last for years.
Conclusion
Start with surface prep, not paint. Wipe and scuff the pumpkin so the first coat has something to grip, then build color variation with a dry brush before you touch the creases. The antiquing wipe and a matte sealer do most of the convincing, and a real stem swapped into the socket is the detail people remember.
Do those three things well and a dollar store pumpkin reads as a real one at dusk. Everything after that is detail.