Learning how to decorate a small apartment for Halloween comes down to three moves: use the vertical space instead of the floor, hang everything with damage-free adhesive, and build the mood with layered lighting rather than a mountain of props. A compact room actually shows off a focused Halloween display better than a big one, because every surface you decorate is visible from where you stand. Most of the work takes a weekend afternoon and nothing requires a nail, a ladder, or landlord permission in most buildings.
The one thing renters get burned on is damage. Command-style strips and removable hooks hold paper bats and light strings without touching the paint, and they peel off cleanly when the season ends. Plan for an hour on setup, keep the palette to two main colors plus one accent, and the room will read as spooky instead of crowded.
Table of Contents
- What You Need
- Removable lighting
- Damage-free hanging
- Lightweight props
- Tableware and a simple color plan
- Step-by-Step: How to Decorate a Small Apartment for Halloween
- 1. Measure the Space and Choose a Theme
- 2. Plan Lighting Before Decorations
- 3. Make the Entryway Feel Spooky
- 4. Decorate the Main Living Area
- 5. Build One Dramatic Focal Wall
- 6. Add Ceiling and Vertical Details
- 7. Finish with Food, Party, and Outdoor Details
- Common Mistakes
- Setup and storage tips
- Frequently Asked Questions
- What is the best Halloween theme for a small apartment?
- How can I decorate a small apartment without damaging the walls?
- What lighting works best in a small Halloween space?
- How many Halloween decorations does a small apartment need?
- How can I decorate safely if I have pets or children?
- When should I put Halloween decorations up in an apartment?
- Conclusion
What You Need
Small apartment Halloween decor works best when every item is light, flat, or battery-powered. Group the supplies before you buy anything, because most of what you need is probably already in a drawer.
Removable lighting
Battery-operated string lights, flameless LED candles, and small battery lanterns do the heavy lifting. Look for warm white bulbs rather than multicolored ones, since a warm glow reads as cozy-spooky and colored bulbs turn a small room into a mess of competing hues.
Damage-free hanging
Command-style adhesive strips, removable picture hooks, and suction cups for glass handle most Halloween jobs. Paper bats, gauze, and garlands weigh almost nothing, so a low-weight strip rated for a few ounces is more than enough. Skip nails and screws entirely if you rent.
Lightweight props
Paper or felt bats and ghosts, plastic spiders, fabric fiberfill for fake cobwebs, and black tulle all cost almost nothing to make and fold flat for storage. Foam pumpkins and gourds work too, as long as you leave them uncarved, since carved pumpkins rot and stink up a small unit within about a week.
Tableware and a simple color plan
Pick two main colors plus one accent, such as black and deep purple with orange as the accent. Then gather a few black plates, orange napkins, and a serving tray so the food side of the room matches the decor instead of fighting it.
Renter-safe substitutions: where a plan calls for a nail, use an adhesive strip rated for the weight. Where it calls for a real candle, use an LED candle with a slow flicker setting. Where it calls for carved pumpkins, use no-carve foam or paper ones. Setup time for a full small-apartment treatment is roughly 60 to 90 minutes, plus drying time if any adhesive is involved.
Step-by-Step: How to Decorate a Small Apartment for Halloween
Seven steps, roughly in order. Follow them in sequence and each layer lands on top of the last one instead of competing with it.
1. Measure the Space and Choose a Theme
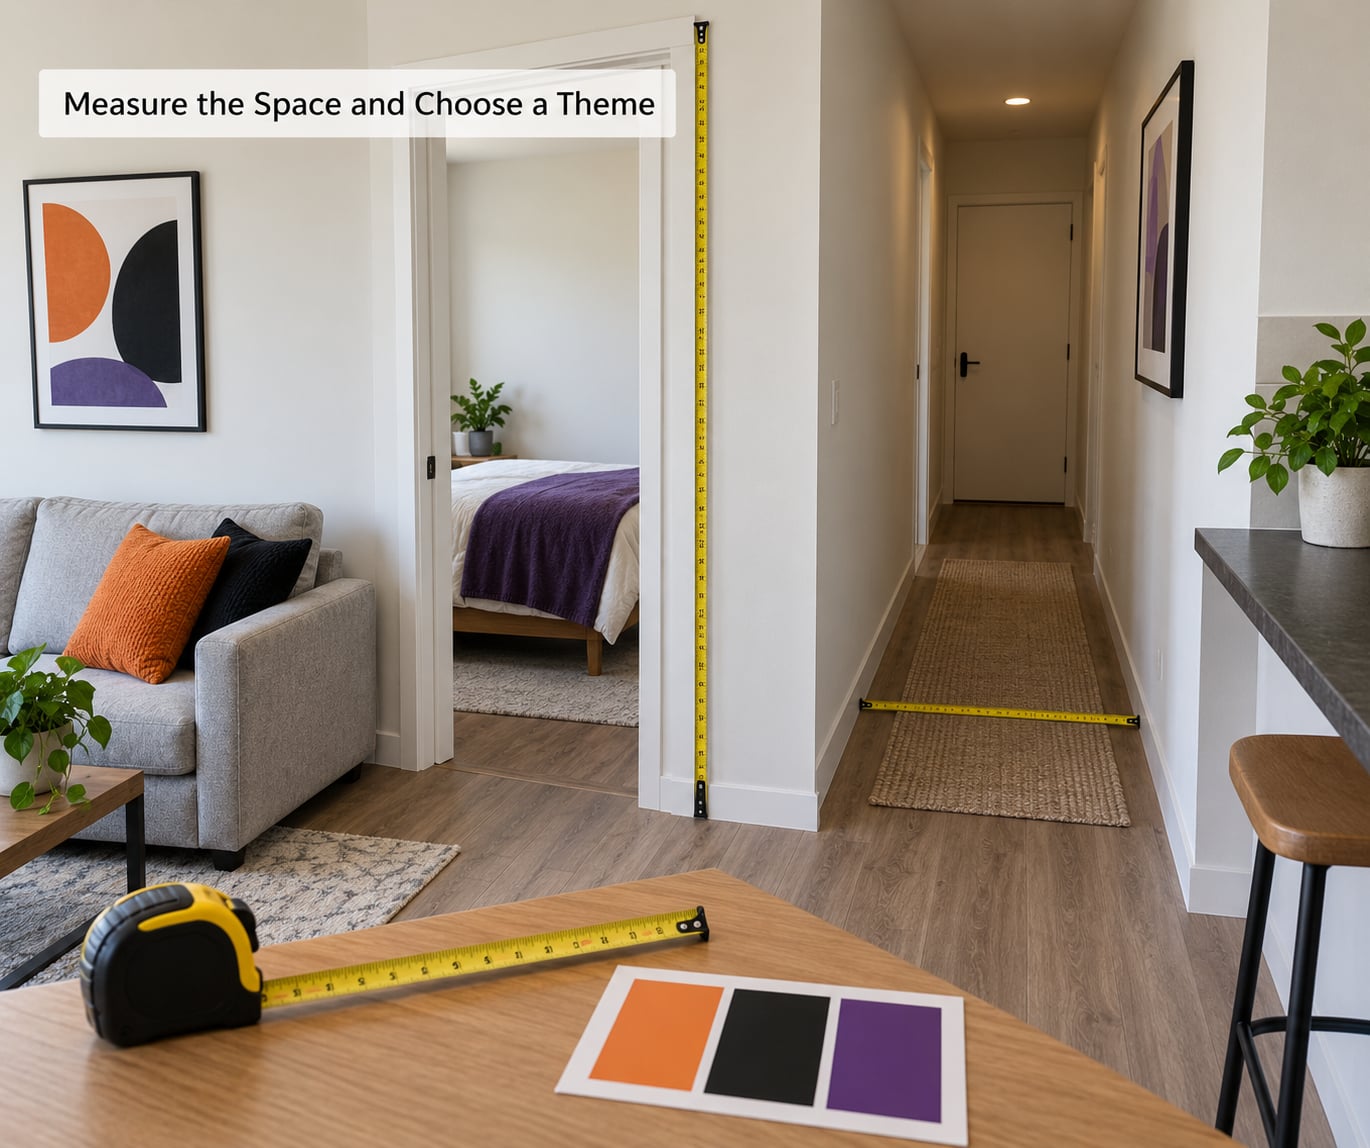
Measure the walls you plan to use, the width of your doorways, and the narrowest point of your walking path. In a studio, that path is usually the difference between a room that feels decorated and one that feels blocked.
Then choose one narrow theme rather than a grab-bag. Haunted Victorian, retro sci-fi horror, and campy cute each read clearly with three or four repeated elements. Mixing all three gives you noise.
Use two main colors plus one accent, and decide on a single focal area before you buy a single thing. A small room with one intentional center point looks designed; the same room with equal attention everywhere looks cluttered.
2. Plan Lighting Before Decorations
Lighting does more work per square foot than any other element, so set it first and judge everything else against it. Warm string lights along one wall, two or three LED candles at different heights, and a battery lantern on the floor near a corner create depth in a room with no depth to spare.
Projected effects work well in tight quarters too, since a slow-moving glow across a wall adds motion without adding objects. Keep wires along baseboards or behind furniture rather than across walkways, and confirm which of your lights are battery-operated before you start.
Overlap your sources. One overhead light with everything else switched off looks like an interrogation room, which is not the vibe anyone wants for trick-or-treaters.
3. Make the Entryway Feel Spooky
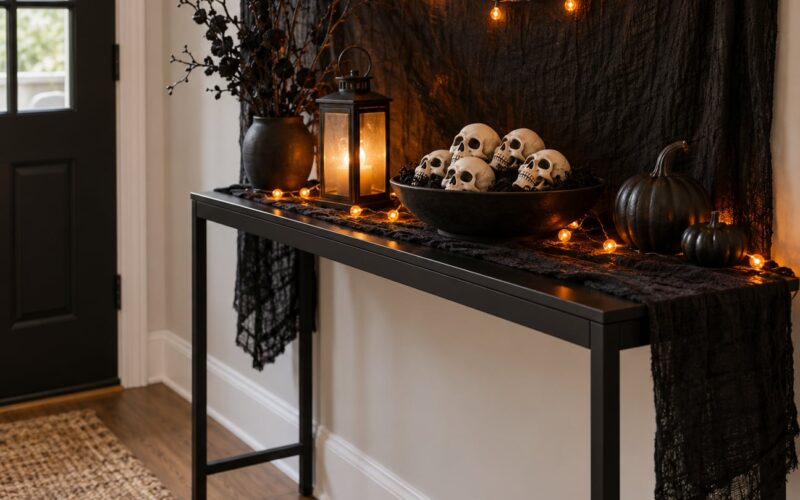
The entryway is the first thing anyone sees, and it is usually the smallest space you have to work with. One removable decal on the door, one narrow hanging beside it, and a doormat with a themed cover on top will carry more effect than three crowded surfaces.
If you have room for a props table, make it shallow and put it against the wall, not in the path. Check that the door still opens fully and that nothing you hang swings into the frame. A hanging that catches the door on October 28th is a bad Halloween story.
Check your building’s rules before you decorate anything on the outside of your door. Hallways, elevators, and shared lobbies belong to everyone, and what looks charming to you can read as an eyesore to the neighbor whose door it hangs in front of.
4. Decorate the Main Living Area
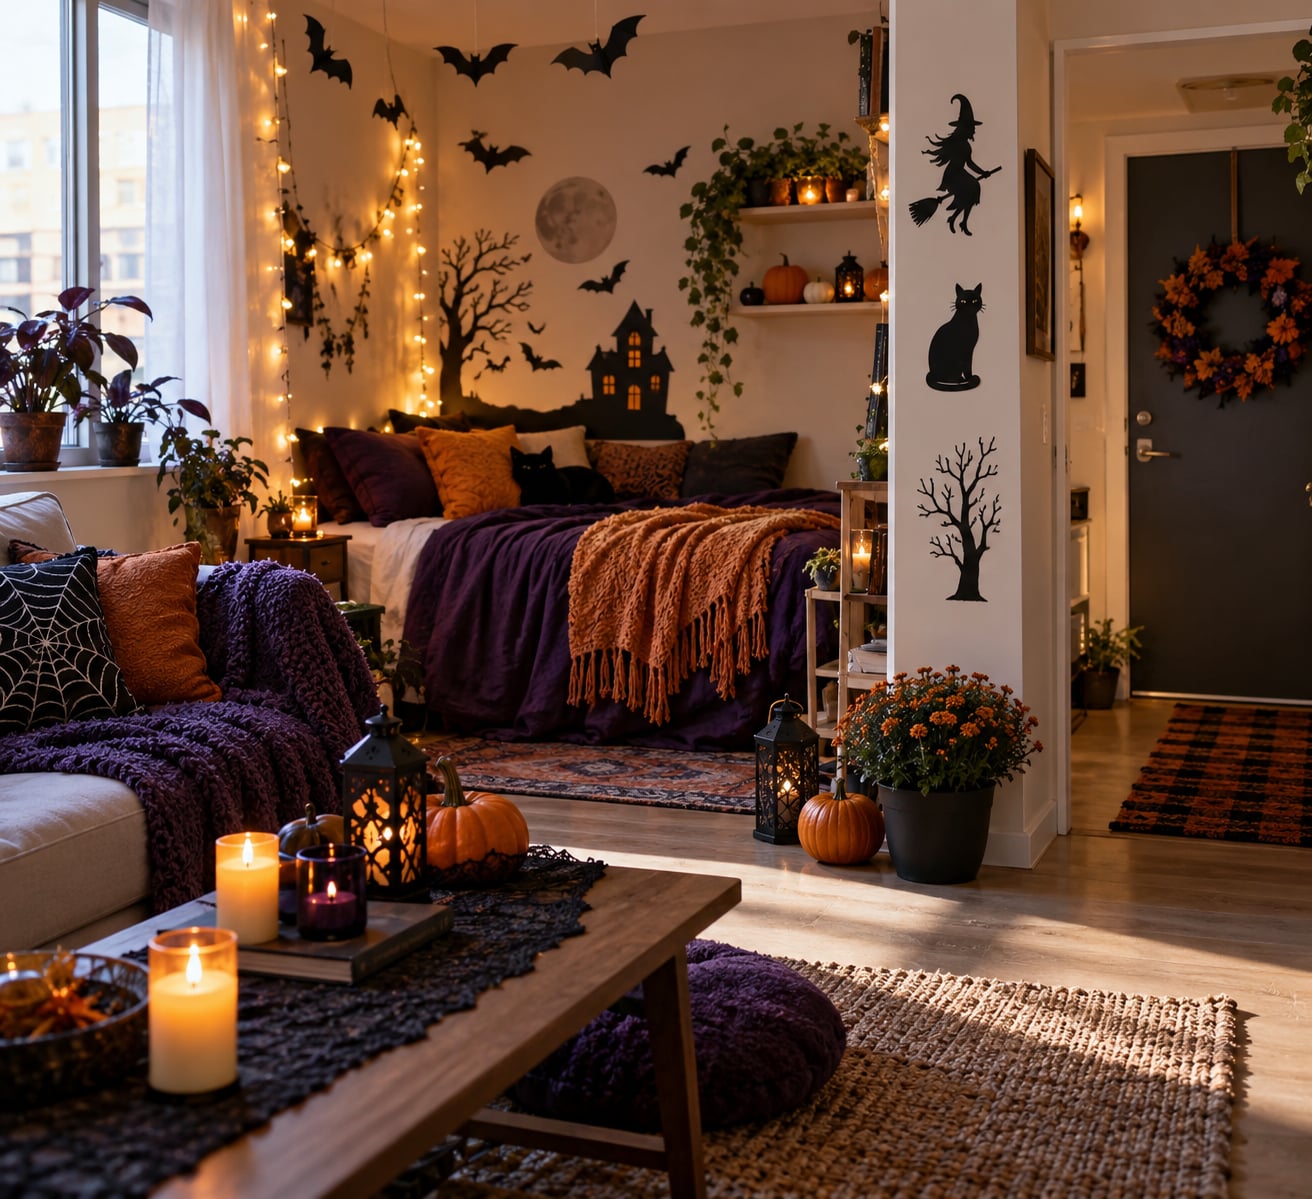
Spread decorations across surfaces and corners instead of filling every gap. A low coffee-table centerpiece, one framed seasonal print in removable art clips, a garland on a shelf edge, and two or three freestanding props in the corners will read as a complete room.
Swap your everyday throw pillows for Halloween covers rather than buying new ones, and leave the rest of the furniture alone. Moving furniture around a small space costs you floor area you cannot spare, and it makes the room harder to walk through on the nights when you have guests.
Window accents count double, since light behind them works from the hallway. Removable decals or a single paper silhouette per pane give you a story from outside without touching the glass itself with anything sticky or permanent.
5. Build One Dramatic Focal Wall
Pick the wall guests face when they walk in and make that one wall tell a story. Decals for the background, paper silhouettes for the middle layer, gauze draped over a corner for depth, and one printed sign as the punchline.
Work in layers from back to front. Removable decals go on first, then the flat paper pieces, then anything that hangs or drapes. Space the elements evenly, roughly the same gap between each one, because uneven spacing reads as sloppy faster than any other mistake.
Keep the palette on this wall to two or three colors. A limited palette with more empty wall showing through looks deliberate and expensive. Filling every inch looks like a paper shop threw up on it.
6. Add Ceiling and Vertical Details
Hanging things makes a low ceiling feel taller. Lightweight bats on clear fishing line, a ceiling-mounted light, a vertical banner, or a few elevated props do this cheaply. Clear fishing line is nearly invisible, so the bats appear to float.
Use removable strips rather than tape on the ceiling, since ceiling paint is easy to scuff and nobody wants to explain that mark at move-out. Keep everything clear of light fixtures, ceiling vents, and anything that blocks airflow.
Never hang decor over or near a smoke detector, and never let a hanging item sit in front of an exit route. Both are genuine safety problems, not just landlord problems.
7. Finish with Food, Party, and Outdoor Details
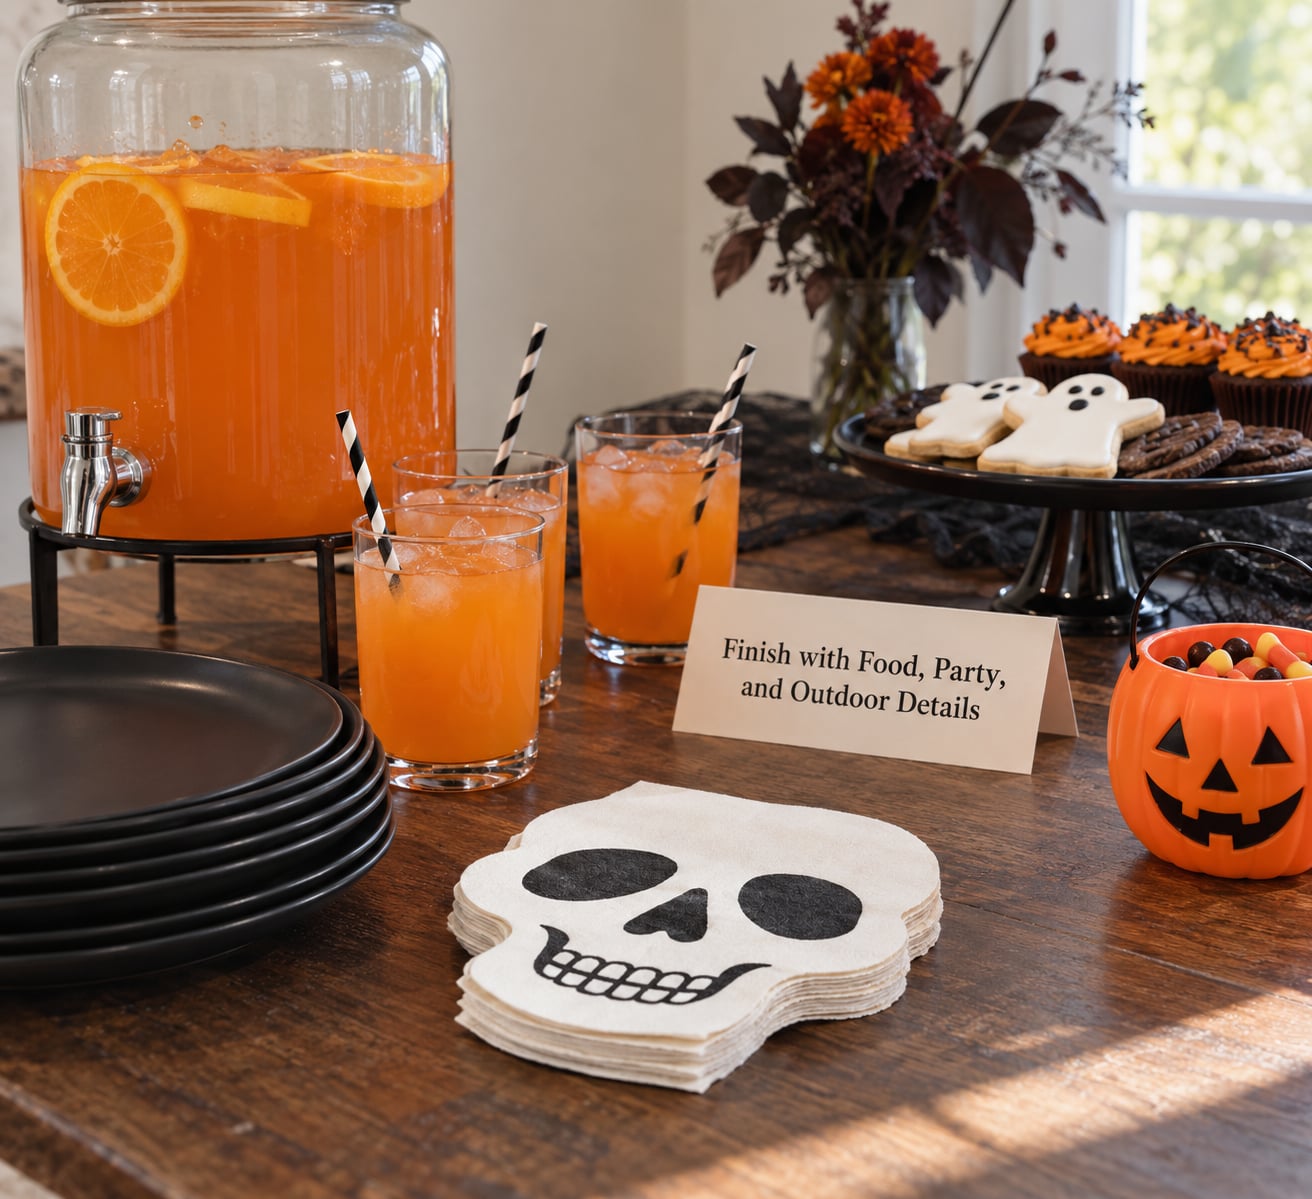
Food ties the whole thing together, and in a small apartment the serving surface needs a plan. Pick one table rather than three, put the drinks on a separate surface so the queue doesn’t form in your walkway, and use themed napkins and plates to carry the color.
Keep snacks covered when they sit out, and skip anything that needs refrigeration if your kitchen is small enough that a door left open ruins the room temperature. A crowded room in costume generates real heat, so crack a window or lower the thermostat a bit before guests arrive.
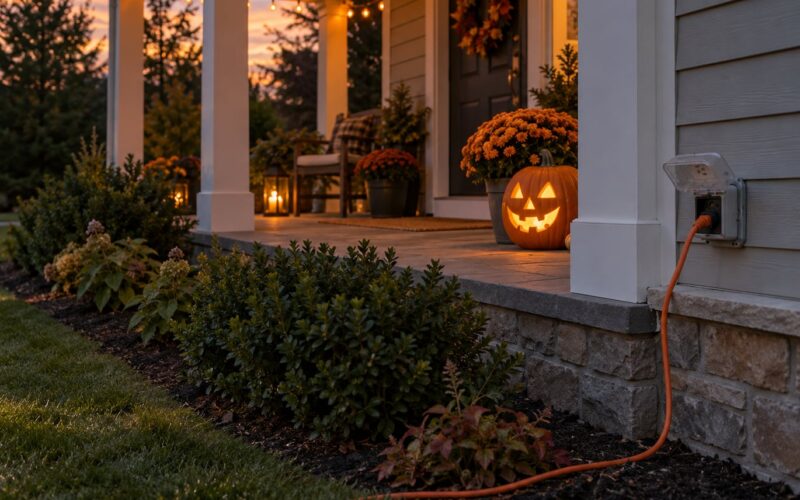
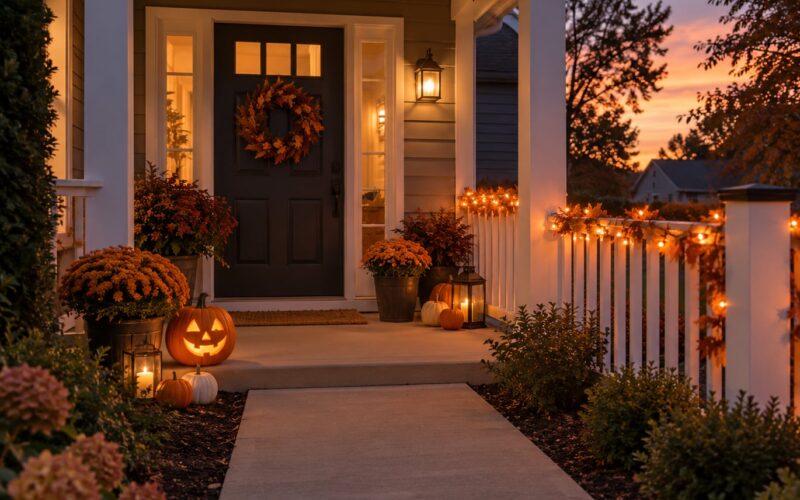
For outdoor details, stay inside your own footprint. A removable wreath, a door decal, and a battery lantern on a balcony step are plenty. Never block a hallway fire door, and never tape anything to shared surfaces.
Common Mistakes
Overcrowding the room. The fix is subtraction. Take everything off the floor first, then re-add only what fits on a surface without touching another surface. If two objects have to share a table, move one to a shelf or another room.
Covering windows or exits. Blocked windows kill your light source and blocked exits are a safety hazard. Decorate one window fully and leave the others clear, and keep every exit route completely unobstructed.
Using open flames. Real candles in a small room with curtains, paper bats, and synthetic cobwebs is a genuine fire risk, and many buildings prohibit them outright. Battery candles flicker convincingly and cost nothing to run.
Matching every Halloween item you own. Different decorations from different years rarely look like a set. Pick the year with the best stuff and store or donate the rest.
Ignoring the floor plan. Walk the room from the door to the window before you decorate and again after. If you have to turn sideways anywhere, something is in the way.
Leaving no visual resting point. A room with spooky elements in every direction gives the eye nowhere to land. Leave one wall, one shelf, or one corner deliberately plain so the eye has somewhere to breathe.
Setup and storage tips
Test every adhesive strip on an inconspicuous spot for 24 hours before you trust it with a garland. If it peels off the paint or leaves a mark, switch to a different weight rating or use a suction cup instead.
On removal, pull adhesive strips slowly at a low angle rather than straight back, and follow the removal instructions on the pack. For any residue, warm it briefly with a hair dryer and rub gently with a cloth; a plastic scraper works better than a metal one, which scratches paint.
Store everything flat in a bin under the bed or on top of a closet shelf. Foldable paper bats, bundled garlands, and a bag of hooks take up about as much room as a winter coat, which is the whole point in a small apartment.
Frequently Asked Questions
What is the best Halloween theme for a small apartment?
A narrow, single-idea theme works best in a small apartment because it needs fewer objects to read clearly. Haunted Victorian, retro sci-fi horror, and playful cute each look intentional when you repeat three or four elements. Avoid combining styles, and stick to two main colors plus one accent so the room reads as designed rather than crowded.
How can I decorate a small apartment without damaging the walls?
Use Command-style adhesive strips, removable picture hooks, and suction cups for anything hanging. Stick to strips rated well above the weight of paper bats, gauze, or light strings, and test each one in a corner for a day before you trust it. Never use nails, screws, or ordinary tape, and peel strips off slowly at a low angle when October is over.
What lighting works best in a small Halloween space?
Layer at least two or three warm light sources: string lights along a wall, LED candles at different heights, and a battery lantern on the floor near a corner. Overlapping sources create depth that a single overhead bulb cannot. Skip colored bulbs, keep cords along baseboards or behind furniture, and turn off the main light so the glow reads.
How many Halloween decorations does a small apartment need?
Far fewer than you think. One focal wall, one entryway statement, two or three surface vignettes, and one ceiling element is a complete room. That is usually between fifteen and twenty-five individual pieces. Everything else is filler, and filler is what turns a small apartment into a storage unit.
How can I decorate safely if I have pets or children?
Skip low-hanging bats, dangling cords, and breakable ornaments, since climbing cats and curious toddlers both treat decoration as an invitation. Secure light strings so they cannot be pulled, and keep LED candles out of reach rather than relying on the flame being fake. Skip the floor entirely for anything fragile, and check that nothing sharp or chewable is within reach of a curious climber.
When should I put Halloween decorations up in an apartment?
Most renters put things up in the last week of October and take them down within a few days after October 31. Starting early in a shared building tends to annoy neighbors, even when the decorations are removable. If you want to keep fall decor up through November, choose pieces that work as autumn accents so the space does not look abandoned on November 1.
Conclusion
Start by measuring your entryway and the narrowest part of your walking path. Choose a two-color palette with one accent, pick the wall that guests will face, and layer your warm lighting before you add anything else.
Once the light works, the rest is quick: one focal wall, a handful of surface vignettes, a few ceiling details, and themed food on one table. Pull it all down with adhesive strips in the first days of November, fold it flat, and you get to reuse it every year without touching the paint.