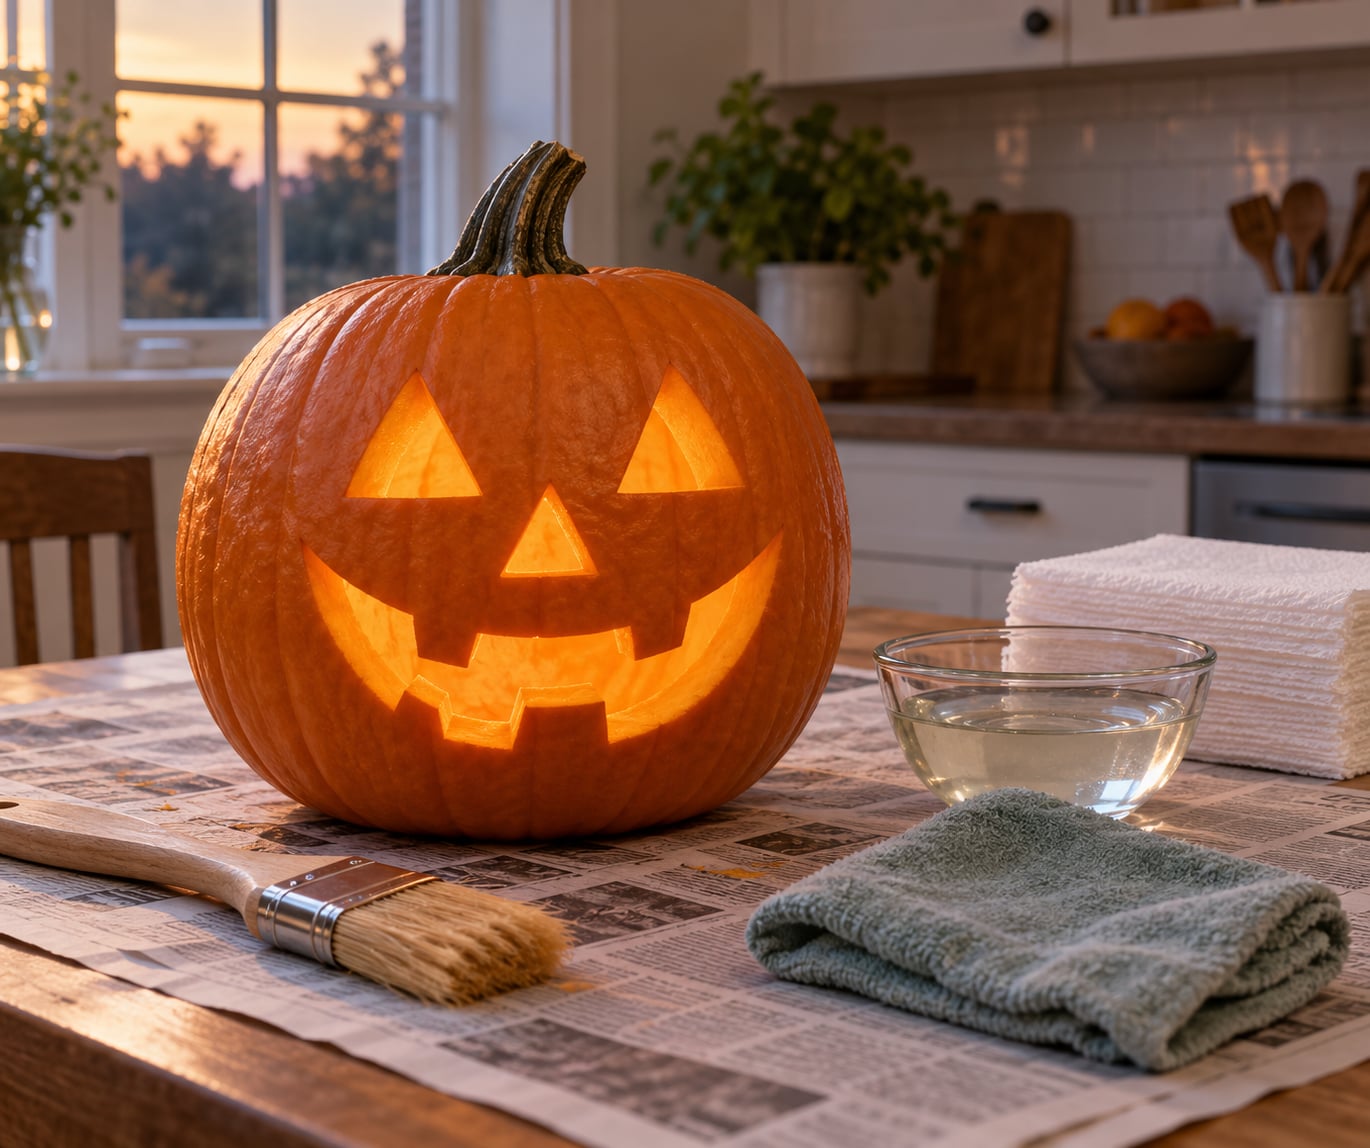
A carved pumpkin rots because carving slices open skin that was doing the job of a sealed container, and the wet flesh inside picks up bacteria and mold within hours. To keep a carved pumpkin from rotting without bleach, wash the rind, scoop out every seed and stringy bit, let the whole thing dry completely, rub the cut edges with petroleum jelly or a food-safe sealer, and keep it somewhere cool and shaded. The whole active job takes about half an hour, and most of that is scrubbing.
That sequence buys you real time. An untreated jack-o’-lantern on a porch usually starts sagging and growing fuzz in five to eight days. One that is cleaned, dried, sealed and stored properly can still look sharp three weeks later.
Last updated for 2026.
Table of Contents
- What You Need to Keep a Carved Pumpkin From Rotting
- Step-by-Step: Preserve a Carved Pumpkin
- 1. Clean the outside without soaking it
- 2. Remove seeds, pulp, and loose skin
- 3. How to Keep a Carved Pumpkin From Rotting: Dry Every Surface
- 4. Apply a thin food-safe protective barrier
- 5. Store the pumpkin in a cool, dark place
- 6. Display it with limited direct heat
- Common Mistakes That Make Carved Pumpkins Rot Faster
- Rinsing the pumpkin and putting it back in the sink
- Leaving pulp behind in the corners
- Sealing before the flesh has dried
- Slathering on a thick, patchy coating
- Using kitchen grease that traps odor
- Leaving it on a sunny porch or a warm step
- Setting it on a damp lawn, mulch or newspaper in the rain
- Ignoring condensation and insects
- Carving three weeks early
- Frequently Asked Questions
- Does coating a carved pumpkin in petroleum jelly prevent rot?
- How long does a carved pumpkin last when stored indoors?
- Can you freeze a carved pumpkin after decorating it?
- Does washing a carved pumpkin with dish soap help it last?
- Will a candle ruin a sealed carved pumpkin?
- What to Do First
What You Need to Keep a Carved Pumpkin From Rotting
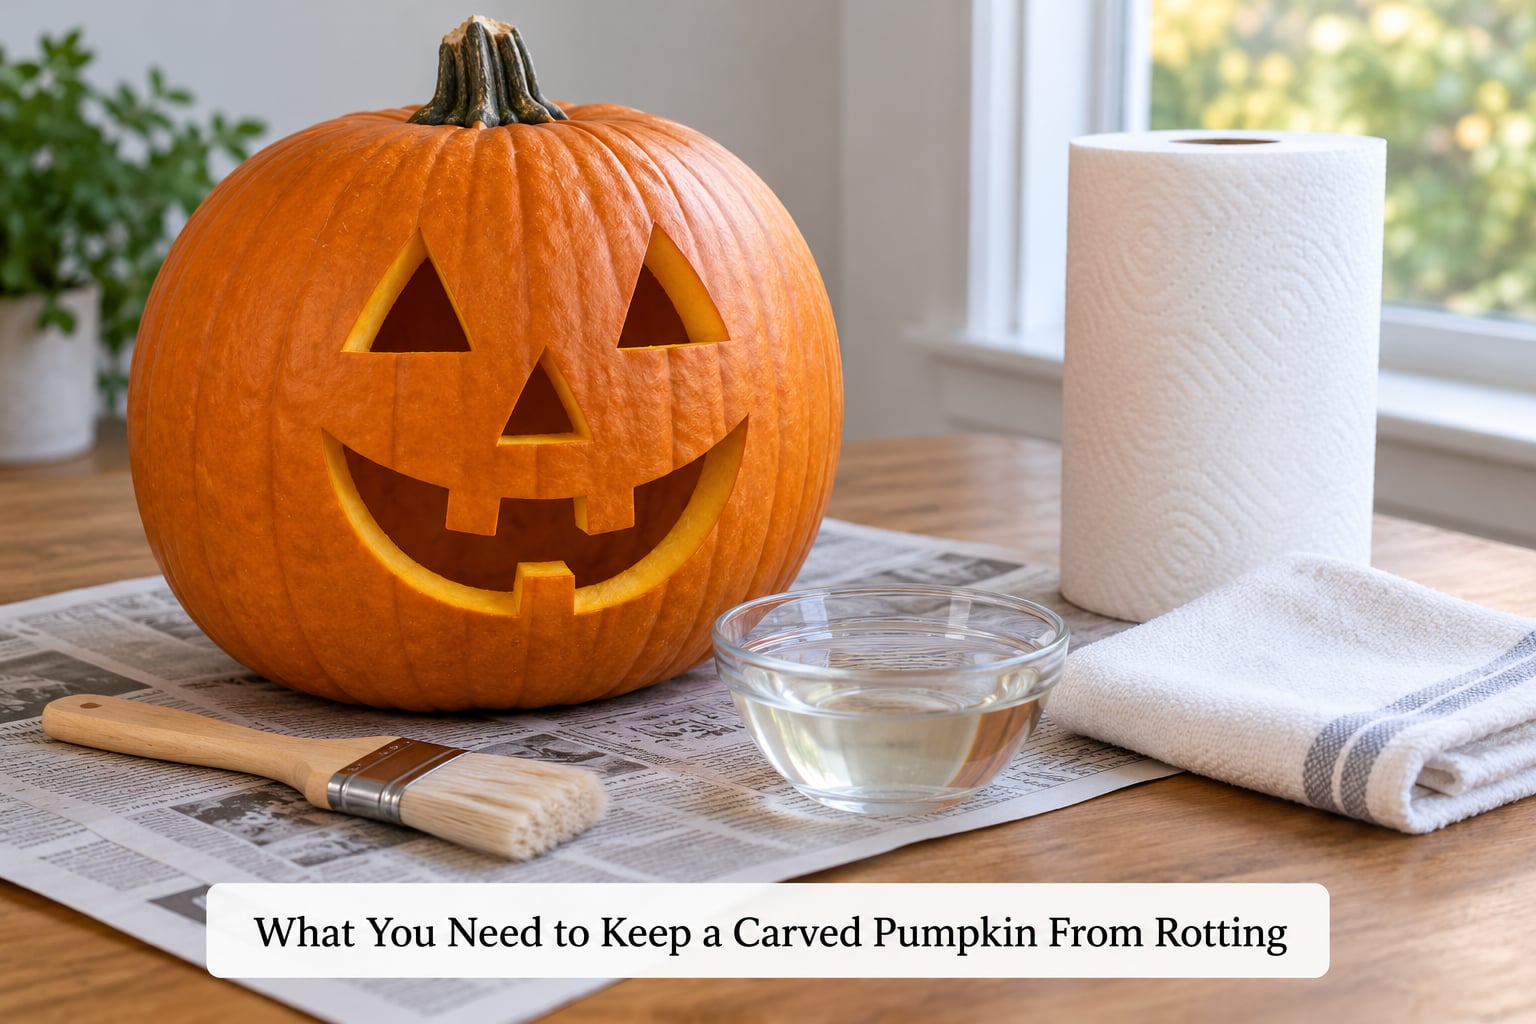
You need very little, and most of it is already in the kitchen. A damp cloth and a soft brush handle the outside, plain water and paper towels handle the drying, and one thin barrier handles the cut edges.
- A work surface you do not mind staining — newspaper, a sheet of plastic or a cutting board covered in towels.
- A soft brush or stiff-bristled toothbrush for the rind grooves, where dirt hides.
- A clean damp cloth for wiping the skin down.
- Paper towels or a lint-free cloth for the drying step, which is the one people skip.
- A food-safe barrier — petroleum jelly, a butter and water paste, or a clear kitchen-safe sealer spray.
- A storage spot — a cool garage, a shed, a basement shelf, or the back of the fridge.
You do not need bleach, and you do not need a fan of specialty pumpkin products. You also do not need much water. Washing the outside properly takes a damp cloth, not a soak, and soaking feeds the problem you are trying to fix.
Step-by-Step: Preserve a Carved Pumpkin
1. Clean the outside without soaking it
Wipe the rind down before you cut into it. Dirt in the stem end and around the ribs carries mold spores, and once those spores reach exposed flesh they have exactly what they need.
Use a cloth dampened with plain water and a drop of mild dish soap, then go over the grooves with a soft brush. Rinse with a second damp cloth and pat it dry. The skin should feel cool and slightly tacky, not wet.
You will know it worked when the rind looks evenly matte with no dark soil left in the crevices. If the pumpkin came from a field rather than a store shelf, wipe down the stem base too — that is where rot usually starts.
2. Remove seeds, pulp, and loose skin
Scoop out everything. Every stringy strand clinging to the inside wall is food for bacteria, and a pocket of leftover pulp will turn to slime long before the rest of the pumpkin gives up.
Scrape with a sturdy spoon or a clean ice cream scoop, working down to the rind rather than stopping at the stringy layer. Then run your fingers around the inside walls and pull off the thin membrane pieces that cling. Cut the lid a little shallower than you planned if it helps; less open surface means less exposed flesh.
Check the fiddly cuts. Narrow nose cavities and small eye holes are where leftover seeds hide, and a flashlight helps you spot the ones you cannot see by feel.
3. How to Keep a Carved Pumpkin From Rotting: Dry Every Surface
Drying is the step that decides everything that comes after it. A barrier applied over damp flesh traps the moisture instead of stopping it, and the cut edges stay soft and grey instead of drying to a slightly leathery finish.
Set the pumpkin upside down on stacked paper towels so air moves through the cavity, then blot the cut edges with a dry towel. Leave it in a shaded, breezy spot for several hours or overnight. Turn it once so the bottom faces up for part of the time.
You will know it is ready when the cut edges feel dry and firm to a light press rather than cool and yielding. If you carve more than one, drying them all at once on a towel-covered table works fine.
4. Apply a thin food-safe protective barrier
A thin film over the cut flesh gives bacteria a sealed surface to work against. Thick coats are a mistake, because a heavy petroleum jelly layer looks greasy and smears every time someone touches the pumpkin.
- Petroleum jelly — dab a thin layer on the cut edges with a fingertip or a small brush. It stays clear, has no scent and needs no drying time.
- A butter and water paste — soften a spoonful of butter and stir in a splash of water, then brush it on thinly. It soaks in and leaves a slight sheen.
- A clear kitchen-safe sealer — a spray rated for food-contact surfaces gives the most even coat. Follow the label, spray outdoors or in a ventilated room, and let it dry before handling.
Skim the rim, the eye holes, the mouth and any thin carved edges. Leave the outer skin alone unless you want it shiny and plastic-feeling under the porch light.
5. Store the pumpkin in a cool, dark place
Heat and moisture are what finish off a jack-o’-lantern. Where you put it matters as much as anything you did to it.
A porch that gets morning sun will wilt a pumpkin faster than one in shade, and rain drives moisture straight into the open cavity. A cool garage, an unheated mudroom or a basement shelf are all better than a warm front step. If the only cool spot you have is the refrigerator, a single carved pumpkin fits on a shelf or in a bowl, and it will hold for weeks.
Cover the cut top with an overturned bowl or a propped plastic lid so dust, leaves and insects stay out while air still moves. Wipe condensation off the inside daily, and check it for soft spots the same time.
6. Display it with limited direct heat
Light the jack-o’-lantern with a battery-powered LED candle rather than a real flame. A real candle gives off heat that cooks the inside, dries the cut edges and softens the petroleum jelly, and it is a genuine fire risk on a night when someone might leave a paper bag or a straw hat nearby.
A cool blue LED flicker or a warm amber one both look right through the eyes. If you want a real flame look without heat, a carafe of ice with a small light underneath gives a moving glow and adds nothing to the temperature inside the cavity.
Common Mistakes That Make Carved Pumpkins Rot Faster
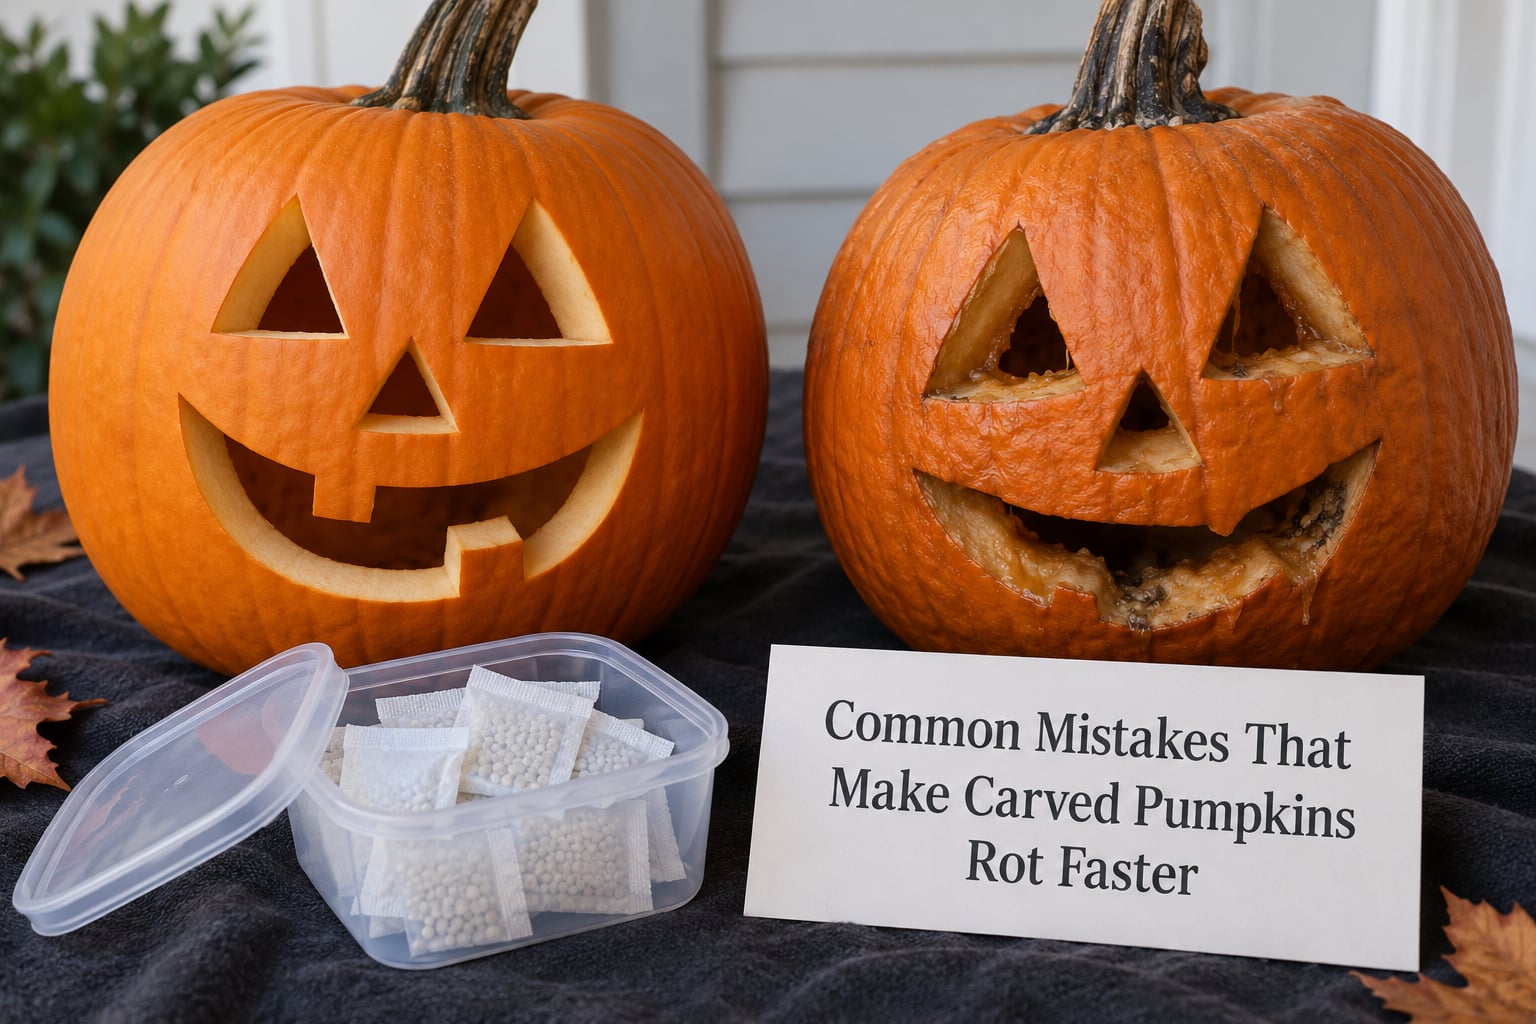
Almost every disappointing pumpkin traces back to one of a handful of mistakes. Here is what goes wrong and the correction that fixes it.
Rinsing the pumpkin and putting it back in the sink
Water sitting on the rind or pooling in the tray keeps the surface damp, and damp skin goes soft in a day or two. Wipe, blot, and set the pumpkin on a towel rather than a wet board.
Leaving pulp behind in the corners
Even a tablespoon of packed seeds in the bottom of the cavity starts the smell. Turn the pumpkin upside down over the trash and shake it out after scraping, then check the eye holes again.
Sealing before the flesh has dried
If the cut edges still feel cool and soft, stop and wait. A barrier on damp flesh locks the moisture in and gives mold exactly the damp pocket it wants. A night of drying is worth more than any coating you can buy.
Slathering on a thick, patchy coating
A heavy layer of petroleum jelly looks greasy, picks up dust and can slide down onto the face. Use the thinnest coat that covers the cut flesh, and blend the edges so there are no bare patches and no ridges.
Using kitchen grease that traps odor
Coconut oil, olive oil and cooking sprays go rancid or sour-smelling as the pumpkin sits. If you want an oil, use a small amount of petroleum jelly instead, which does not oxidize.
Leaving it on a sunny porch or a warm step
Direct sun and reflected heat from a door or wall pull water out of the flesh fast. The face wrinkles and caves in. Shade is worth more than any spray.
Setting it on a damp lawn, mulch or newspaper in the rain
The bottom takes on moisture and mold spots first. Put it on a raised surface, a wooden step or a pot riser so air circulates underneath.
Ignoring condensation and insects
A covered pumpkin still collects moisture under an upside-down bowl, and a wet cavity pulls fruit flies and wasps within days. Lift the cover every day or two, wipe it out and drop in a small packet of desiccant if you are using one.
Carving three weeks early
No treatment makes an October 5 carve hold to October 31 with any reliability. If you buy pumpkins early, store them whole in a cool spot, wipe them with a damp cloth and check for soft spots weekly, then carve about a week before Halloween.
After the night, cut the pumpkin up and compost it if your local program accepts pumpkin, or bag it for pickup. The plastic LED candles and the plastic bags are the parts worth separating out.
Frequently Asked Questions
Does coating a carved pumpkin in petroleum jelly prevent rot?
It helps, but on its own it is not enough. Petroleum jelly seals moisture in the cut flesh, which slows the bacteria and mold that enter through those openings. It does nothing about the dirt already on the rind or the pulp you missed, so clean the outside and gut it first. A thin coat on dry cut edges is what makes the difference.
How long does a carved pumpkin last when stored indoors?
An untreated carved pumpkin indoors usually starts to soften and grow mold within five to eight days. Cleaned, fully gutted, dried and sealed, then kept somewhere cool and shaded, it commonly holds three weeks and sometimes longer. A pumpkin in the refrigerator can stay presentable for most of a month. Heat and direct sun shorten every one of those numbers.
Can you freeze a carved pumpkin after decorating it?
You can, but only if you freeze it before it starts to break down, and only if the flesh has not been sealed with petroleum jelly or an oil. Let it dry fully, wrap loosely in plastic or foil, and freeze. When you want it back, move it to the fridge overnight and let it thaw slowly. Expect the cut edges to darken and soften once thawed.
Does washing a carved pumpkin with dish soap help it last?
A drop of mild dish soap on a damp cloth, used before you carve, is useful because it lifts dirt and mold spores off the rind. Washing after carving with a lot of water is counter-productive, since the soapy water runs into the cavity and sits there. Use a damp cloth rather than a hose or a sink, and keep the inside dry.
Will a candle ruin a sealed carved pumpkin?
A real flame adds heat inside the cavity, which softens the sealed edges, dries the flesh and dulls any petroleum jelly coating over time. It is also the reason so many preserved pumpkins last a few extra days instead of a few weeks. A battery-powered LED candle gives the same look with no heat and no fire risk near decorations.
What to Do First
Remove all the debris. Scrape the cavity down to the rind, pull the strings off the walls, and check the small carved cuts for anything left behind.
Then let every cut surface dry completely before you seal it. Once the edges feel firm rather than cool and yielding, apply a thin coat of petroleum jelly and put the pumpkin somewhere cool, shaded and protected from condensation. That order — clean, gut, dry, seal, store — is the whole answer to how to keep a carved pumpkin from rotting.