An untreated jack-o’-lantern usually starts going soft and fuzzy within three to seven days, and that is why so many pumpkins look tired before trick-or-treat night. Knowing how to carve a pumpkin so it lasts longer is not about one clever trick but a short sequence: scrape out every trace of pulp, seal the cut edges so they cannot dry out or take in air, disinfect the exposed flesh, then keep the pumpkin cool, dry and off the ground.
Done properly, that buys most people a solid two to three weeks instead of a single week. It will not make a pumpkin last through November, and anyone promising a month is overselling it. But for a porch display carved in early October, it is the difference between a jack-o’-lantern that is still crisp on October 31 and one that has to be quietly replaced.
This is the method I use every season, updated for 2026. It takes maybe fifteen extra minutes beyond a normal carve.
Table of Contents
- What You Need
- Step-by-Step: How to Carve a Pumpkin So It Lasts Longer
- Step 1: Choose a Fresh, Firm Pumpkin
- Step 2: Wash and Dry the Outside
- Step 3: Cut the Lid and Remove the Seeds
- Step 4: Scrub the Inside and Check the Walls
- Step 5: Apply a Thin Protective Coating
- Step 6: Store the Pumpkin Properly
- Common Mistakes: Why Carved Pumpkins Rot in Three Days
- Frequently Asked Questions
- Does vinegar or bleach work better on a carved pumpkin?
- Is petroleum jelly safe on a carved pumpkin?
- Does WD-40 or hairspray preserve a pumpkin?
- How far in advance can I carve a pumpkin?
- When carving, is it better to cut out the top or the bottom?
- Can you save a carved pumpkin that is already shriveling?
- Conclusion
What You Need
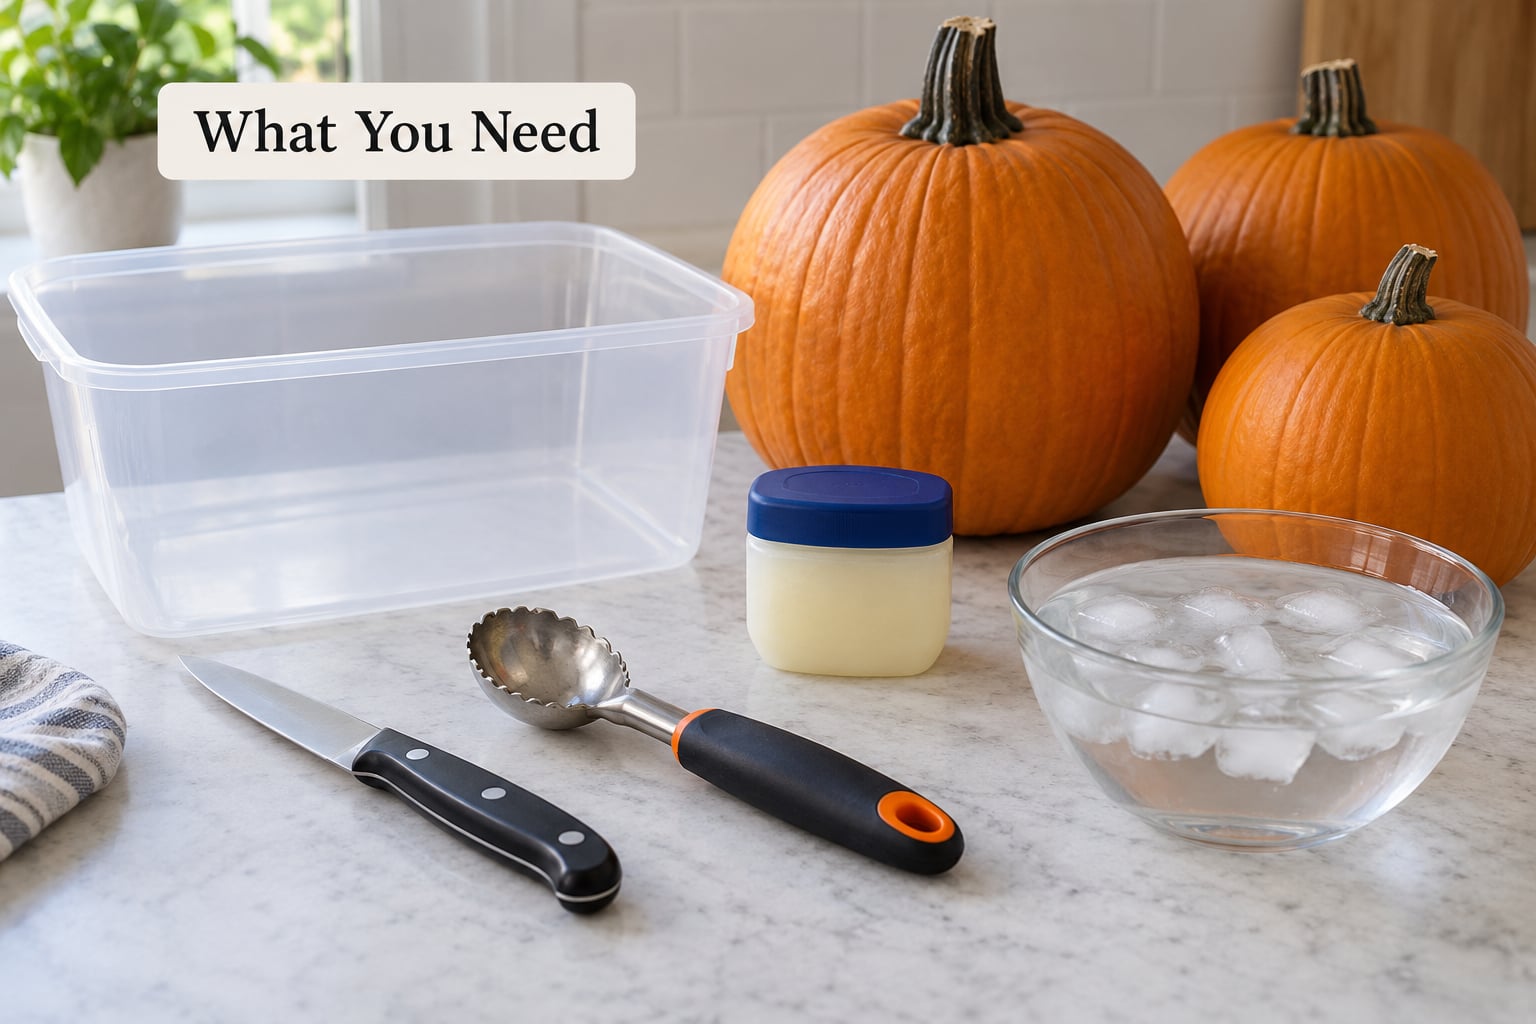
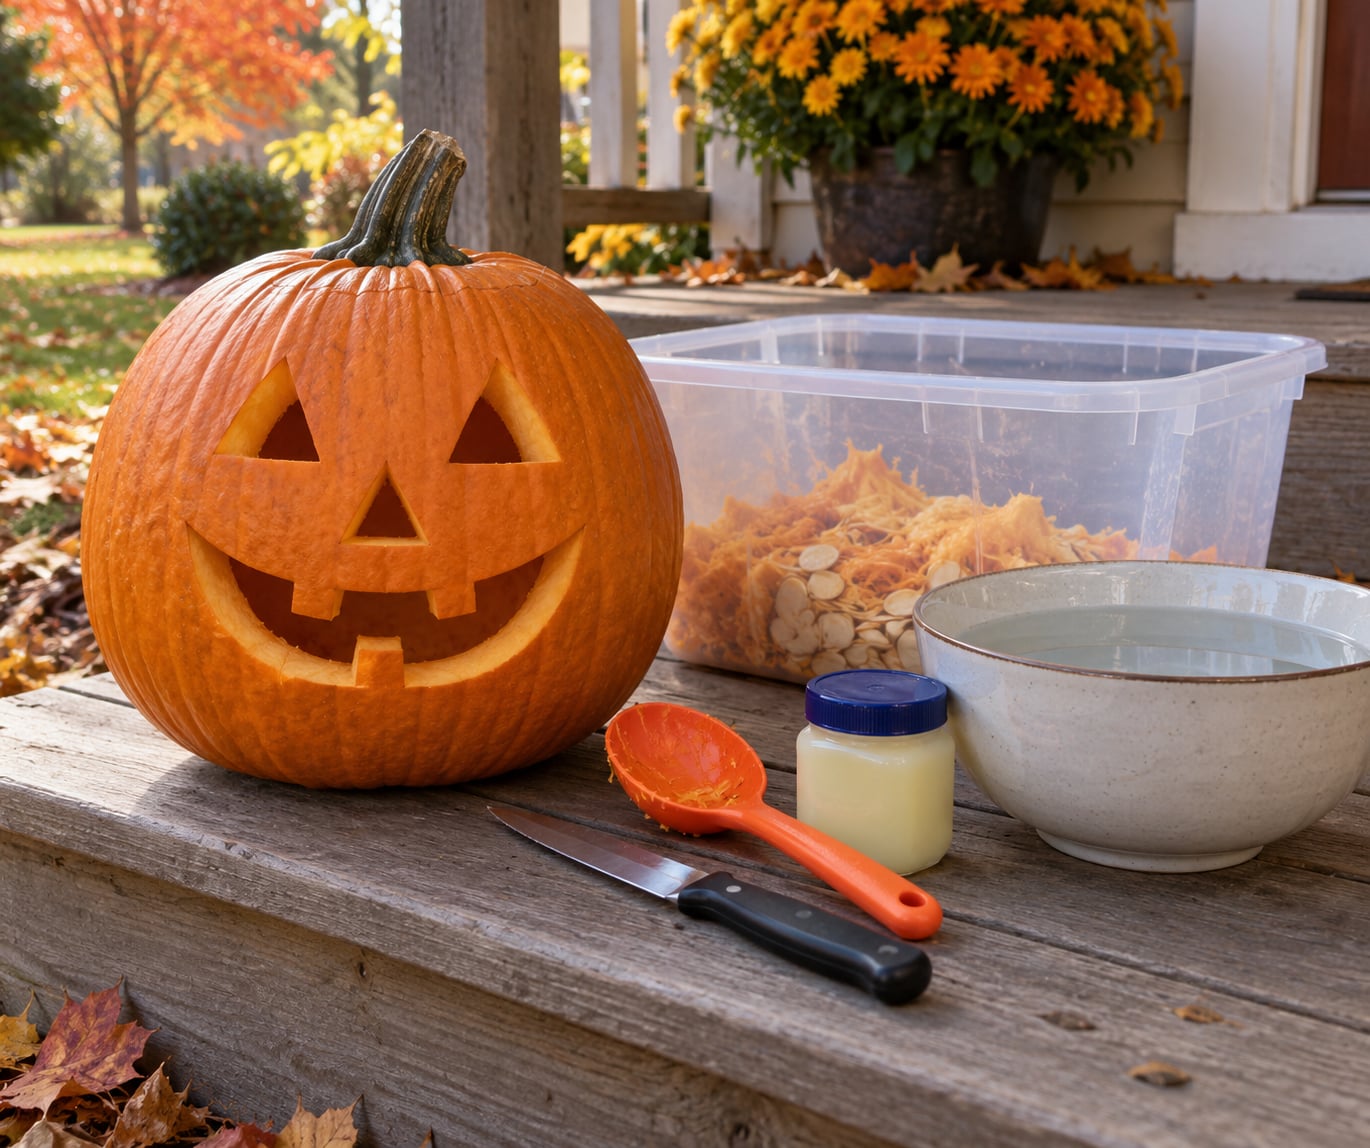
None of this is specialist equipment. Everything lives in a kitchen drawer except the storage tub.
- A sturdy knife. A chef’s knife or a paring knife with a sharp tip cuts a lid cleanly and stops the walls from shattering.
- A pumpkin scoop or large metal spoon. The plastic novelty one works, but a metal scoop removes stringy pulp faster.
- Clean towels or paper towels for drying the outside and wiping the inside.
- A soft brush or old toothbrush to get pulp out of the carved grooves.
- Petroleum jelly or a neutral cooking oil such as vegetable oil to coat the cut edges.
- A spray bottle and a mixing bowl for whatever treatment you choose. Household bleach, white vinegar or a little baking soda all fit here.
- A plastic storage tub, large bag or sturdy bin that the pumpkin fits inside without crushing the face.
- A cool storage spot. An unheated garage, a cellar, a mudroom, or the fridge overnight.
Add a flameless candle or an LED light while you are at it. An open flame inside a coated pumpkin dries the flesh out faster, and petroleum jelly near a flame is its own problem.
Step-by-Step: How to Carve a Pumpkin So It Lasts Longer
Step 1: Choose a Fresh, Firm Pumpkin
Press your thumb firmly into the side, near the base and up around the stem. If it dents like a bruised peach, put it back. You want hard rind, a stem still attached and firm, and no soft spots or dark sunken patches anywhere.
Condition matters more than most people realise. A pumpkin that has already been sitting warm and damp for two weeks is decaying before you touch it, and no treatment brings that back. A heavier pumpkin for its size also tends to have thicker walls, and thicker walls hold moisture better.
You know it worked when the pumpkin rings slightly hollow when you tap it and the skin does not flex under pressure.
Step 2: Wash and Dry the Outside
Rinse the whole gourd under cool water and scrub the rind with your hands or a brush. Dirt on the skin is a perfectly good place for bacteria to sit, and those bacteria walk straight in once you cut.
Dry it properly with a towel, all the way down to the stem. Surface moisture on a pumpkin is the same as wrapping it in a damp cloth: it holds heat and gives mold somewhere to start. If the rind still feels cool and damp to the touch after ten minutes of air drying, wait.
Step 3: Cut the Lid and Remove the Seeds
Cut a circle in the stem and lift the lid out. Put your finger through the opening and tip the pumpkin upside down. This shakes out the seeds and stringy pulp far better than scooping from the top, and it takes about a minute.
Then work the inside with a scoop, wall by wall, until you can see clean ridged flesh and nothing stringy is left hanging. Every scrap of pulp you leave is food for mold and a pocket of trapped moisture against the shell.
Leave the bottom of the pumpkin intact and about half an inch thick. The bottom is the whole structural support; cut through it and the pumpkin will slump and draw in damp from the ground. You know it worked when the inside looks pale and matte rather than orange and tacky.
Step 4: Scrub the Inside and Check the Walls
Take a paper towel and wipe out the cavity until the towel comes away dry. Loose pulp hiding in a cheek or an eyebrow is what turns a good pumpkin into a fuzzy one by day four, so go over the carved features with a soft brush too.
Now inspect the walls. Run a finger inside each cut face and look for anything thin, cracked or springy, especially around the mouth and the base. Those are the places that fail first. They will not rot faster by themselves, but they collapse and let in water.
Step 5: Apply a Thin Protective Coating
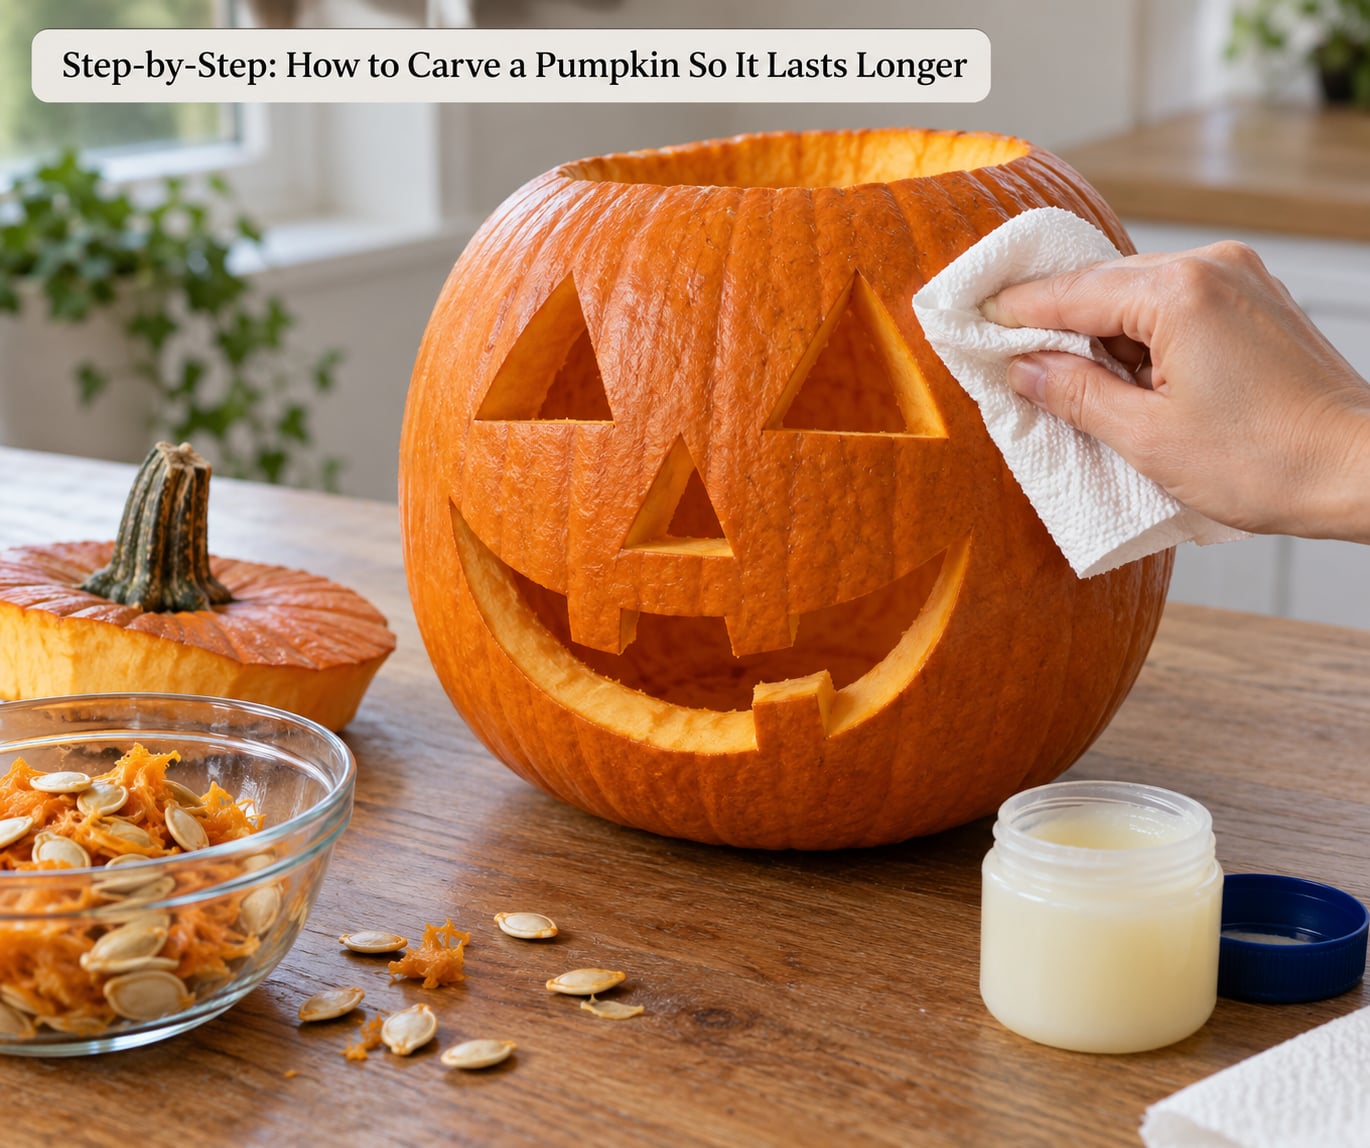
Rub a thin film of petroleum jelly or vegetable oil onto every cut edge, both inside and out, using your fingers or a soft cloth. This is the step that slows the drying out, because the exposed flesh loses moisture through evaporation and starts to shrivel and crease within days.
Thin is the operative word. A thick layer stays tacky, collects dust and dustings of whatever is on the pumpkin, and can hold heat against the surface. One even coat the next day is plenty.
Skip the coating if you plan to compost the pumpkin afterwards, and skip it near a real flame. Petroleum jelly is a petroleum product and is not something you want sitting above a candle.
Step 6: Store the Pumpkin Properly
Put the carved pumpkin in the plastic tub or a large bag with the lid loosely on. The point is to keep it enclosed and out of rain, not to create a greenhouse. A sealed tub in warm weather traps heat and makes things worse, so in that case leave it cracked open.
Store it somewhere cool. A garage, cellar or mudroom in the low 50s to low 60s Fahrenheit is the sweet spot: cool enough to slow decay, warm enough to avoid frost damage. If you have the room, put the pumpkin in the refrigerator overnight and bring it back out in the morning. Bring it in before the first hard frost, since freezing breaks the cells down into mush.
Keep it off the ground too. A step or a porch where rainwater pools is where a lot of good carvings end.
Common Mistakes: Why Carved Pumpkins Rot in Three Days
Leaving pulp behind. The single biggest cause. Mold feeds on the stringy flesh clinging to the inside walls, and damp pulp against the rind keeps the shell wet from within.
Cutting walls too thin. Thin edges dry out, brown and crumble within a couple of days. Aim for about three-quarters of an inch, more on the bottom.
Carving too early. If you want the pumpkin outside for three weeks of fall decor, buy a second one to carve later, or decorate the first without cutting into it at all. Glue-on or painted faces keep the skin unbroken and last far longer.
Storing in heat or direct sun. A warm porch in the afternoon sun will shorten a pumpkin’s life by days compared with a shaded, cool spot.
Leaving dirt on the rind. Wash and fully dry before the first cut.
Using a real candle inside a coated pumpkin. The flame dries the flesh and wicks moisture out of it.
Waiting too long between check-ins. Look at it every two or three days, wipe out any damp fuzz, and refresh the coating when the edges start to look dry.
Frequently Asked Questions
Does vinegar or bleach work better on a carved pumpkin?
Both help, and they are doing different jobs. A dilute bleach wipe kills bacteria and mold spores already on the cut flesh, which is why it is the standard pick. White vinegar or a 1 to 3 dilution of vinegar in water lowers the surface pH and slows mold growth, and it is the safer choice around kids and pets. Whichever you use, wipe the inside on the day you carve and let it air dry before coating the edges.
Is petroleum jelly safe on a carved pumpkin?
It is safe as a moisture seal as long as no open flame touches it. Petroleum jelly is a petroleum product and will soften or ignite if a real candle sits against the coated edge. If you are using petroleum jelly, light the pumpkin with a flameless candle, an LED tealight or a glow stick instead. If you would rather compost the pumpkin later, use a neutral cooking oil rather than petroleum jelly.
Does WD-40 or hairspray preserve a pumpkin?
You will see both recommended online, and neither is worth doing. WD-40 is a petroleum-based lubricant and water displacer, not a food-safe product, and spraying it inside a pumpkin you may want to compost leaves a residue that will not break down. Hairspray is adhesive, so it forms an uneven film that traps moisture and dust and can make the surface more hospitable to mold rather than less.
How far in advance can I carve a pumpkin?
With no treatment, carve three to five days before you want it displayed. With the steps above, ten to fourteen days is realistic, and some well-treated pumpkins make it to three weeks in cool storage. If that is the real question behind how to carve a pumpkin so it lasts longer, skip the knife entirely: paint the pumpkin, drill only shallow details or glue on a face. Leaving the skin unbroken is worth more than any treatment.
When carving, is it better to cut out the top or the bottom?
The top, cut around the stem. It gives you a natural handle for carrying and a built-in lid, and you can set the cut side down on a towel. Cutting the bottom is worth it only for a pumpkin you plan to sit on a table like a bowl of soup, because removing the bottom is the step most likely to leave the shell without support.
Can you save a carved pumpkin that is already shriveling?
Often, yes, if the smell is still sweet. Put the pumpkin in a bucket of cold water for a few hours, no longer than two, so the skin rehydrates without turning waterlogged. Let it drain, pat the outside dry, refresh the coating on the edges and put it somewhere cool. If it already smells sour, feels slimy or has fuzzy black or white patches spreading across the rind, no soak will fix it and you should compost it.
Conclusion
Start with a pumpkin that has no soft spots, wash and dry the rind before you cut, and scrape the inside down to bare ridged flesh with nothing stringy left on the walls. Coat the cut edges in a thin film of petroleum jelly or cooking oil, disinfect the cavity the day you carve, and set the pumpkin somewhere cool and covered rather than in afternoon sun or standing water.
That is how to carve a pumpkin so it lasts longer in four moves: choose firm, clear it out completely, seal the exposed flesh, keep it cool and enclosed. Do them and a carve made in early October will still be holding its shape when the trick-or-treaters arrive. It costs about fifteen minutes.