You can make a pumpkin carving design of your own without any drawing skill: sketch a simple shape, simplify it until it reads from across the street, tape it to the pumpkin, and cut away the parts you want lit. Most first attempts take 45 minutes to an hour and a half, and the difference between a clean carving and a muddy one comes down to how much you cut away, not how neatly you draw.
Table of Contents
- What You Need
- Step-by-Step: From Idea to Finished Carving
- 1. Choose a Simple Design That Reads Clearly
- 2. Sketch and Simplify Your Idea on Paper
- 3. Trace the Design Onto the Pumpkin
- 4. Cut the Lid and Hollow the Pumpkin
- 5. Carve the Bold Shapes First
- 6. Add Small Details and Clean the Edges
- 7. Light, Display, and Preserve the Carving
- Common Mistakes
- Frequently Asked Questions
- Do I need a template to make a pumpkin carving design of your own?
- What is the best carving depth for a pumpkin?
- How can I transfer a design onto a curved pumpkin?
- What tools are safest and most effective for beginners?
- How do I make a homemade pumpkin carving last longer?
- What is the best way to light a carved pumpkin safely?
- Conclusion
What You Need
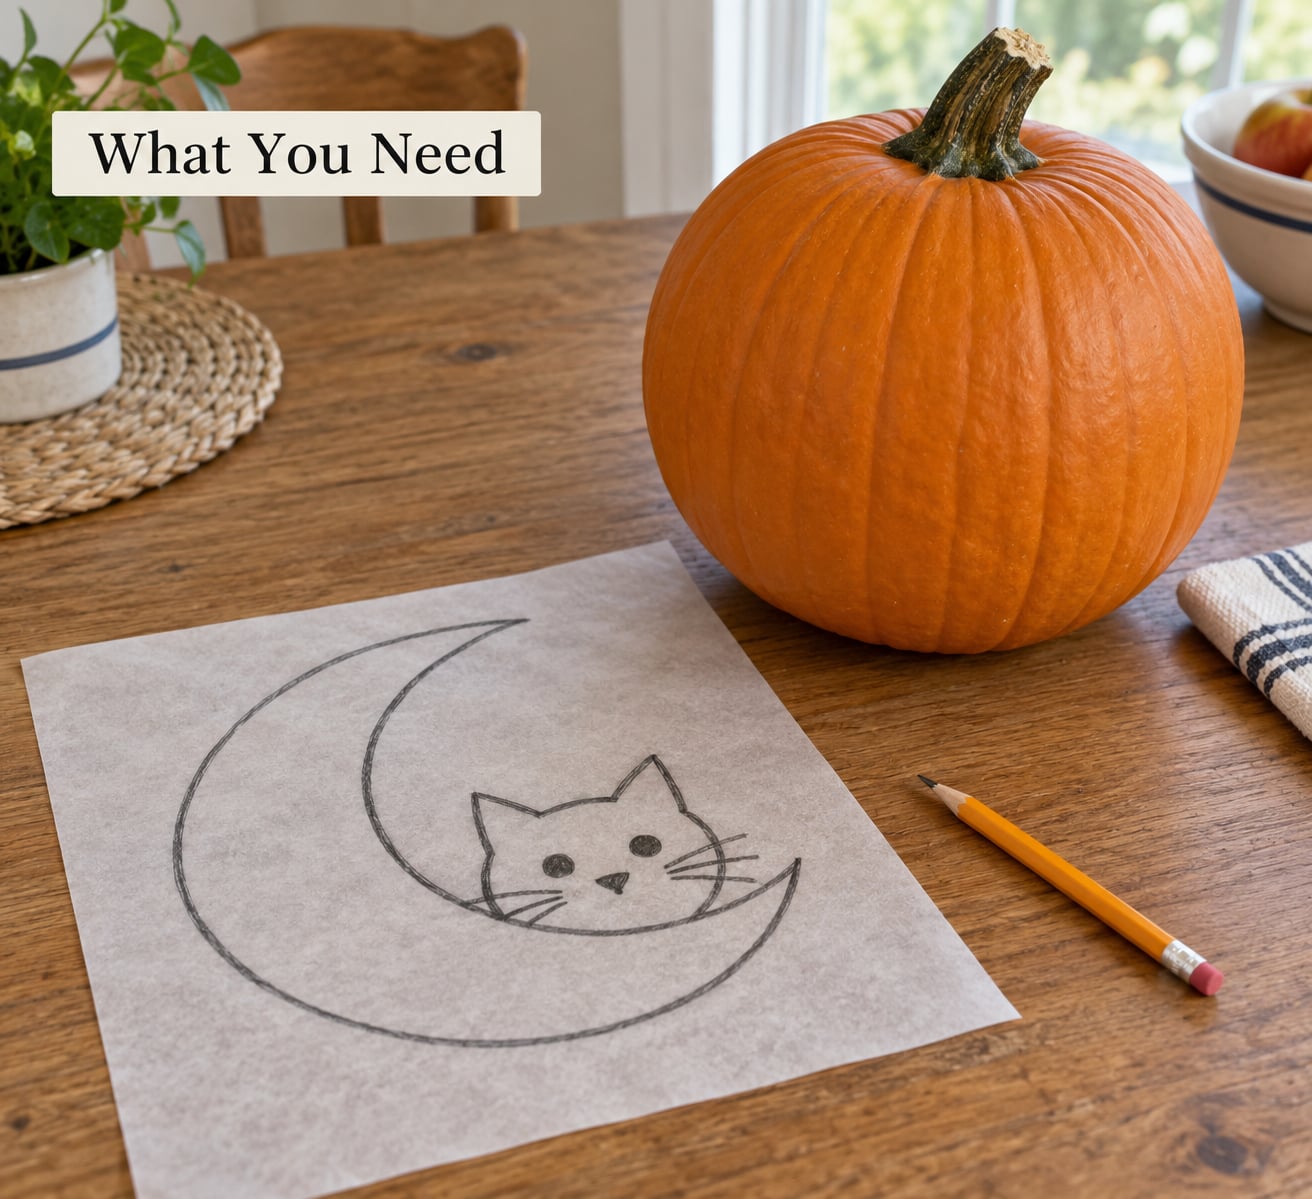
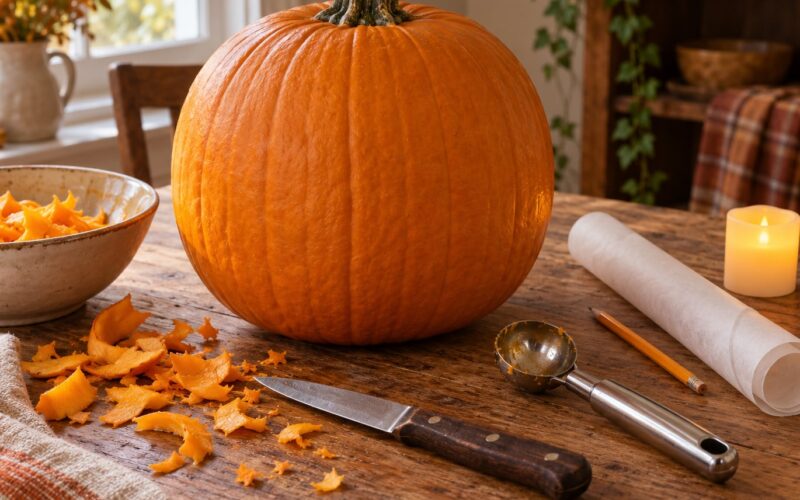
The essentials are few. A medium pumpkin with a flat face, a sheet of tracing paper, a pencil, an erasable marker, a small serrated carving knife, a scoop, a thick cutting board, a couple of towels, and a jar of petroleum jelly for the cut surfaces.
Optionally, add a light source and a stencil you bought or printed. A pin, a knitting needle, or a thick nail stands in for a proper poking tool if you want to pierce the outline instead of tracing it.
Safety first: work on a stable surface at a height where you can see clearly, keep your free hand out of the blade’s path, and cut away from your body. A damp towel under the cutting board stops the pumpkin from sliding, which is the actual cause of most carving injuries.
Step-by-Step: From Idea to Finished Carving
1. Choose a Simple Design That Reads Clearly
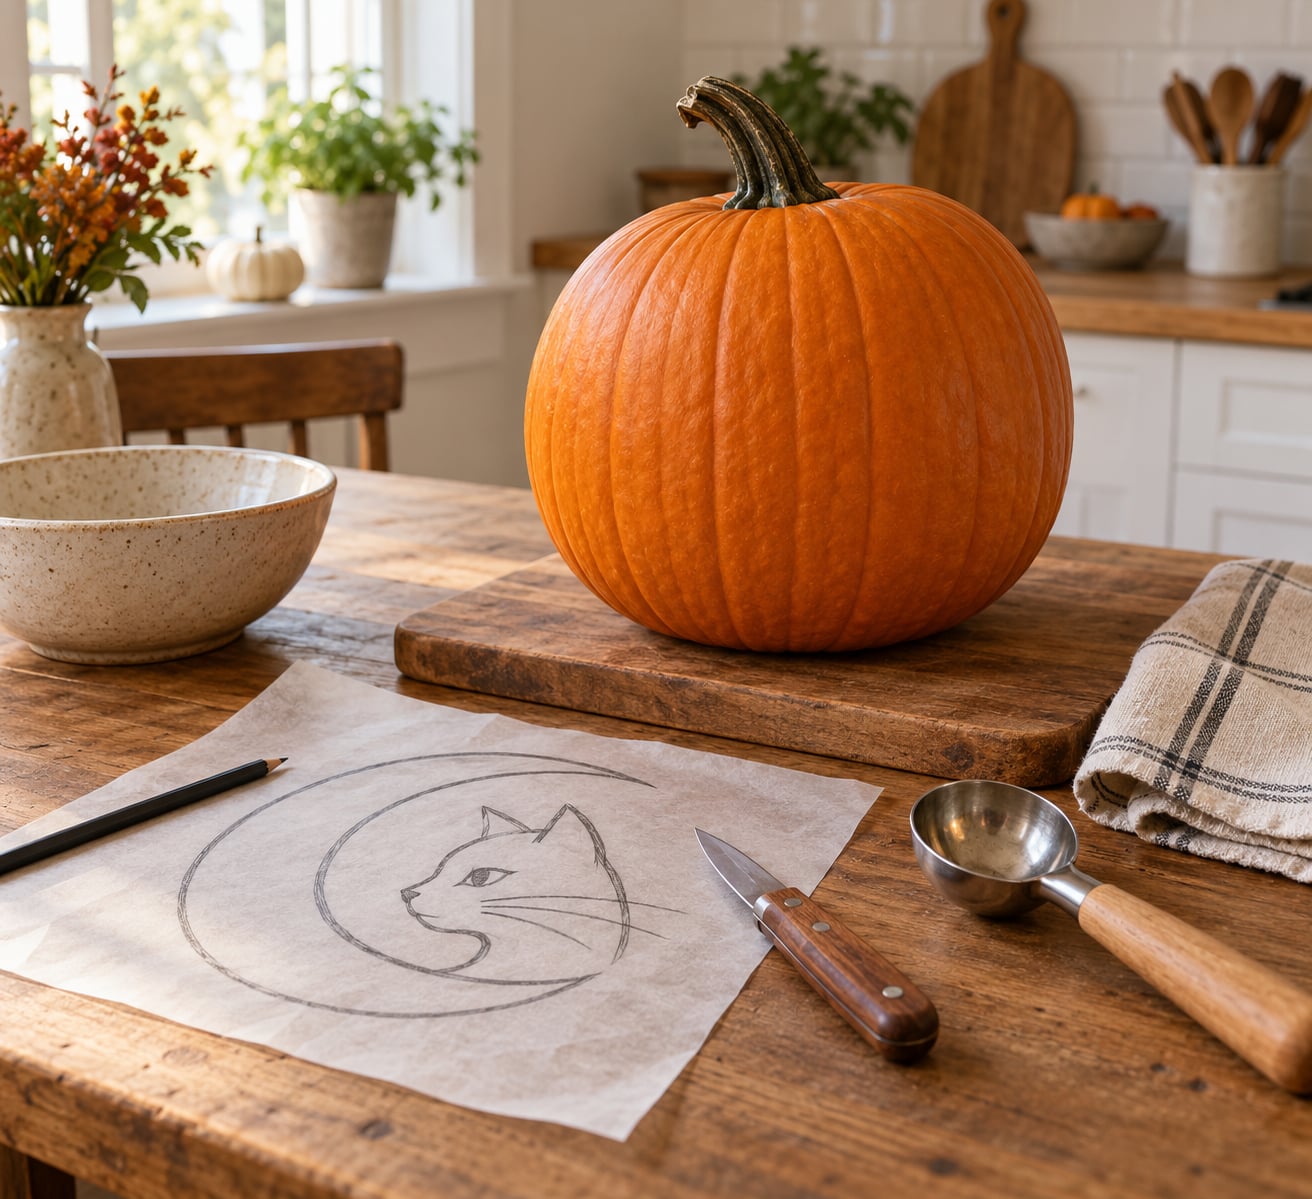
Start with a subject that has a strong silhouette and no more than two or three levels of detail. A cat, a ghost, a crescent moon, an owl, or a jack-o’-lantern face are all forgiving subjects because the eye fills in the missing pieces.
When you make a pumpkin carving design of your own, big shapes and generous negative space matter more than detail. The carved-away area is what glows, so a design made of large solid blocks reads far better at night than one made of many thin lines.
Squint at your idea, or shrink it to the size of a coin on your phone screen. If you cannot tell what it is at that size, simplify it again before you touch the pumpkin.
2. Sketch and Simplify Your Idea on Paper
Draw three thumbnail sketches, each about the size of a postage stamp. Pick the one with the clearest outline, then redraw it large on tracing paper using thick, confident lines.
Remove anything interior that is not needed. Interior shapes break out of the thin pumpkin wall and fall away, so a design with no loose floating pieces carves cleaner and survives being moved.
Test it by holding the sketch at arm’s length and tracing the outline in the air in one continuous motion. Where your hand hesitates or changes direction, that part of the design is too complicated. Simplify it there.
3. Trace the Design Onto the Pumpkin
Cut the lid first if you have not already, then wipe the outer face clean and let it dry. Lay the tracing paper over the flat side and hold it in place with masking tape.
Transfer the major shapes with light pencil pressure. On a curved surface, cut short slits in the tracing paper so the sheet follows the pumpkin’s contour instead of bridging over it and floating in the middle.
Keep clear of the stem and leave a few centimetres of margin on every side. Step back several feet and look at the outline before you trace anything else. Adjust it now rather than after cutting.
4. Cut the Lid and Hollow the Pumpkin
Cover your work surface with towels. Cut the lid in a circle around the stem with a firm sawing motion, angling the blade slightly inward at the bottom so the lid will sit inside the opening rather than dropping to the floor.
Pull the stem and lid out together, then scoop out the seeds and stringy pulp. Scrape the inside walls down until they are roughly half a centimetre thick, judging by feel as much as by sight.
Stop scraping when the wall gives easily under the knife and no white pith remains in the carved areas. A thinner wall glows better, but scraping so thin that the knife pops through means the whole panel will drop out.
5. Carve the Bold Shapes First
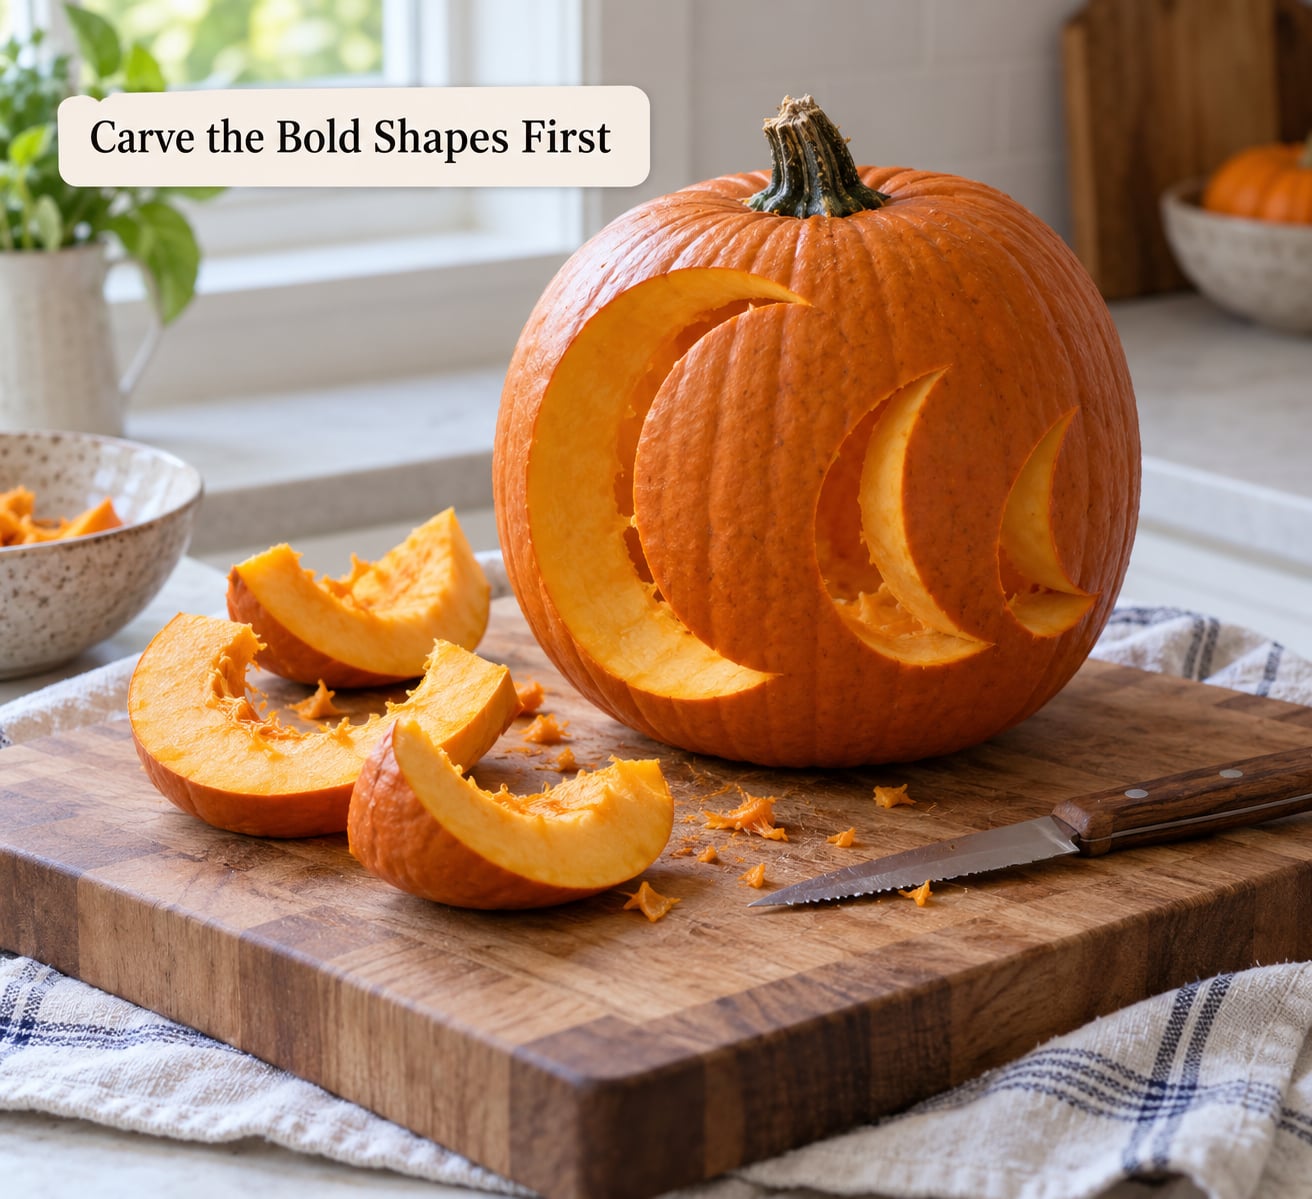
Score along your traced outline first, cutting about halfway into the wall. That gives you a visible edge to follow and tells you the depth before you commit.
Then saw through to the same depth all the way around and lift the piece out. Work from the center of the design outward, taking the largest pieces before any fine lines, so a slipped knife lands on solid wall rather than on a fragile cutout.
For curves and tight corners, use the two-pass method: cut the full outline at half depth, then go over it a second time at full depth. On thin sections, cut in from both sides toward the middle rather than trying to reach it from one face.
Hold a light behind the pumpkin partway through and check that the design is visible in dim conditions. Anything that does not glow is either cut too shallow or too narrow to register.
6. Add Small Details and Clean the Edges
Only now add eyes, teeth, fur tufts, or feathers. The silhouette does the work of telling the viewer what the design is, so details sit on top of an already readable shape.
Trim any sharp edges that flare outward, since they chip and cut anyone who handles the pumpkin. Scoop out loose flesh with the prodder, then wipe the surface with a dry paper towel so pencil marks and stray pulp are gone.
Where a detail is fragile, connect it to the surrounding design with a small bridge of uncut wall. One thin bridge holds a whisker or a tooth in place; without it the piece falls out during the move from the counter to the porch.
7. Light, Display, and Preserve the Carving
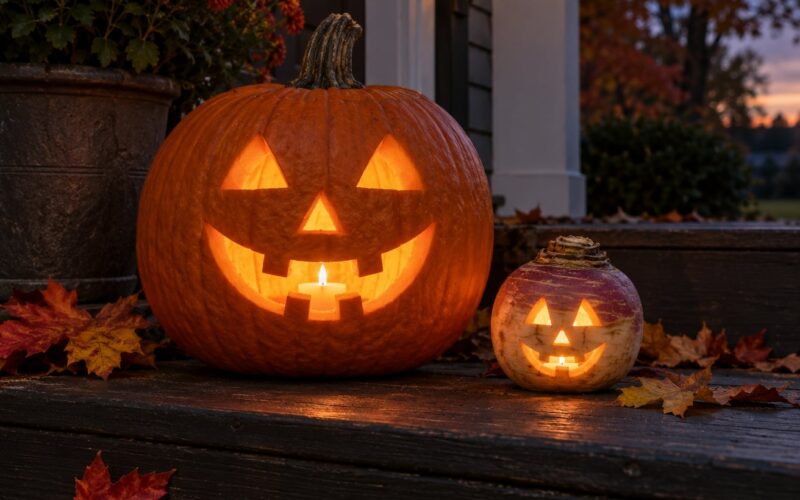
A LED light or a battery tealight gives you the brightest glow with no flame near paper decorations. Set it on a porch ledge away from dry leaves, straw, and hanging tissue, and never leave a burning candle unattended.
Rub a thin film of petroleum jelly onto the cut surfaces once the pumpkin is dry. It slows moisture loss, and the rind stays flexible rather than going brittle and cracking over the following days.
Store the carving in a cool room rather than a warm porch, with the lid wrapped so it does not wick moisture out of the shell. Photograph it lit at night before you display it, because that is the only view that tells you whether a detail is worth widening next year.
Common Mistakes
The most common failure is picking a design with too much detail. Everything thinner than about half a centimetre on the finished pumpkin either fills in with pulp or snaps off. Cut fewer, bigger shapes.
Cutting too deep breaks through the back wall and leaves a hole rather than a light. Keep the blade at a consistent depth by scoring the full outline first, then following the same line.
Drawing straight onto the pumpkin skin smudges and drifts as your hand moves across a curved surface. Tracing paper held with tape gives you a stable line to follow.
An unstable work surface causes nearly every slip. A damp towel under the cutting board costs nothing and stops the pumpkin moving mid-cut.
Poor lighting hides fine detail until it is too late to fix. Check your design against a bright lamp while carving, then again with a light behind it.
Fragile small pieces fall out when they are carved as isolated islands. Bridge them to the main design and leave them until the last step.
Before you finish, clean every edge, photograph the result, and note the one thing you would change. That note is worth more next October than any pattern you download.
Frequently Asked Questions
Do I need a template to make a pumpkin carving design of your own?
No. A template is a convenience, not a requirement. Most successful original carvings start as three small thumbnail sketches on tracing paper, simplified until the outline reads at a distance. Templates help when you want a detailed subject like a portrait, but for a cat, moon, or ghost you can draw the shape yourself in a few minutes.
What is the best carving depth for a pumpkin?
Cut about half a centimetre deep for most lines, which is roughly the thickness of a thick pumpkin wall. Score halfway through first, check that the line is visible from the side, then complete the cut. Go deeper only for the focal point of a 3D design, and never deeper than the wall you scraped in step four.
How can I transfer a design onto a curved pumpkin?
Tape the tracing paper to the pumpkin and cut short slits along the design so the sheet follows the curve instead of bridging over it. Work from the center outward with light pencil pressure. If the paper still lifts at the edges, remove it, flatten it against the pumpkin by hand, and tape it down again.
What tools are safest and most effective for beginners?
A small serrated carving knife, a plastic scoop, and a poking tool cover almost every beginner design. Skip the saw for your first attempt unless you are cutting a thick stem, and skip rotary tools entirely, since they remove your control. A thick cutting board and a damp towel underneath matter more than any tool upgrade.
How do I make a homemade pumpkin carving last longer?
Cut the lid off the top rather than the base, because the stem carries moisture down into the fruit. Scrape the walls thin, blot the inside with a paper towel, and cover the cut faces with petroleum jelly once the shell is dry. Keep it somewhere cool instead of on a warm porch, and wrap the lid so it does not wick water out.
What is the best way to light a carved pumpkin safely?
A battery LED light or a solar lantern gives the brightest, steadiest glow with no open flame, which is the safer choice on a porch full of dry leaves and paper decorations. If you use a candle, place it well inside the pumpkin on a stable base, keep it away from the rind, and never leave it burning unattended.
Conclusion
Begin with one bold, easily recognized subject and sketch it at thumbnail size before it ever touches a pumpkin. Check the proportions against the pumpkin’s flat face with a few centimetres of margin on every side, then carve the large shapes before adding any detail. The custom carvings that last the longest and photograph best are the ones that were simplified twice before the first cut.