Yes, you can put fake blood on windows, but the syrup-based kind dyes glass and window coatings for good. To learn how to make bloody handprints on windows that come off, use a removable recipe: PVA school glue plus red food coloring, or washable paint thinned with a little water. Both lift or rinse away clean, no razor blades and no glass replacement.
The whole job takes about 20 minutes per pane and is genuinely beginner-level. The only part that matters is the test dab on a corner of the glass before you commit to a whole display.
Realistic fake blood is part of the fun, and getting it off afterwards is the part everyone plans badly. A syrup or cocoa base will keep staining after the display comes down, and a coated or tinted pane holds dye even longer.
Table of Contents
- What You Need
- Step-by-Step: How to Make Bloody Handprints on Windows That Come Off
- Step 1: Protect and Clean the Window
- Step 2: Make the Fake Blood Mixture
- Step 3: Test the Mixture
- Step 4: Create the Bloody Handprints
- Step 5: Add Drips and Dry the Display
- Step 6: Remove Bloody Handprints on Windows Without Staining
- Common Mistakes
- Tips for a More Realistic and Removable Effect
- Frequently Asked Questions
- Can you put fake blood on windows?
- How to make fake blood for windows?
- How do I make homemade window clings?
- How long do the handprints take to dry, and how long can they stay up?
- Is goo gone safe on glass windows?
- What do professional glass cleaners use to clean windows?
- Conclusion
What You Need
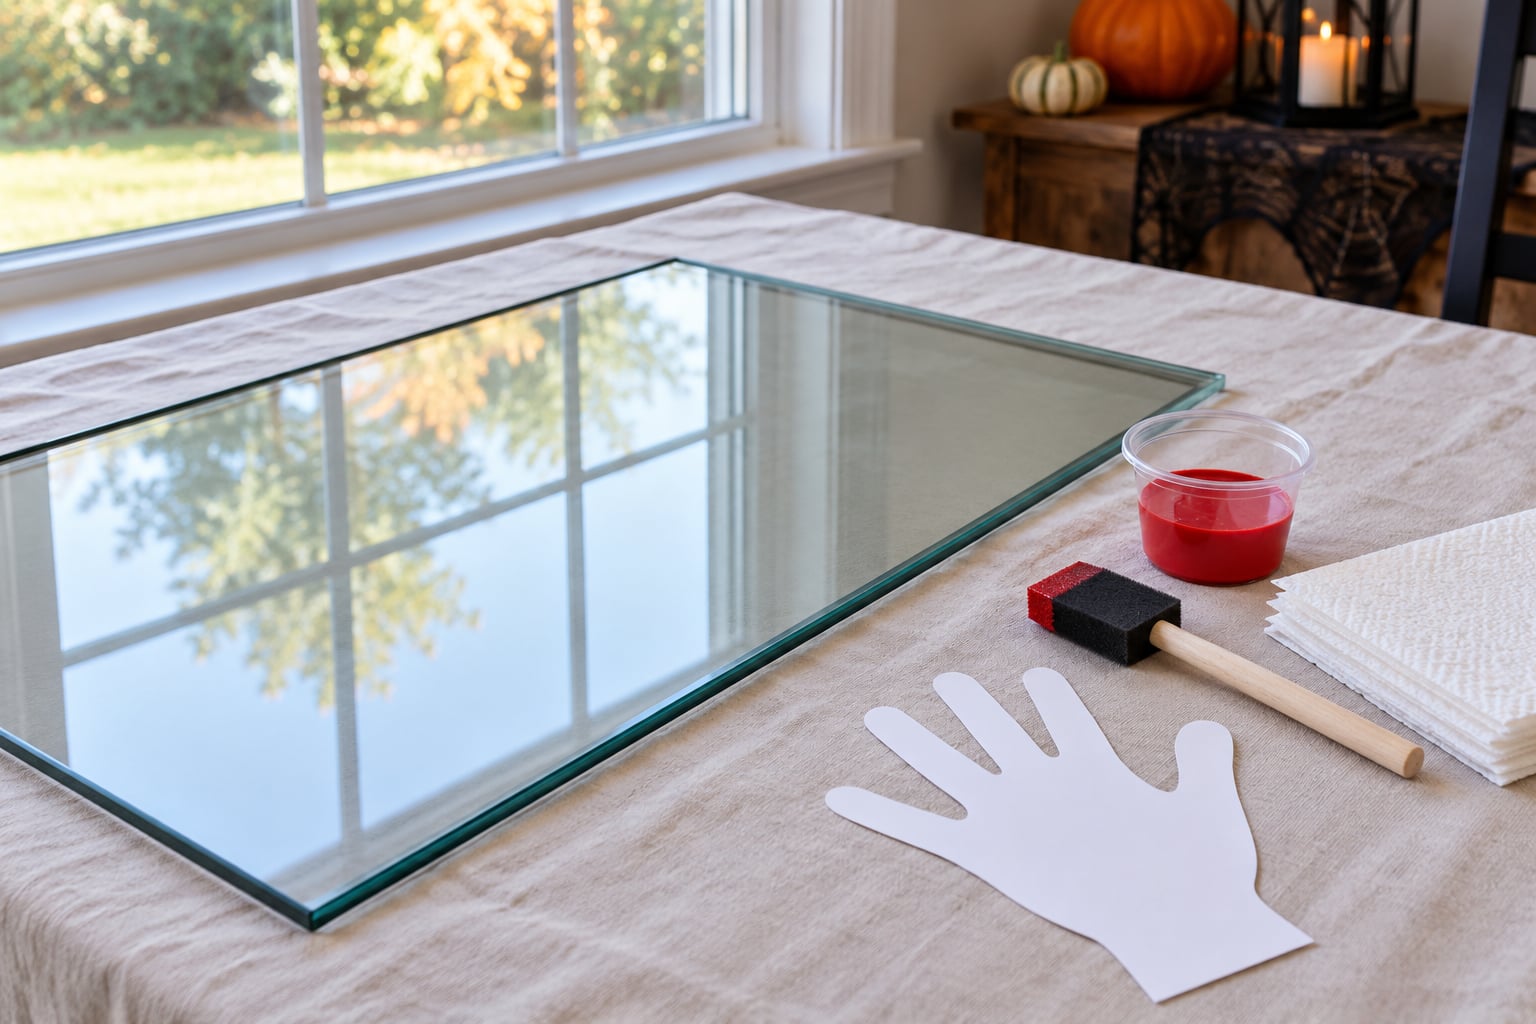
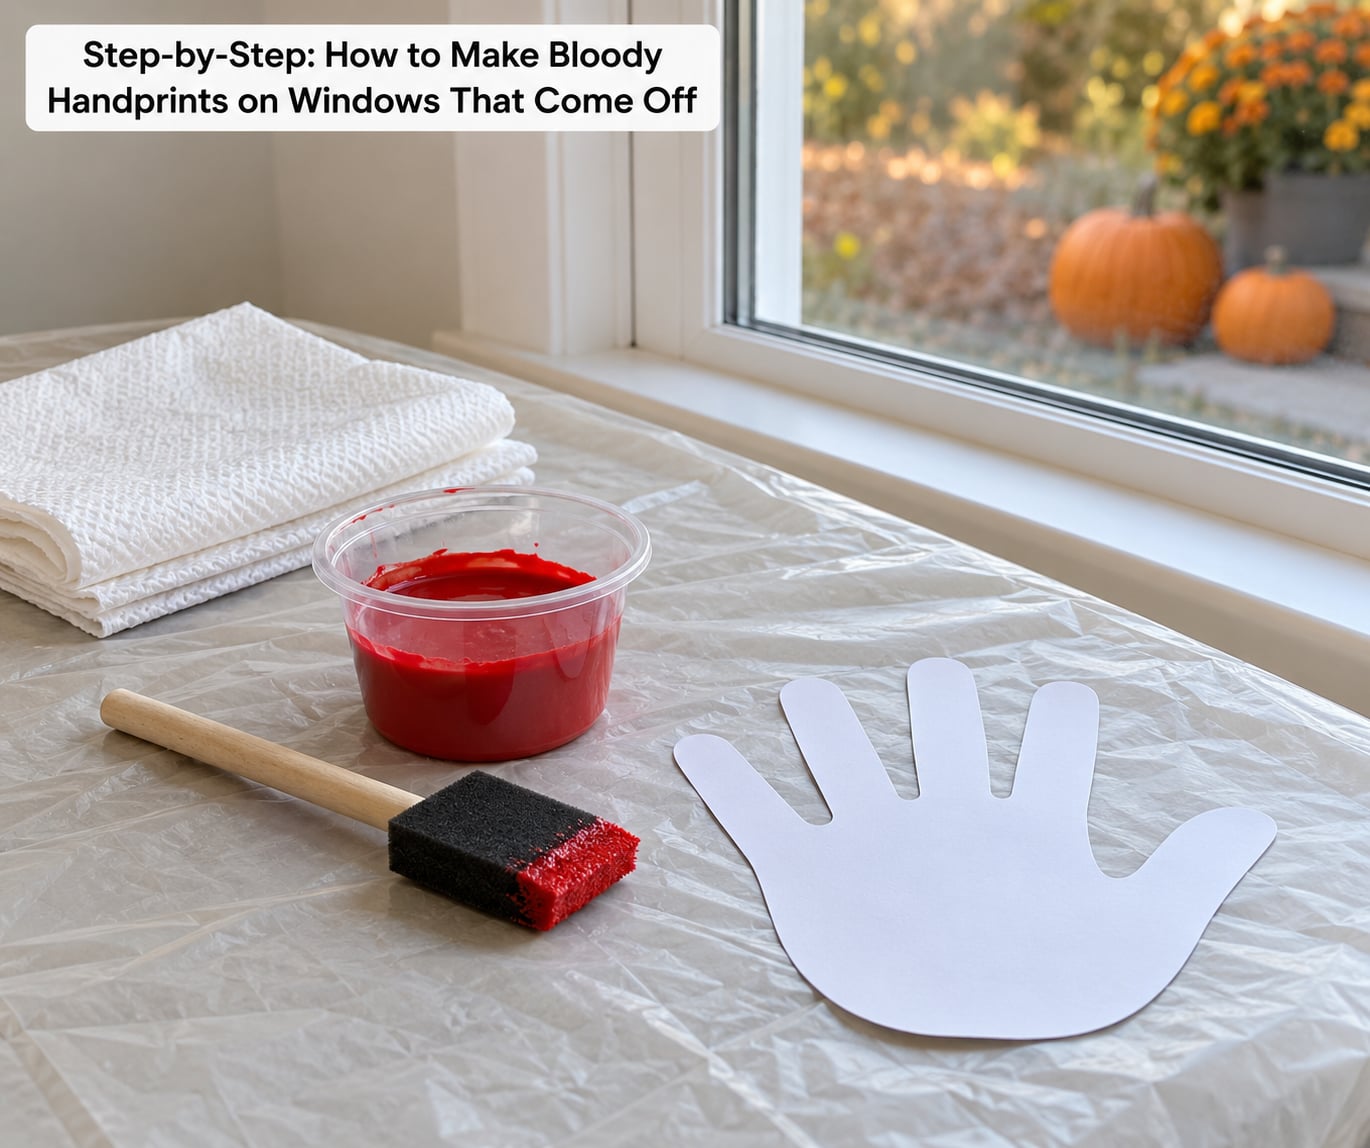
For the glue-and-coloring method, the list is short and you probably already own most of it.
- PVA school glue (white craft glue) — 2 to 3 tablespoons
- Red gel food coloring — about 1 teaspoon, gel holds its color better than liquid
- A drop of blue or green food coloring — deepens a flat red into something closer to real blood
- A plastic cup and a craft stick for mixing
- Paper towels and a lint-free cloth
- A sponge brush or a wide flat brush for drips and smears
- Masking tape if you need to mask off the frame or a vinyl border
For the washable paint version, swap the glue and coloring for a single cup of washable tempera or acrylic craft paint, then thin it with two or three drops of water. Thinned tempera is the easiest thing in the world to lift off glass with a fingertip.
One safety note for anyone with small children or pets: food coloring and corn syrup are non-toxic if swallowed in small amounts, but the glue mixture is not edible, and no fake blood belongs where a dog might lick a windowsill. Keep the drips above reach and put the mixing bowl in the sink when you are done. Renters and anyone with coated glass should read the surface warnings below before the first swipe.
Step-by-Step: How to Make Bloody Handprints on Windows That Come Off
Step 1: Protect and Clean the Window
Look at the glass before you touch it. Single-pane and plain annealed glass take a handprint well and clean up easily. Tinted, low-E coated, mirrored and textured privacy glass do not — the coating is part of the surface, and dye that reaches it can stay there.
Wash the area with warm water and a couple of drops of dish soap, dry it with a lint-free cloth, and wait a few minutes. Any film of dust or soap scum under the print is what makes a handprint peel unevenly later.
Step 2: Make the Fake Blood Mixture
Pour 2 to 3 tablespoons of white PVA glue into a plastic cup. Add 1 teaspoon of red gel coloring and a single drop of blue, then stir until the color is even with no streaks of white.
That is your whole recipe. Thinner gives you running drips, thicker gives you a print that peels off as a film. Aim somewhere between: the mixture should drip slowly off the craft stick rather than pour.
For the washable version, thin washable tempera paint with two or three drops of water. Add a drop of blue if the red looks like poster paint.
Step 3: Test the Mixture
Scrape a small dab onto the bottom corner of the pane, well away from where the display will go. Wait two minutes, then rub it with a damp fingertip.
It should smear and lift, leaving no pink haze and no tacky film. If it feels greasy, you mixed too much coloring for the glue — add another tablespoon of glue and test again. If it leaves a film, that is normal for the glue method; it is the film you peel off later.
Step 4: Create the Bloody Handprints
Press your palm flat against the glass, fingers splayed and spread, and hold it for two seconds before pulling straight back. Lifting at an angle smears the fingertips into streaks.
Vary the pressure between prints. A hard press gives a crisp palm with clear finger ridges, a light press gives a patchy partial print that looks like a sliding hand, and a smeared thumb dragged sideways reads as someone trying to grab the glass from inside.
For prints that are not your own, trace a real hand on paper, cut out the silhouette with a craft knife, hold it flat against the glass, and push the mixture through the opening with a sponge brush. Mixing a child’s hand shape with an adult one at different heights sells the scene.
Step 5: Add Drips and Dry the Display
Load the sponge brush with a thicker mix and pull it downward from the bottom edge of a fingertip or palm to make runs. Start a drip at the top and let gravity finish the line so the width tapers naturally.
Then stand back a foot and add two or three partial prints near the edges of the pane, half out of frame. A display where every print is centered and fully visible looks staged.
Let the glue method dry for two to four hours before you handle the pane. Do not put a hair dryer or a heater on the glass, and keep it out of direct sun. If you put the display outdoors, do it on a covered porch — rain washes a print off in minutes and carries dye onto the sill.
Step 6: Remove Bloody Handprints on Windows Without Staining
Take the display down within a day or two of Halloween. The longer a coloring sits on glass, the more it bonds.
Start with the gentlest thing that works and work up only as needed.
- Warm water and a lint-free cloth. Warm, not hot — heat sets some dyes. Small circular motions, starting at the edge of the print where the film lifts first.
- A drop of dish soap on the cloth. A little surfactant loosens the glue film faster than scrubbing alone.
- A plastic card or a razor-free scraper. Slide it under a corner at a shallow angle and push the film across in one piece. Push away from yourself.
- Isopropyl alcohol on a soft cloth for a stubborn patch. Use it only on uncoated glass, and never on tinted or low-E surfaces.
- Glass cleaner for the final pass. Skip ammonia-based cleaners on coated glass; they can haze the coating permanently.
Skip the melamine sponge. It takes the stain off but leaves fine scratches that only show up when the sun hits the pane at an angle.
Common Mistakes
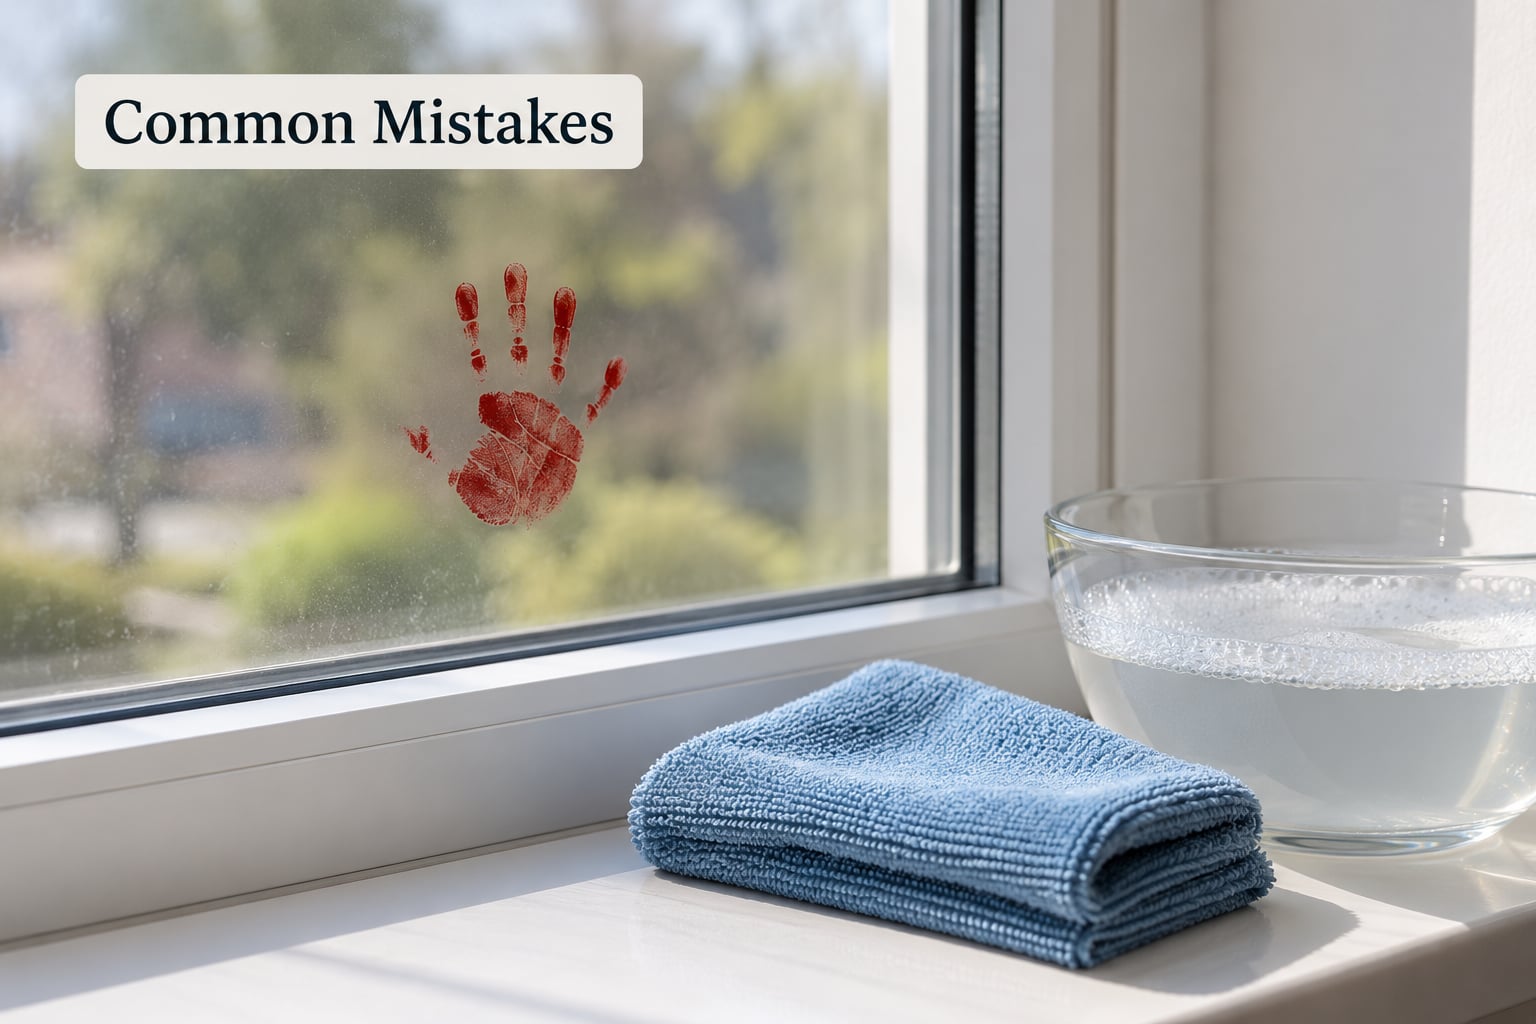
Using acrylic or tempera paint straight from the bottle. Full-strength paint is the single most common way people ruin a window. Dilute it until it wipes with a thumb, or use the glue mixture instead.
Skipping the test dab. Cheap coated glass can hold a print that no amount of washing will shift. One corner dab tells you in two minutes what a full display would cost you.
A mixture that is too wet. Thin glue runs, blurs the finger shapes and pools at the bottom of the pane. If it drips off the brush, stir in more glue.
Pulling the hand away at an angle. That is what turns a clean palm into a red streak. Straight back, straight off.
Evenly sized drips. Drips of identical width and length look drawn. Make some short and fat, some long and thin, and start a few at the top edge so they run the full height.
Leaving it up for weeks. Print on an indoor pane in good condition peels off in a week or so. Push it to three weeks and you are arguing with warm water and a card instead.
Tips for a More Realistic and Removable Effect
Vary the hand sizes. A mix of adult, teen and child prints at different heights reads as several people, not one person with a sponge.
Mix two tones rather than using one. Keep the main color pure and dab a darker shade into the palm center and finger creases with a stiff dry brush, which picks up only the raised texture.
Break up the edges. A real handprint is thin and uneven at the heel and wrist. Lift a bit of the mixture with a dry toothbrush at random points so parts of the print fade out.
Keep prints off the direct eye line of anyone standing on the sidewalk. Street-facing trick-or-treaters read prints best slightly above head height, and you avoid the spot everyone brushes past on the way in.
Layer it. Black paper cobwebs stretched over one corner and a flat black cat silhouette on the glass do more for a display than a dozen extra handprints, and neither touches the pane.
Frequently Asked Questions
Can you put fake blood on windows?
You can, but only with a removable version. Corn syrup and chocolate-based fake blood dye glass and can permanently mark tinted or coated panes. White PVA glue with red food coloring, or thinned washable tempera paint, both come off glass with warm soapy water or peel off as a film. Test one dab in the corner first.
How to make fake blood for windows?
Mix 2 to 3 tablespoons of white PVA glue with about 1 teaspoon of red gel food coloring and one drop of blue coloring. Stir until no white streaks remain, then test a dab on the corner of the glass. The mixture should hold its shape on the brush and lift with a damp fingertip within two minutes.
How do I make homemade window clings?
Smear a thin layer of the glue and coloring mixture onto clean glass, press a hand flat against it for two seconds, then pull straight back. Let it dry two to four hours. The dried coloring forms a thin plastic film you can lift at the edge with a fingernail or plastic card, or peel the whole sheet back in one piece.
How long do the handprints take to dry, and how long can they stay up?
The glue-and-coloring mixture sets in two to four hours indoors. Indoors, a clean print peels off easily for a week or so; after three weeks it usually needs warm soapy water and a card instead. Take the display down within a day or two of Halloween, since dye bonds to glass the longer it sits.
Is goo gone safe on glass windows?
Oily adhesive removers work on glass but leave a film that has to be cleaned off afterward, and they are unnecessary if you started with a removable recipe. A melamine sponge also works but scratches fine lines into the pane that show in sunlight. Warm water, dish soap and a plastic card are safer and faster on glass.
What do professional glass cleaners use to clean windows?
Warm water with a lint-free cloth or squeegee, plus a mild detergent for the first pass, and a lint-free towel to dry the top down last so it streaks less. On uncoated glass, a little isopropyl alcohol handles stubborn dye. They avoid ammonia and abrasive pads on coated or tinted panes, which is exactly what you should do too.
Conclusion
Test first, always. A single dab in the corner tells you whether that pane will take a removable print, and it costs you two minutes.
Then mix glue with red food coloring, press and lift clean hands, add a few drips at different lengths, and let it set for a few hours. When the night is over, warm water and a little dish soap with a lint-free cloth takes it back off — no stain, no coating damage, and the window is ready for next October.