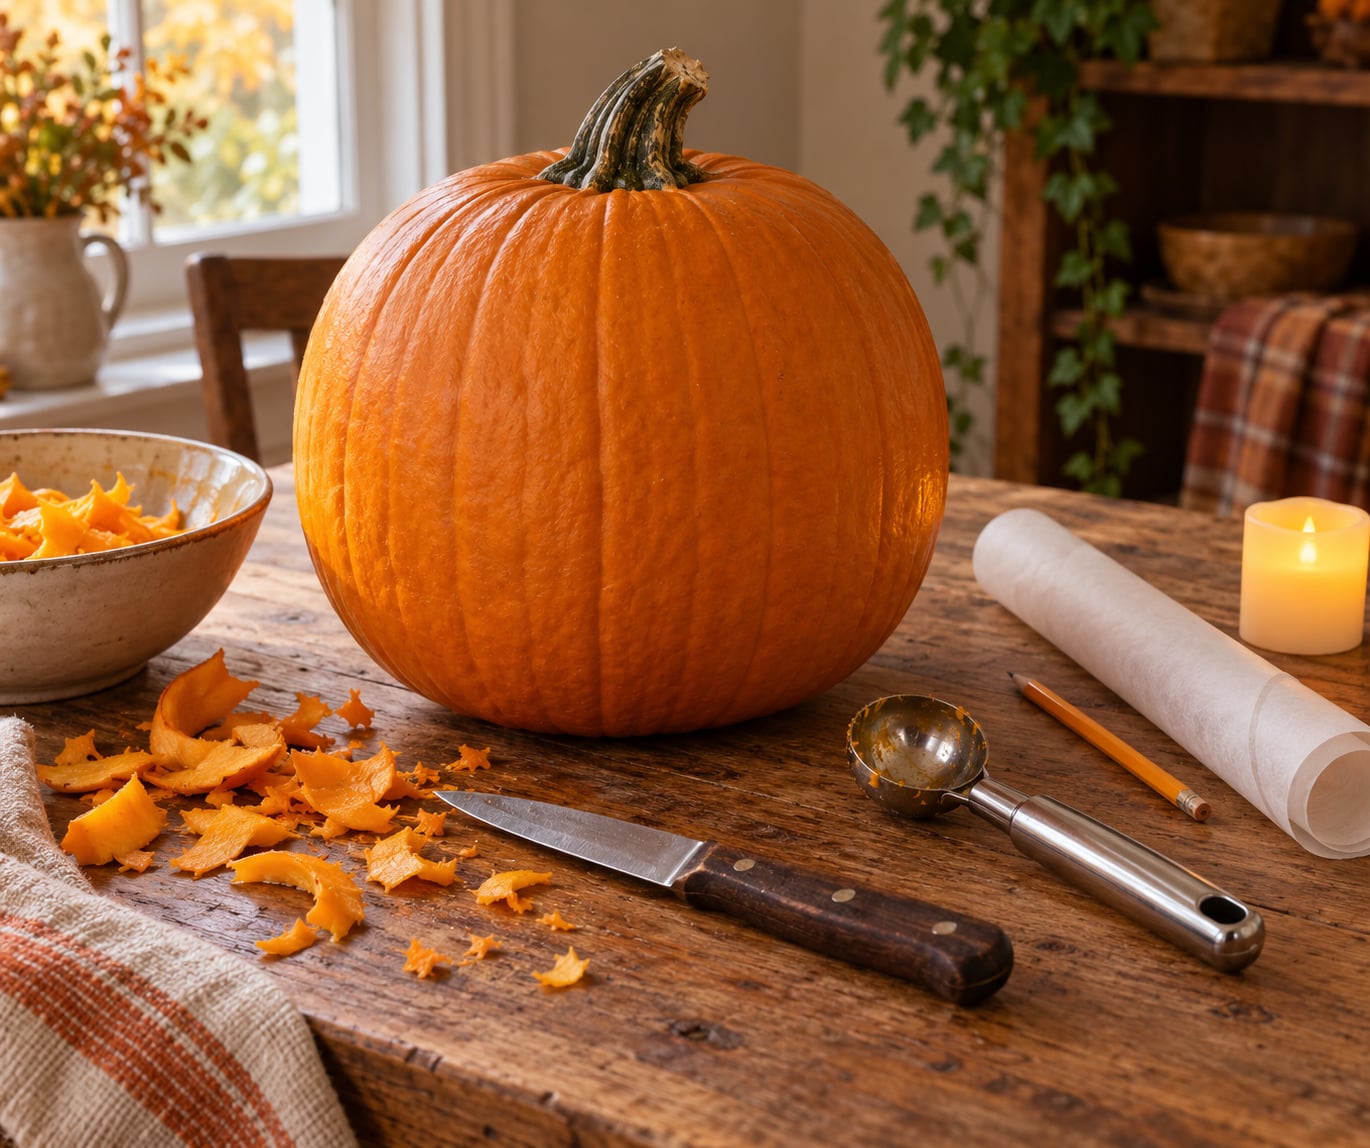
To make a pumpkin look like it is screaming, you need a wide cut-through mouth shaped like a tall oval, deep-set eye sockets, and features carved at different depths so shadow does the work. A basic jack-o’-lantern kit handles this, and most of the effort goes into the mouth.
Budget about 90 minutes of active carving plus drying time, and treat it as a beginner job with one intermediate step. If you can cut a shape out of cardboard, you can do this.
Table of Contents
- What You Need to Make a Pumpkin Look Like It Is Screaming
- Step-by-Step: Carving the Scream
- 1. Choose a Pumpkin with a Strong Shape
- 2. Sketch a Screaming Face Before Cutting
- 3. Cut the Lid and Hollow the Pumpkin
- 4. Carve the Eyes and Expressive Brow
- 5. Sculpt the Mouth So It Looks Like It Is Screaming
- 6. Add Teeth, Tongue, and Optional Details
- 7. Light the Finish and Place It Safely
- Common Mistakes That Ruin the Scream
- Frequently Asked Questions
- What shape of pumpkin is best for a screaming face?
- How can I make the carved mouth look like it is really screaming?
- What is the best lighting for a screaming pumpkin?
- Can children help carve a screaming pumpkin?
- How do I keep the teeth and tongue from breaking?
- How long will a carved screaming pumpkin last outside?
- Final Tip
What You Need to Make a Pumpkin Look Like It Is Screaming
Essential items: a pumpkin with a broad, flat face and a stable base, a sharp straight-edged carving knife, an ice cream scoop or sturdy spoon, a marker, tracing paper or masking tape, a candle or LED light, and cut-resistant gloves.
Optional items change how good it looks. A small detail knife handles teeth and nostrils. A potato peeler lets you shave thin layers for brows and cheek strain lines. Extra pumpkin scraps give you material for a tongue and raised eyelids. Glow-in-the-dark paint works if you want no flame at all.
Skip the plastic carving kits with the flimsy plastic saws and the serrated knives. They tear the skin and slip, which is how most people crack a pumpkin mid-carve.
Step-by-Step: Carving the Scream
1. Choose a Pumpkin with a Strong Shape
A screaming face needs vertical room more than width. Look for a pumpkin that is taller than it is wide, with a broad flat front and a base flat enough to sit without rolling.
A wide, squat pumpkin gives you a face that reads as a grimace or an annoyed frown. A tall one gives you the tall open mouth cavity that says terror. Very small pie pumpkins work for the simplified version, where the mouth is the only feature that carries the expression.
2. Sketch a Screaming Face Before Cutting
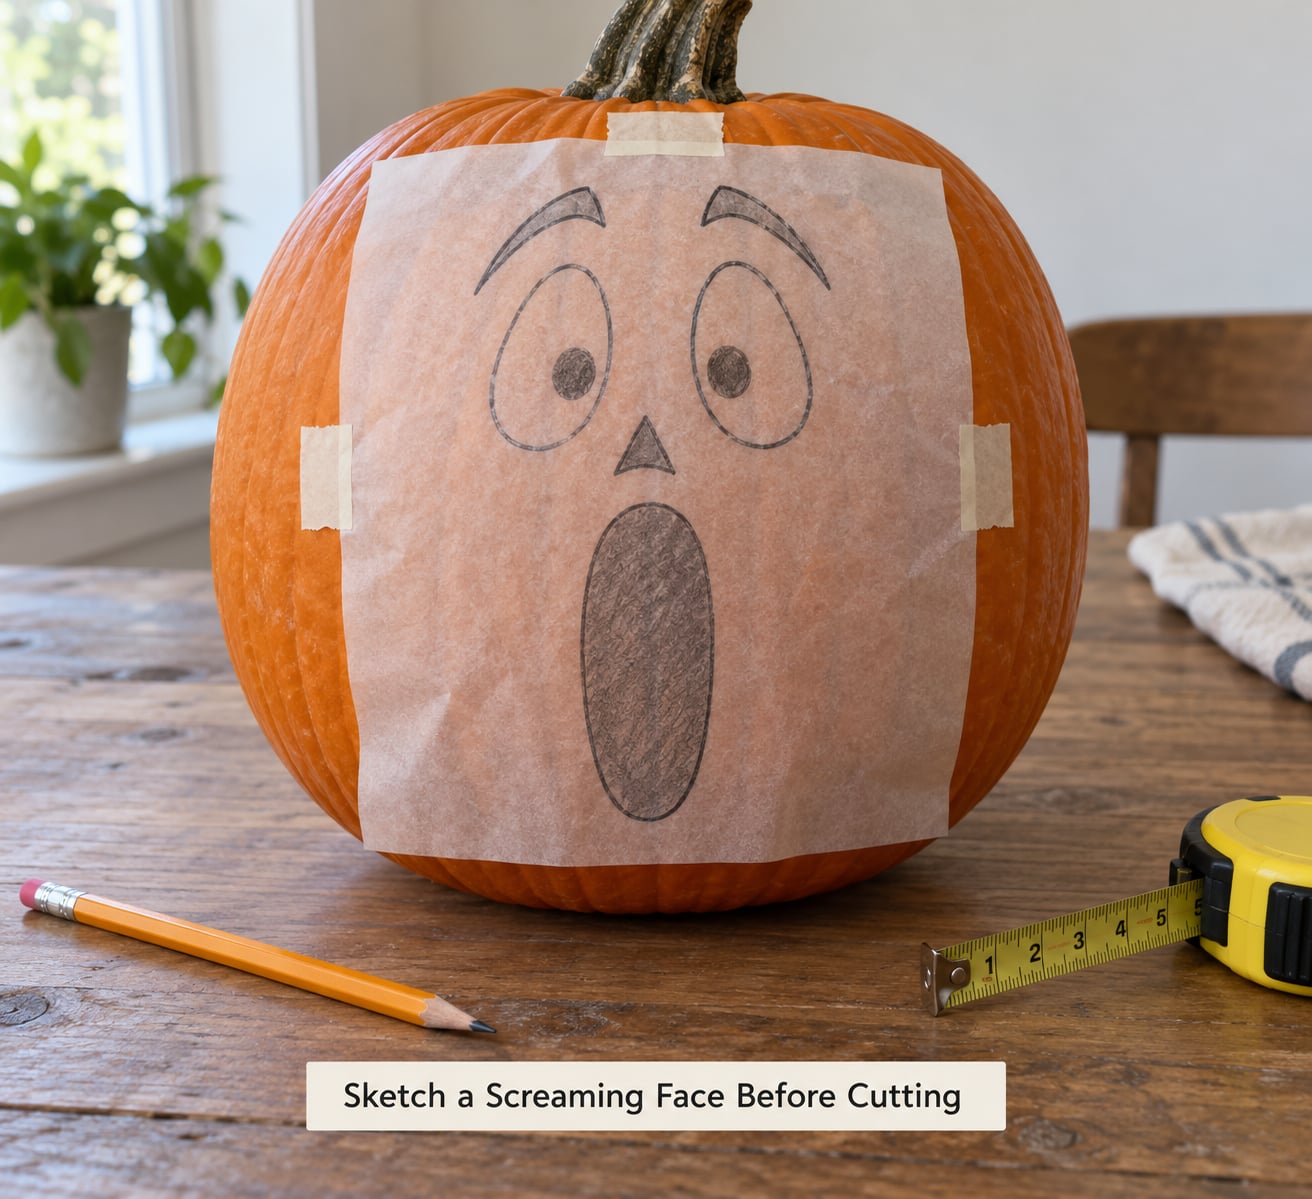
Draw the face on tracing paper, then tape it to the pumpkin and transfer it. Prick the outline with a cocktail stick or a pin, then brush powdered chalk or paint over the paper so the dots land on the skin.
Center the face on the widest flat panel and measure down from the stem so both eyes sit at the same height. Draw the eyes large and slightly different sizes, angle the brows up toward the center, and make the mouth tall enough to read from the sidewalk.
Symmetry is the enemy here. Perfectly mirrored features read as a mask. Nudge one eye a fraction higher and let one brow sit lower.
3. Cut the Lid and Hollow the Pumpkin
Cut a circle around the stem, rock the lid free, and pull it out with the stem still attached so you have a handle. Scoop out the seeds and pulp, scraping the inside down close to the skin.
Leave the lid off. The opening lets air move so a candle does not snuff out, and it gives you access when you need to fix a cut that went too deep.
Pat the inside dry with paper towels, then set the pumpkin somewhere with airflow overnight if you have the time. Firm walls are what let you carve depth without punching through.
4. Carve the Eyes and Expressive Brow
Cut the eyes straight through. Deep-set eye sockets that catch light from inside are what make the pumpkin read as terrified rather than cheerful.
Give each eye an inward slope, cutting a few degrees deeper at the outer edge. That bevel creates a self-shadow, so the socket darkens even before you put a light in it.
For the brow, resist cutting a separate shape. Shave shallow lines into the skin above each eye instead, angled upward toward the nose. Those thin relief lines read as a furrowed brow under backlight.
5. Sculpt the Mouth So It Looks Like It Is Screaming
Cut the mouth straight through and make it tall, not wide. A mouth wider than it is tall reads as a grin no matter what you do with the rest of the face.
Curve the top edge into a slight dome and pull the corners up and back. Then vary the lower edge, carving it deeper in the middle and shallower at the corners so the jaw looks dropped open rather than smiling.
Angle the cut inward around the opening. Where the wall slopes inward, less light escapes and you get a dark rim that frames the glowing throat cavity. Cut the back of the mouth cavity at an angle as well so the light lands on the upper teeth instead of washing out.
How deep matters more than most people expect. Cuts about 1 to 2 millimetres into the skin glow amber when lit. Cuts around 3 to 4 millimetres give a soft diffused shadow. Anything cut all the way through reads as solid black.
6. Add Teeth, Tongue, and Optional Details
Teeth are the difference between a scream and a yawn. Cut jagged, uneven shapes rather than neat rectangles, and let one tooth in the lower row hang lower than the rest.
Keep teeth shallow on the wall so they are not full-thickness cutouts that snap off, and reinforce the ones you want deep with a slice of pumpkin skin or a cocktail stick behind them.
A tongue made from a thin slice of pumpkin wall, propped at an angle with a toothpick, gives the mouth real depth. Sculpted lids raised over the top of each eye, small cut nostrils, and a carved nose all add to the effect.
Stop there. Strain lines on the cheeks and forehead are a nice extra, but the mouth and eyes carry 90 percent of the expression on their own.
7. Light the Finish and Place It Safely

Put the light low and toward the back so it throws shadows forward through the eye sockets and mouth. A warm LED candle runs for many nights, never sets a curtain alight, and works in rain.
Test the face in full darkness from where your guests will approach. If the eyes disappear, angle the light higher or widen the brows. If the mouth washes out, cut the cavity back wall at an angle.
Set the pumpkin on a level step or a flat board, away from dry leaves and where a pet might knock it. Put something underneath in case the bottom gives out.
Common Mistakes That Ruin the Scream
A face that reads as grinning usually means the mouth is too wide and too shallow. Make it taller, cut it deeper at the center, and pull the corners up instead of out.
Flat features that vanish at night mean everything got cut to the same depth. Vary it: shallow relief on the brow and cheeks, medium cuts on the nose and lids, cut-through on the eyes and mouth.
Broken teeth and a cracked wall almost always trace back to thin spots near the stem or bottom. Keep teeth shallow, cut in short controlled strokes, and stop if you feel the blade hit soft resistance.
An uneven face comes from a poor transfer. Re-tape the template and re-poke the outline rather than freehand-cutting a feature that did not land. Slight asymmetry in the features is good, but they still need to sit level with each other.
An unstable display is a design failure. If your pumpkin rolls, mount it by running a board or a length of pipe through the top opening into the soil or a weighted base. This also lets you raise the face to eye level.
And carving too early is the mistake nobody warns you about. A cut pumpkin starts collapsing within days, so carve two or three days before the night you need it, and choose the pumpkin last.
Frequently Asked Questions
What shape of pumpkin is best for a screaming face?
A tall pumpkin with a broad, flat front works best, because the scream needs vertical room for a long open mouth. A wide, squat pumpkin pushes the mouth into a horizontal grin, which reads as a smile no matter how you carve the eyes. Pick one with a base flat enough to sit without rolling, or mount it on a board. Very small pie pumpkins suit the simplified version, where the mouth does all the work.
How can I make the carved mouth look like it is really screaming?
Make it tall rather than wide, curve the top edge into a slight dome, and pull the corners up and back instead of out. Cut the lower edge deeper in the middle and shallower at the corners so the jaw looks dropped open. Angle the walls of the opening inward to create a dark rim, and carve the back of the cavity at an angle so the light catches the teeth.
What is the best lighting for a screaming pumpkin?
A warm LED candle is the safest and most reliable option, since it runs for many nights and works in rain. Place it low and toward the back of the cavity so light travels forward and throws shadows through the eye sockets. A real candle burns brighter but goes out in wind and is a fire risk near leaves and dry wood. Test in darkness before the night.
Can children help carve a screaming pumpkin?
Yes, with the right split of jobs. Adults handle the lid, the hollowing, and all cut-through cuts such as the eyes and mouth. Children can scoop the seeds with a spoon, hold the tracing paper in place, poke the template outline with a cocktail stick, and paint or shade the face with markers. Give kids gloves and a plastic scoop rather than a knife.
How do I keep the teeth and tongue from breaking?
Keep the teeth shallow so they are not cut all the way through the wall, and cut them as jagged, uneven shapes rather than thin rectangles that snap at the base. Reinforce anything you want deep with a slice of pumpkin skin or a cocktail stick behind it. For the tongue, cut it from a thin slice of wall and prop it at an angle with a toothpick instead of carving it into the mouth itself.
How long will a carved screaming pumpkin last outside?
Most cut pumpkins stay presentable for five to seven days outdoors, and longer in cool weather. Carving closer to Halloween helps, so aim for two or three days before. Slow the collapse by drying the inside thoroughly, leaving the lid off for airflow, and keeping the cut surfaces coated with petroleum jelly. A sprayed water-mixed bleach solution slows surface mold, and refrigeration buys a few more days.
Final Tip
Carve the mouth and the eyes first, before any teeth or detail work, because those two shapes decide whether the pumpkin reads as screaming. Then take it outside after dark, put the light in, and judge it from the far end of your path. If the eyes vanish, the problem is lighting and depth, not the design.