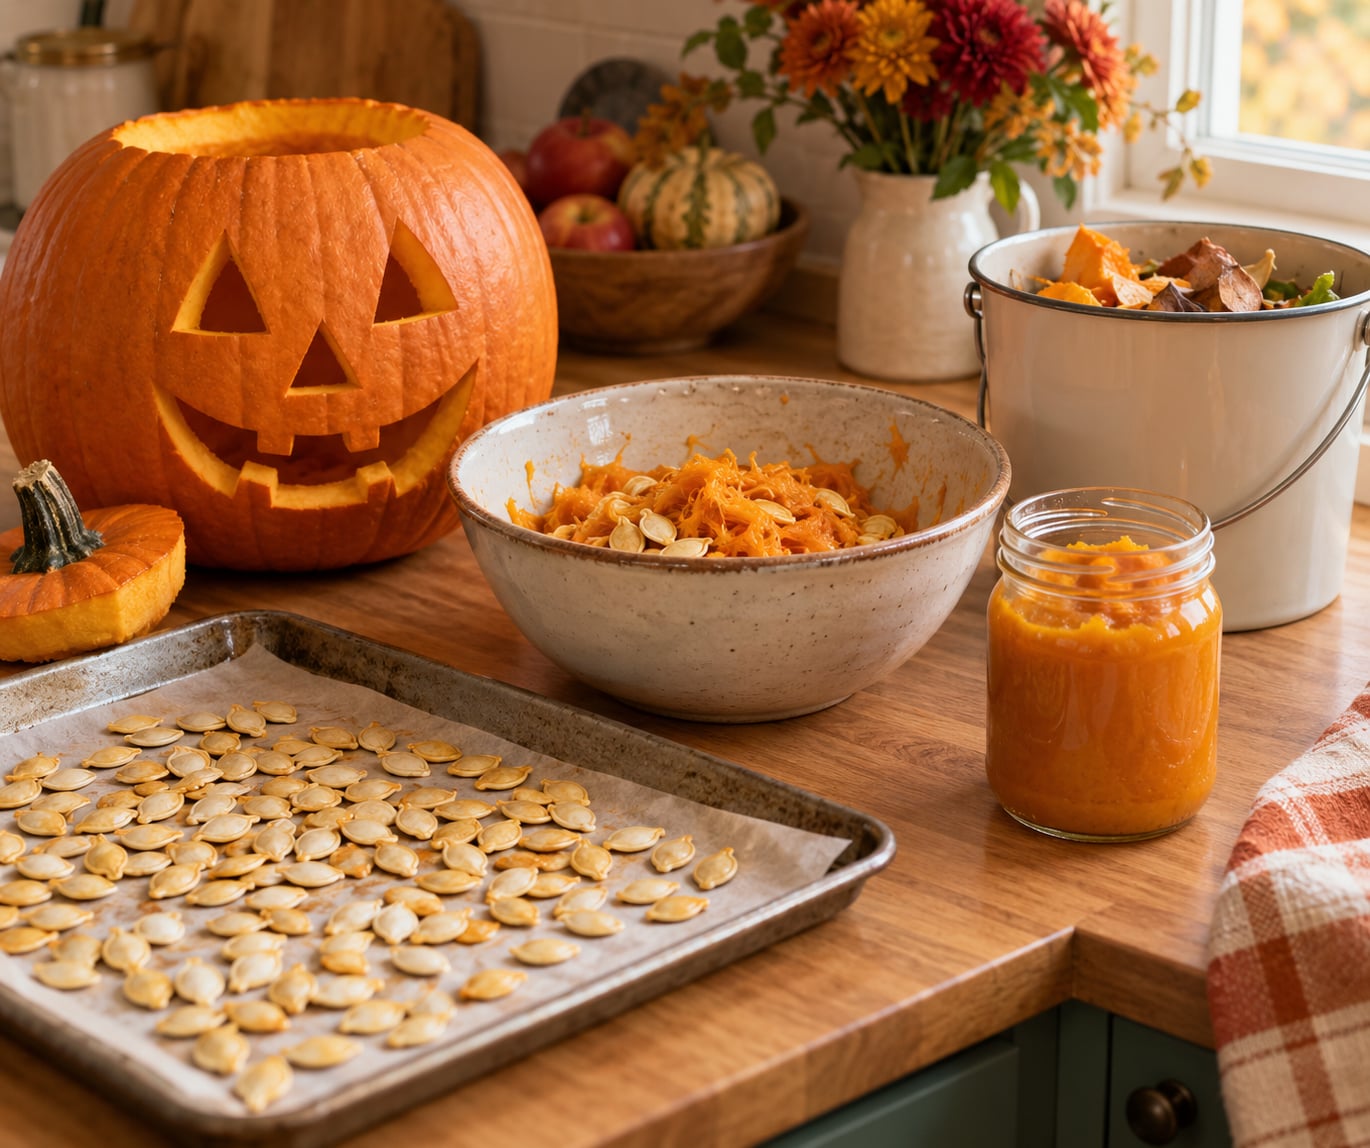
When you finish carving, what to do with pumpkin guts after carving comes down to four moves: pull the seeds free, roast them, cook or freeze the stringy pulp, and compost whatever you will not eat. A single pumpkin yields roughly two to four cups of usable seeds and pulp, and none of it has to reach the bin.
The whole job takes about twenty minutes on carving night, plus whatever cooking time you choose later. The trick is to deal with the guts while they are fresh, because wet pulp turns slimy and sour within days if you leave it sitting in a bowl.
I carve with my kids every year, and the compost bin used to take the lot. Now the seeds go on a low tray the same night, and the pulp goes into a jar in the freezer before anyone remembers it existed. That is the entire habit this guide asks of you.
Table of Contents
- What You Need to Handle Pumpkin Guts After Carving
- Step-by-Step: What to Do with Pumpkin Guts After Carving
- 1. Separate the Seeds from the Pulp
- 2. Decide What to Do with the Pumpkin Pulp
- 3. Clean and Store What You Are Not Using Today
- 4. Roast the Seeds or Cook the Pulp Right Away
- 5. Compost or Dispose of the Scraps
- Common Mistakes
- Frequently Asked Questions
- How long will a pumpkin stay good after carving?
- Are pumpkin guts good for anything?
- Can dogs eat pumpkin puree?
- Is pumpkin gut healthy?
- Can you eat a carving pumpkin?
- Can I compost pumpkin guts?
- A Simple Plan for Pumpkin Guts
What You Need to Handle Pumpkin Guts After Carving
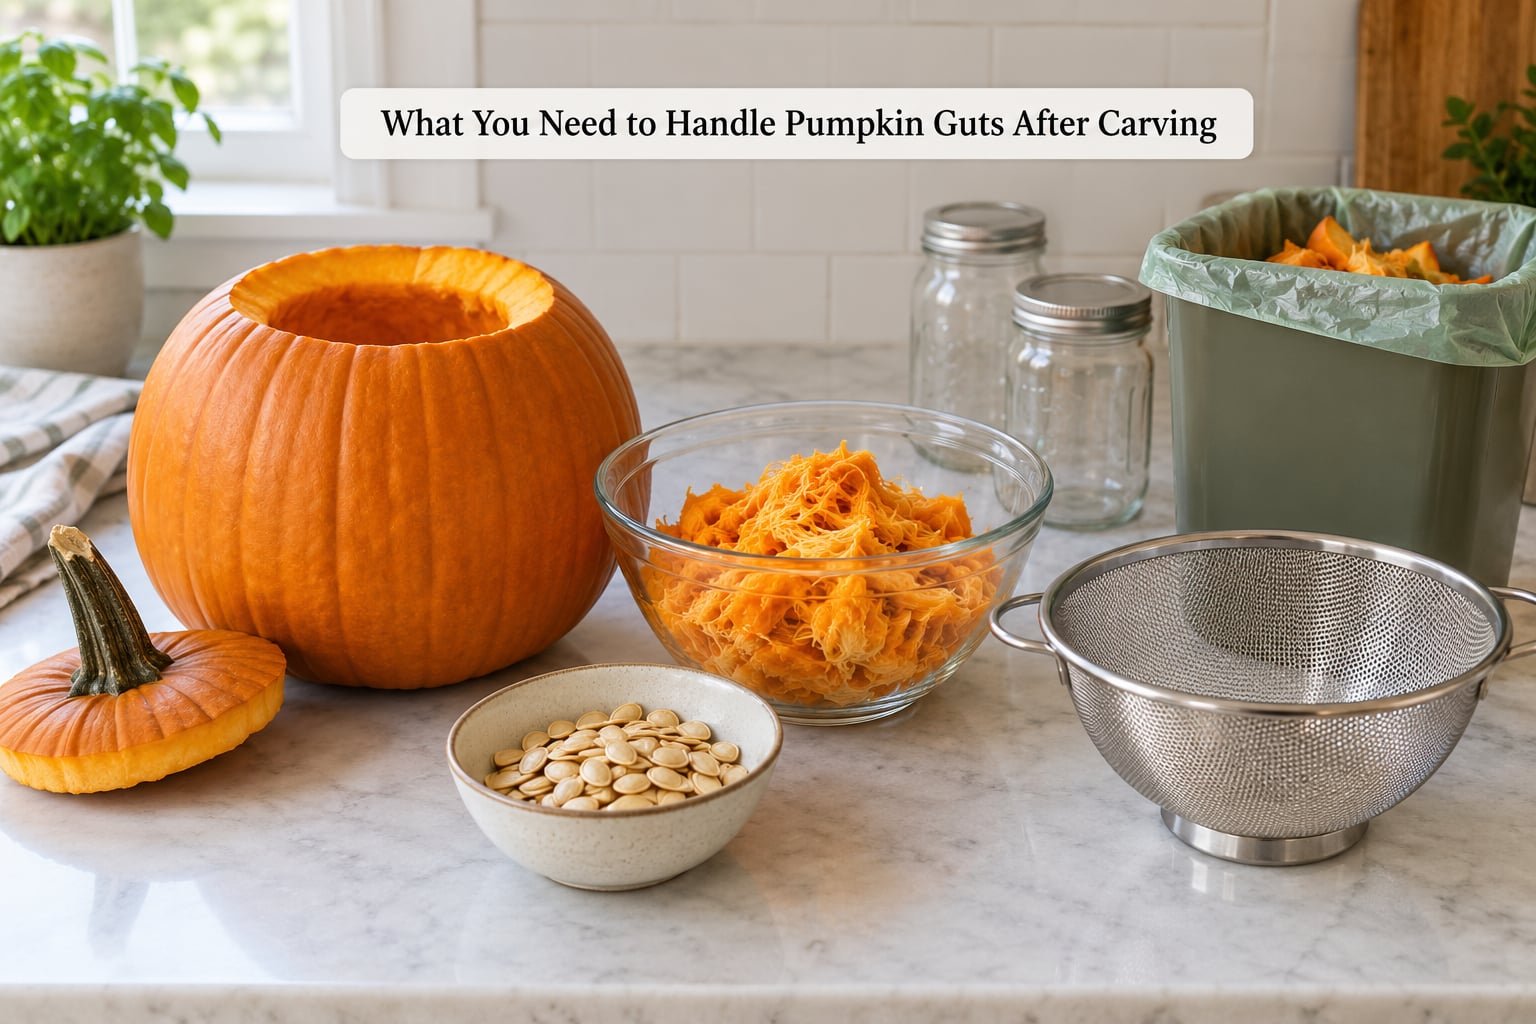
You do not need anything exotic. Everything here comes out of a normal kitchen drawer, and most of it you already used while carving.
- Two bowls or a colander. One catches seeds, one catches pulp. A mesh strainer over a bowl handles the rinsing faster.
- Gloves, if your skin is sensitive. People on carving forums describe wet pumpkin pulp stinging like a sunburn for hours. Nitrile gloves or long sleeves solve it completely.
- A baking sheet, parchment paper and a low oven. Seeds roast at 300 to 350°F, which takes longer than your instinct says but keeps them from going scorched.
- A food processor or blender. The best tool for turning stringy pulp into smooth purée.
- Cheesecloth or a fine sieve. Needed if you want a thick purée rather than a watery one.
- Airtight containers or freezer bags, and a label pen. Portioning matters more than you would think.
- Compost bin access. Or, failing that, a yard waste or green bin for the fibrous bits.
The one thing worth adding to that list is a box of cheap gloves you keep by the carving table. It is not a gimmick. Pumpkin flesh contains enzymes that irritate skin on contact, and warm pulp is worse than cold.
Step-by-Step: What to Do with Pumpkin Guts After Carving
1. Separate the Seeds from the Pulp
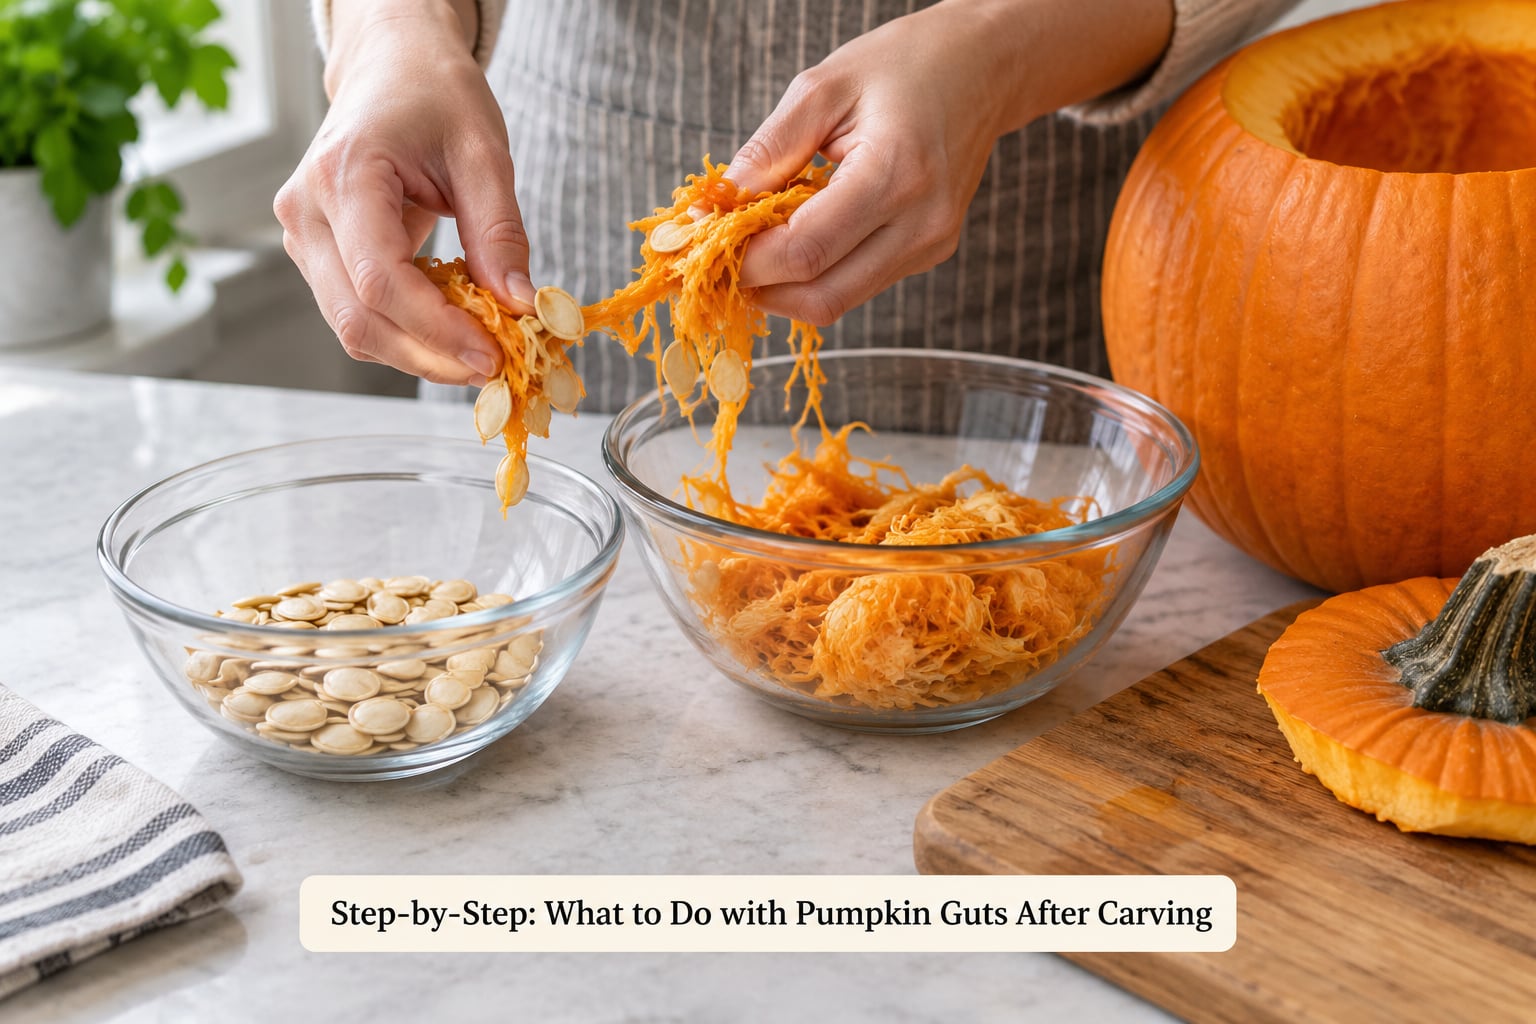
This is the step most people rush, and it decides whether the rest goes smoothly. Squeeze each handful of guts over a bowl and the seeds mostly stay behind while the stringy pulp falls through your fingers. It feels sticky and messy, but it takes two minutes.
Once the seeds are free, pick out any pulp still clinging to them and rinse them in a colander under cold water. The strings wash away easily once the bulk of the pulp is gone. Spread the seeds on a towel and let them dry while you sort the pulp.
While sorting, expect three distinct parts. You have clean seeds, wet stringy pulp laced with flat seeds that did not come free, and a thin layer of orange flesh clinging to the inside wall of the shell. All three are usable. The shell itself is the part you cannot eat.
As a yield guide, a medium carving pumpkin gives about half a cup to a cup of clean seeds, and the pulp and flesh together run somewhere around three to four cups before you trim it down. Home bakers report scooping around 500g of flesh from two pumpkins, which matches that range closely enough to plan with.
2. Decide What to Do with the Pumpkin Pulp
Now you have a bowl of pulp and a decision. Cooking it, freezing it raw, feeding it to animals and composting it are all legitimate answers, and the best one depends on how much you scooped and whether you have a recipe in mind.
| Use | Effort | Time | Yield per pumpkin | Best for |
|---|---|---|---|---|
| Roasted seeds | Low | 30-45 min | Half to 1 cup | Snacking, biggest payoff per minute |
| Roasted seeds turned into brittle | Medium | 1 hr plus cooling | About 1 cup | Holiday gifts and candy plates |
| Pureed pulp for baking | Low | 10 min plus bake time | 1.5 to 2 cups | Loaf cake, muffins, quick bread |
| Soup or broth | Medium | 40-60 min | 3 to 4 cups | Freezing as flat base for later meals |
| Risotto or risotto base | High | 45 min | About 1 cup of innards | A single treat, not bulk |
| Pumpkin butter spread | Medium | 30-40 min | About half a jar | Toast, crackers, gifting |
| Animal feed | Very low | 5 min | Whatever is not cooking | Chickens, pigs, some dogs |
| Compost | Very low | 5 min | Whatever is not cooking | Closing the garden loop |
Roasting the seeds is the strongest return on effort. Season, spread thin, and they turn nutty in about half an hour while the pulp sits waiting.
Cooking the pulp is the second best. Trim off the tough inner membrane with a knife, then simmer the rest until soft, blend it, and you have the base for soup, a risotto, or a jar of purée that behaves like the canned stuff in the baking aisle.
Feeding animals handles the surplus nobody wants. Homesteaders routinely give the raw flesh and sinew to chickens and pigs and keep the roasted seeds for the humans, which is a sensible division when you have four pumpkins on the porch and one recipe planned.
Composting is the honest fallback, and it is not a waste. Plenty of gardeners compost the guts specifically so the following season’s pie pumpkins grow in the good stuff. Whole hollow shells go in the same pile if you want them back as soil.
Discarding is the right call in exactly two cases: anything slimy, blackened or smelling sour, and anything that sat on a warm porch for days. Food safety beats thrift every time.
3. Clean and Store What You Are Not Using Today
Wet pulp is a short-lived ingredient. Once it is out of the pumpkin it picks up bacteria from your hands and the air, and it should not sit at room temperature overnight even in a cold kitchen.
For the refrigerator, squeeze out what you can, pat the pulp dry with a clean towel, and pack it into a sealed container lined with a paper towel. Two to four days is a realistic window in a fridge held at 40°F or below. Use it in that window or move it to the freezer.
For the freezer, this is the option that actually saves a season’s carving. Press out the water, spread the pulp in a single layer on a tray, freeze it solid, then transfer it to bags or boxes in flat portions. Flat freezes faster and stacks neatly, and you can pull out one cup at a time instead of defrosting a frozen block.
Label the container with the date. Frozen pumpkin holds its eating quality for around three months and stays safe considerably longer, so forgotten bags are not a risk, just less good for baking.
Roasted seeds get a different storage rule. Cool them completely before sealing them, or the trapped steam softens the shells and dulls the crunch. Kept airtight at room temperature they stay crisp for a week or two; frozen, months.
4. Roast the Seeds or Cook the Pulp Right Away
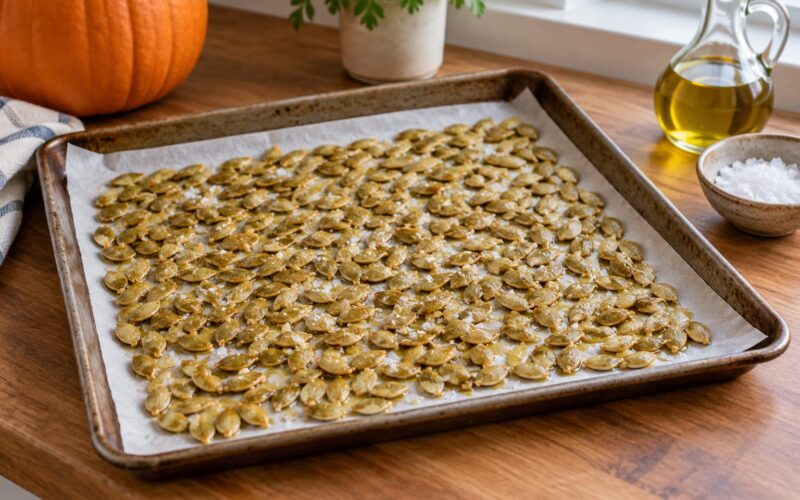
For the seeds, preheat to 325°F. Spread them in a single layer on parchment, toss with a little oil and salt, and roast for 20 to 45 minutes depending on whether they are whole or shelled. Whole seeds need the full time. Stir once at the halfway mark, and pull them when they smell nutty rather than when they look done, since they keep browning after they leave the oven.
Sweet and spiced versions work just as well: a light coat of butter with cinnamon and a pinch of salt, or maple with smoked paprika. Keep the sugar modest, or the seeds scorch before the inside is done.
For the pulp, trim the tough membrane, cube the soft flesh, and simmer in a little water or broth for 20 to 30 minutes until a fork goes through without resistance. Blend it smooth, then strain through a sieve if you want the thickness of canned pumpkin. For a thicker result, cook the blended pulp down in a pan until it stops loosening the spoon.
That purée drops straight into a loaf cake, muffins or quick bread. Expect it to keep the batter moist rather than make it taste strongly of pumpkin, which surprises people who have only had spiced pie filling. A spoon of cinnamon, ginger, cloves and nutmeg does the rest of the work.
If you would rather not bake, simmer the same cubes with onion, a bay leaf and chicken or vegetable broth for a rustic soup, or reduce them into a thick spread you can put on toast. Cooking the guts down as broth is the easiest way to use a genuinely large scoop.
5. Compost or Dispose of the Scraps
Composting clean, sound pumpkin material takes about five minutes of effort. Chop it up so it breaks down faster, keep it out of any plastic or wax coating, and bury it a few inches deep in an active pile. The seeds will come up as volunteer seedlings next spring, which most gardeners treat as a feature rather than a problem.
Keep out anything coated in paint, candle wax, glue, or soil from a treated bed. Moldy or slimy material still composts fine, but do not put anything from a spoiled pumpkin into a compost system that is finished or nearly finished, and never put it in food scraps that go to animals.
For material that cannot be composted, use the yard waste or green bin. And put none of it down the sink disposal. Fibrous pulp wraps around the blades and the pump impeller, and a clog costs more than every jar of purée you ever made.
Common Mistakes
Leaving thick pulp on the seeds. It burns in the oven and turns bitter before the seed is cooked through. Pull the pulp off while the guts are still cool and firm, rinse well, and dry before seasoning.
Watery purée. The usual cause is not draining. Squeeze the pulp in your hands, press it in a sieve, or cook the blended mixture down until it holds its shape. The same trick fixes gummy muffins.
Storing wet guts too long. A bowl of pulp on the counter goes sour and slimy within a couple of days in a warm house. Refrigerate within a few hours, or freeze the same night, and keep the container sealed.
Using a pumpkin that has been sitting out. Soft spots, leaking liquid, blackened edges or a fermented smell mean the whole pumpkin is gone. Softness under the stem is the earliest sign worth trusting, so cut there first.
Putting pulp down the disposal. There is no safe way to make stringy fiber fine enough for a drain. This is the one habit to break, and it is more expensive than the waste it prevents.
Cross-contaminating the kitchen. Wash the cutting board, knife and bowls that touched raw guts, and keep the pulp away from anything you plan to serve raw. Scrape the same spoon into the compost bin as into the pot, and you put the problem back.
Ignoring skin irritation. The sting people report is real and passes on its own, but gloves take it off the table entirely. Long sleeves help too when you are separating a large scoop by hand.
Throwing away usable material. Most of the waste is indecision at the top of the job, not lack of ideas. Decide on one use while the guts are in your hands and the rest falls into place.
Frequently Asked Questions
How long will a pumpkin stay good after carving?
Cut side down in the refrigerator, a carved pumpkin keeps for about a week to ten days before the cut face softens and the flesh turns slimy. Scoop the guts out on the same night you carve and you get the same material in better condition. Loose pulp that has already been out of the pumpkin should be refrigerated within a few hours and used inside two to four days, or frozen right away.
Are pumpkin guts good for anything?
Yes, all of them. The seeds roast into a snack high in protein and magnesium. The stringy pulp and the thin flesh layer on the inner wall cook down into purée for baking, simmer into soup or broth, or blend into a spread. Cooked pumpkin also carries fiber, vitamins A and C, iron and potassium. What you cannot eat, you can compost.
Can dogs eat pumpkin puree?
Plain cooked pumpkin is generally safe for dogs in small amounts, and a spoonful of pumpkin purée is a common home remedy for occasional loose stools because the fiber firms things up. Serve it plain, never sweetened, never spiced or salted, and never in pie filling. Large amounts can cause stomach upset, and dogs with diabetes or certain conditions need a vet’s advice first.
Is pumpkin gut healthy?
Pumpkin guts are nutrient-dense and low in calories, with fiber plus vitamins A and C, iron and potassium. Most of that goodness sits in the seeds and the orange flesh; the wet stringy pulp has less but is still worth cooking. Roast the seeds for the densest option, and treat the pulp as a moist, mild vegetable that leans on whatever spices you add.
Can you eat a carving pumpkin?
You can. Jack-o’-lantern pumpkins are edible and the flesh roasts fine, it is just sweeter, wetter and more fibrous than a pie pumpkin. The rule most home cooks follow is simple: eat it if there is no rot. Skip anything with soft spots, leaks, blackened flesh or a sour smell, and check the base first because rot often starts there.
Can I compost pumpkin guts?
Yes, and they are good compost. Chop the seeds, pulp and flesh, bury them a few inches deep in an active pile, and keep out anything waxed, painted, glued or wrapped in plastic. Spoiled material is fine in a pile that gets hot enough, but skip it in a cold pile that is finished or nearly finished. Expect volunteer pumpkin seedlings next spring.
A Simple Plan for Pumpkin Guts
Start with the seeds. Pull them free, rinse them, and get them on a sheet at 325°F while you still have the energy for it. That one tray is the whole snack.
Then pick one recipe before you stop touching the pulp. A loaf cake, a pot of soup, or a batch of roasted squash for the oven all use the same material, and choosing now stops the scraping into the bin later.
Whatever remains goes into a sealed container in the refrigerator or a flat bag in the freezer the same night. Compost only the scraps that are clean and sound, and keep the sink disposal out of it entirely.