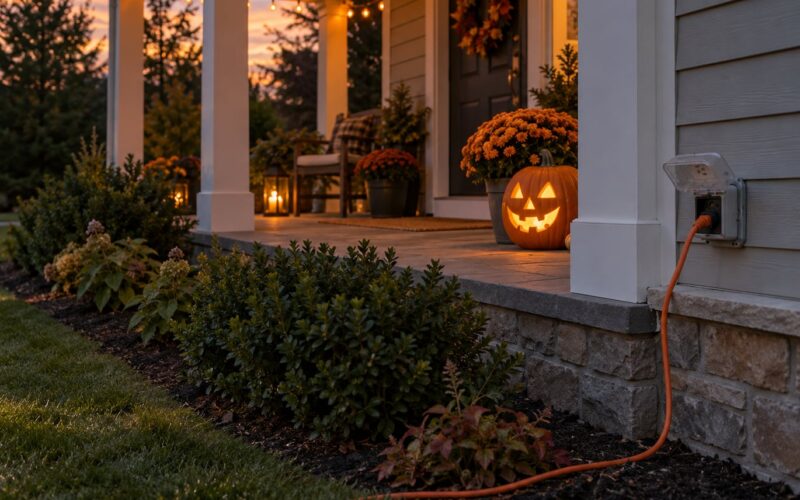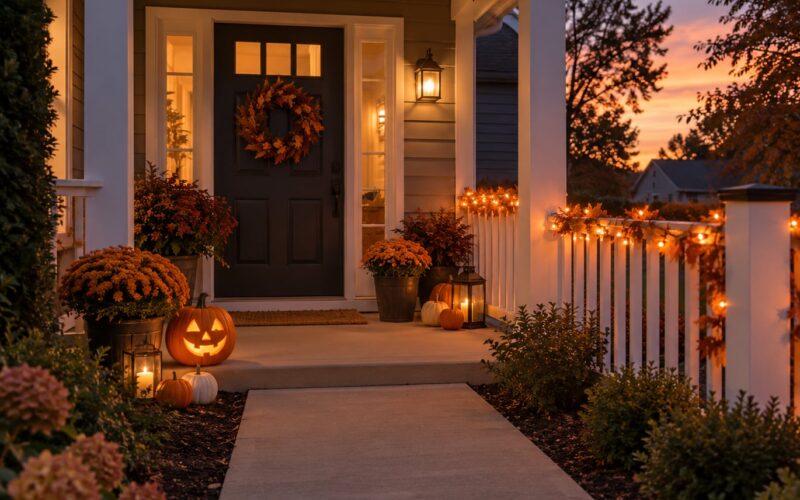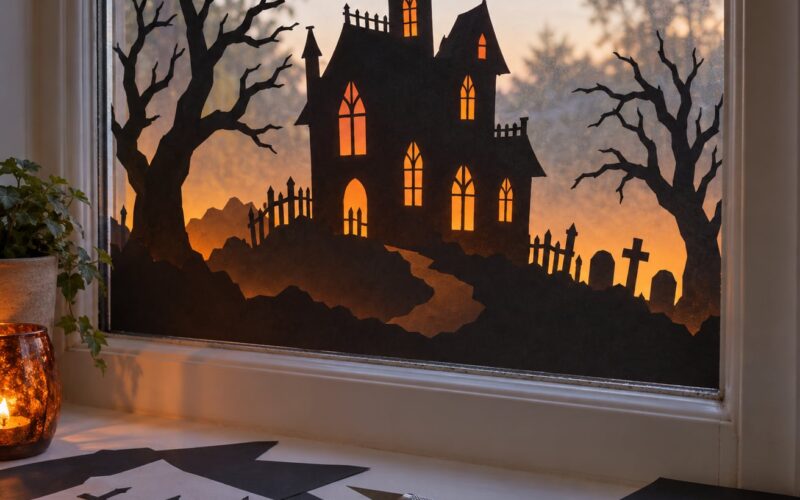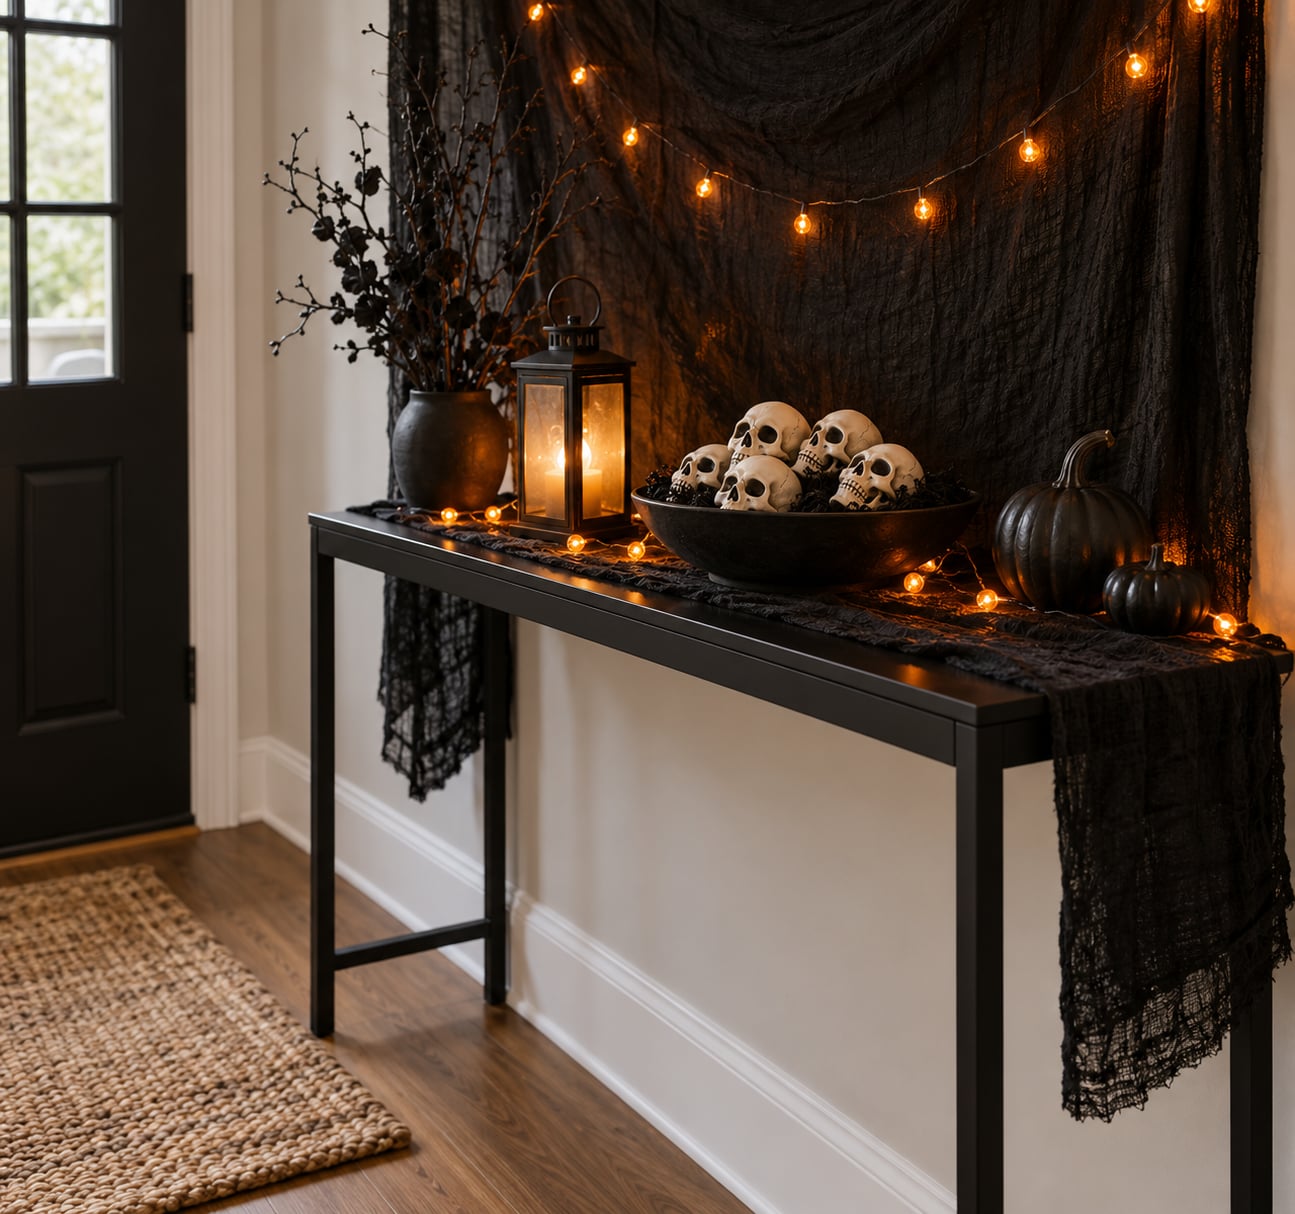
An indoor Halloween display in an apartment comes down to three things: one contained area, one light source, and nothing that touches paint. Pick a single surface such as an entryway console or a living room corner, clear everything around it, hang flat decor with removable adhesive or lean it freestanding, and add one warm battery-powered light. Budget 90 minutes for the whole build and an hour on November 1 to take it all down.
The reason apartment Halloween decor needs a different approach is that there is no yard, no porch, and often no exterior wall to work with. Everything happens indoors, on surfaces you do not own, in a room you have to keep livable. Renter-friendly Halloween decorations win over standard advice for that reason.
I have built these in studios and in two-bedroom walk-ups, and the display that always works is a vignette rather than a room-wide takeover. One corner with three layers of stuff reads as intentional. The same pieces scattered across a sofa table, a windowsill, and a bookshelf read as clutter you forgot about.
Table of Contents
- What You Need
- How to Make an Indoor Halloween Display in an Apartment: Step by Step
- 1. Choose a Display Area and Theme
- 2. Build the Main Focal Point of the Indoor Halloween Display
- 3. Add Safe Lighting and Atmosphere
- 4. Layer Textures, Props, and Color
- 5. Finish and Make Cleanup Easy
- Common Mistakes
- Frequently Asked Questions
- Where should I put an indoor Halloween display in an apartment?
- What Halloween decorations are renter-friendly?
- How do I take down Halloween decorations without damaging walls?
- How can a small Halloween display look fuller?
- Can I decorate my apartment hallway for Halloween?
- Where do I store Halloween decorations in a small apartment?
What You Need
Gather these before you start, because the display is much faster to build when you are not walking back and forth hunting for a battery pack.
- Anchors that leave no trace: removable adhesive strips rated for the weight you are hanging, over-the-door hooks, or freestanding frames that lean against the wall.
- One battery light source: an LED string light strand, a battery lantern, or flameless LED candles. AA or LR44 button cells are the common fit.
- A surface to build on: a console table, a small dining table, a shelf, or the corner of a sideboard.
- Backdrop material: a black or deep-orange fabric sheet, a plain poster board, or a static-cling window film panel.
- Flat props in a three-color palette: mostly black, mostly orange, and one neutral such as bone white or aged gold. Pick the palette before you buy or cut anything.
- Paper and card stock: for bats, labels, place cards, and a folded storage label.
- Protective covering: a sheet or drop cloth if any paint or spray adhesive is involved, and painter’s tape for flagging a wall edge before you mark it.
- Basic tools: a hot glue gun, scissors, a craft knife on a cutting mat, tweezers, and a small brush for cleanup.
Two things are worth buying rather than borrowing: a pack of extra adhesive strips, because half the strips in a multi-pack come with a backing that is already creased and will not hold, and a second set of batteries. Warm white bulbs read far more Halloween than cool white, and a single strand stretched out of shape looks much better than a dense cluster.
How to Make an Indoor Halloween Display in an Apartment: Step by Step
Build the display in this order and each layer sits on something solid. The order matters most at the end, because lighting goes on before the fiddly small props and teardown labels go on last.
1. Choose a Display Area and Theme
Choose the spot where people already enter rather than the spot with the most empty wall. An entryway, a console beside the front door, or one living room corner works because foot traffic does the viewing for you.
Measure before you commit. A 30-inch by 12-inch surface on a console table holds a backdrop, a light strand, and about five props. Anything wider and the same props will look sparse, so scale the count up rather than spreading thinner.
Pick one theme and write it down before collecting anything. A haunted apothecary, a grave in the corner, and a witch’s potion shelf each need different props. Mixing all three is the single most common reason a display looks messy rather than spooky.
Decide your cute-or-creepy setting now, too. Shared walls, a roommate who is not enthusiastic, and a building where families pass through all push toward playful, which reads better indoors where people are standing a foot away.
Then protect the space. Lay the drop cloth if you are using spray anything, and clear the surrounding floor so you have room to kneel while you work.
2. Build the Main Focal Point of the Indoor Halloween Display
The focal point is the one surface where the display lives. Everything else either supports it or stays deliberately clear. This is what makes a small room look styled instead of stuffed.
Anchor the backdrop first. A black fabric sheet hung from a removable strip rail gives you a flat 36 by 48 inch wall of nothing to build against. Set the rail high enough that its top edge falls behind a frame or shelf, so the hardware disappears.
Freestanding frames are the second option and often the safer one in a rental. A large poster frame or an embroidery hoop standing on the console, leaning against the wall, creates the same visual plane with no adhesive at all. Weight the base with a heavy bowl so a door draft cannot tip it.
Then layer the props in three depth bands. Back layer: the backdrop and anything tall, like a branch in a jar or a stack of old books standing upright. Middle layer: your main object, such as a lantern, a skull, or a bottle group. Front layer: low, tactile pieces such as scattered card stock bats, a linen runner, or a shallow bowl of small pieces.
Leave negative space on purpose. A third of the backdrop showing empty black reads better than full coverage, and it is the difference between a scene and a stockpile.
3. Add Safe Lighting and Atmosphere
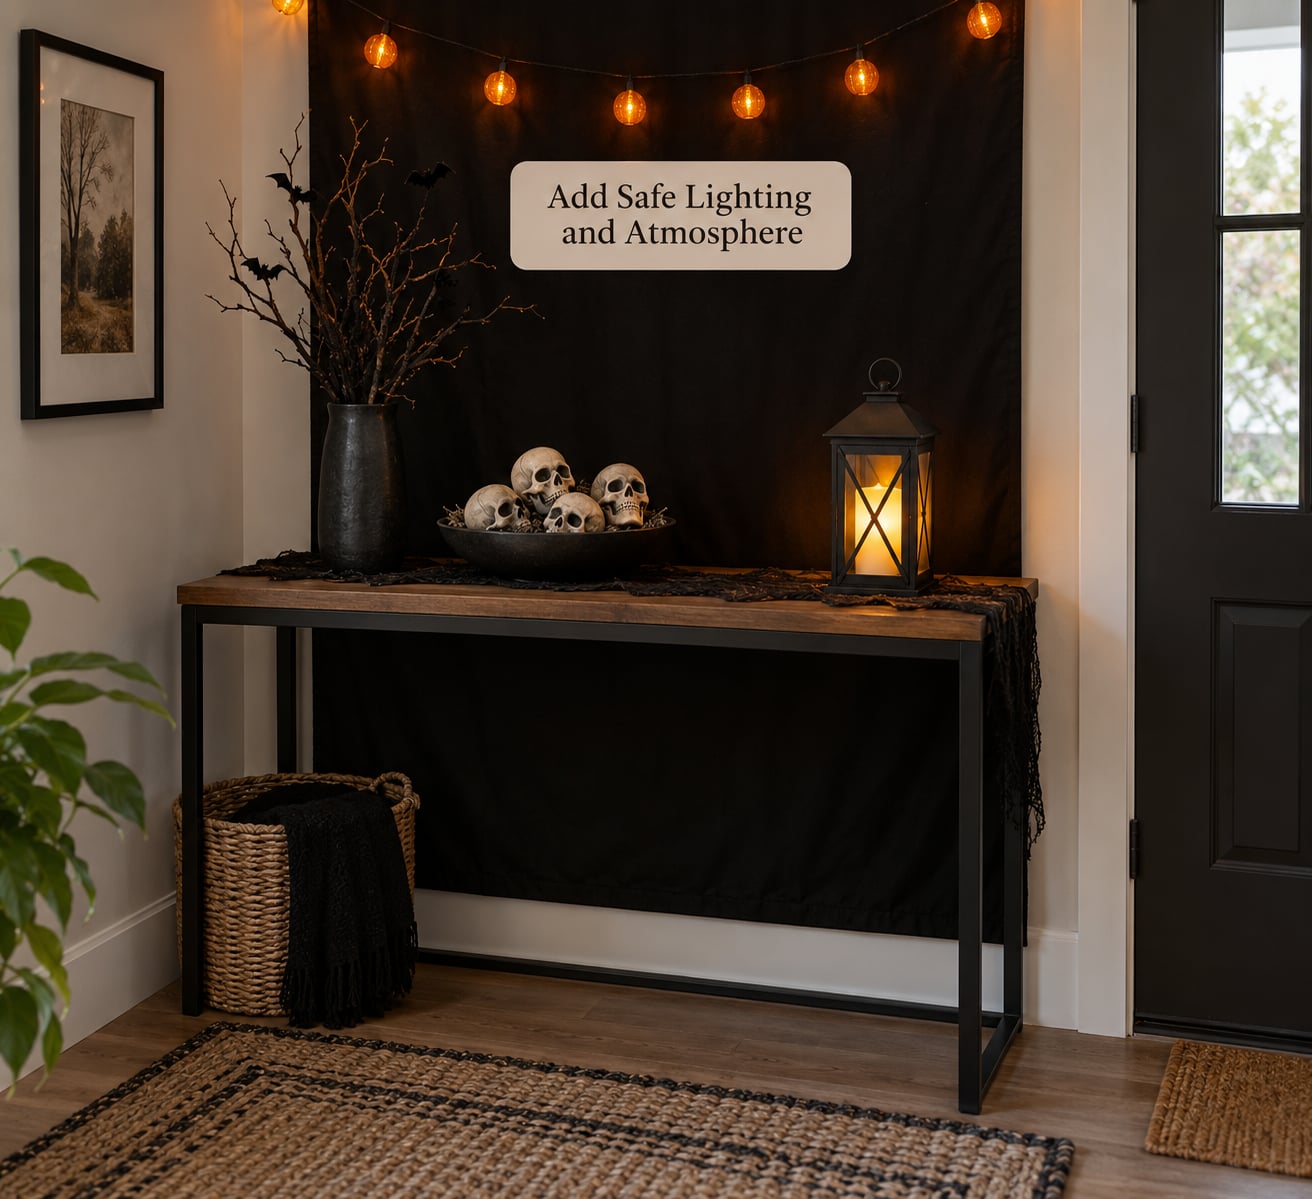
One directional light source does most of the work. Hang a single LED strand across the top of the backdrop, drop the battery lantern front and center, and turn off the ceiling light in that room.
Point the lantern slightly up at the backdrop rather than out into the room. Light bouncing off a black fabric sheet comes back softer and emptier, which is exactly the look you want without adding another fixture.
Skip open flame entirely. Apartment buildings routinely ban candles in common areas for fire code reasons, and in a private unit a real candle near paper bats or a fabric backdrop is a risk with zero payoff. Flameless LED candles in a cluster of three at varying heights give the same flicker with none of it.
Keep every cable out of the walk path. Battery operation is not only a fire-safety decision in a rental, it means no cable to run under a rug, no outlet to reach across, and no adapter left plugged in while the unit is empty.
4. Layer Textures, Props, and Color
Texture is what separates a display that looks store-bought from one that looks built. Mix at least four materials: something matte and fibrous, something hard, something translucent, and one thing that is a bit grimy-looking on purpose.
A wrinkled black fabric, a matte ceramic jar, a smoky glass bottle, and a dusted wooden crate will layer in a way that three plastic props from one package never do. Cheap gauze draped loosely in front of a light source adds a cobweb look in about a minute.
Hold to the palette. Black, orange, and one neutral is enough for a console display. If you want a second accent, make it a metallic and keep it small, used only on two or three pieces so it reads as an accent rather than a second color scheme.
Repeat a small motif instead of adding new objects. Five bats cut from card stock, taped in a rising diagonal across the backdrop, echo through the display on place cards, a table runner edge, and the storage label. Repetition is what makes scattered-looking pieces read as one scene.
Add the personal layer last. A framed photo turned face-down, an old key, a handwritten note in a script font, or a potion label with a fake name gives the vignette a story, and story is what people mention when they describe your apartment a week later.
5. Finish and Make Cleanup Easy
Stand back about six feet and squint. If the brightest thing in the scene is a prop, dim it or move it. If the display reads as three separate objects rather than one scene, add a low filler layer across the front to bridge the gaps.
Walk the room at a crouch, not standing height. Props that look tidy from six feet can be blocking something at two feet, and light spill that looks subtle can be washing out a wall color when seated.
Now secure the small stuff. Card stock bats and paper labels need a pin or a piece of removable tack so a door draft does not scatter them by morning. Anything glass-free and light can sit in a weighted dish rather than being fixed in place.
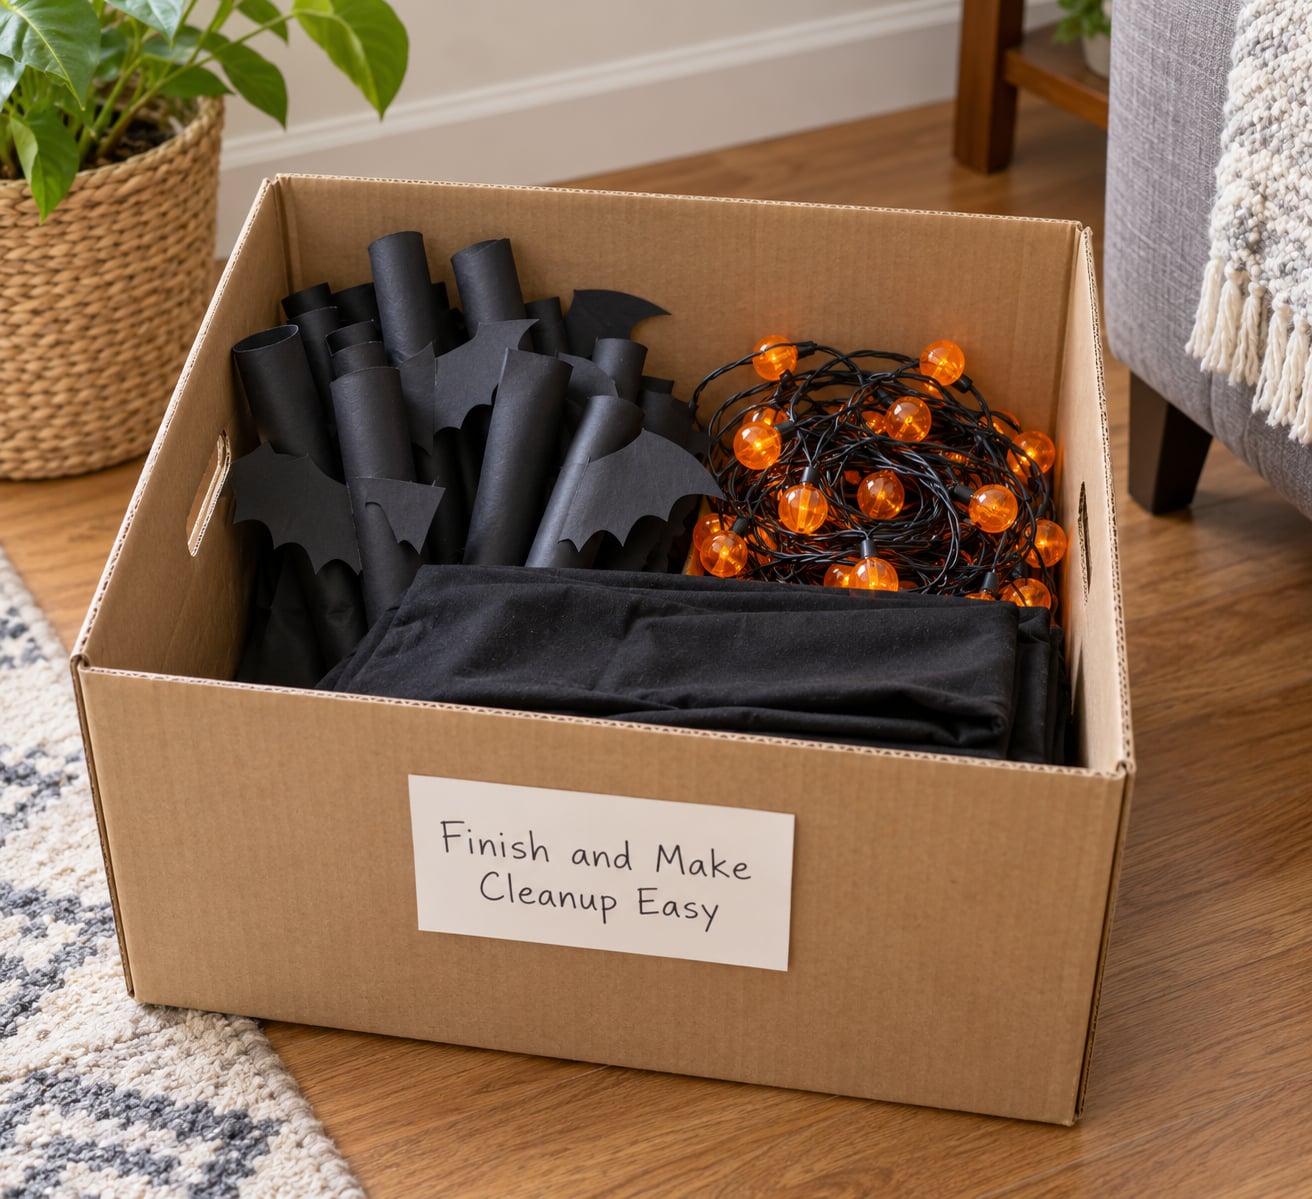
Label as you go, not on November 1. Toss every removable strip, hook, and piece of backing paper into one zip bag and label it with the room name. Group the flat items into a single labeled folder or a flat bin, coiled lights wound around a piece of cardboard so they do not tangle.
For teardown, work in reverse order. Lighting first, then the small props, then the backdrop, then the surface. Adhesive strips pull slowly and straight back along the wall rather than sideways, and pulling at an angle is what lifts paint.
Do the whole job in about an hour, and check the wall under daylight rather than at night. If a strip leaves a mark, warm water on a cloth and a light hand usually clears it; a plastic putty knife edge helps on stubborn spots, and a hairdryer on low warms the adhesive before you touch it.
Common Mistakes
Decorating the whole room instead of one area. A display is one contained vignette. Pick the corner, do that corner properly, and keep the other surfaces clear so the eye has somewhere to rest.
Blocking a hallway, doorway, or fire door. Anything freestanding in a shared corridor is an obstruction and a genuine safety problem. Keep floor decor inside your own unit, and if your display leans against a wall, keep the path past it wide enough to walk normally.
Using tape on fresh paint. Ordinary tape on recently painted drywall can lift the top coat when you pull it. Use removable adhesive strips, static-cling film, or freestanding pieces instead, and if you must tape, use a low-tack painter’s tape and peel it while the paint is still slightly damp.
Lighting with real candles. Fire code bans on open flame apply in most apartment common areas, and a candle near paper decor or a fabric backdrop is a risk that buys you nothing. A flameless LED cluster reads the same at any distance your guests will be standing.
Attaching anything permanent. Nails, screws, and picture hangers are how a fun October becomes a lost deposit. If a piece genuinely needs a wall anchor, hang it on a removable hook that a roommate or future tenant can also move without tools.
Mixing four themes in a small space. Choose one and let the palette carry it. A tight color palette with a single motif does more for atmosphere than a wide mix of ideas in a room you share with a hallway.
Skipping the storage plan. Decor that has nowhere to live gets thrown out in November and rebuilt from scratch the following year. One bin or one flat folder solves it, and everything in this guide was chosen to fit that constraint.
Decorating with kids, pets, and trick-or-treaters in mind changes a few choices. Keep chocolate and candy well away from a low surface a cat can reach, avoid dangling cords a puppy will chew, skip breakables on a narrow table by a door, and put no floor decor in a shared hallway where the building’s own traffic walks through it.
For apartment trick-or-treaters, put the display at the door and the bowl on a high console so nothing is outside on the floor. A lit backdrop behind the door frame makes the doorway itself the scene, which is the apartment equivalent of a decorated porch.
If you started the day before, the sixty-minute version is a single lit corner: one removable backdrop, one warm light strand, five props, and a bowl at the door. That is genuinely enough, and it is closer to the finished look most people imagine than a rushed room-wide attempt.
Frequently Asked Questions
Where should I put an indoor Halloween display in an apartment?
Put it where people already enter, not where there is the most empty wall. An entryway console, the table beside your front door, or one living room corner works best because foot traffic views it for you. Clear about 30 inches of surface width, keep the floor path around it open, and keep every piece inside your unit rather than in a shared hallway.
What Halloween decorations are renter-friendly?
Anything that anchors without adhesive or uses adhesive rated to peel away cleanly: removable strips, over-the-door hooks, static-cling window film, freestanding frames that lean against a wall, and fabric hung from a tension rod. These are the best Halloween decorations that stick to nothing. Avoid nails, screws, picture hangers, and ordinary tape on fresh paint.
How do I take down Halloween decorations without damaging walls?
Pull removable strips slowly and straight back along the wall, not sideways, since peeling at an angle is what lifts paint. Work in reverse build order: lighting, then small props, then the backdrop. If a mark remains, warm water on a cloth and a light hand usually clears it, and a hairdryer on low softens stubborn adhesive before you touch it.
How can a small Halloween display look fuller?
Layer in three depth bands instead of adding more objects: a tall back layer, a main middle object, and a low front layer of small tactile pieces. Repeat one motif, such as five card stock bats, across the backdrop, the table, and the labels. Deliberate empty space around the arrangement also makes a small display read as styled rather than crowded.
Can I decorate my apartment hallway for Halloween?
Keep the hallway itself clear of anything on the floor and anything that narrows the walking path, especially near stairwells, fire doors, and exits. Hang flat, lightweight decor high on your own door instead, using removable hooks that never touch paint. Open flame is typically banned in common areas, so use battery LED lighting only outside your unit.
Where do I store Halloween decorations in a small apartment?
Use one flat storage bin or a single labeled folder for paper and card items, a zip bag for every removable strip and hook, and a piece of cardboard to coil string lights so they do not tangle. Label the bin with the room name while you are still decorating, and stack it vertically so it costs you one shelf rather than a whole closet.
Start tonight with the focal point: clear one surface, hang a black backdrop with removable strips, and add one warm light. Everything else in the display, including the teardown plan, is easier once that one area is finished and switched on.