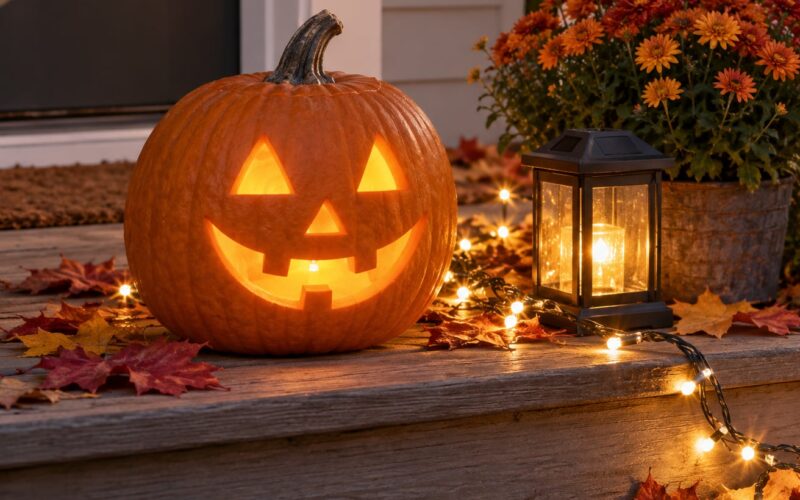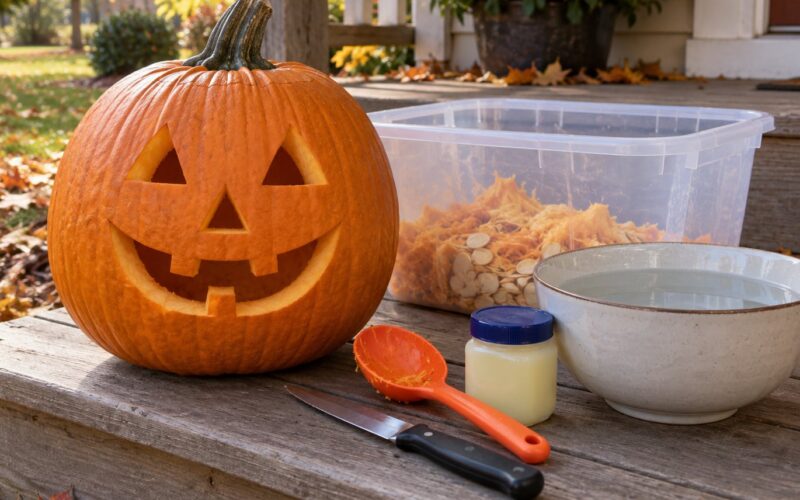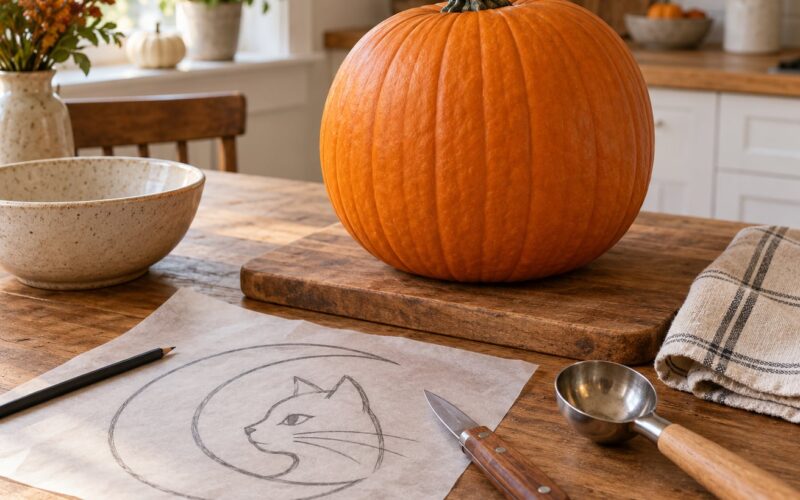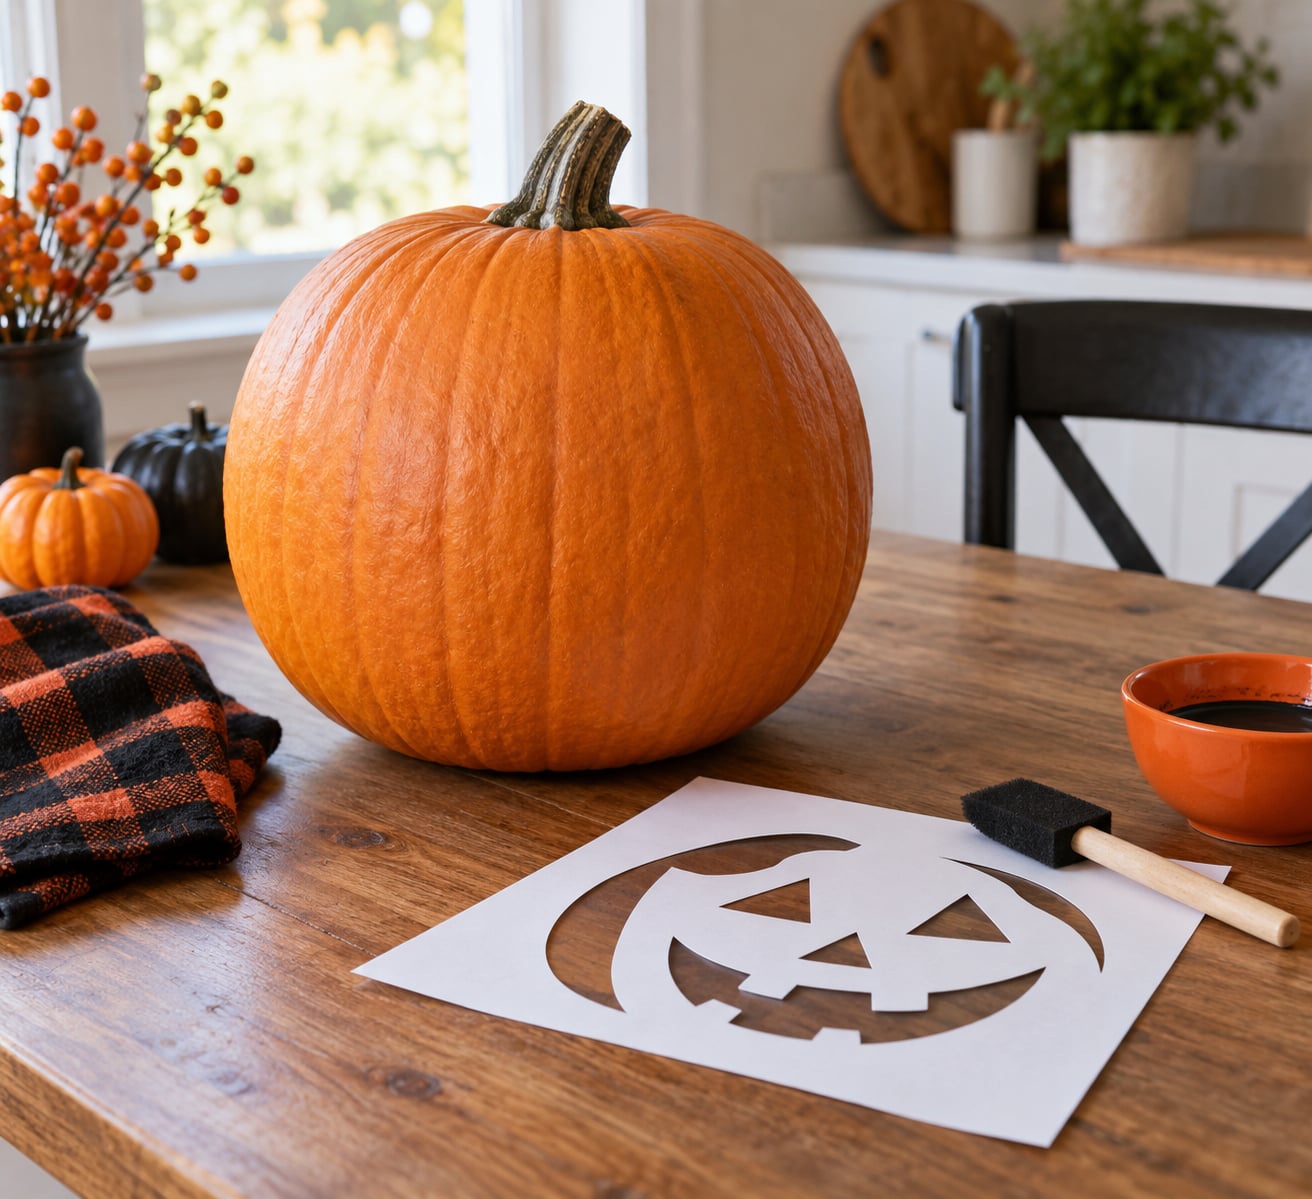
A pumpkin stencil is a flat, cut-out pattern that you tape or glue onto a pumpkin so the design transfers cleanly onto the curved skin. You can make one at home from printed paper, cardboard or plastic sheet in about ten minutes, with no knife involved.
Stencilling works because the paper blocks off everything you do not want painted and lets the brush reach only the shape. You end up with a jack-o’-lantern face that keeps the pumpkin whole, which means it lasts longer indoors and travels to school or a party without falling apart in the bag.
That matters in 2026 more than it used to. Most free pumpkin stencil printables are drawn for a very detailed carver, and anyone with a brush and a couple of kids can manage a bolder face in a single evening. Here is the whole process, from choosing the pumpkin to peeling the stencil off clean.
Table of Contents
- What You Need
- Step-by-Step: How to Make a Pumpkin Stencil at Home
- How to Make a Pumpkin Stencil at Home: Choose a Clean Pumpkin
- Step 2: Size and Test the Stencil Pattern
- Step 3: Transfer the Pattern to the Pumpkin
- Step 4: Position and Secure the Stencil
- Step 5: Trace Every Stencil Edge
- Step 6: Paint the Stencil Design
- Step 7: Remove the Stencil and Let the Paint Dry
- Common Mistakes and Fixes
- Frequently Asked Questions
- Can I make a pumpkin stencil at home without a printer?
- What is the easiest stencil method to use on a round pumpkin?
- What paint is safest for stenciling a pumpkin?
- How do I keep a paper stencil from slipping or wrinkling?
- Can I reuse a homemade pumpkin stencil design?
- Start With a Simple Face for Cleaner Lines
What You Need
You need very little, and most of it you probably already own. The short list keeps a stencil job under an hour including drying.
- A smooth, firm pumpkin. The flatter the face, the easier the paper sits against the skin.
- A pattern. A printed sheet, a page you draw yourself, or a photo you have simplified into a silhouette.
- Scissors and a blunt pencil. Pencil, not pen. Ink on the pumpkin skin is much harder to scrub off later.
- Painter’s tape. Low-tack tape grips the paper edge without pulling waxy residue off the skin.
- Acrylic or tempera paint in black. Tempera rinses out of fabric if a drip happens.
- A foam brush or a stiff bristle brush. Foam gives you control on a curve.
Optional tools are worth borrowing rather than buying. A craft knife gives you clean inside corners on a cardboard stencil, and a plastic sheet cut from a folder or a report cover lasts for several seasons if you store it flat. A hair dryer on the cool setting dries paint faster, though a fan works almost as well.
Step-by-Step: How to Make a Pumpkin Stencil at Home
How to Make a Pumpkin Stencil at Home: Choose a Clean Pumpkin
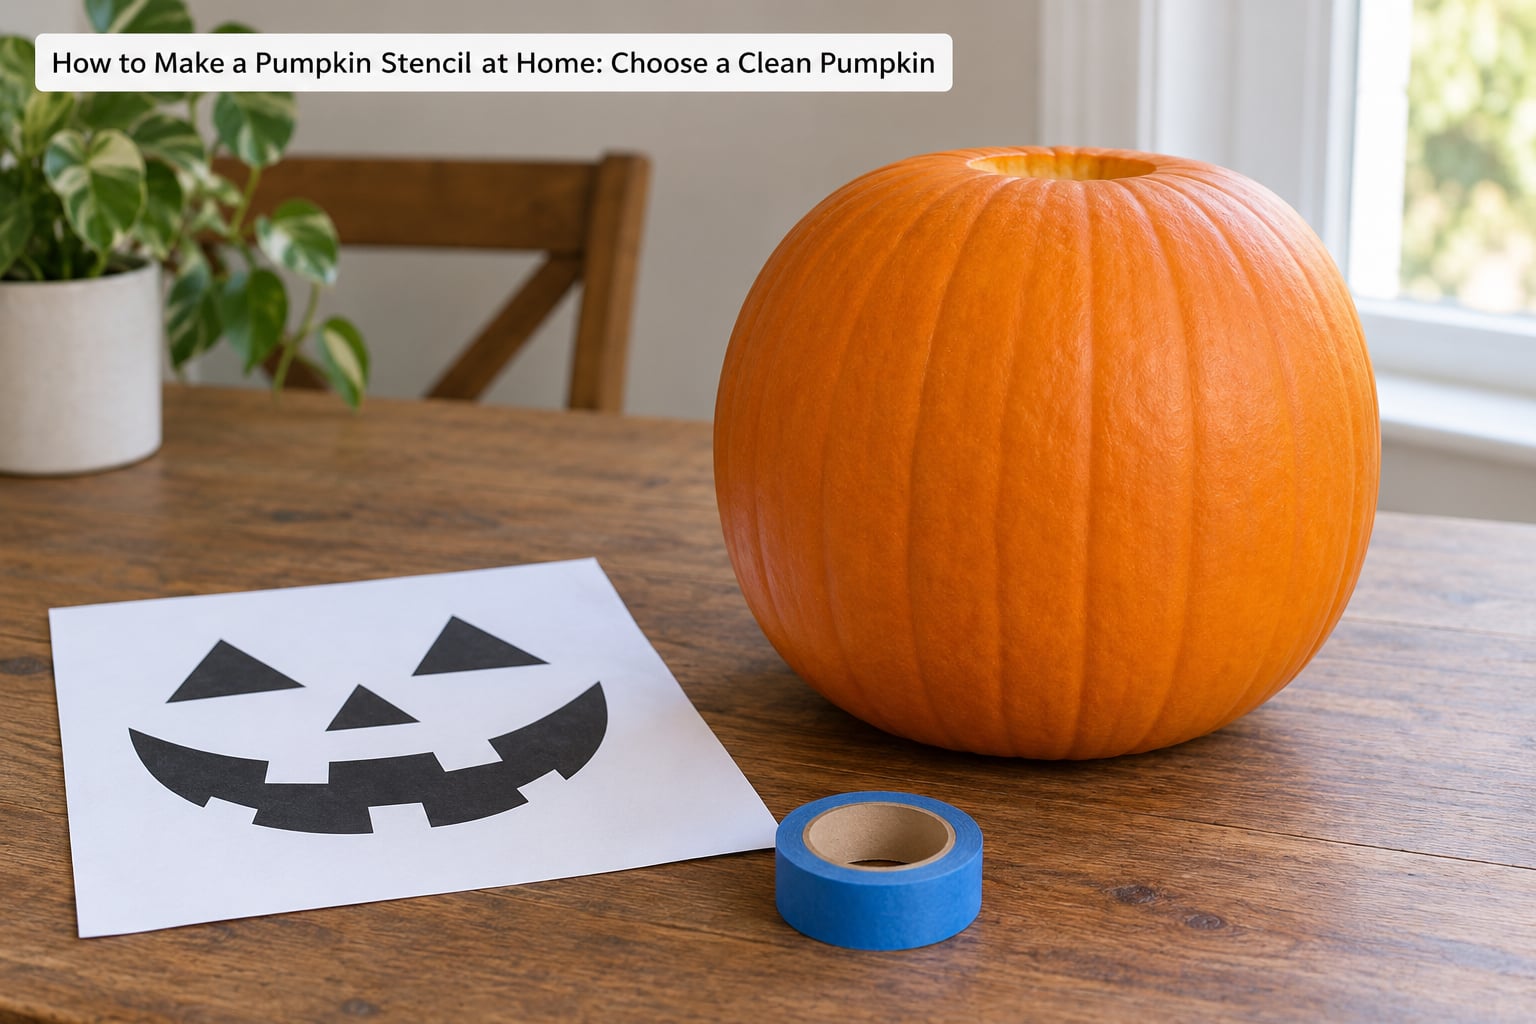
Pick a pumpkin with an even curve and no deep ribs running through the face. Ribs throw shadows that make a straight painted line look bent, and soft skin dents under the tape.
Wipe the whole face with a damp cloth and dry it. Then cut the stem off flush and rub away any fuzzy fibres still clinging around the stem scar, because those fibres hold the tape and lift the skin when you pull it off.
You are done when the face is matte to the touch and no dirt or loose stem remains. Hold your pattern up against it now and check the design fits inside the widest part of the pumpkin with a finger’s width to spare on each side.
Step 2: Size and Test the Stencil Pattern
A stencil that is too small disappears into the curve, and one that is too big runs off the sides. As a rule, the pattern should span roughly two-thirds of the pumpkin’s face width, which leaves the cheeks and chin bare.
Simplify before you scale. Thin lines, tiny dots and hairline gaps either bleed under the stencil or snap off the surface. On the r/PumpkinStencils forum, carvers fix this by widening the spacing between every cut-out piece rather than shrinking the design, one commenter writing that more spacing was needed everywhere.
Test the fit by holding the pattern vertically down the centre of the face in a straight strip. If a corner of the paper lifts away from the skin, the design is too wide or too detailed for that pumpkin.
Step 3: Transfer the Pattern to the Pumpkin
Print the design at 100 percent scale and resize it in your print dialog until the face width matches your pumpkin. Printing in draft mode saves ink, and a lighter grey impression still takes pencil.
With no printer, tape a blank sheet to the pumpkin, hold your photo or drawing against a window for light, and trace the outline in pencil. Plenty of carvers work this way, including people who draw a design freehand from a photo with a sharpie and a craft knife.
Cut the pattern out with scissors, cutting on a solid line rather than a thin one. Leave a narrow border of waste paper around the outside edge, roughly a finger’s width, so you have something solid to grip and tape.
Step 4: Position and Secure the Stencil
Hold the cut-out against the pumpkin without pressing, then step back a foot and look at it. Centre the design over the pumpkin’s widest area, not over the stem.
Bend the paper gently to follow the curve. Paper creases sharply and pops back flat, and a flat stencil only touches the pumpkin at one or two points, which is exactly where paint bleeds under.
Tape only the outer waste border, with strips crossing from the paper onto bare skin. Skip the tape over the design itself so you can check your alignment from the back. The pattern is secure when a gentle tap does not shift it and no edge lifts when you run a finger across.
Step 5: Trace Every Stencil Edge
Trace each shape with a blunt pencil, a wooden stick or a piece of pumpkin carving chalk held at a low angle. Short strokes follow the curve better than long ones.
Trace the border, not the shape inside it. Once the pattern is on the pumpkin, you are working from the outline of each section, and the border is the part that must survive the removal.
You are done when every closed shape has a continuous line with no gaps. Lift the stencil off and check the lines against the pattern before taping it back, because a break in the outline is where paint runs.
Step 6: Paint the Stencil Design
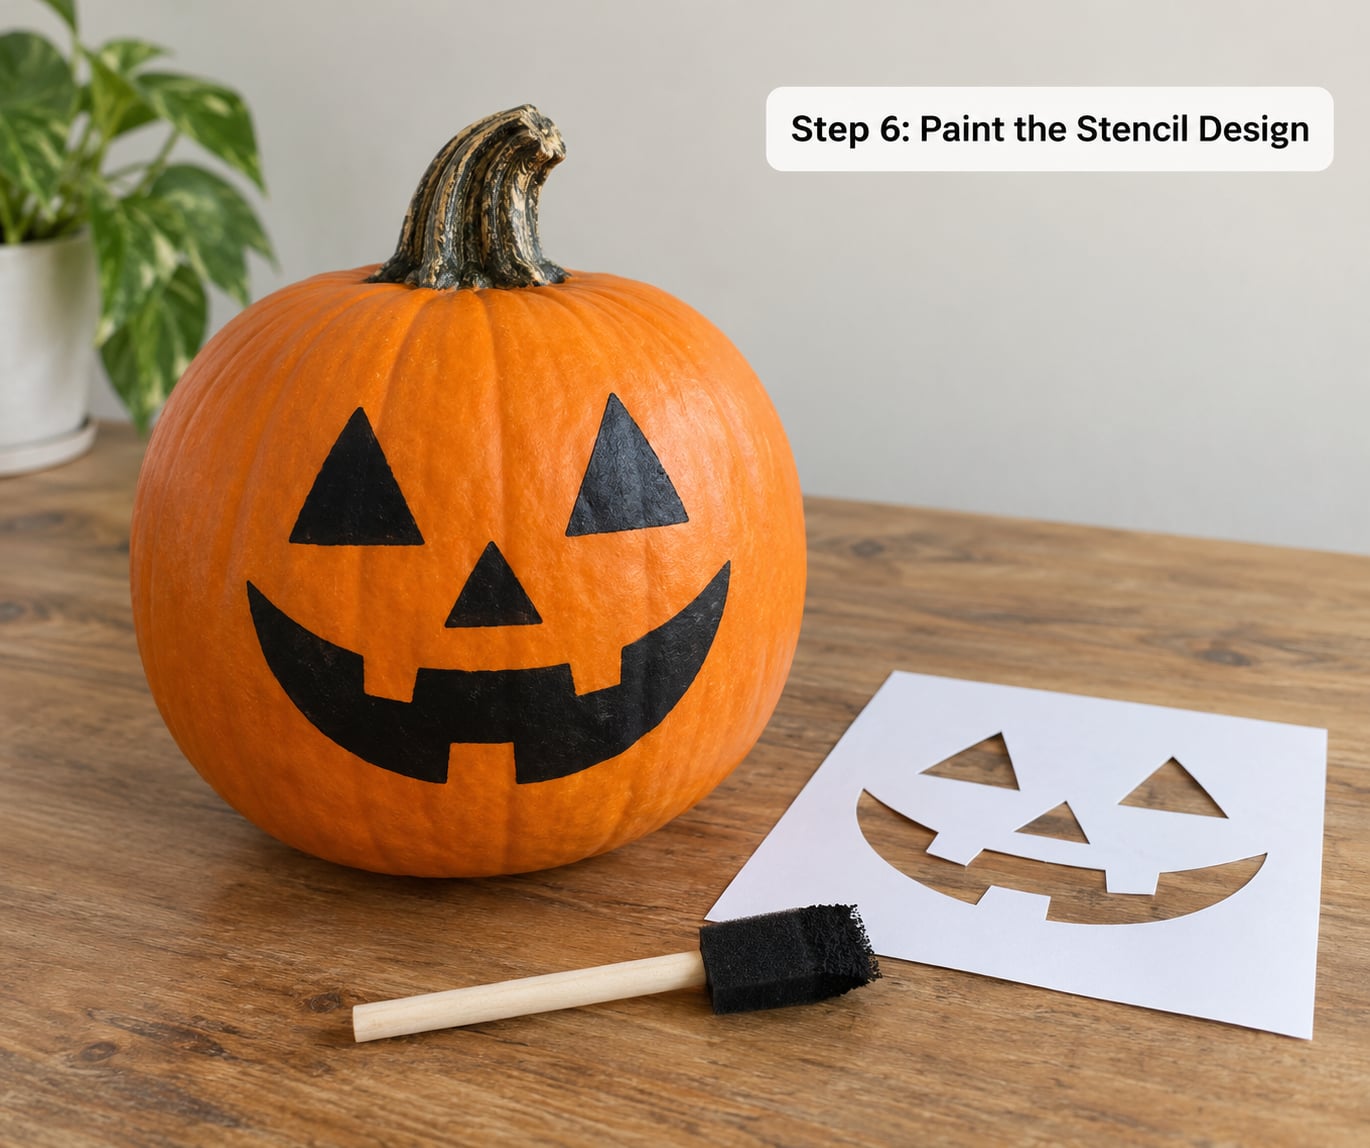
Thin your acrylic or tempera paint with a few drops of water until it flows like cream. Thick paint sits on the edge of the stencil and dries into a ridge, while very thin paint bleeds underneath.
Load the foam brush by tapping one side of it against the rim of the cup. You want a damp brush, not a dripping one, and you should scrape off nearly all of it before the first stroke.
Hold the brush at a right angle to the surface and press straight down along the traced edge, then lift straight up. Do not sweep sideways, because dragging the brush is what pushes paint under the paper edge.
Work from the outline inward, one section at a time. The design looks right when the line is even, dark and about the thickness of a felt tip, with no orange showing through.
Step 7: Remove the Stencil and Let the Paint Dry
Wait until the paint stops feeling tacky, usually two to four minutes. Pulling while it is wet drags paint under the edge and gives you the fuzzy outline everyone recognises.
Peel slowly at a low angle, almost flat to the surface, and pull toward the waste border rather than away from the design. If the paper starts to resist, stop and wait a minute longer.
Let the pumpkin dry indoors for two hours before handling it. Any small gaps can be touched up with a fine brush once the surface is fully dry, and a second thin coat beats one heavy one every time.
Common Mistakes and Fixes
Nearly every ugly pumpkin face comes down to one of six things. Find your symptom below and fix the cause rather than painting over it.
- The paper is rippled or buckled. You taped a flat sheet onto a curve. Cut the paper into narrow vertical strips so each strip can bend on its own, or move to a pumpkin with a rounder face.
- The stencil slid mid-paint. You taped only the paper and nothing anchored to the skin. Cross every strip of tape from the waste border onto bare pumpkin, and add one small dot of washable glue stick at the centre.
- Paint bled under the edges. Too much water on the brush or too much water in the paint. Wipe the brush, then add a second thin coat once the first is dry to sharpen the line.
- Small details look broken or merged. The gaps between cut-out islands were too narrow. Re-cut the stencil with wider spacing or drop the smallest element entirely.
- The design is too complicated to finish. Free printables are often drawn for a serrated knife and a whole evening. Simplify by removing everything that is not an outline, keeping three to five large shapes.
- The paint looks watery and patchy. You went too thin. Let it dry, then add one more pass with the paint straight from the bottle.
Two habits fix most of these before they start. Test any pattern on a scrap of cardboard taped to the pumpkin first, and keep every section of the design larger than your thumb when you plan it.
For the carved version of the same evening, the pattern transfers the same way, but you cut along the traced outline rather than painting it. Wipe pencil lines off later with alcohol or nail polish remover if you change your mind.
Frequently Asked Questions
Can I make a pumpkin stencil at home without a printer?
Yes, and plenty of carvers prefer it. Tape a blank sheet of paper to the pumpkin, hold your reference photo against a window for backlighting, and trace the outline in pencil. Cut the border out with scissors, tape it on, then trace the shape again onto the skin. Hand-tracing takes longer than printing but it is the only way to copy a specific design you cannot find as a free template.
What is the easiest stencil method to use on a round pumpkin?
The paper-strip method. Cut the pattern into narrow vertical strips, no wider than a finger, so each strip bends to the curve independently. Flat paper only touches the skin at two points and paints bleed at every other point. Strips cost nothing, take about a minute to cut, and hold a curve far better than a single taped sheet.
What paint is safest for stenciling a pumpkin?
Tempera paint is the safest choice, especially with children, because it is water based and rinses out of fabric and hands if a drip happens. Thin acrylic works well too and holds up outdoors longer, but it is harder to clean and needs a longer dry. Skip anything oil based or spray paint near a pumpkin, and let the finished face dry fully before small hands touch it.
How do I keep a paper stencil from slipping or wrinkling?
Tape only the waste border and cross every strip onto bare skin so the paper has no place to slide. Add one small dot of washable glue stick at the centre for extra grip, and check alignment from the back before you start painting. If the paper still buckles, the design is too large for the face, so scale it down or switch to vertical paper strips.
Can I reuse a homemade pumpkin stencil design?
Yes, if you cut it from something stiffer than printer paper. Cardboard survives one or two pumpkins, while a stencil cut from a plastic folder or acetate survives many seasons. Store it flat between two sheets of card so the humidity does not warp it, and keep a note of the print scale you used. Paper stencils get tossed after the first face at best.
Start With a Simple Face for Cleaner Lines
Pick a smooth pumpkin, cut the stem off and wipe the face. Then find one bold pattern that fits within two-thirds of the pumpkin’s face width and cut it into narrow vertical strips.
Tape the border, trace every closed shape in pencil, dab thin tempera paint straight down along each line, and peel the paper off at a low angle once the paint turns tacky. That sequence takes under an hour, needs no knife, and produces a face that stays crisp.