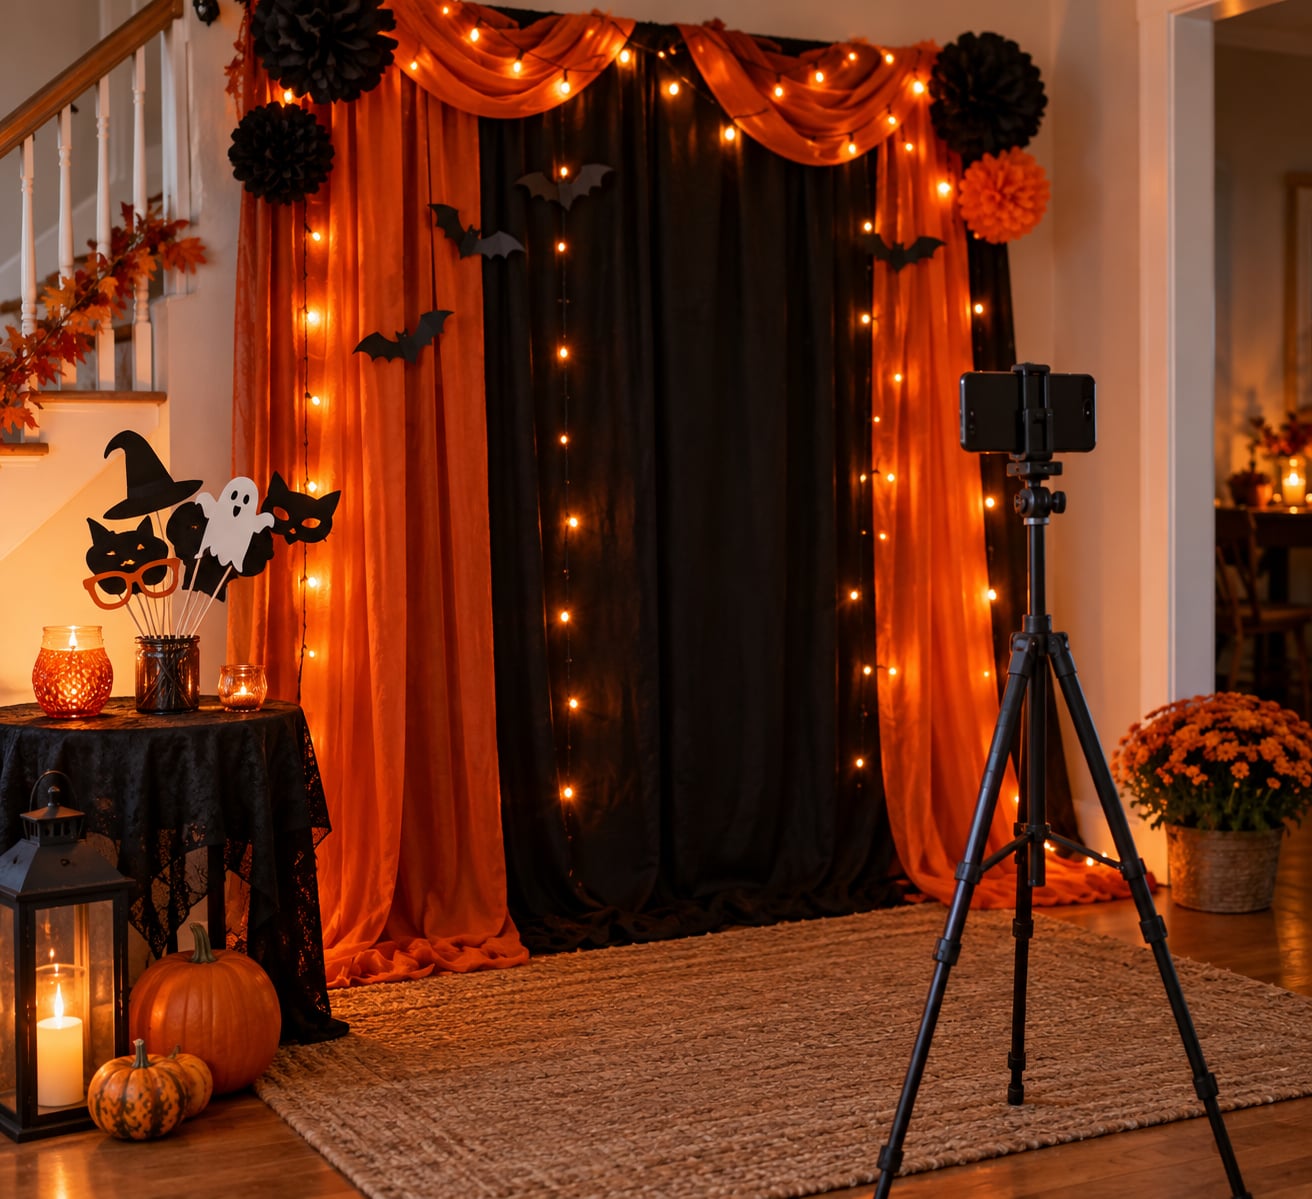
A Halloween photo booth at home is one corner of a room with a themed backdrop, a phone or camera pointed at it on a tripod, some moody lighting in front of your guests, and a bin of props they can hold. Learning how to set up a Halloween photo booth at home takes about an hour once the pieces are gathered, and almost all of the pieces you already own.
The whole thing is a fixed frame: whatever you hang behind the camera is the background, whoever stands in the middle is the subject. Get those two right and the rest is decoration. I set one up in a living room corner for a party of about twenty, and it ran unattended for three hours off a phone, a timer and a stack of printed props.
Below is the full setup: what to gather, the order to build it in, and the mistakes that wreck the shots.
Table of Contents
- What You Need to Set Up a Halloween Photo Booth at Home
- Step-by-Step: How to Set Up a Halloween Photo Booth at Home
- 1. Pick the corner before you buy anything
- 2. Hang the backdrop dead flat
- 3. Put one light in front of the guests
- 4. Position and lock the camera
- 5. Give yourself a shutter
- How to set up a Halloween photo booth at home if you have no tripod
- 6. Stage the props so they can actually be used
- 7. Post a sign and take three test shots
- Common Mistakes That Ruin Home Photo Booth Shots
- Frequently Asked Questions
- Can I use my phone instead of a camera for a Halloween photo booth?
- How many props should a home Halloween photo booth have?
- Where should I put the photo booth at home?
- Are real candles and fog machines safe around a photo booth?
- How do I get guests to actually use the booth?
- Do I need a license or permit to run a photo booth at a private party?
- Conclusion
What You Need to Set Up a Halloween Photo Booth at Home
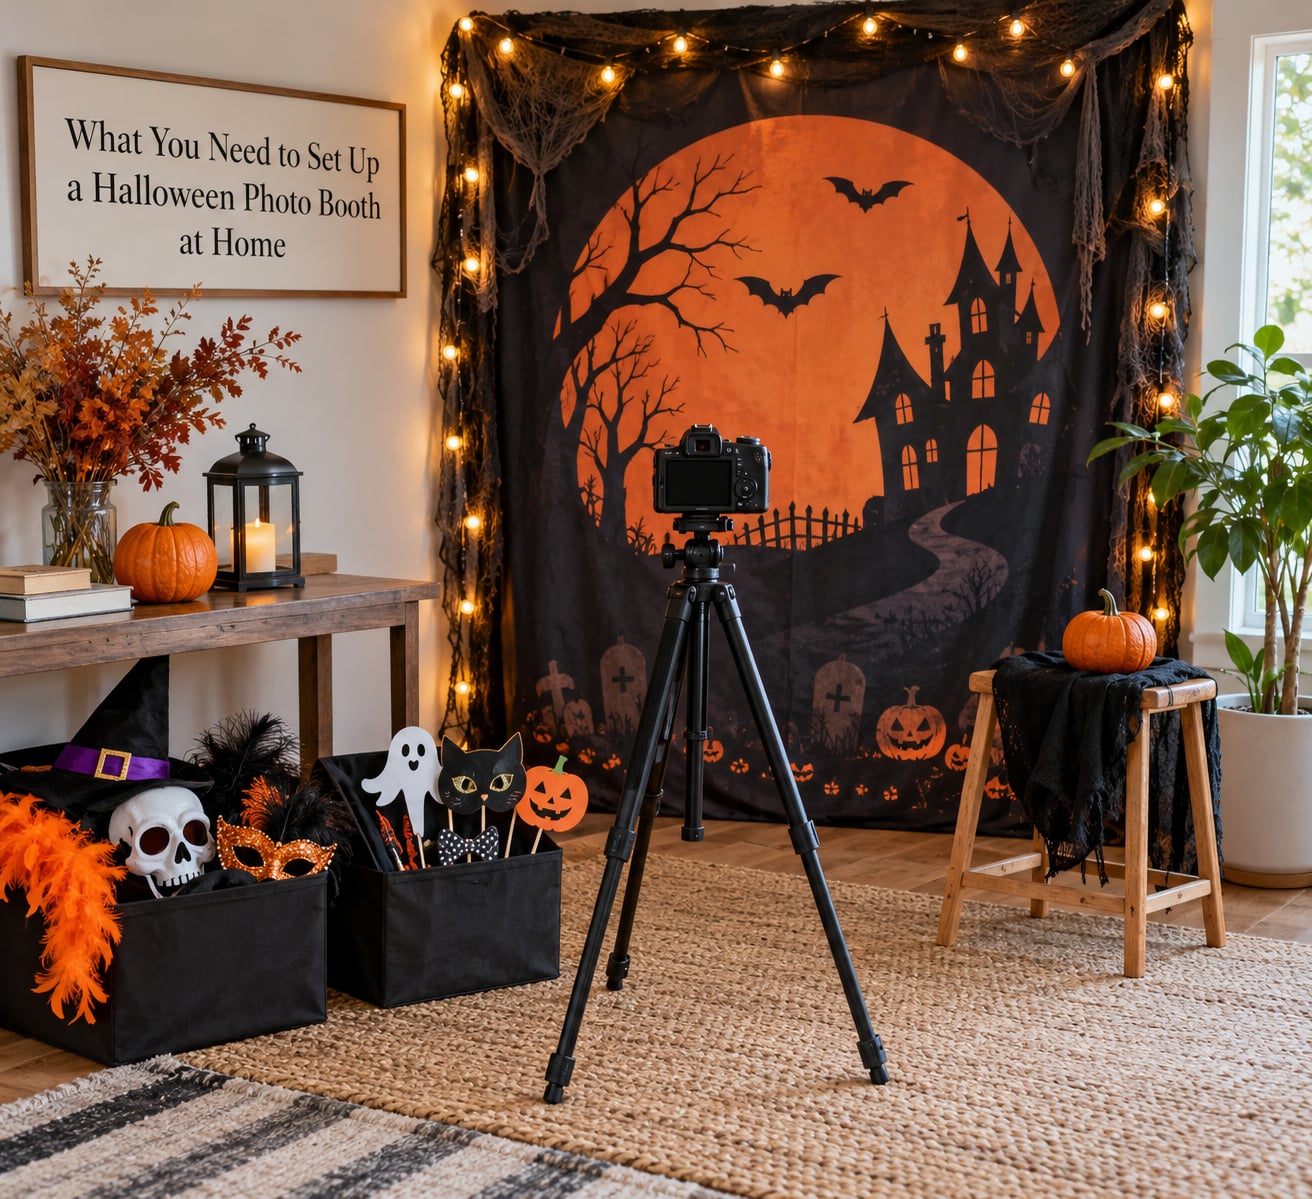
Eight things, and most households already have five of them:
- A backdrop. A bedsheet, a roll of black or dark orange seamless paper, a plain painted sheet of foam board, or even a wall you have covered in black plastic sheeting. Dark and matte beats bright and shiny.
- A way to hang it. Command hooks and strips for renters, a backdrop stand with cross bars if you have one, or two lengths of tension fabric that hook into ceiling track.
- A phone or camera plus something to hold it still. A tripod is ideal, a stack of books with a phone clamp works in a pinch, and a laptop can drive a webcam instead.
- Light. At least one source pointed at the guests from in front, plus something orange or amber for the background. Warm string lights, a ring light, or a single LED panel all work.
- Props. Printed silhouettes on card stock, cardboard cutouts on dowels, plastic spiders, costume accessories guests can hold.
- A surface for the props. A small folding table, a bookshelf, or a low stool. Guests will not handle props neatly if they have nowhere to put them down.
- Power and cables. An extension cord for any light or printer that is not near an outlet, plus gaffer tape or cable ramps to keep cords flat along the wall.
- Optional extras. A sign with instructions, a custom hashtag sign, face-in-hole cutout frames, an instant camera or photo strip printer, and a guest book or scrapbook.
Two safety notes before you start. Run cords along the baseboard and out of every doorway and walking path, because a phone charger across a hallway is how someone breaks an ankle. And if you are using anything that glows, candles, a fog machine or a black light, treat it the way you would treat any Halloween decoration: no open flame around costumes, sleeves and paper props, and a fog machine in a room with doors that open.
Step-by-Step: How to Set Up a Halloween Photo Booth at Home
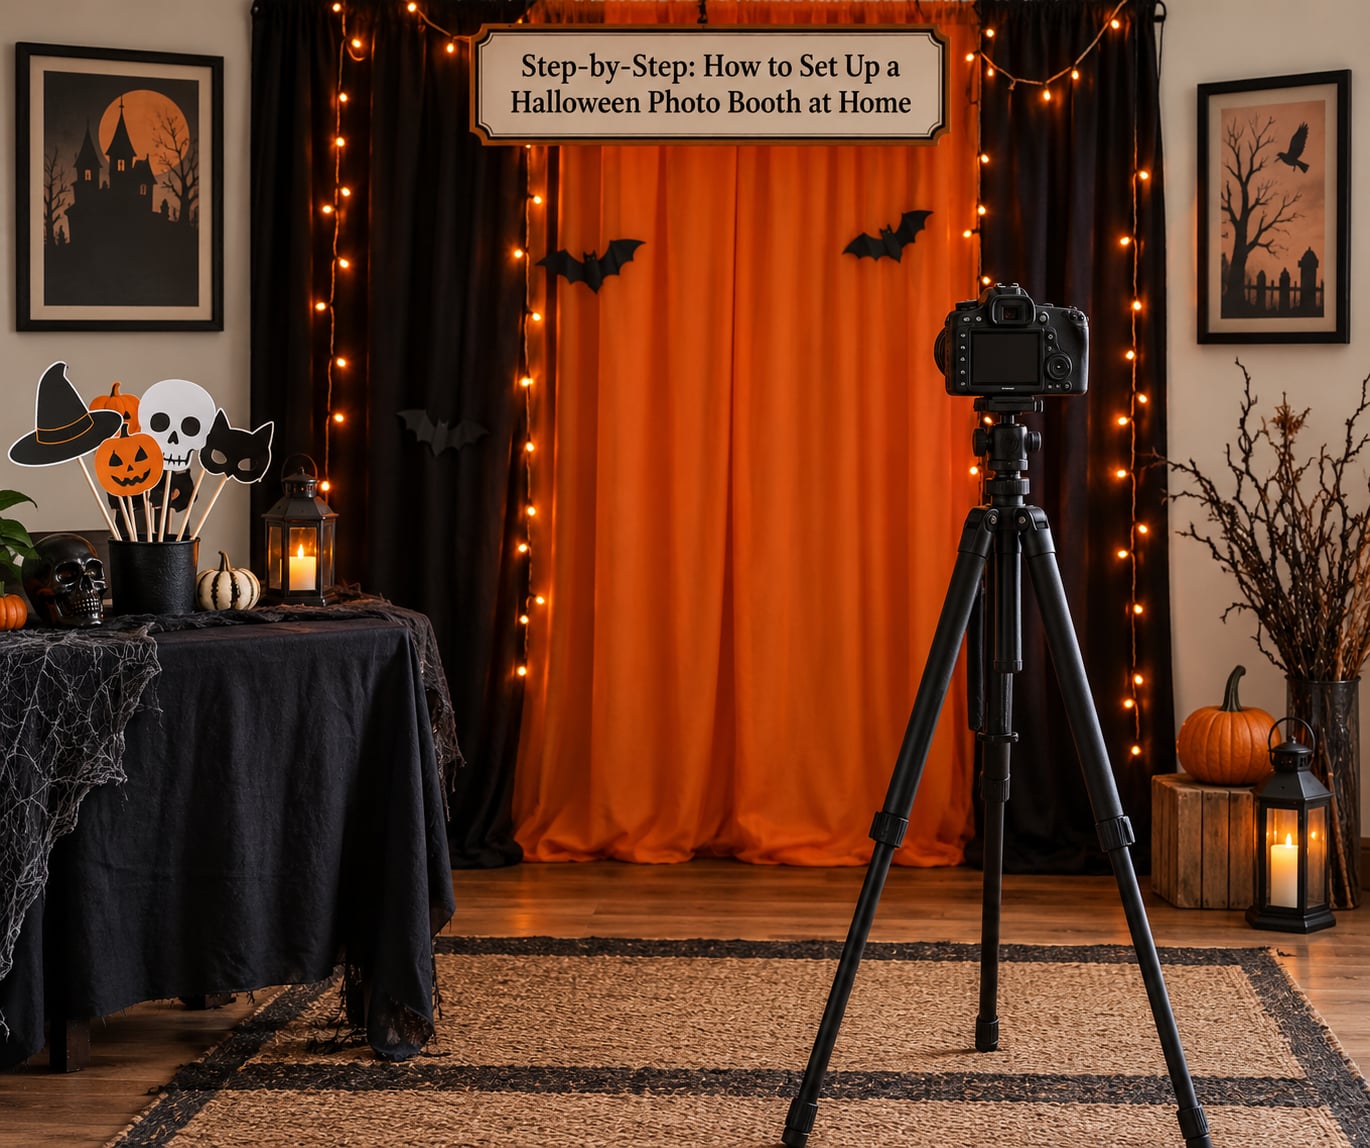
1. Pick the corner before you buy anything
Measure first. Stand where your guests will stand and look back at the wall behind them. You want the narrowest wall in the room, because a wide backdrop at the wrong distance turns people into full-length shots with empty floor at the bottom. A corner of about 6 by 8 feet is plenty for three people at a time. Avoid a spot with a doorway, a window that blows in light, or a light switch you will be leaning on.
2. Hang the backdrop dead flat
This is the single step that separates a booth that looks homemade from one that looks intentional. Iron the bedsheet the night before, then attach it at three or four points along the top rather than two, so the middle cannot sag. Wrinkles catch every bit of front light and read as creases on the photo. If you are renting and cannot drill, run a strip of Command hook at each corner plus one dead center, pressing each one for the full thirty seconds the package asks for before you let go.
3. Put one light in front of the guests
Decorative lights aimed at the wall make a beautiful backdrop and a terrible portrait. The light that shapes the faces has to come from in front, roughly at chest to head height, offset to one side so it is not flat and shadowless. A clip light or a small LED panel on a stand, bounced off a white sheet of poster board if you want it softer, does more for the photos than any amount of orange glow behind the subject.
4. Position and lock the camera
Mount the camera at about eye level, pointed slightly down, far enough back that a standing adult fills most of the frame from mid-thigh up. Set it to burst or continuous shooting if you are using a timer, because blinking guests produce half the good shots. Lock the focus and exposure once on an empty backdrop, then do not touch it again for the night. Mark the tripod legs with tape so nobody bumps it.
5. Give yourself a shutter
The three ways to fire the camera without an assistant: a wired or wireless remote shutter, a ten or fifteen second timer, or a phone app that triggers the camera over Bluetooth. The remote is the only one that works with an actual camera. On a phone, the timer plus burst mode is the honest answer, and it is why you position the tripod carefully rather than holding the phone.
How to set up a Halloween photo booth at home if you have no tripod
Stack two hardback books on a shelf or a counter at chest height, clamp the phone between them or wedge it in a mug, and put a folded sock or a wedge of cardboard under the bottom edge to kill the tilt. A single shot of the stack at the right height and angle, taken before the guests arrive, tells you more than any amount of adjusting. It also stays put, which matters more than it sounds once a dozen kids are leaning on furniture.
6. Stage the props so they can actually be used
Put the prop table to one side of the frame, not in front of it. Spread the props out flat in labeled bins or lay them in a row, because a jumbled heap gets ignored and nobody goes digging. Five or six props that read clearly on a small screen beat twenty that overlap. Hang two or three on the backdrop itself so there is something behind the subject’s shoulders, and add a face-in-hole cutout frame at adult head height with a smaller one for kids.
7. Post a sign and take three test shots
A sheet of paper on the wall that says something like take a photo, choose a prop, make three silly faces is worth more than any piece of software. Before anyone arrives, shoot three test frames: one empty backdrop to check the framing, one with a prop in the middle of the frame to check the height of everything, and one with a person standing in the mark to check the exposure on a face. Fix what the test shots show, then stop fiddling.
Common Mistakes That Ruin Home Photo Booth Shots
Lighting the wall instead of the people. Orange string lights look wonderful in the room and turn faces into silhouettes. Fix: one front source at face height, background glow kept as background.
A cluttered backdrop. Halloween decorations competing with the subject make every photo busy. Fix: keep the center third of the backdrop mostly empty, hang detail at the edges.
Wobbly gear. A phone nudged mid-timer ruins the shot and the frame with it. Fix: tripod legs weighted, books stacked solid, cables taped down, and a piece of tape on the floor marking where feet go.
Cords across the walkway. The most common home booth injury is a trip. Fix: run cords along the baseboard, use cable ramps over any unavoidable crossing, and never route behind the backdrop where they can pull it loose.
Blurry or too-dark photos. In a dim room, phones stretch their shutter speed and pick up every handshake. Fix: more front light, hold the phone steady, burst mode, night mode if the phone has it, and clean the lens, which is smudged more often than anyone admits.
Props nobody can hold. Flat cardboard on the floor of the frame is invisible, and something too big blocks the face. Fix: everything gets a handle or a dowel, and every prop gets tested at arm’s length on camera.
An uncomfortable booth. If the floor is cold, the backdrop is at head height with nothing to lean on, and the lights are hot and bright, guests walk past it. Fix: a rug, a chair or a low bench in the frame to sit on, and cooler lighting well away from the wall.
One habit covers most of these: take one test photo every time you move something. It takes fifteen seconds and it catches a tilted camera or a light you knocked loose.
Frequently Asked Questions
Can I use my phone instead of a camera for a Halloween photo booth?
Yes, and for most home parties a phone is the better choice. Put it in burst or timer mode, prop it on a tripod or a stack of books, and put one light in front of your guests. A phone struggles in a very dark room, so add light before you add gear. Save shots to a shared album guests can scan at the end of the night.
How many props should a home Halloween photo booth have?
Six to eight is the sweet spot. Spread them on a side table or in shallow bins so guests can see everything at once, and keep the center of the backdrop clear so faces stay visible. Test each one at arm’s length on the camera first. Props that fall apart or block the face get pulled before the party, not after.
Where should I put the photo booth at home?
In the corner with the narrowest wall, out of the way of the doorway and the food table, but not so isolated that nobody notices it. An indoor corner keeps the wind off a fabric backdrop and the lighting steady. Outdoors works if you weight the backdrop base, run cords through outdoor-rated covers, and accept that focus and exposure shift as the light fades.
Are real candles and fog machines safe around a photo booth?
Skip open flame. Costumes have long sleeves, paper and cardboard props are everywhere, and nobody wants a fire drill in the middle of trick-or-treat. Battery LED candles give the same glow with none of the risk. If you use a fog machine, run it in a room with ventilation and a clear path to a door, keep it away from the camera’s view if it obscures the lens, and supervise it the whole night.
How do I get guests to actually use the booth?
Post a sign with instructions, put the booth where the queue naturally forms, and let someone go first and be loud about it. Pose prompt cards on the wall, a prop table guests can raid, and a rule that everyone in costume gets one group photo solves most of the shyness. Run a challenge, best pose wins a prize, and it becomes the busiest corner of the party.
Do I need a license or permit to run a photo booth at a private party?
No. Licensing rules in this country apply to commercial and public operations, not to a private home party where you are photographing your own guests with your own equipment. Where a rented booth shows up at a paid event, the rental company handles their own permits. Keep it in your house or yard and it stays a party activity.
Conclusion
Start with the corner and the flat backdrop, because those two decisions make everything after them easier. Add one light in front of the guests, set the camera at eye level, lay out a handful of props on a table to the side, and take three test shots before anyone arrives. Once that frame looks right on the first try, you can let it run all night and go back to hosting.