A skeleton costume made with white tape is simple: cover a black long-sleeve top and black trousers or leggings with strips of white tape cut into bone shapes, then finish the head with white skull makeup. No sewing, no glue gun, and most people finish in about an hour including the face.
The trick is planning the bones before you stick anything down. Mark the spine, ribs, pelvis, arms and legs lightly in pencil or chalk first, then press the tape over the marks. Getting that map right is what separates a costume that looks like a skeleton from one that looks like a person in white stripes.
If you are only learning how to make a skeleton costume with white tape, the method suits kids through adults, as long as you scale the bone widths to the wearer. It is the best last-minute Halloween costume option when the week arrives and the craft drawer is empty.
Table of Contents
- What You Need
- Which white tape to use
- Step-by-Step: How to Make a Skeleton Costume with White Tape
- How to Make a Skeleton Costume with White Tape on the Torso
- Build the Skull and Limb Bones
- Finish the Look and Test It
- Common Mistakes
- Frequently Asked Questions
- Is white costume tape safe to put directly on skin?
- What type of white tape works best for a skeleton costume?
- How can I make the skeleton costume easier to move in?
- Will white tape show enough on black clothing?
- How do I remove costume tape without damaging skin or clothing?
- Conclusion
What You Need
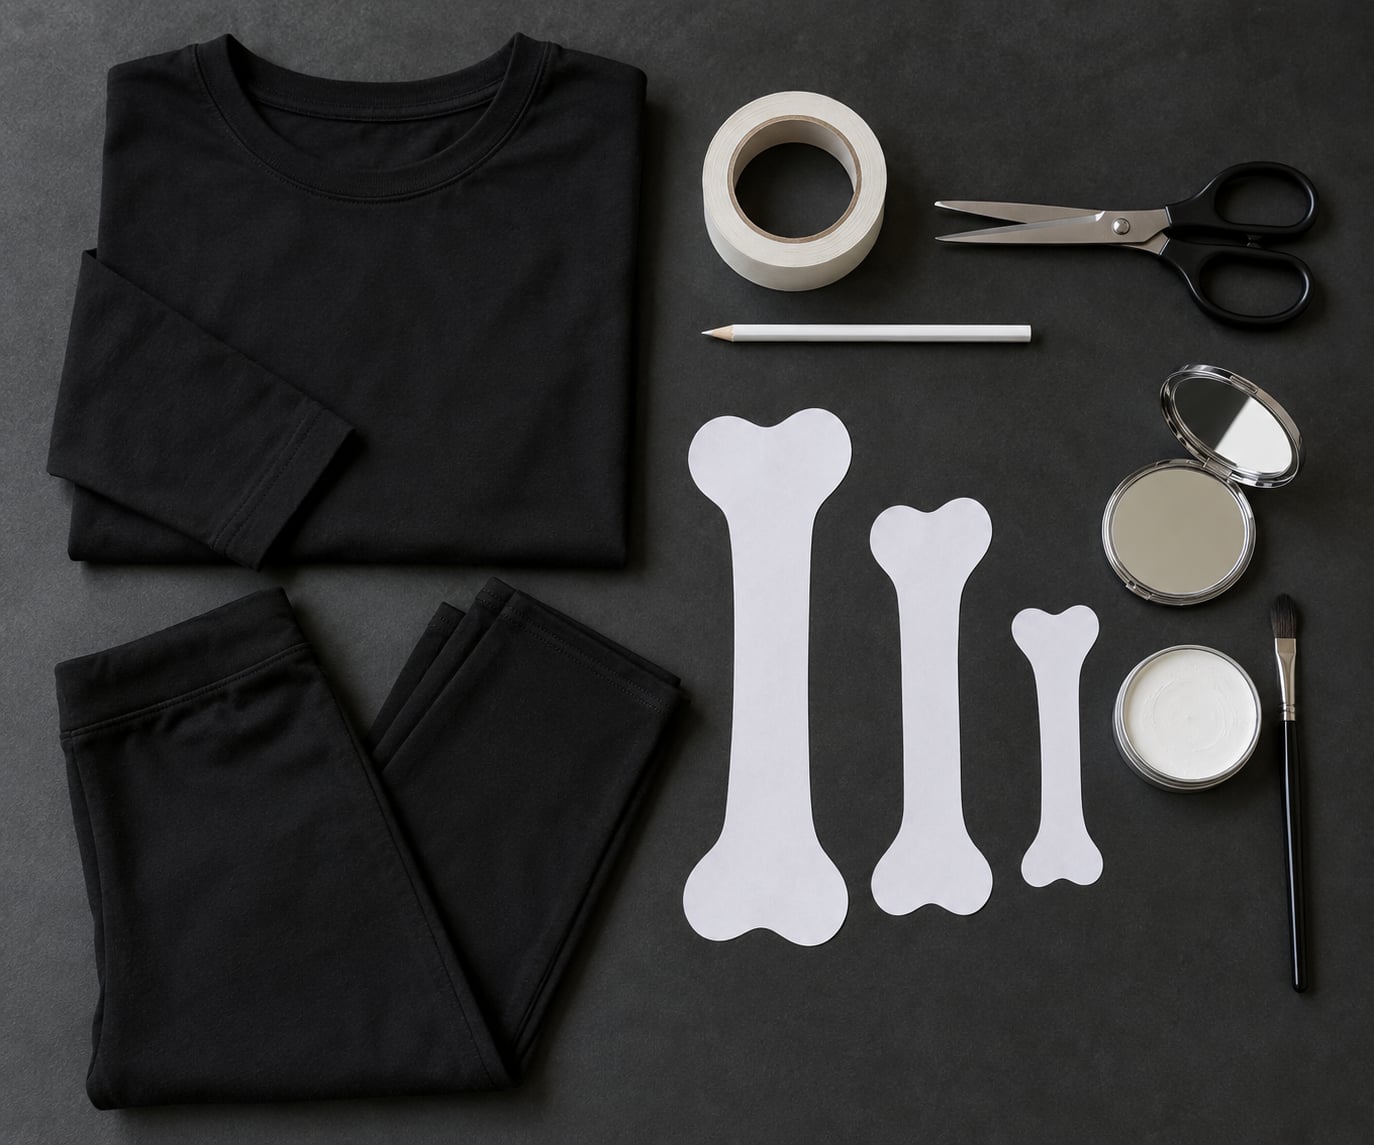
Everything here is either clothing you already own or a single roll of tape. Lay the black base outfit out flat on the floor the evening before, because most of the work is preparation rather than taping.
- Black base clothing: one black long-sleeve shirt or bodysuit and one pair of black trousers, leggings or sweatpants. Fitted or semi-fitted works far better than a loose cut, since loose fabric shifts and the bones slide out of place.
- White tape: one roll is enough for an adult. Buy two rolls for a child, because kids move more and lose pieces faster.
- Sharp scissors for trimming strips, plus small scissors for detail work if you have them.
- A pencil or white chalk pencil for marking bone positions on the black fabric before you commit tape to it.
- Paper and a marker if you want to cut bone templates once and reuse them across a family set.
- Optional: a strip of plasters or medical tape over high-stress joints, a small mirror, black face paint, and a glow-in-the-dark tape roll if you are trick-or-treating after dark.
Which white tape to use
| Tape type | How it behaves | Best use |
|---|---|---|
| White duct tape | Strongest grip, widest strips, slightly shiny | Torso, ribs, thigh bones, anything that takes the most bending |
| White masking tape | Repositionable for a minute, matte finish | Marking positions first, and thinner bones on arms and shins |
| White fabric tape | Thin, flexible, survives a wash | Hands, feet, fingers, anywhere tight skin needs to flex |
| Glow-in-the-dark tape | Charges under daylight, shines under a blacklight | A trick-or-treating upgrade, used alone or layered over plain tape |
Wearing black does most of the work for you, so contrast is rarely a problem. For trick-or-treating, choose a matte white tape over glossy duct tape, because shine disappears in daylight and glare can make the bones look patchy at night. Reflective tape or a small strip on the back of the jacket buys visibility without touching the costume look.
Step-by-Step: How to Make a Skeleton Costume with White Tape
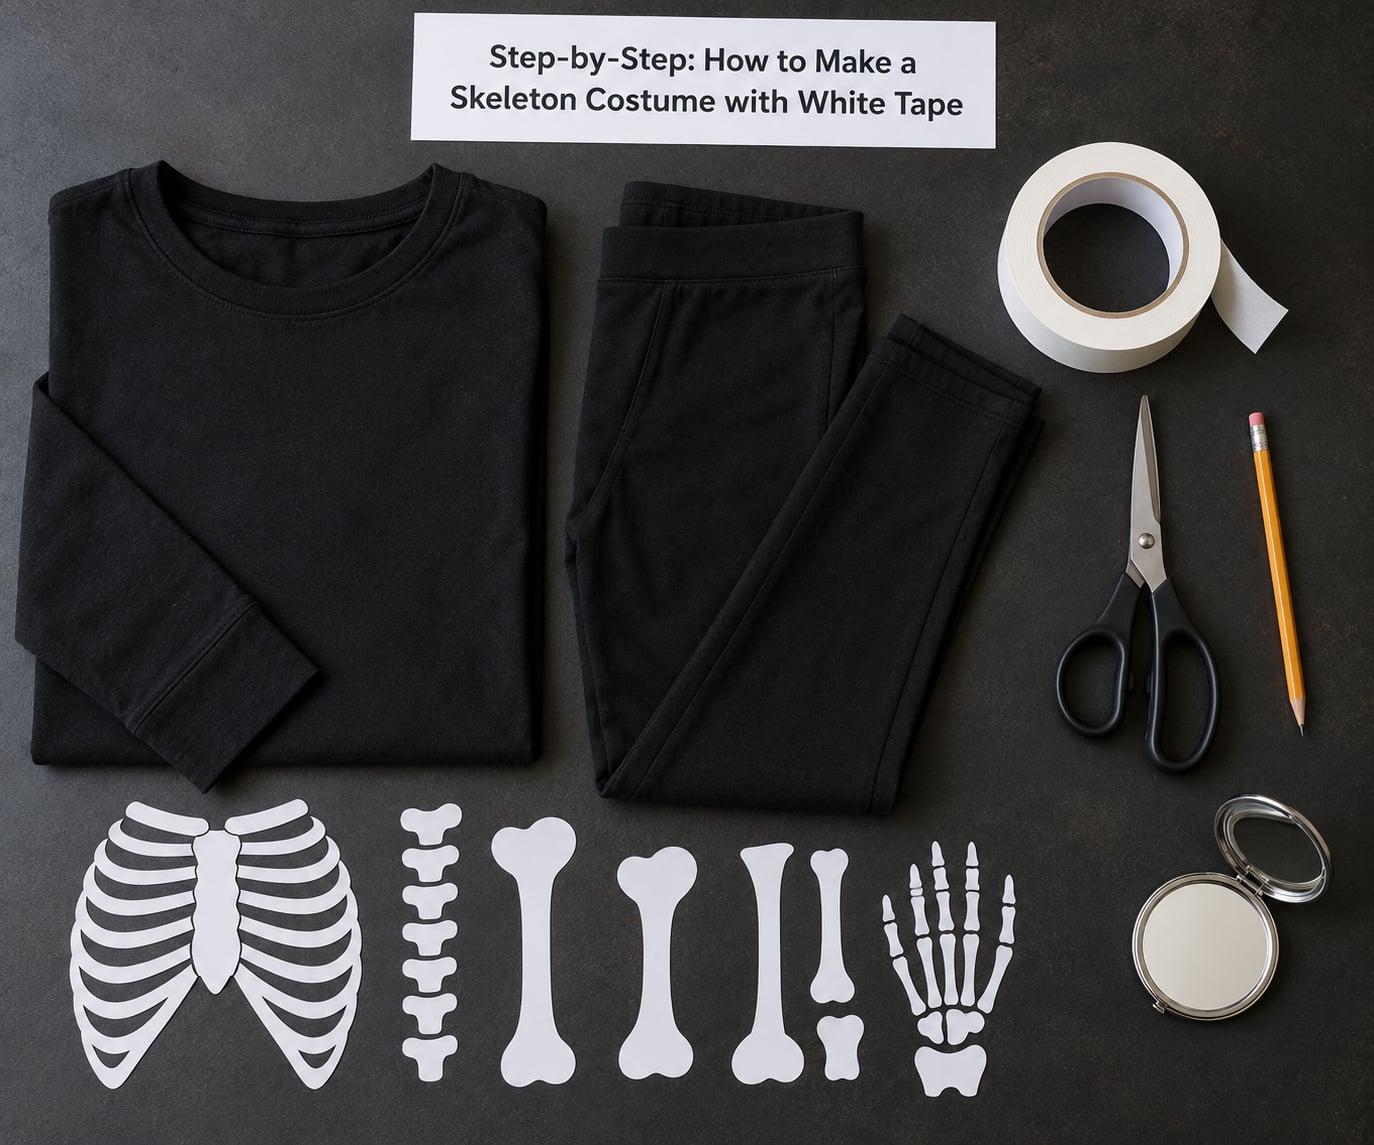
- Choose and wash the base. Pick black clothing that fits close to the body and wash it first. Any fabric softener or sizing residue left on new clothes stops tape from gripping properly.
- Map the bones. Lay the outfit flat and mark the spine, rib cage, pelvis, arms and legs in white chalk or pencil. Do the whole map before the first strip goes down.
- Cut the main bones. Cut long strips first for the spine, femurs and shin bones, then shorter strips for ribs and fingers. Cut about a quarter inch wider than you want to start with.
- Round the ends. Curve the corners of every strip with scissors so each one reads as a bone rather than a rectangle. This small step does more for the look than anything else in the process.
- Lay the spine and ribs. Start at the base of the neck and work down, pressing each strip down as you go. Keep the rib strips parallel and evenly spaced, angled slightly down toward the middle.
- Add the pelvic bones and shoulder blades. Use wider strips angled outward from the spine base, with two small circles or ovals set slightly apart for hip joints. A quick Sharpie touch marks joint dots across the whole costume.
- Cover arms and legs. Long bones down the upper arm and thigh, narrower ones on the forearm and shin, a ring of short strips for kneecaps and elbows.
- Paint the skull. White face paint over the face and neck, then black around the eyes, down the nose and into cracked lines on the cheekbones. A painted head finishes the costume far better than a bare face under the hood.
Do the torso before the limbs. Most people who search how to make a skeleton costume with white tape reach for the arms first because they are easier to get at, and that is the wrong order. Bones placed on the body first stay visible and straight, while limbs can be adjusted slightly as the wearer moves, so leave yourself that flexibility.
How to Make a Skeleton Costume with White Tape on the Torso
Tape transfers better onto flat, still fabric than onto a moving body, so the torso work happens on the floor and only gets tested once the wearer puts it on. Stand over the shirt and use your own measurements, not a chart, since everyone is a different size.
For the spine, run a single strip from the neck opening to the waistband. Add a short horizontal piece every half inch for the vertebrae, then four or five small strips branching off each side to suggest the shoulder blades and upper back. The spine is the vertical anchor for the whole costume, so if one thing sits straight, make it this.
For the rib cage, cut eight strips on each side and lay them in pairs, angled slightly downward toward the centre. The top pair sits just below the collarbone and the bottom pair meets the top of the pelvic bones. Masking tape is the right tool for the first pass here because you can peel a rib off and reposition it without taking fibres with it.
For the pelvic bones, use two wide strips angled outward from the base of the spine, mirroring each other so they form a shallow V. Add a small tape circle at each end for the hip sockets, and taper the middle by trimming a narrow wedge out of the inner edge.
Check your work by putting the costume on and standing in front of a mirror before you leave the torso. Bones that curve to one side on the floor will curve on the body too, and a mirror catches that in two seconds.
Build the Skull and Limb Bones
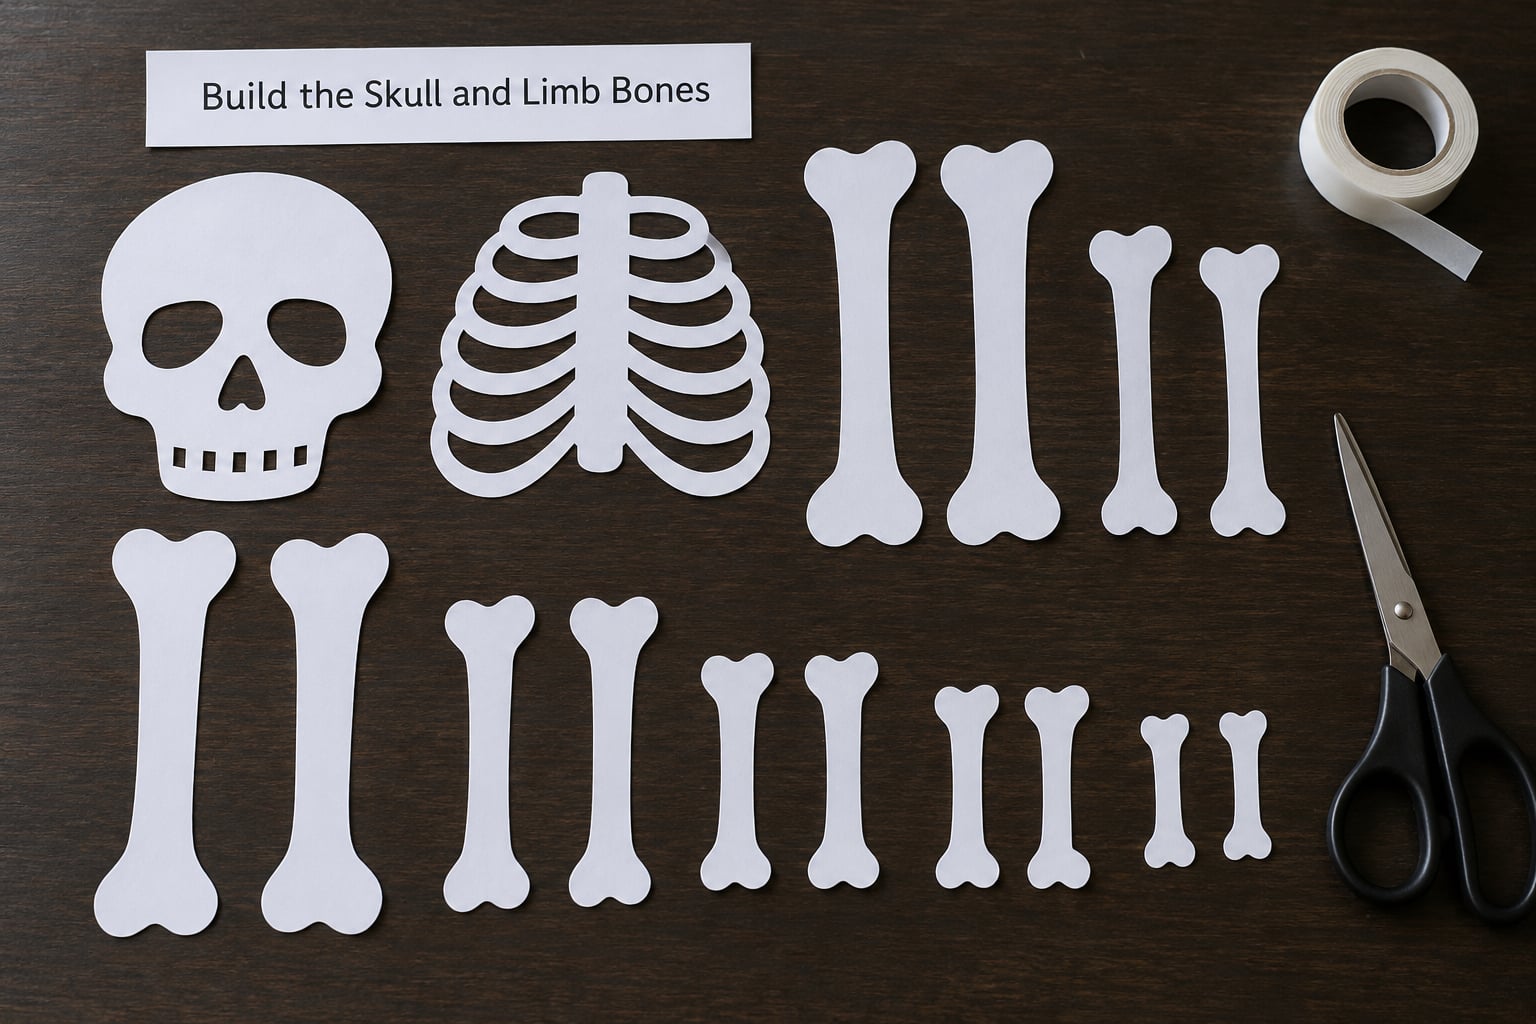
Consistency is what sells the limb bones. Use the same strip width for every long bone on one limb, keep the joint gaps the same size, and the eye reads an anatomically sensible skeleton instead of a ransom note.
Arm bones: one strip down the upper arm, stopping well short of the elbow, then a narrower strip down the forearm. A small ring of short strips or two tiny circles at the elbow keeps the gap from looking empty.
Hand bones: four thin strips of equal length for the fingers, fanned slightly, and a short curved strip for the thumb. Hands bend most while trick-or-treating, so fabric tape or a thin duct tape strip holds up better here than anywhere else.
Leg bones: one strip for the femur from hip to knee, one for the tibia from knee to ankle, with a kneecap circle centered over the joint. Keep the knee gap narrow, no wider than the width of one finger.
Feet: a strip down from the ankle plus five short strips for the toes, following the shoe shape. Shoes with a black sole and black laces disappear into the base and make the feet read cleanly.
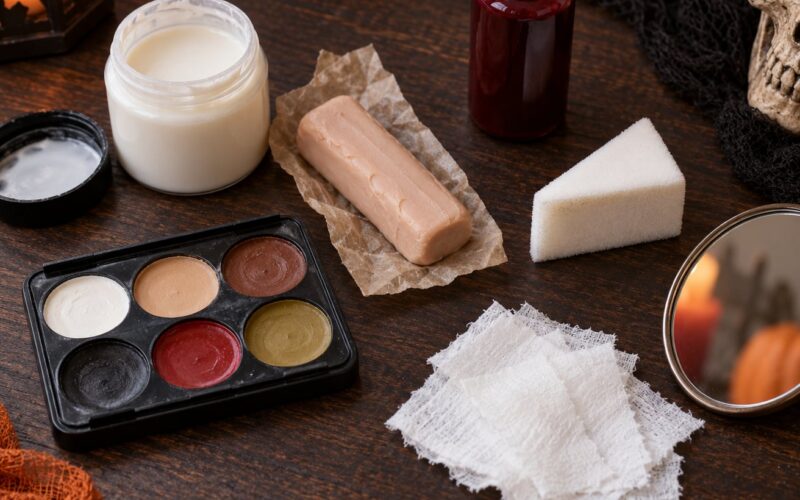
Face: lay white face paint across the forehead, cheeks, nose and chin with a damp sponge, dabbing rather than scrubbing so you keep the skin texture. Once it dries, use a black cosmetic pencil or fine brush for the eye sockets, nasal cavity and a row of teeth. Finish with hairline cracks on the cheekbones and forehead, drawn with the tip of the brush. The detail is optional, but it is what stops the face looking like a blank white mask from across a street.
Finish the Look and Test It
Rub every strip down firmly with the flat of your hand, then go over the edges once more with the back of a spoon. Sharp tool, slow pressure, no snagging. Edges that have lifted catch on door frames and snag on sleeves.
Reinforce before the costume goes out. Cross-hatch two small strips over each elbow, knee, shoulder and hip so the tension is shared rather than concentrated at one corner. This is the difference between a costume that survives a night of walking and stairs and one that loses a knee by the third block.
Then test it properly: bend at the waist, take a full breath, sit down and stand back up, climb a flight of stairs, and wave both arms overhead. Any strip that lifts at a bend gets a cross-hatch patch. Anything that pulls across the chest or waist gets trimmed narrower rather than reinforced, because the tension is coming from the base garment being too small.
Check visibility too. Stand ten paces away in a dim hallway or take a phone photo at night without a flash. If the bones disappear, the fix is brighter white paint on the shoulders and skull rather than thicker tape everywhere.
Common Mistakes
- Bones that are too wide. Wide strips leave too little black showing, so the costume reads as stripes. Cut each strip about a quarter inch narrower than feels right; the black gap is what makes the bone shape legible.
- Crooked lines. Marking only one end of a bone and eyeballing the other puts the whole rib cage off-centre. Mark both ends every time, then connect them.
- Loose bones. Tape that lifts usually has fabric softener, body lotion or sweat between the tape and the cloth. Press the tape onto clean, dry fabric and give each strip a second pass with your palm.
- Shiny, peeling tape. Glossy duct tape shows every fingerprint and wrinkle and lifts at the edges. Matte white masking or fabric tape looks flatter on black and holds a smoother line.
- Restricted joints. A strip laid straight across an elbow locks the joint. Leave a gap at every hinge, or run the bone in two pieces with the break at the joint itself.
- Low contrast. Faded grey or cream tape against cheap black fabric is hard to see. Test the tape on a hidden patch of the garment first, and repaint the face rather than relying on tape for the head.
- Poor visibility at night. White on black disappears in the dark until someone is close. Add glow-in-the-dark tape or a reflective strip to the shoulders, chest and the back of the shoes.
Three habits improve accuracy, comfort and durability at once. Mark before you stick, always, because a pencil line costs nothing to fix and a tape strip costs a lint roller. Cross-hatch the joints, because every bend in the night will find the weakest corner. And test in the clothes you will actually wear, including a jacket if the weather calls for one, because a coat opening across the rib cage ruins the effect faster than anything else.
Frequently Asked Questions
Is white costume tape safe to put directly on skin?
Most costume tape is made for skin contact and is fine in short spells, but adhesive can irritate sensitive skin, eczema or freshly shaved areas. Keep bones on the black base clothing and use tape on bare skin only for the face or hands, and always test a small patch first. Peel slowly, in the direction of hair growth, and wash the area with warm water and soap straight afterwards.
What type of white tape works best for a skeleton costume?
For the torso and legs, white duct tape gives the strongest hold and the crispest bone edges. For arms, hands and feet, where skin flexes constantly, white fabric tape or thin tape bends without lifting. Many makers keep two widths on hand, one for the spine and thigh bones and one for fingers and toes. Glow-in-the-dark tape works as an upgrade for trick-or-treating after dark.
How can I make the skeleton costume easier to move in?
Start with the fit. A black top one size too tight blocks bending and deep breathing, while an oversized shirt lets every bone slide out of line, so choose something fitted but roomy enough to sit down in. Then leave a small gap at every joint, keep bone strips narrow, and reinforce elbows and knees with a cross-hatch patch instead of one wide strip so the hinge still works.
Will white tape show enough on black clothing?
Yes, black is the ideal background because the fabric reads as the gap between bones. The only risk is contrast quality rather than coverage, so matte white tape looks better than glossy tape and cheap dye-based black fabric can look greyish under bright light. Test a strip on a hidden seam first, and if the black looks faded, deepen it with a black wash or a darker base layer before you start.
How do I remove costume tape without damaging skin or clothing?
Peel slowly and low, at a shallow angle rather than straight up, and start from the lower edge of each strip while holding the fabric flat and taut nearby. Warm residue with a hairdryer for a few seconds first, then wash the garment in cool water with a little dish soap and launder it on a normal cycle. Check the inside of the garment for leftover glue before drying.
Conclusion
A skeleton costume made with white tape is one of the most forgiving Halloween projects you can attempt, because the whole design is strips on a black base and any mistake can be peeled off and re-laid. Budget about an hour, most of it marking and cutting rather than taping.
If you remember one thing about how to make a skeleton costume with white tape, start by fitting the black base clothing and mapping the whole skeleton in pencil or chalk, then apply the skull, spine and rib cage first while the fabric is still flat and still. Once the torso is right, the limbs follow quickly, and the face paint ties it all together.