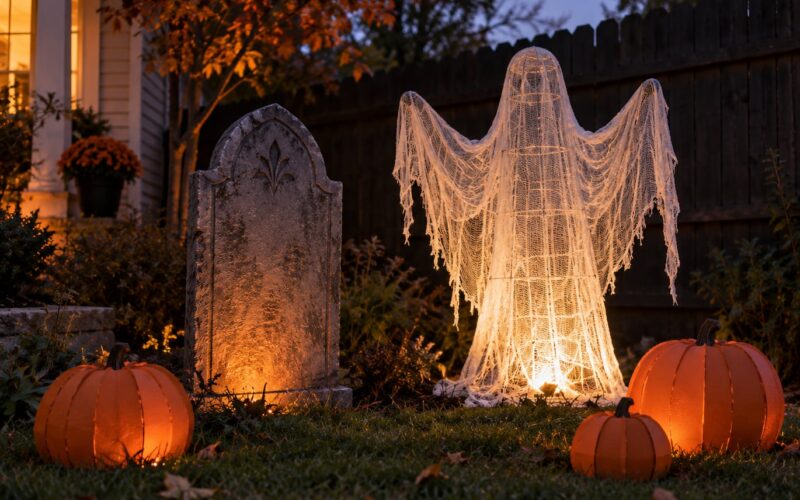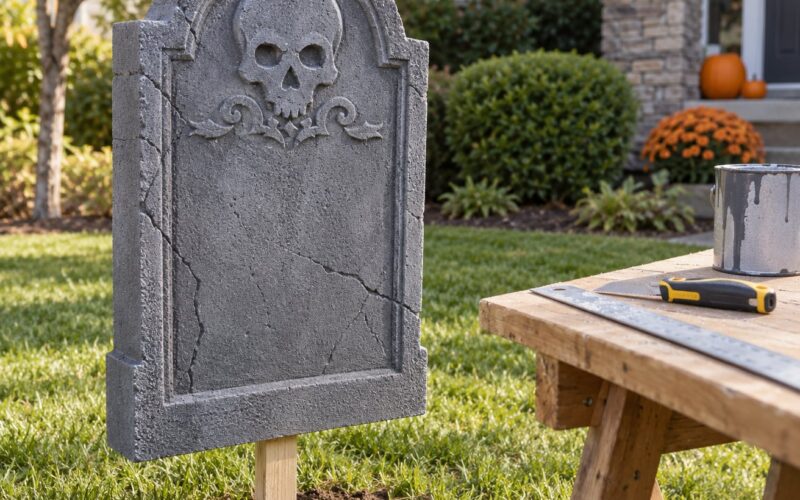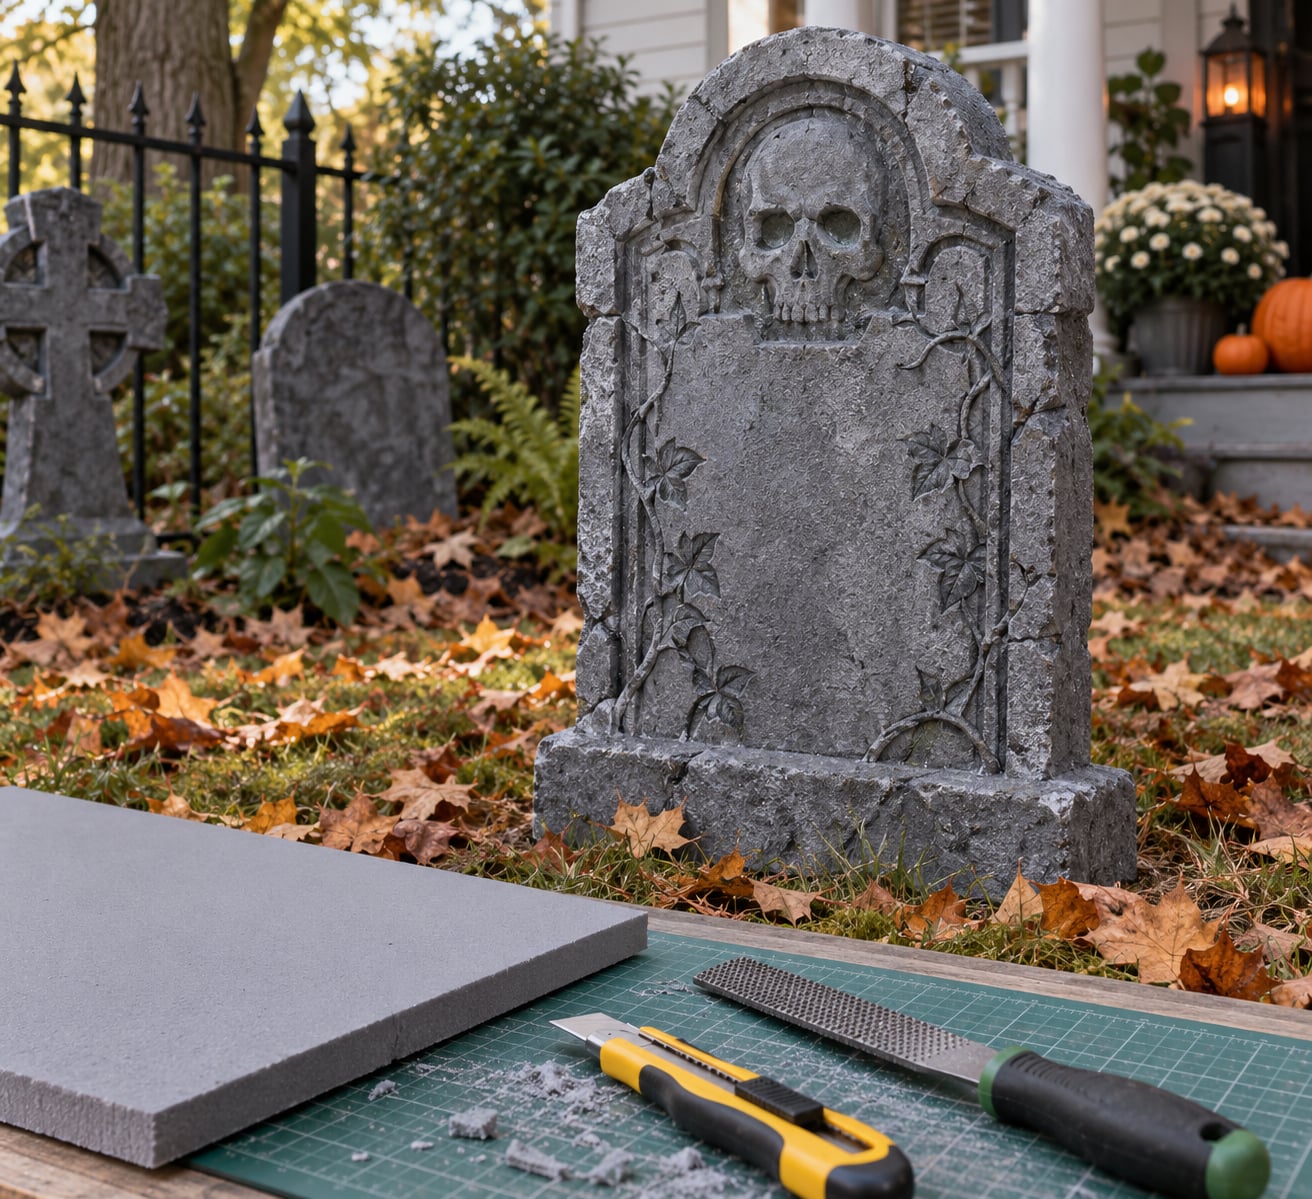
A convincing foam tombstone starts with rigid foam board, not soft packing foam, and it only reads as granite when the carving is evenly deep and the gray paint is built up in layers. Cut the silhouette with a fresh utility knife, V-cut the lettering at a consistent 45-degree angle, rough the face with a rasp and a skim of spackle, then lay down primer followed by gray and black washes. A full graveyard of headstones takes most of a weekend.
The reason foam works so well here is that nobody expects granite to weigh four pounds. At night, with a light hitting it from one side and a bit of moss at the base, a well-finished foam stone reads as real. A single 4 by 8 sheet of insulation board usually yields about eight tombstones, which is why foam is the standard for haunt displays and front yard scenes.
Carving foam is far easier than carving real granite. You are cutting a material that yields to a utility knife, and the “difficult” part is discipline rather than strength: keeping depth consistent across six stones and resisting the urge to carve every detail.
Table of Contents
- What You Need
- Tools
- How to Carve Foam Tombstones That Look Like Real Granite: Step-by-Step
- 1. Plan the Foam Tombstone’s Size and Shape
- 2. Transfer Your Tombstone Design
- 3. Carve the Basic Form Safely
- 4. Add Granite-Like Surface Texture
- 5. Paint the Foam to Resemble Granite
- 6. Add Lettering, Weathering, and a Support
- Common Mistakes
- Frequently Asked Questions
- What type of foam is best for a realistic foam tombstone?
- Can I use a hot glue gun to attach details to rigid foam?
- How do I carve letters and names into a foam tombstone?
- How do I make gray-painted foam look like real granite?
- Can foam tombstones be used outdoors for Halloween?
- How do I keep a lightweight foam tombstone from tipping over?
- Conclusion
What You Need
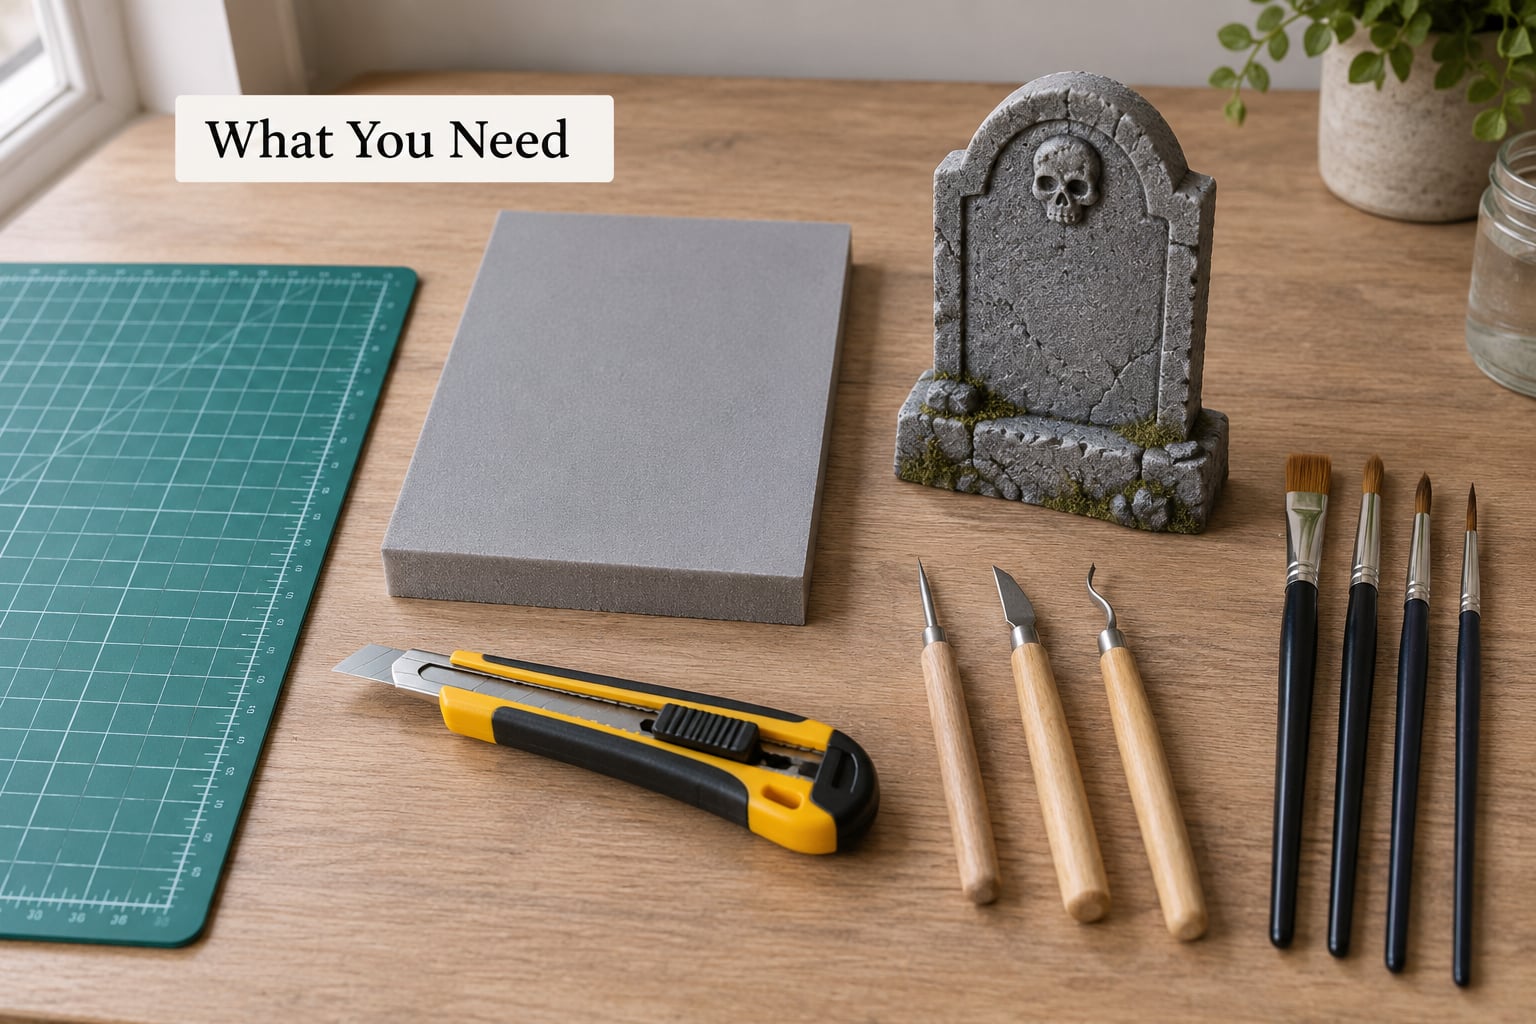
Rigid board is the foundation. Extruded polystyrene (XPS) insulation board is the best choice because it has a smooth skin and closed cells that carve cleanly. Expanded polystyrene (EPS) is the bead-style packing foam most people have in the garage, and it shreds into fuzzy beads as soon as a blade touches it. Polyisocyanurate board works too, but it skins over quickly and dulls blades faster than XPS.
Use 1 inch board for markers up to about 24 inches tall. Taller stones want 2 inch board, or a 1 inch stone glued to a foam base with a plywood scrap on the back to stop it flexing in the wind.
Tools
- Retractable utility knife with a sharp, fresh blade
- Craft knife or scalpel for lettering
- Tartar removal dental picks and a small gouge for detail cuts
- Surform rasp or coarse sanding block
- Cutting mat large enough to lay the full sheet on
- Safety goggles and an N95 or P2 respirator for any sanding or rasping
Wear eye protection whenever the blade is down. Rasping and sanding foam generates a fine dust that you do not want in your lungs, and the cheapest fix is a cheap respirator plus a fan pointed away from your face.
Carving with a knife means clean V-grooves and total control, with no dust and no heat. A hot tool (wood burning pyrography pen or a foam hot knife) melts the surface as it moves, which is faster on big letters and gives a rounded, weathered groove, but it works only in a well-ventilated space and it burns through thin detail if you linger. Start cold, move to hot only if a project has a lot of lettering.
Finishing materials: masonry primer or gray latex paint, battleship gray exterior paint, stone-textured paint, black acrylic, a stiff and a soft brush, a sponge, a spray bottle, moss or green spackle, and an outdoor sealer in matte or spar varnish.
Mounting depends on where the stone lives. Indoors, a flat foam base is enough. Outdoors, plan on a wood base, a length of PVC pipe, or ground stakes. Adhesive matters: hot glue softens polystyrene and makes a weak joint, and solvent-based glues do the same. Use a construction adhesive that is labeled safe for foam, applied to a mating surface rather than a tiny spot.
How to Carve Foam Tombstones That Look Like Real Granite: Step-by-Step
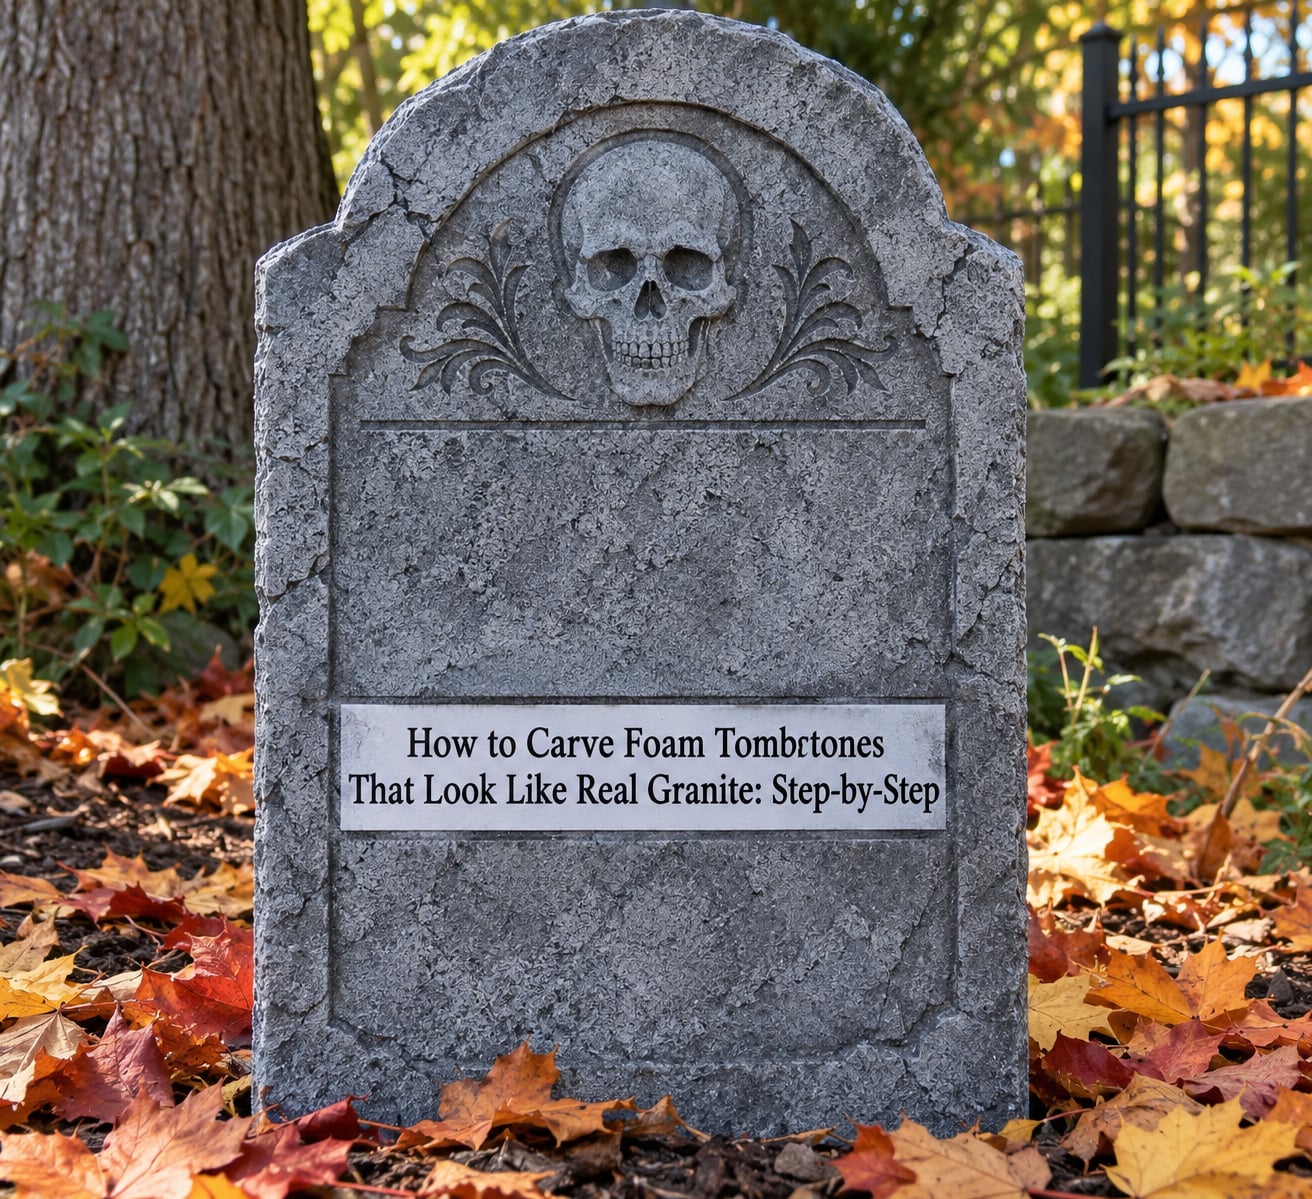
1. Plan the Foam Tombstone’s Size and Shape
Pick a size you can still handle. A 24 by 36 inch marker is easy to lift with one hand and easy to sink into a base; anything past 36 inches tall needs two people and a proper plan for anchoring.
Sketch the silhouette before you cut. Most convincing stones have an arched or shouldered top with slightly irregular sides, because a perfectly rectangular slab reads as a sign. Vary the heights across the set by 3 to 5 inches, and leave the base area at least 6 inches wide and completely uncarved.
How do you know the outline is right? Lay the sketch flat and look at it from standing height. If it looks good from six feet away, it will look good in the dark.
2. Transfer Your Tombstone Design
Print or draw the design at full size on paper, tape it to the foam, and trace it with a permanent marker. For transferring lettering, poke along the printed lines with an awl or the point of a craft knife, then connect the holes with a pencil or a black marker afterward. Backlighting the sheet over a bright window works too, and it takes five minutes.
Mark the elements by depth. Deep cuts are the outer silhouette, the main border, and the primary name. Shallow cuts are the dates, the epitaph, and any ornament. Anything you only scratch with the knife tip stays raised once painted, which is exactly how a chiseled stone reads.
Add a few intentional chips and cracks to the drawing. A stone with three or four deliberate nicks looks weathered; a stone with forty looks broken.
3. Carve the Basic Form Safely
Secure the foam on a cutting mat with a hand on the spare offcut, never with your cutting hand near the blade line. Score the outline first with a shallow pass, then deepen it with a second and third pass. Cutting straight through on the first stroke is how fingers get hurt and edges get torn.
Work from the outside inward and take off thin chips rather than big slabs. Leave the base region untouched so the stone still has a solid foot.
To keep carving depth even from stone to stone, tape a strip of the same thickness on every stone and stop when the blade reaches it. That depth gauge idea comes straight from builders who were tired of one stone having two-inch letters and the next having half-inch ones.
A dull blade is the main reason carving goes wrong. When the knife starts to drag and pull instead of slicing, stop and swap it. A torn edge cannot be repaired without cutting the stone down another quarter inch.
4. Add Granite-Like Surface Texture
Granite reads as granite because of grain, pitting, and irregular light and dark flecks, not because of color. Three cheap methods get you there.
A rasp or Surform works over the whole face with light pressure and creates the fine pitting that catches light. Go with the grain and stop before you thin the board.
An awl or gouge gives pits, grooves, and chipped edges. Tap rather than stab, and vary the spacing so the pattern never looks mechanical.
A thin skim of lightweight spackle, sanded back with the rasp, fills the flat areas and gives the paint something to grip. It is the single biggest upgrade to realism and it takes ten minutes per stone.
A heated sculpting tip can melt back edges for a worn look, used in the same ventilated space as any hot tool. Restraint matters: heavy detail turns foam into decorative craft, not weathered granite.
5. Paint the Foam to Resemble Granite
Paint only on clean, dry foam. Dust and marker residue kill adhesion, and painters who skip the clean step usually end up repainting.
Start with a primer. A masonry primer such as Drylok gives foam board a concrete look and feel and gives acrylic paint a surface to grip. A lighter alternative is battleship gray latex paint as the prime, followed by two coats of stone-textured paint over it. Do not paint over a wet or warm surface, and never put aerosol paint straight onto foam at close range; it can melt and etch the surface. Use thin coats from about 12 inches away.
Then build color. A gray basecoat first, then darker paint worked into every recess with a stiff brush, then a lighter gray dry-brushed over the raised edges. Every carving traps shadow, and paint is how you fake it.
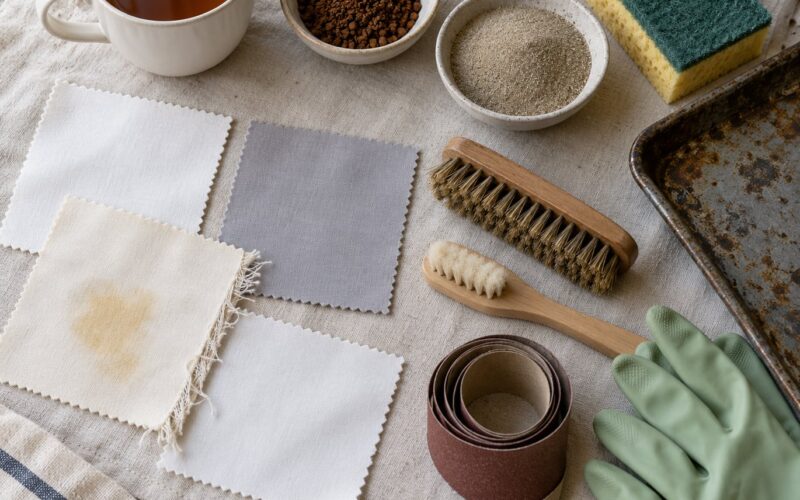
For variation, mix charcoal, warm gray, brown, and a touch of muted green on the palette, then keep the wash thin. Black acrylic thinned one part to two parts water, brushed on and blotted back with a rag, settles into the engraved lines and gives stone-like variation without going flat. A dark result is the most common miss: real granite is mid-gray with light and dark spots, not black.
6. Add Lettering, Weathering, and a Support
Carved letters can stay recessed or get cut away entirely and drawn back in as raised shapes, depending on how deep you took the design. Darken the recess first, then dry-brush a lighter gray across the top edge of each letter so it looks cut by a chisel rather than printed on.
For weathering, sponged moss or green spackle along the base and the underside of overhangs, and add a few drip lines running from the carved border. Keep the moss at the bottom third only, because moss halfway up a headstone looks like a mistake.
Support decides whether the stone survives the night. Indoors, a flat foam base or a low wood base works. Outdoors, run a length of PVC pipe or a rebar stake into a wood base and screw the stone to it, or drive stakes directly into the ground and strap the stone on. Low and wide beats tall and light, and a stone buried a couple of inches into the soil will not tip in a gust. Seal the finished marker with an outdoor matte or spar varnish so it can be stored flat between seasons and reused year after year.
Common Mistakes
Cutting all the way through the base is the most common structural error. Leave an uncarved foot at least 6 inches wide and at least 2 inches thick, then mount into that section.
Using soft packing foam shreds instead of carving. Buy rigid insulation board; the price difference is trivial compared with replacing a ruined stone.
Tearing edges with a dull blade cannot be undone. Change the blade the moment it starts to drag, and cut a test scrap before touching the real sheet.
Painting before the foam is clean leaves a pebbly, patchy finish. Wipe the board with a damp cloth and let it dry fully.
Choosing a color that looks flat black hides all the texture you just carved. Stay in the mid-grays and let the washes do the darkening.
Outlining every detail makes the stone look like clip art. Carve the silhouette, one border, and the name, then let paint handle the rest.
Spray paint at close range melts or etches the foam. Move the can away, mist lightly, and give each coat time to cure.
An unstable marker in the yard is a wasted afternoon. Weight it low, stake it, and set it out the night before so you can see whether it holds.
Skipping the sealer leaves a stone that degrades after one season outdoors. A matte outdoor sealer adds a year or more of life and makes the surface wipeable.
Frequently Asked Questions
What type of foam is best for a realistic foam tombstone?
Extruded polystyrene, or XPS, insulation board is the best choice. It has a smooth skin and closed cells, so a knife cuts a clean groove instead of tearing it into beads. Expanded polystyrene packing foam shreds, and polyisocyanurate works but skins over fast and dulls blades. Use 1 inch board for markers under about 24 inches and 2 inch for taller stones.
Can I use a hot glue gun to attach details to rigid foam?
Not for anything that has to hold weight. Hot glue softens polystyrene, so the joint stays weak and the parts often sag away from the surface once the stone is outside in the sun. Use a construction adhesive labeled safe for foam and spread it over a wide mating area. For small decorative pieces, a low-temperature glue gun on the reverse side works well enough.
How do I carve letters and names into a foam tombstone?
Print the name at full size, tape it to the foam, and trace or poke-transfer the outlines. Cut at a 45 degree bevel rather than straight down, taking several shallow passes instead of one deep one. To keep every stone the same, tape a spacer of matching thickness along the letters and stop when the blade reaches it. Shallow scratches stay raised and read like chiseled lettering.
How do I make gray-painted foam look like real granite?
Color alone never does it. You need texture first: rasp the face lightly, gouge a few pits, and skim on a thin coat of lightweight spackle for grain. Then prime, lay a mid-gray basecoat, push darker paint into every recess, and dry-brush a lighter gray over the raised edges. Keep the overall tone mid-gray with light and dark flecks, never black.
Can foam tombstones be used outdoors for Halloween?
Yes, as long as they are primed and sealed. Unsealed foam degrades after a single season of sun and rain, so finish with an outdoor matte or spar varnish. Mount the stone low and heavy with a wood base, PVC pipe, or ground stakes rather than leaving it freestanding. Sealed and staked, foam markers handle a full autumn outdoors and can be reused year after year.
How do I keep a lightweight foam tombstone from tipping over?
Widen the base and lower the center of gravity. Cut the uncarved foot at least 6 inches across, glue the stone to a wood base, and add sandbags or a block of foam underneath for indoors setups. Outdoors, run a PVC pipe or rebar stake down the back and into the ground. Burying the bottom edge a couple of inches into soil stops most gusts.
Conclusion
Start with a sheet of rigid XPS board and sketch three different silhouettes before you cut anything. Cut the outline in shallow passes, carve the name at one consistent depth, rasp the face and seal the whole thing gray in three thin washes, then mount it low and stake it. That sequence is the difference between a painted slab and a stone that looks like granite after dark.