To grow your own pumpkins for next Halloween, sow the seeds about 1 inch deep once your soil hits 65 to 70°F and the last frost has passed, then give each plant 3 to 5 feet of space and a full day of sun. Most pumpkin varieties need 90 to 120 days from seed to ripe fruit, so the whole plan runs backward from October 31.
That is the whole trick. Pick your variety first, count the days to maturity backward from Halloween, and you have a planting date. A gardener in the Midwest with a mid-April frost date has months of slack; a gardener in the Northeast starting a 120-day giant pumpkin has to be in the ground by early July.
I grow pumpkins on a modest suburban lot, and the two mistakes I see most often are planting too late and giving the vines too little room. Fix those two things and most of the season takes care of itself. Here is the full plan, from choosing a seed packet to setting cured pumpkins on the porch.
Table of Contents
- What You Need
- Step-by-Step: How to Grow Your Own Pumpkins for Next Halloween
- 1. Choose the Right Pumpkin Variety
- 2. Work Out When to Plant for Next Halloween
- 3. Prepare the Soil and Plant the Seeds
- 4. Care for the Vines and Young Fruit
- 5. Harvest and Cure the Pumpkins
- Common Mistakes
- Frequently Asked Questions
- When should I plant pumpkin seeds for next Halloween?
- Can I grow pumpkins in containers?
- Why are my pumpkin flowers wilting but not producing fruit?
- How do I know when a pumpkin is ready to harvest?
- Should I remove pumpkin leaves and vines before Halloween?
- How long do home-grown pumpkins last after harvesting?
- What to Do First
What You Need
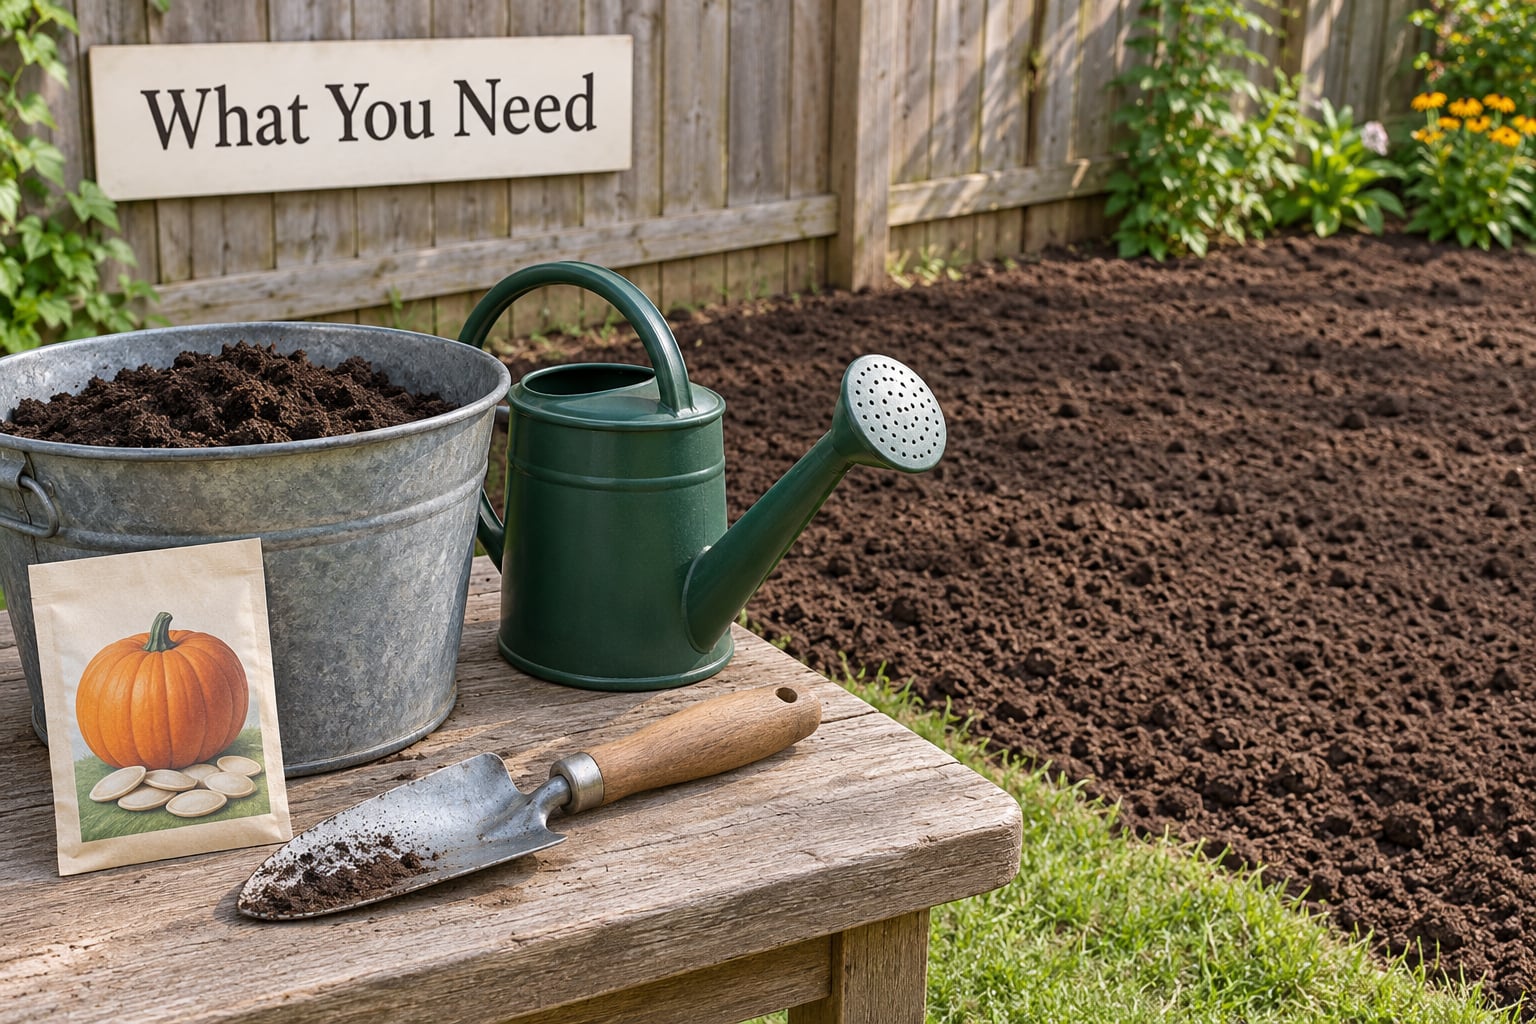
Start with seeds, and read the packet before you buy. The number printed as days to maturity is measured from the day you sow, not from transplanting, and it is the only number that really matters for timing. Pumpkins are warm-season annuals in the gourd family, so nothing happens until the soil warms up.
- Seeds — a carving type, a pie type, or a mix. Named cultivars worth knowing: Howden and Jack O’Lantern for carving, Small Sugar for pie, Atlantic Giant for show fruit.
- Space — a single hill of three plants can run 8 to 10 feet in every direction. Plan rows 8 to 12 feet apart.
- Compost or aged manure — 2 to 3 inches worked into the top 12 inches of soil. Pumpkins are heavy feeders and they will not perform in thin ground.
- A soil test — a home test kit or your county extension office will tell you where you stand. Pumpkins like soil in the 6.0 to 6.8 range.
- A trowel, a hoe or cultivator, and a watering can or soaker hose — nothing exotic.
- Fertilizer — a balanced vegetable fertilizer, or a nitrogen-heavy one for the first six weeks and a lower-nitrogen blend once fruit sets.
- Mulch — straw, shredded leaves, or black plastic to hold moisture and keep fruit off damp soil.
- Cardboard or plywood squares — slid under developing pumpkins so they do not rot on the ground.
One honest note on scale: a standard pumpkin vine wants more room than most people expect. If your available space is a patio, a balcony, or one raised bed, skip to the container notes in the FAQ below.
Step-by-Step: How to Grow Your Own Pumpkins for Next Halloween
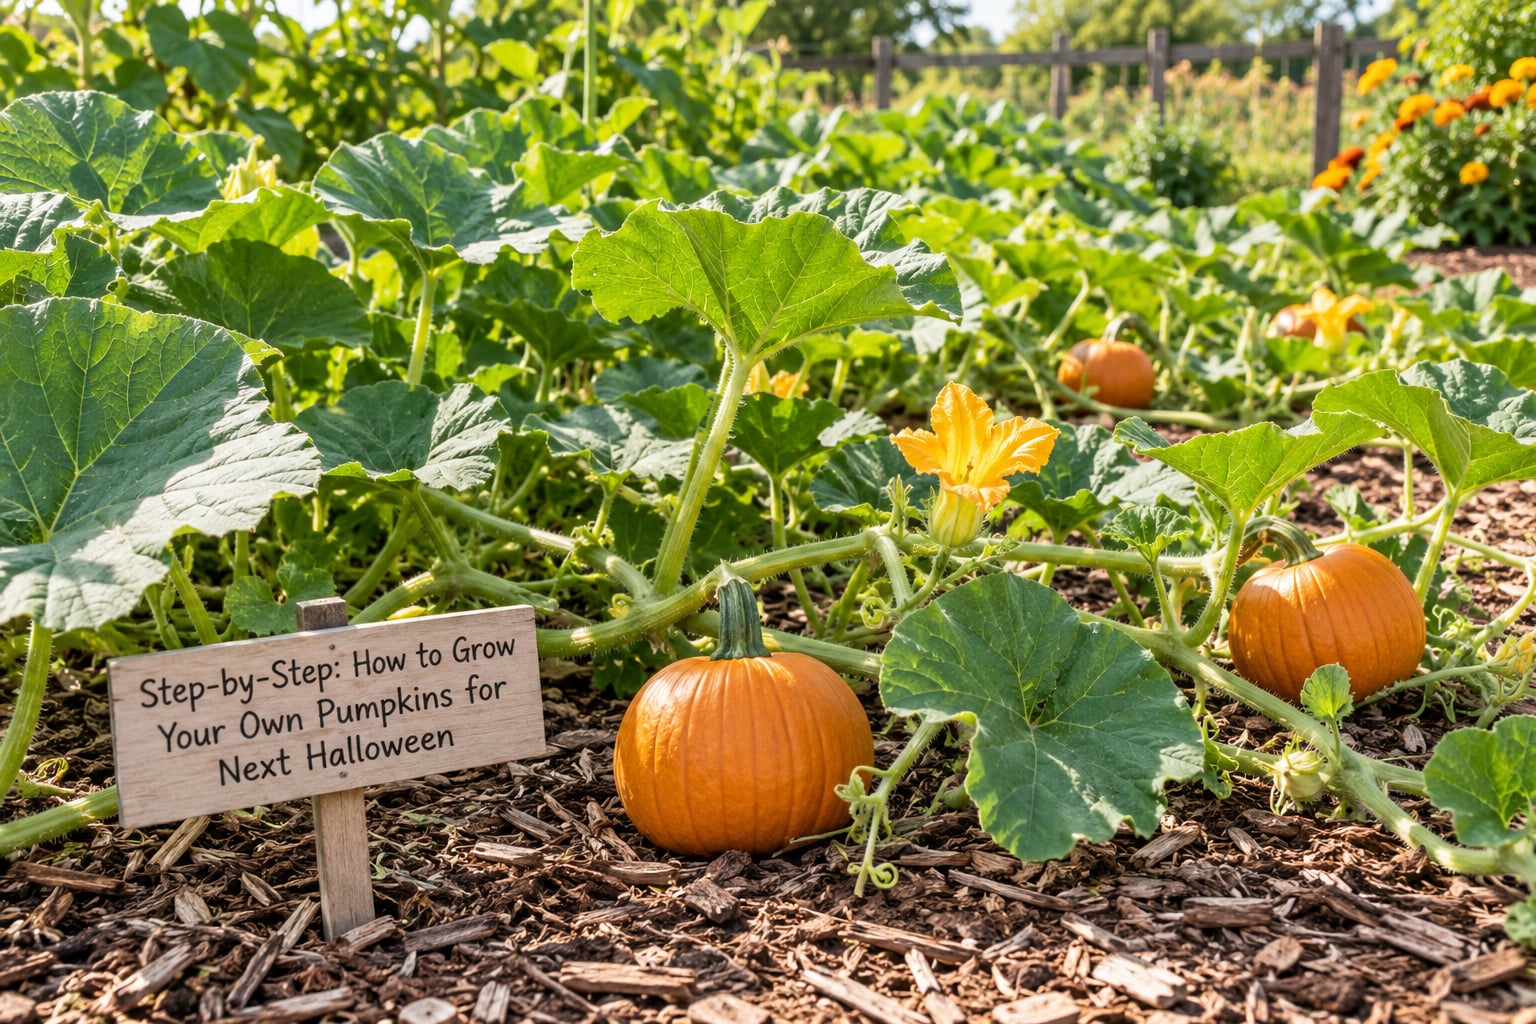
1. Choose the Right Pumpkin Variety
Choose your variety by what you want the pumpkin to do, not by what looks prettiest in the catalog. Carving pumpkins have thick walls and a tough skin that survives a dull knife. Pie pumpkins are smaller, sweeter and denser. Miniatures ripen faster and fit anywhere. Giants take the longest and need the most attention.
| Type | Typical weight | Approx. days to maturity | Best for |
|---|---|---|---|
| Howden or Jack O’Lantern | 8 to 20 lb | 90 to 105 | Classic carving, thick walls |
| Small Sugar (pie) | 4 to 6 lb | 95 to 105 | Pumpkin pie, baking |
| Sugar Baby (mini) | 1 to 2 lb | 85 to 100 | Decorating, small gardens, short seasons |
| White or ghost pumpkins | 2 to 5 lb | 90 to 100 | Porch and table decor |
| Hulless-seed (pepita) types | 2 to 5 lb | 100 to 110 | Roasting seed, no peeling |
| Atlantic Giant (giant) | 100 lb and up | 120 to 130 | Exhibition, family bragging rights |
Seed catalogs list these as ranges because growing season length changes them slightly, so use the packet as the final word. If you have a short season or a late spring, a 90-day carving pumpkin is a much safer bet than a 125-day giant.
2. Work Out When to Plant for Next Halloween
Work backward from October 31 to find your sowing date. Subtract the variety’s days to maturity, and that is your deadline for putting seed in the ground.
| Days to maturity | Sow by (to ripen before October 31) |
|---|---|
| 90 days | About August 2 |
| 100 days | About July 23 |
| 110 days | About July 13 |
| 120 days | About July 3 |
Now check that date against your climate. If your average last frost is April 15, a July 3 sowing date is comfortable, and so is a June 1 date for a 100-day pumpkin. If your last frost is May 25, a 120-day pumpkin is tight and a mini variety is the sensible call.
Two rules govern the actual planting day. First, do not sow before frost danger has passed, because a late frost kills emerging seedlings even if the air is warm. Second, check soil temperature, not air temperature. Push a finger five inches into the bed; if the ground feels cool and damp, wait another week. Warm soil and undisturbed roots let young plants establish fast enough to outrun early pests.
You can start seeds indoors three to four weeks ahead in peat or soil blocks, five seeds to a cell, and transplant them out once they have two or three true leaves and the frost date has passed. Direct sowing is simpler and avoids the shock of transplanting, and pumpkin roots resent being disturbed, so either method works as long as you are careful with the roots.
3. Prepare the Soil and Plant the Seeds
Pick a site that gets at least 6 hours of direct sun, and 8 or more if you can manage it. Too much shade is the most common reason a pumpkin vine flowers heavily and never sets fruit.
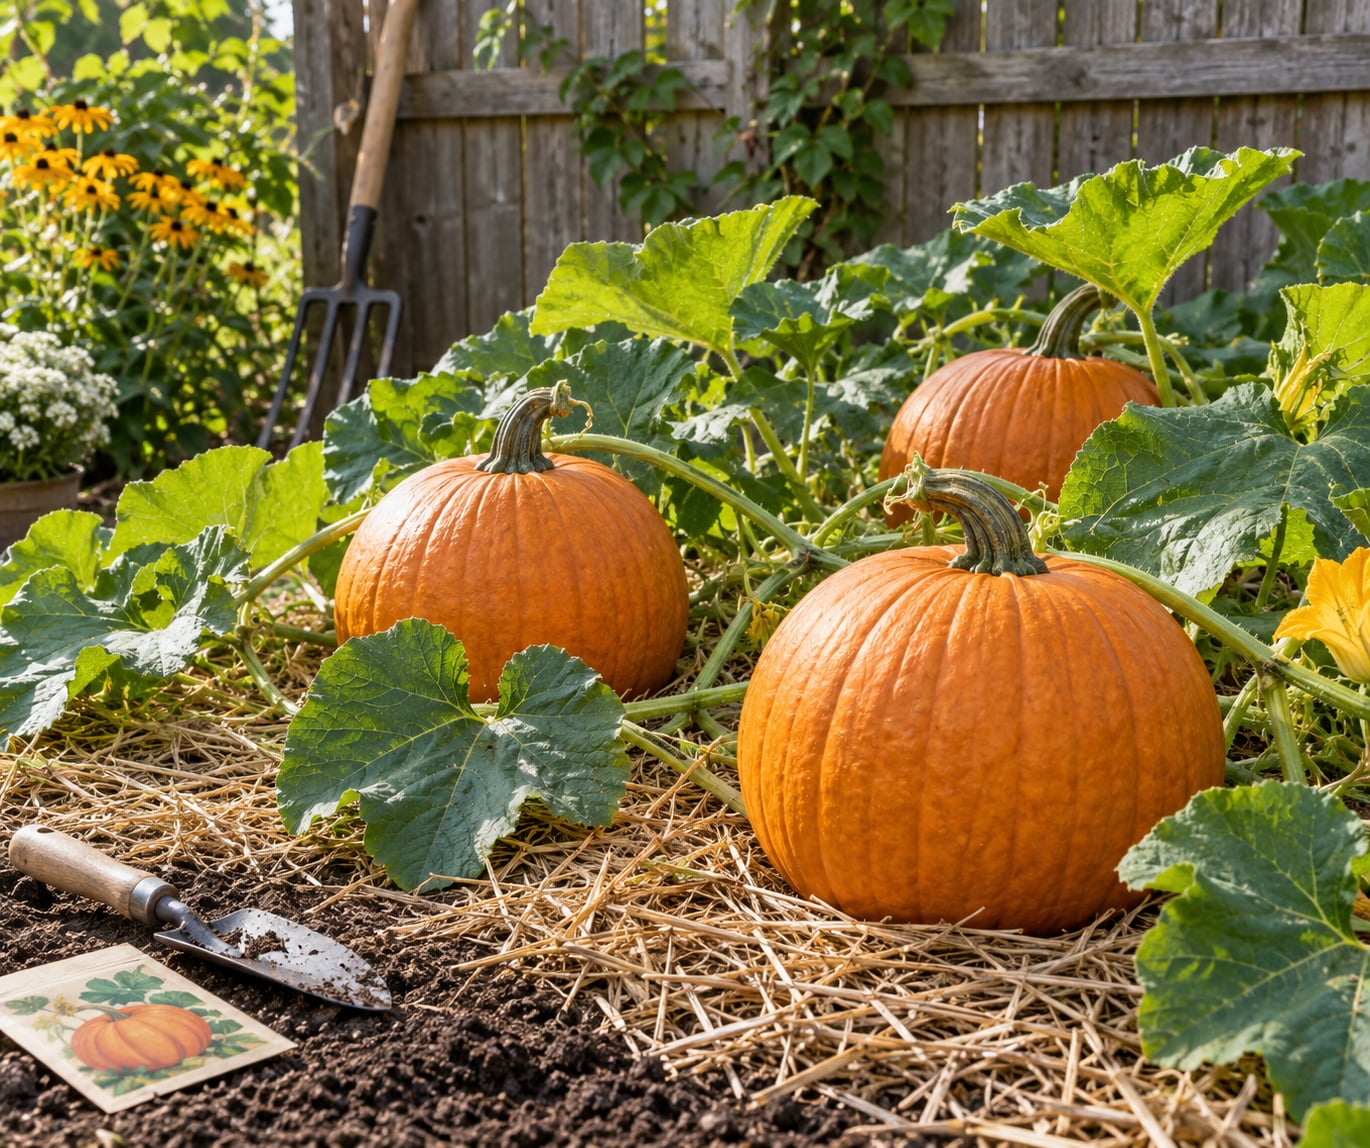
Work 2 to 3 inches of compost or aged manure into the top 12 inches of soil across the whole bed, not just under each hill. Rake it smooth, then build hills: mounds of soil 12 inches high and 18 to 24 inches wide, spaced 4 to 6 feet apart. Hills warm faster and drain better than flat ground, which matters in a wet spring.
Sow 2 to 3 seeds per hill, about 1 inch deep, and firm the soil over them. You are gambling on germination, and the extras are your insurance. Keep the hill moist until they come up.
Germination usually takes 7 to 10 days in warm soil. You will know it worked when the seedlings push through and the first round leaves, the small flat ones right at the top, open up. When the plants reach 8 to 10 inches, thin each hill down to the two strongest, or one if you want the biggest fruit. Snip the extras at the base rather than pulling them, so you do not disturb the roots you are keeping.
4. Care for the Vines and Young Fruit
Water deeply once a week in summer, aiming for 1 to 2 inches of water, and deliver it at the soil line. Soaker hoses and drip lines are better than sprinklers because they keep the leaves dry, and wet foliage invites fungal disease. Morning watering gives leaves time to dry off.
Mulch once the soil is warm. Straw, shredded leaves, or black plastic all cut evaporation and stop weeds. Mulching also solves a problem most beginners hit: fruit sitting directly on damp soil tends to rot on the underside, so slip a square of cardboard under each developing pumpkin as it reaches the size of a grapefruit.
Feed in two stages. During the first six weeks, use a fertilizer higher in nitrogen to push leaf and vine growth. Once the first fruit sets, switch to a balanced blend lower in nitrogen and higher in potassium, which supports fruit rather than leaves. Side-dress along the row a few inches from the stem, then water it in.
About magnesium, since it comes up constantly in pumpkin searches: Epsom salt is magnesium sulfate, and a light foliar spray or a small soil application can correct a genuine deficiency, which shows up as interveinal yellowing on older leaves. On healthy soil it does very little, and more is not better, so skip it unless you see the symptom.
Then handle pollination, which is where a lot of first-time growers get stuck. Pumpkin plants send out male flowers first, in droves, for roughly the first two weeks. Those male flowers cannot make fruit. Female flowers appear later and you can tell them apart at a glance because a female flower has a tiny bumpy pumpkin-shaped swelling right behind the petals.
To hand-pollinate, pick a male flower in full morning sun, strip the petals, and dab the yellow pollen from its center into the open female flower of the same plant. Do this before nine in the morning, and the fruit should begin swelling within a week. Bee activity is usually enough, but hand-pollination is cheap insurance on a hot spell or a rainy stretch when insects stop flying.
Check the plants every few days for pests. Cucumber beetles chew holes in young leaves and can carry bacterial wilt, which makes vines collapse suddenly. Squash vine borer larvae tunnel into the crown, and the telltale sign is sawdust-like frass at the base of the stem; mound soil or a board over the crown to discourage them. Squash bugs cluster on leaf undersides and suck sap. Squash and cucumber are in the same family, so rotate them out of that spot next year.
On white powder along the leaves, that is powdery mildew and downy mildew shows as angular yellow patches on top with fuzz beneath. Both spread fast in humid weather, and good airflow under the leaves is the best defense. Remove the worst affected leaves and keep watering at the base.
Finally, keep the vines where you want them. They can take over a garden in a hurry. Pinch the growing tip to stop a runaway runner, or train vines up a sturdy trellis in a small space and sling each fruit in a sling of old pantyhose or netting, because a 15-pound pumpkin will pull a trellis down.
5. Harvest and Cure the Pumpkins
Most carving pumpkins are ready in early to mid October, well before you need them. Watch for these signs of maturity: the rind has hardened and resists a fingernail, the color has deepened to the full mature shade, the stem has gone from green to corky and tan, and the vines are dying back on their own.
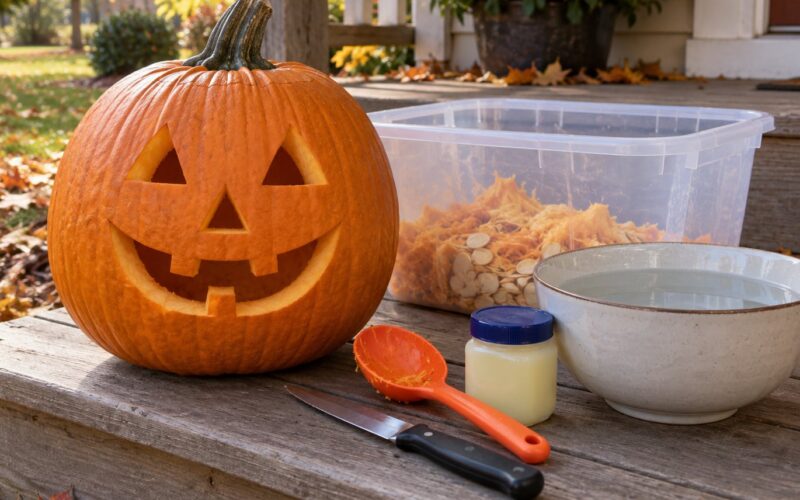
Do not pull pumpkins off the vine. That tears the stem and rots the fruit from the top down in storage. Cut each one with a sharp knife or pruners, leaving 3 to 4 inches of stem attached, and treat the cut stem with a dab of petroleum jelly or a fungicide if you plan to store them for months.
Curing hardens the rind and buys you storage life. Leave the pumpkins in a warm, dry, well-ventilated spot at 80 to 85°F for 7 to 10 days. A greenhouse, a warm attic, or a room with a dehumidifier works. Then move them to cool storage around 50 to 55°F, where properly cured fruit keeps for two to three months, often well past Thanksgiving.
Carve within a few days of Halloween, not weeks earlier. A carved pumpkin exposed to air lasts about three to five days before the face starts to soften and collapse. If you want it to look good on October 31, carve the weekend before.
Common Mistakes
Planting too late is the first one, and it is unforgiving. Fix it by writing the variety’s days to maturity on the seed packet, then counting backward from October 31 before you buy anything.
Overcrowding starves the fruit. Pumpkins resent competition, and a hill of three plants in a 3-foot circle gives you three small pumpkins instead of two good ones. Give each plant 3 to 5 feet and keep rows 8 to 12 feet apart.
Flowers but no fruit usually means one of four things: only male flowers have opened yet, the weather is too hot above 90°F or too cold, pollinators have stopped working in the rain, or you have fed too much nitrogen and the plant is putting everything into leaves. Fix it with a hand pollination and a switch to a lower-nitrogen feed.
Inconsistent watering does more damage than too much or too little. Fruit that swells and then dries out splits at the stem end. One deep soak a week beats a daily splash.
Leaving fruit on wet soil rots the underside. Cardboard under each pumpkin fixes it, and mulch fixes the cause.
Pruning too hard in midsummer is a mistake people make to control the vines. Cutting off leaves starves the fruit of the sugars they make. Trim runners if they are invading a neighbor’s plot, but never strip the foliage shading a developing pumpkin.
Harvesting early gives you a soft, pale pumpkin that molds in a week. Wait for the corky stem, and always cut.
A few habits that pay off: put a row marker in the bed the day you sow, because you will forget what is where by July. Water in the morning. And if you want the biggest possible fruit, pick off the first two or three female flowers so the plant puts everything into the fruits that remain.
Frequently Asked Questions
When should I plant pumpkin seeds for next Halloween?
Count backward from October 31 using the days to maturity on your seed packet. A 90-day carving pumpkin needs sowing by about August 2, a 100-day variety by July 23, and a 120-day giant by about July 3. Then check that date against your last frost date and make sure the soil has reached 65 to 70°F before you sow.
Can I grow pumpkins in containers?
Yes, and a compact bush or mini variety works far better than a full-running vine. Use a container at least 20 gallons with drainage holes and a sturdy cage or trellis for the vine to climb. Fill it with a quality potting mix and compost, expect smaller fruit than a garden plant, and water daily in warm weather because containers dry out fast.
Why are my pumpkin flowers wilting but not producing fruit?
Wilting female flowers usually means they were never pollinated. Plants send out male flowers first for roughly two weeks, and only later produce female flowers with a small swelling behind the petals. Heat above 90°F, cold nights, and rainy stretches all stop bees from working. Hand-pollinate in the morning by dabbing pollen from a male flower into a female flower on the same plant.
How do I know when a pumpkin is ready to harvest?
Check three things: the rind has hardened and will not mark with a fingernail, the color has deepened to its mature shade, and the stem has turned from green to corky tan. Most carving pumpkins are ready in early to mid October, before Halloween. Cut with pruners and leave 3 to 4 inches of stem, since pulling the fruit off the vine starts rot at the top.
Should I remove pumpkin leaves and vines before Halloween?
No. The leaves feed the fruit through photosynthesis, and stripping them before the pumpkin has finished coloring leaves you with a smaller, paler fruit. Trim only runaway runners that are invading neighboring beds. If mildew has taken most of the foliage and the fruit is already mature, remove the dead leaves so they do not sit in wet soil and spread rot to the rind.
How long do home-grown pumpkins last after harvesting?
Uncarved, properly cured pumpkins kept at about 50 to 55°F in a dry, ventilated room usually last two to three months, often into December. Warm storage, high humidity, and a stem that was torn rather than cut all shorten that. Carved pumpkins are a different story: exposed to air, a carved pumpkin lasts roughly three to five days, so carve close to October 31.
What to Do First
Do one thing this week: pick your variety and read its days to maturity, then count backward from October 31 and put that date on your calendar. Everything else — soil, space, water — has much more give than that one number.
Once the date is set, get a soil test and a bag of compost going. Pumpkins reward a prepared bed more than almost anything else you can do for them, and the vines will be on the way long before the first frost.