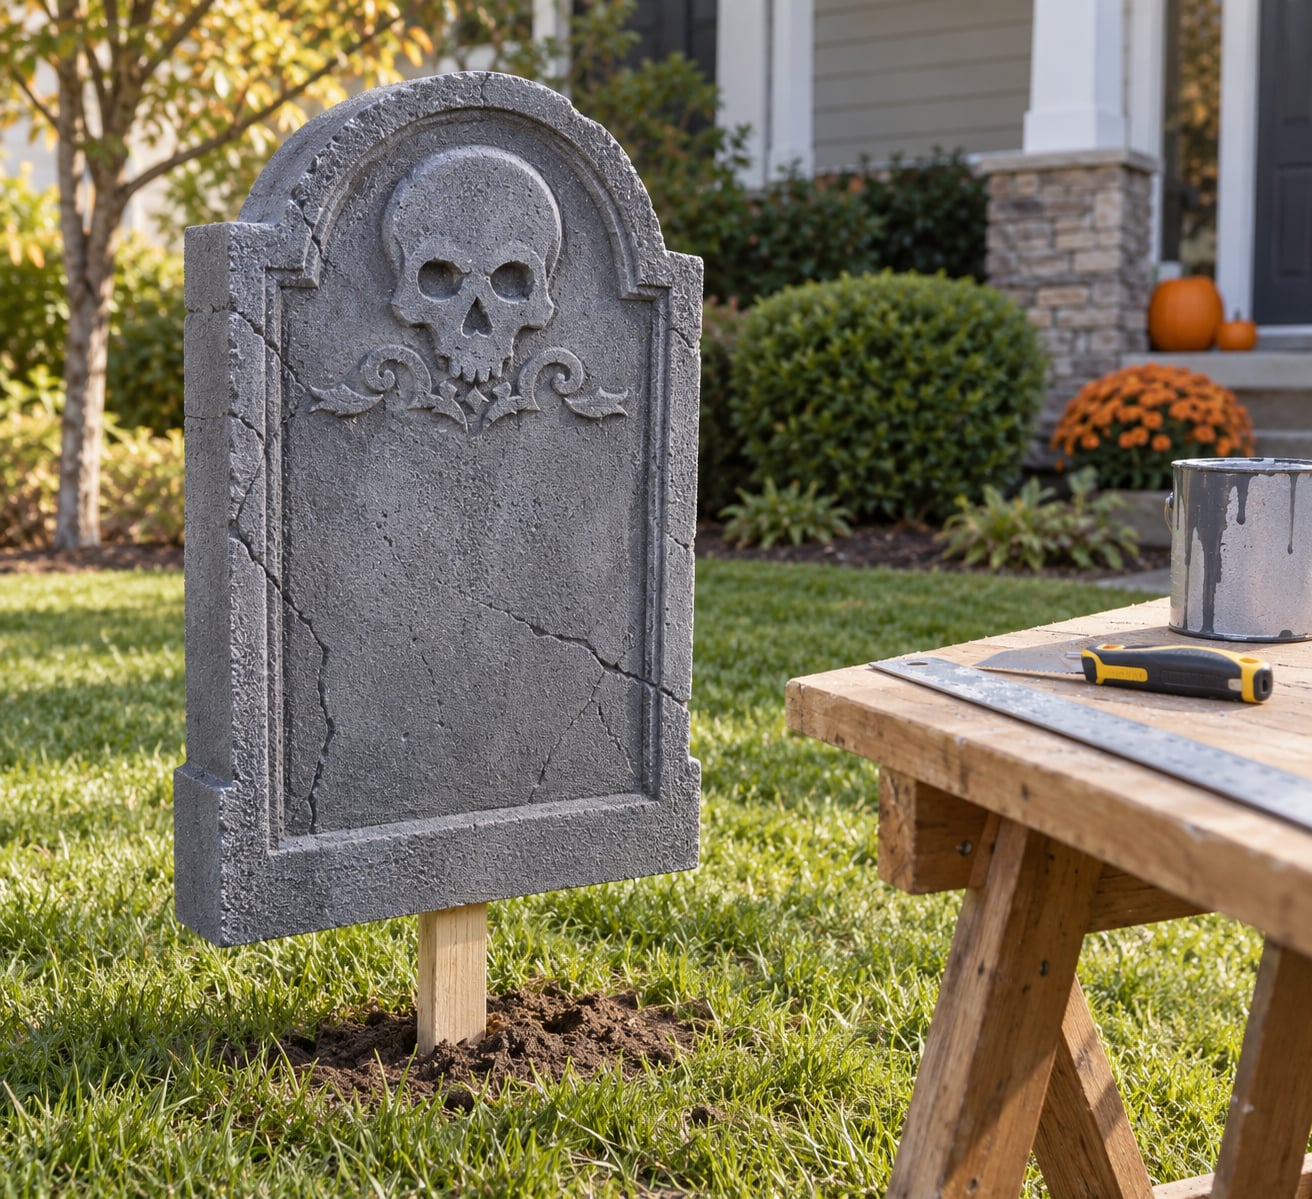
Foam tombstones start with a sheet of rigid polystyrene insulation board, get cut into a headstone silhouette, carved, sealed, painted to look like stone, and pinned into the ground. It is the cheapest way to fill a front yard with a full graveyard, and the whole project runs about two to three hours per stone once you have the tools out.
Learning how to make tombstones out of foam insulation is mostly a matter of respect for the material. Foam cuts beautifully and paints like anything else, but it crumbles when you rush the carving, it dissolves under solvent-based sprays, and it catches wind like a sail if you skip the base. Handle those three things and the rest is straightforward.
The full process in seven stages:
- Plan the size and cut the foam blank to a headstone shape.
- Carve the name, dates, and epitaph into the face.
- Seal every exposed foam bead so moisture and sun cannot get at it.
- Attach a wood stake, cleat, or rod so the stone can be anchored.
- Build up texture with mortar, joint compound, or sand for an aged look.
- Prime, paint the stone coat, and darken the carved lettering.
- Set it in the ground and check it survives a windy night.
I build these every autumn, usually while the weather is still warm enough to work outside. The first one takes twice as long as the fifth, mostly because you are learning how the foam behaves rather than because the steps are complicated.
Table of Contents
- What You Need
- Foam and structure
- Tools
- Adhesives and finishes
- Safety gear
- How thick should the foam be?
- Step-by-Step
- How to Make Tombstones Out of Foam Insulation: Cut the Blank
- Carve the Inscription and Tombstone Details
- Create a Weatherproof Edge
- Add a Freestanding Base
- Build Up Dirt, Moss, and Aged Texture
- Paint and Finish the Tombstone
- Common Mistakes
- Tearing the foam while cutting
- Lettering that is too shallow
- Painting over wet repairs
- Using solvent-based products on foam
- Top-heavy displays
- Expecting untreated foam to handle rain
- Frequently Asked Questions
- Is foam insulation strong enough for an outdoor Halloween tombstone?
- What is the best type of foam insulation to use for a tombstone?
- Can I use spray paint on foam insulation tombstones?
- How can I make carved foam letters easier to read outdoors?
- How do I keep a lightweight foam tombstone from tipping over?
What You Need
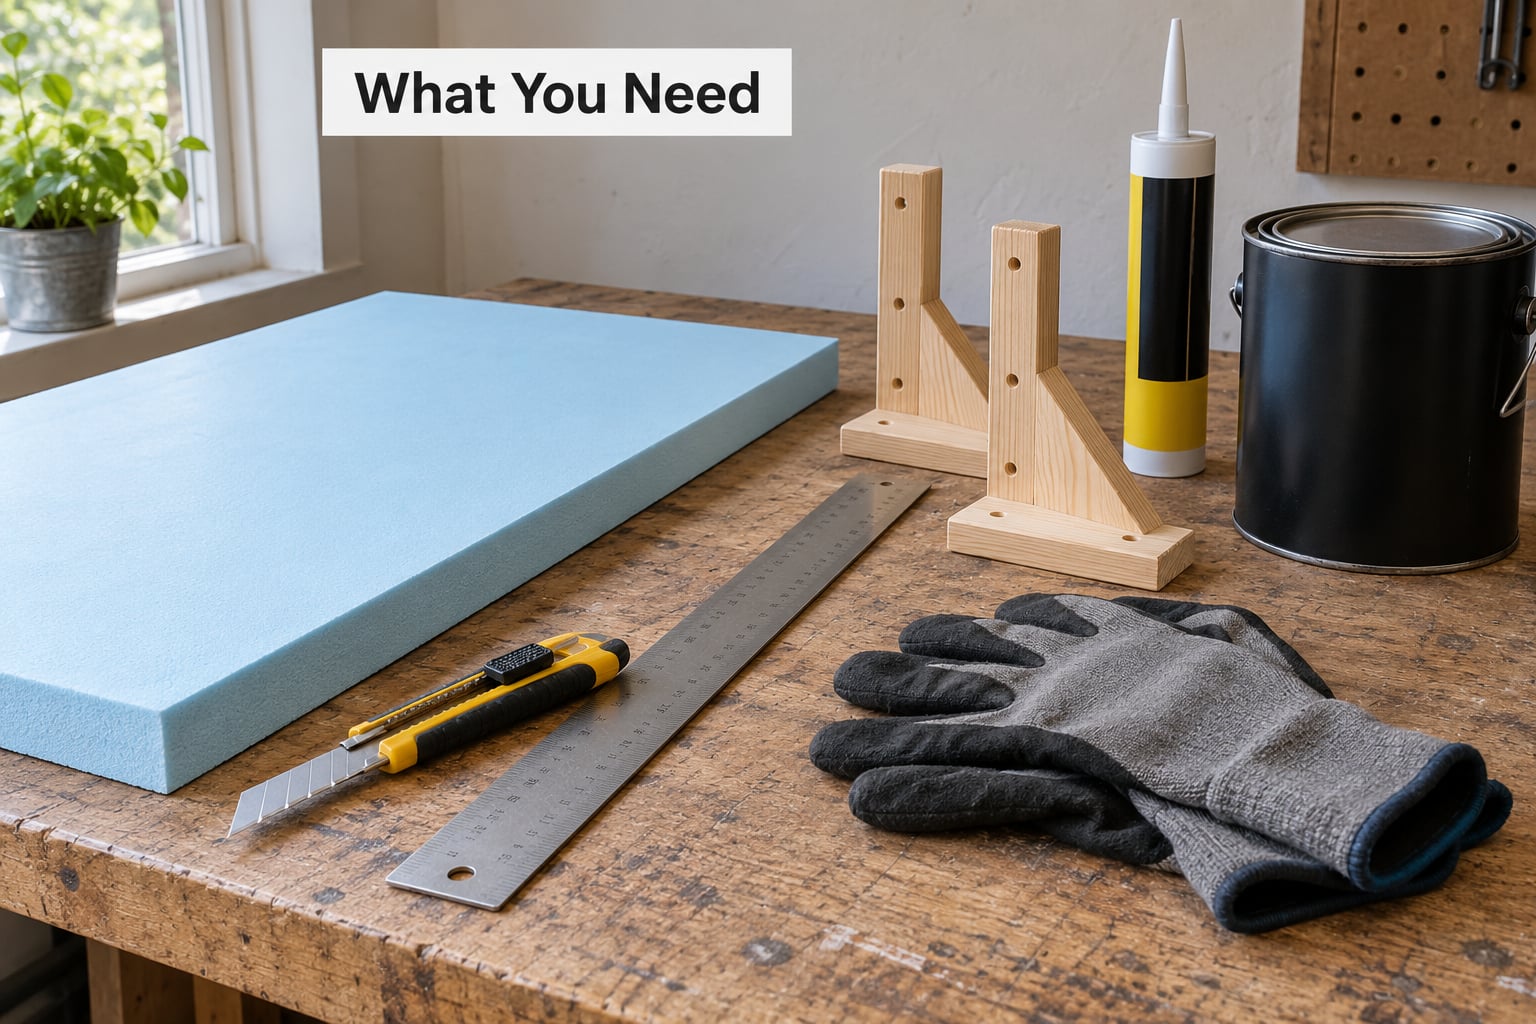
Gather everything before the first cut. Halfway through a carving with no spare blade or no primer on hand is how projects end up in the trash.
Foam and structure
- Rigid insulation board for the blank. Extruded polystyrene (XPS) is denser, cuts cleaner, and holds a crisp carved edge, so it suits detailed epitaphs. Extruded pink foam is cheaper and easier to find, and it works well for larger stones.
- A second sheet if you want a thick monument. Laminating two layers gives you a 4 inch profile from 2 inch stock.
- Wooden stakes or furring strips for the ground anchors, plus a short crossbar or cleat.
Skip foil-faced insulation. The facing keeps paint from bonding and it still weathers poorly, so it buys you nothing for a yard prop.
Tools
- A long serrated utility knife or a foam cutter blade for straight cuts.
- A hand saw with a fine blade for the rounded top, and a sanding block or coarse sanding sheet to clean the curve.
- A rotary tool with an engraving or carving bit for lettering. A wood-burning tool works too.
- A straightedge, a tape measure, and a marker.
Adhesives and finishes
- Construction adhesive for laminating foam layers. Contact cement also bonds foam well but gives you a short open time, so glue up one panel at a time.
- Masonry filler or exterior primer to seal the beads.
- Exterior latex paint in two or three grays, plus black and off-white for lettering and dry brushing.
- Pure silicone caulk for the ground line.
- Exterior acrylic sealer, water-based only.
Safety gear
Nitrile gloves and a dust mask or respirator. Foam dust is fine and gets everywhere, especially in a carved epitaph. Cut outside or in a garage with a fan running.
How thick should the foam be?
| Stone size | Foam thickness | Notes |
|---|---|---|
| Under 18 inches tall | 1 to 2 inch | Fine for indoor tabletops and small markers |
| 18 to 30 inches tall | 2 inch | The sweet spot for most yard displays |
| Over 30 inches tall | 4 inch, or two laminated 2 inch layers | Glue layers offset so the seam does not run straight up the face |
Step-by-Step
How to Make Tombstones Out of Foam Insulation: Cut the Blank
Measure the site first. A stone is roughly one third as wide as it is tall, and that proportion reads correctly from the sidewalk. Sketch the outline on the foam with a marker before you cut anything, including the arch, the shoulder curve, and the base flare if you want one.
Score the top line deeply with the utility knife and snap it. Then cut the sides slowly, keeping the blade flat and pulling toward the edge rather than pushing, which is what causes tearing. Cut in two or three passes instead of trying to take the full depth in one.
For an arched top, mark the arc with a compass or a dinner plate rim, then saw along the line and sand the curve smooth with a sanding block. Stop at the line rather than fighting it, and the arc comes out even.
Now inspect the blank before carving. Foam with a visible void or a chipped corner will tear later, so trim it back to clean material or glue a patch of scrap over the weak spot. Run your hand across the face; any place that feels hollow needs attention first.
Carve the Inscription and Tombstone Details
Print the name and epitaph at final size on plain paper, tape the template to the face, and trace the letters with a soft pencil or transfer the paper with spray adhesive. Graphite paper under the print gives you clean lines to follow on the foam.
Carve with the rotary tool held like a pen, moving at a steady pace. Inside the loops of a letter, cut counterclockwise; on the outer curves, cut clockwise. Reversing direction inside a bowl drags the foam into a tear, and this is the single most common reason a carving looks like a mistake.
Carve letters roughly a quarter inch deep for a 2 inch stone. Shallow letters disappear under paint and grime, and there is no going back once the face is coated. Take the depth in two shallow passes rather than one deep one.
No rotary tool? A heated wood-burning tool gouges foam cleanly, and a hot knife plus patience works on block capitals. One prop maker on r/HalloweenProps carved a full stone by hand from a single 4 inch plate and spent well over a hundred hours on it, so the tool-free path works, it just costs time.
Add your details here. Crosses, skulls, cracks, chipped corners, and weeping streaks all read well once the paint goes on, and they break up the flat face of a plain rectangle.
Create a Weatherproof Edge
Bare foam beads are the weak point. They absorb water, crumble under a fingernail, and yellow within a single season of sun, so seal them before anything else touches the stone.
Work a masonry filler or thick exterior primer over the carved letters, the cut edges, and every bead, using a putty knife or a stiff brush. Let it dry fully, then sand the raised filler level with the surrounding face. A second thin coat on the letters helps them stay sharp.
Caulk the seam where the stone meets its base so water cannot wick up inside. Keep every solvent-based product away from bare foam. Sprays and some cleaners eat polystyrene on contact and leave a wet, honeycombed mess that cannot be repaired.
Add a Freestanding Base
A foam stone with no base is a sail. Drill or cut a recess in the bottom and add something that reaches the ground.
The simplest version is a wooden stake glued or screwed into a pocket in the back, extending eight to ten inches below the bottom edge. Leave the stake long enough that you can drive it into the soil after the stone is in place. A cleat and crossbar on the back, with two stakes angled apart, resists tipping far better.
For tall monuments, drill deep holes into the bottom edge and push in steel or aluminum rods. Prop makers on Reddit describe this as the standard approach, and it is the one that survives a stiff night. A half inch CPVC sleeve set into the base with a dowel or all-thread rod inside is a lighter alternative for stones you carry around.
Whatever you use, keep the fasteners toward the lower third. Drilling into the middle of the stone splits the foam, so widen the hole with a file before driving anything in.
Build Up Dirt, Moss, and Aged Texture
A smooth sealed stone reads as plastic. Texture sells the illusion, and you add it after sealing and before painting.
Skim a thin coat of joint compound or a mortar mix over the carved areas and any seam between laminated layers, then stipple it with a sponge or stiff brush. Builders mix a masonry primer, gray exterior latex paint, and a couple of cups of joint compound into a single stone-colored batch, which covers the stone in one pass and hides the foam completely. Fine sand mixed into that batch gives extra grit.
Scatter a little sawdust or damp peat into the wet compound at the base for soil, and press a thin line of moss or preserved lichen along the ground line once the stone is placed.
Let each material dry before you handle the stone. Joint compound needs a full day; rushing it is how carved lettering gets smudged into a gray blur.
Paint and Finish the Tombstone
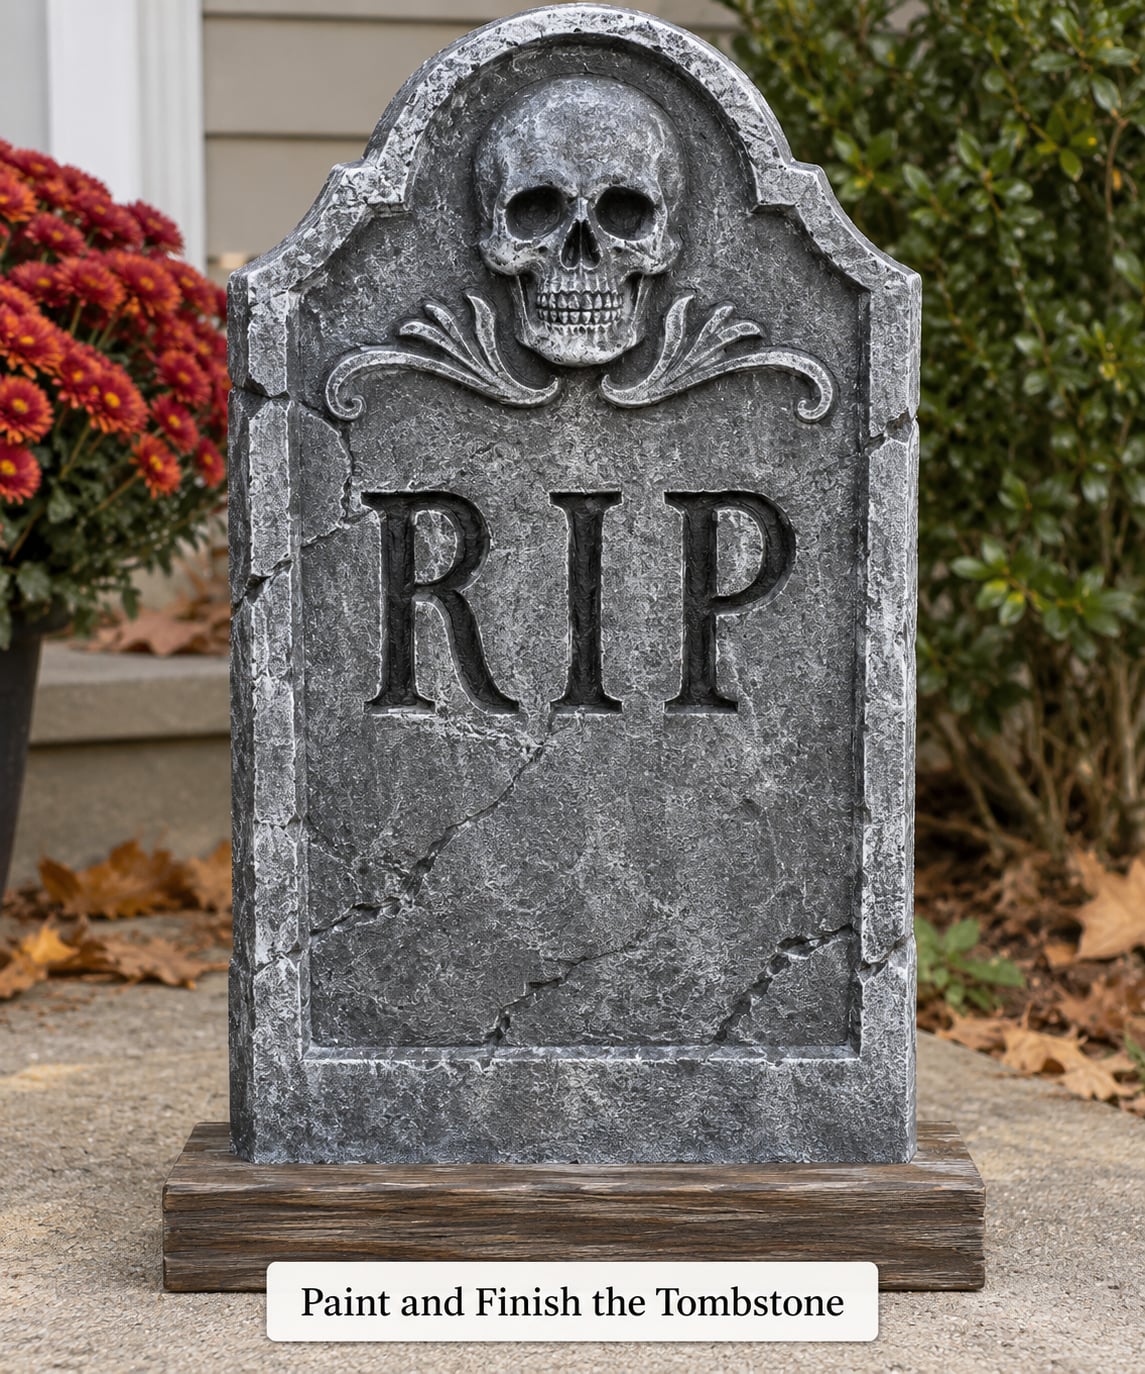
Paint in three passes, and let each one dry.
Start with a coat of exterior primer or the stone-colored base batch, brushed on thin so it does not pool inside the letters. Once that dries, add the black wash: thin black paint or a dark umber, brushed or flooded into the carved lettering and wiped off the flat face so the recesses stay dark.
Next come the highlights. Dry brush off-white or light gray across the raised edges, the shoulders, and the base so light catches the relief. Then flick diluted brown and black across the whole face for grime, and splatter a little gray-green at the bottom to suggest damp. A stiff brush handle dragged through wet paint gives you streaks that read as old water staining.
Check your work in two ways. Tilt the stone under direct light and the letters should read as dark shapes with no foam showing through, and rub a thumb across every carved letter; any spot that feels sharp and bare needs another coat of filler before the sealer.
Finish with a water-based exterior sealer if the stone will face rain or full sun. Two thin coats beat one thick one, and give it a full dry time before you set it outside.
Common Mistakes
Tearing the foam while cutting
Pushing the blade through the material rips the face. Fix it by scoring the line first, using multiple shallow passes, and cutting on a scrap surface. If a tear already happened, fill it with masonry filler rather than trying to glue the piece back.
Lettering that is too shallow
Letters under an eighth inch read as faint smudges once grime goes on. Carve at least a quarter inch deep on a 2 inch stone, and fill the carve with primer before painting so the edges stay sharp.
Painting over wet repairs
Sealer and paint over damp joint compound or filler will blister and peel. Wait a full day for compound and overnight for filler, then sand the surface flat before priming.
Using solvent-based products on foam
Spray paint, some cleaners, and solvent primers dissolve polystyrene. Seal the foam first and use only water-based paint and sealers on top.
Top-heavy displays
A tall stone with a small stake pivots in the first gust. Widen the anchor, add a second stake angled in the opposite direction, or set a sandbag or paver on the base.
Expecting untreated foam to handle rain
Bare foam yellows and turns brittle after one season outdoors. Seal every bead, paint the full face, and finish with a water-based exterior sealer. That is what makes a stone reusable next October instead of a pile of crumbs.
One last tip that saves the whole graveyard: build your templates on cardboard first and cut the first stone in cardboard. You can correct a bad arch or a bad name in thirty seconds instead of thirty minutes of foam dust.
Frequently Asked Questions
Is foam insulation strong enough for an outdoor Halloween tombstone?
Sealed and painted foam board handles rain and wind just fine for a full season, which is all most displays need. Strength comes from the coating and the anchor rather than the foam itself. Seal every cut edge, cover the whole face with exterior primer and paint, and add a wood stake or rod into the base. Skip that and even a sturdy 4 inch stone will crumble or blow away.
What is the best type of foam insulation to use for a tombstone?
Extruded polystyrene (XPS) is the best all-round choice because it cuts cleanly and holds crisp lettering. Pink extruded foam costs less and works well for larger, simpler stones. Use 1 to 2 inch board for markers under 18 inches tall and 2 inch for stones between 18 and 30 inches. Anything taller needs 4 inch stock or two laminated layers. Avoid foil-faced insulation.
Can I use spray paint on foam insulation tombstones?
Not directly on bare foam. Most spray paints contain solvents that dissolve polystyrene on contact, leaving a melted, pitted surface that cannot be repaired. Seal the foam with masonry filler and exterior primer first, let it cure, and then use spray paint if you like the finish. Water-based acrylic sprays applied over a full sealer coat are the safe version.
How can I make carved foam letters easier to read outdoors?
Carve deeper than feels necessary. On a 2 inch stone, letters should be at least a quarter inch deep, and cutting a thin black or dark umber wash into the carve and wiping the face keeps the contrast sharp. A thin coat of masonry filler inside the letters after priming holds the edges so grime and rain cannot blur them over.
How do I keep a lightweight foam tombstone from tipping over?
Give it something that reaches the ground. Glue or screw a wooden stake into a pocket in the back and drive it eight to ten inches into the soil, or drill deep holes in the bottom edge and insert steel or aluminum rods. Two stakes angled in opposite directions resist tipping far better than one. Keeping the fasteners in the lower third also stops the foam from splitting.
Start with one stone in cardboard, then cut the real blank, carve the epitaph a quarter inch deep, and seal the beads before you touch a paintbrush. Get one stone right and the rest of the graveyard is just repetition with different names.