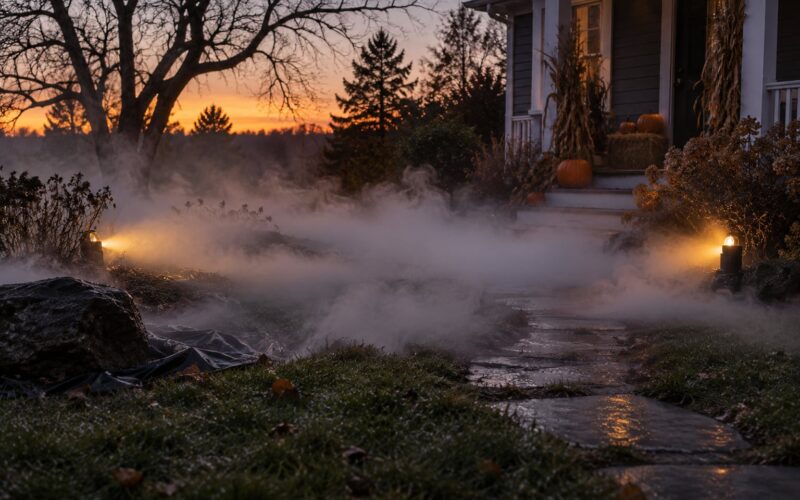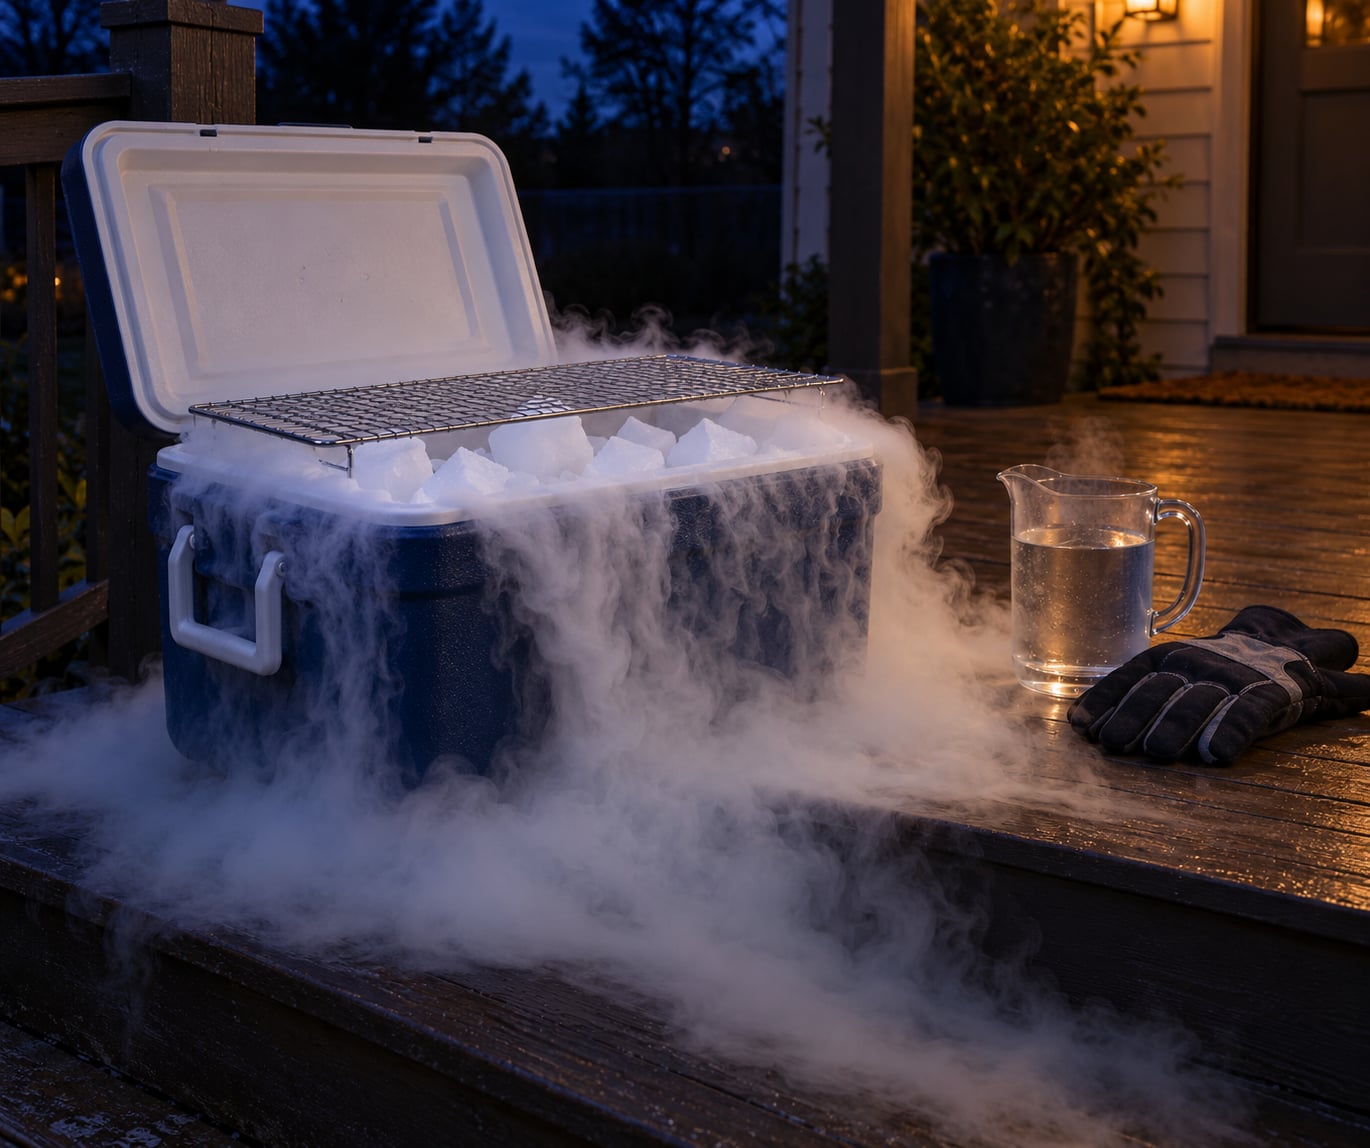
Building a fog chiller from a cooler takes about fifteen minutes, a handful of tools, and no power at all. You drop dry ice in the bottom, set a grate above it, pour warm water over the ice, and cold vapor pours off the top and settles along the grass like something crawling out of a cemetery. That is the whole trick, and it is why learning how to make a fog chiller from a cooler is the cheapest way to turn ordinary rising mist into real low lying fog.
Most written guides for this start with a drill and a can of PVC cement, because they assume you own a fog machine and want to chill its output on the way out. The setup here works with or without one. Skip the pipe work if you just want a fog pot for a graveyard scene, and read step 5 if you already run a machine and want machine fog chilled too.
Updated for 2026. If you only read one section, read step 2 and the ventilation note at the end. Everything else you can learn by looking at a cooler.
Table of Contents
- What You Need
- Step-by-Step: How to Make a Fog Chiller From a Cooler
- How to Make a Fog Chiller From a Cooler Step 1: Prepare the Cooler
- Step 2: Place the Dry Ice Safely
- Step 3: Add the Grate
- Step 4: Add Warm Water
- How to Make a Fog Chiller From a Cooler Step 5: Control the Fog
- Step 6: End the Effect Safely
- Common Mistakes
- Frequently Asked Questions
- Can I use a regular cooler to make a fog chiller?
- How much dry ice do I need for a cooler fog machine?
- Can I put a lid on a cooler while the dry ice is sublimating?
- How long will a dry-ice fog chiller produce fog?
- How do I make the fog thicker or slow it down?
- How should I dispose of a cooler’s remaining dry ice safely?
- Conclusion
What You Need
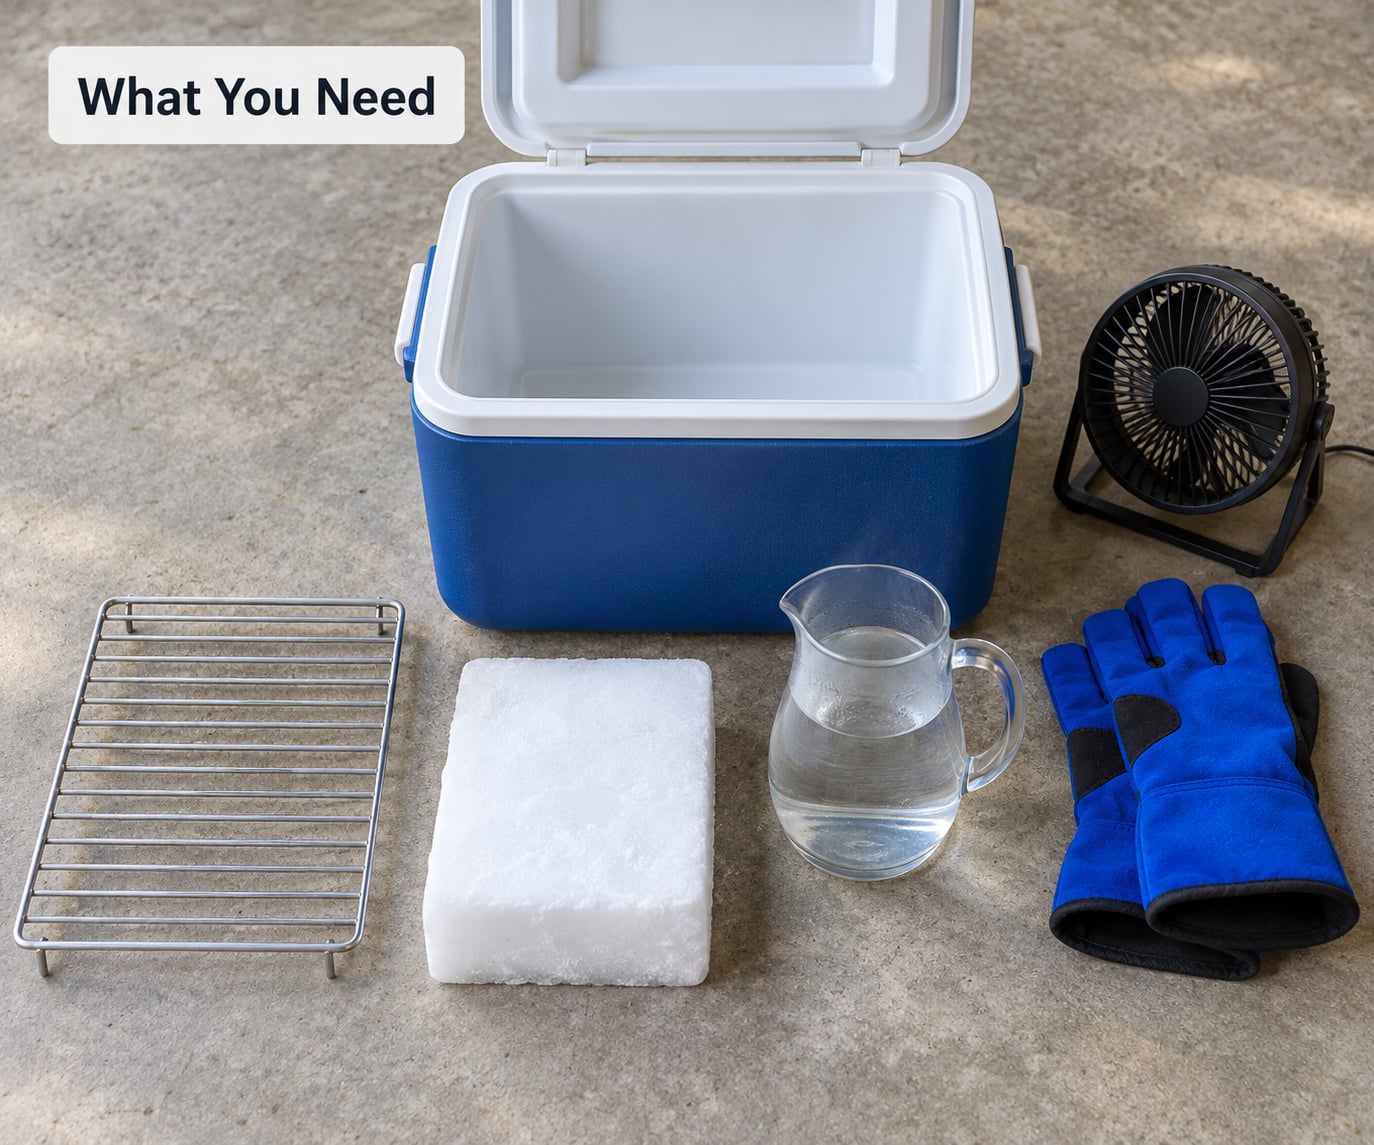
A fog chiller is a cold chamber that cools hot vapor until the moisture drops out of it, and any insulated box with a lid you can prop open does the job. Pick an open top cooler, because a hinged lid makes it much harder to keep a gap for air. Styrofoam holds cold longer than plastic, and metal holds it longest of all, but a cheap plastic cooler is fine for a single night.
| Item | Size or spec | Why you need it |
|---|---|---|
| Insulated cooler | 20 quart for a table scene, 48 to 52 quart for a yard | Holds the cold long enough for the fog to work |
| Dry ice | Two to ten pounds, food grade | Drops the temperature far faster than ice and fogs harder |
| Regular ice | 20 to 30 pounds, bagged | The budget route and the safer one to handle |
| Removable grate or cooling rack | 3 to 4 inch stand, sized to the cooler opening | Spreads the vapor so it spills over the whole rim instead of one hole |
| Warm water | A pitcher, plus a jug for topping up | Triggers sublimation so the fog starts immediately |
| Insulated gloves and tongs | Leather or cryo rated | Dry ice causes cold burns on bare skin in seconds |
| Waterproof platform | Bin, tray, or plastic sheet | Meltwater reaches cords and props otherwise |
| Optional: PVC inlet and outlet | 2 inch pipe, 2.5 inch hole saw, cement and silicone caulk | Only needed to route a fog machine through the ice |
Two rules come before the build. The cooler must never seal airtight, because dry ice turns to carbon dioxide gas and a closed cooler is how people get into trouble. And the cooler should be dedicated to decoration. Dry ice residue and fog juice chemicals do not belong on the same surface you carried sandwiches on, so keep a separate one for fog work.
Step-by-Step: How to Make a Fog Chiller From a Cooler
How to Make a Fog Chiller From a Cooler Step 1: Prepare the Cooler
Open the cooler, check the walls for cracks or a split lid, and wipe out anything left from last season. Look at the latch. If it clicks shut with no way to hold it cracked, remove or disable the catch so the lid stays vented.
Set the cooler where the fog should end up, not where the cooler is easiest to reach. Outdoors on a level, water resistant surface, out of the path where trick or treaters walk, and far from any open flame or heat source. Your test for this step is simple: the lid rests on at an angle and air moves freely through the gap.
Step 2: Place the Dry Ice Safely
Put on insulated gloves before you open the bag. Handle dry ice with tongs only, never with bare hands, and never drop it into a drink or a sealed container. A five pound block sits in the bottom of a 48 quart cooler, and you want it centered with clear space on all sides so nothing pins it against the wall.
Two pounds of dry ice in a grate setup lasts roughly 15 to 20 minutes before you add more, so treat it as a starter charge rather than the whole night. If you are going for longevity instead of punch, skip dry ice and load 20 to 30 pounds of bagged regular ice. The trade is real: ice runs far longer and costs nothing to handle, and dry ice produces noticeably denser fog in a shorter window.
Finish the load by checking that nothing in the cooler blocks the path where the fog will rise. Do not test the temperature with your hand. A quick look for exposed metal or plastic inside is the safety check that matters.
Step 3: Add the Grate
Set the grate across the top of the cooler so it stands 3 to 4 inches above the ice. This one piece decides whether the effect works. Without a grate, vapor comes off in a narrow column that disperses fast; with one, it spills over the entire rim and spreads outward as a wide sheet.
Make it stable enough that it will not tip when you lift the cooler to reposition it, and leave room around the edges so air can move. If the grate rocks, wedge a piece of foam under one corner or use a rack with feet. Then run a hose or cable tie through the handle so the whole assembly can be moved in one trip.
Step 4: Add Warm Water
Pour warm water over the dry ice through the grate, starting with one or two cups. It should hiss immediately and the fog should start within seconds. Keep your hands and face back from the opening, since warm water makes the sublimation fast and the vapor stream can be strong enough to feel like steam.
Warmer water gives you a heavier burst of fog in the first few minutes. Cooler water slows it down and stretches the charge. If you are working with regular ice rather than dry ice, go cooler and pour slowly, since a large hot pour just melts ice you paid to buy and fills the bottom of the cooler with water.
How to Make a Fog Chiller From a Cooler Step 5: Control the Fog
Add water a cup at a time, never all at once, and give it thirty seconds between pours. The sound is your gauge: a steady hiss means the water is feeding the effect, silence means it has all sublimated or run out. Watch the fog rather than the cooler, because the fog tells you what to adjust.
For a table or prop vignette, the fog should stay within a few inches of the surface. If it climbs, you have too much heat, too much fog volume, or a breeze. Fixes in order: move the cooler out of direct sun, drop to a lower output on the machine, and place it in the lee of a wall or doorway where the air is already still.
If you already own a fog machine, you can cool its output with the same cooler. Drill two holes near the top of one wall, roughly 2.5 inches across for 2 inch PVC, fit an inlet on one side and an outlet on the other, then cement and caulk both. Feed the inlet from the machine through ducting and leave a gap of a few inches between the machine outlet and the pipe inlet. That gap is an air gap, and skipping it creates back pressure that starves the machine of the air it needs to pump.
Aim the outlet downward or into the ground at the base of your display. Big machines force a lot of vapor through one opening and the effect thins out, so an 850 watt unit works well with a 12 to 15 square foot area. On larger machines, run the output control around 30% rather than full blast, which gives a longer, denser fog for the same load of ice.
To cover more ground, run the outlet into a length of corrugated ducting with a blower on the far end. That setup has pushed fog about 100 feet down a pipe into a grove of trees, and freezing water bottles inside the duct run keep the cold alive along the way. If the duct runs long, insulate it, because every foot of warm pipe steals chill from your ice.
Step 6: End the Effect Safely
To stop the fog, pour off or siphon the water with a long handled tool rather than reaching in with your hands or a bare plastic scoop. Then leave the cooler alone in a ventilated spot and let the dry ice sublime on its own, which takes a few hours for a small charge.
Wait until there is nothing left to touch before you close the lid, move the cooler, or store it for the year. Any dry ice that remains should go in an approved outdoor disposal container set in a well ventilated place, never in a kitchen trash can, a sealed bin, or a drain. If you used regular ice, you can drain the meltwater into a yard drain once the ice is gone.
Common Mistakes
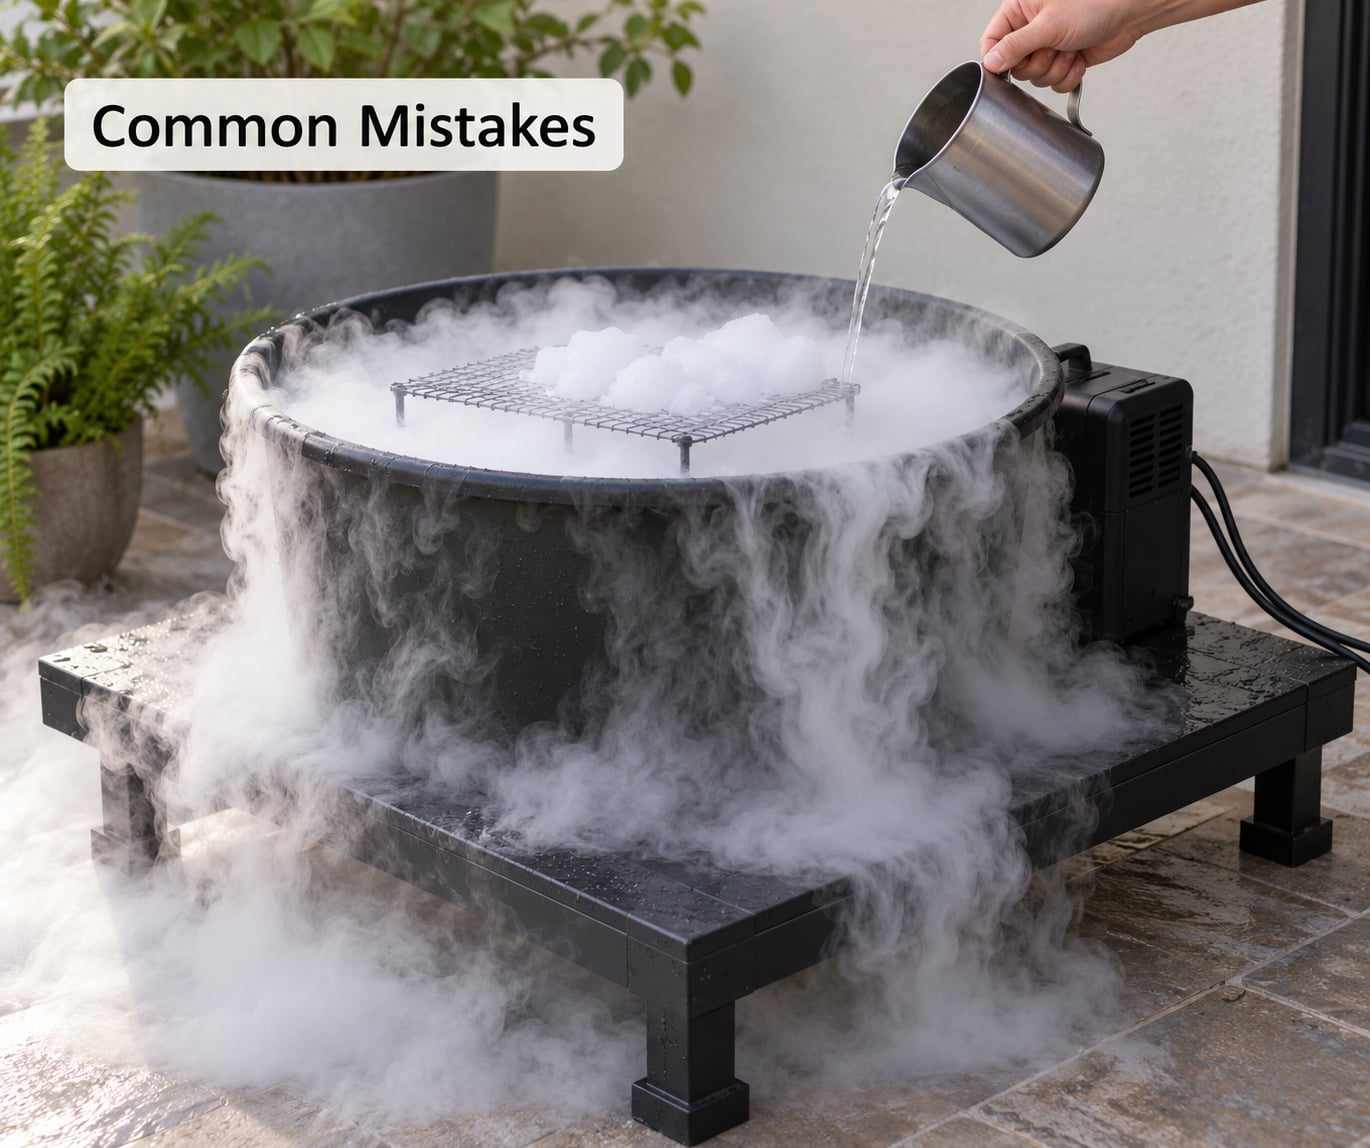
Nearly every bad fog pot traces back to one of the same seven mistakes. Each has a fix you can apply in under a minute once you recognize it.
- Sealing the cooler. A closed cooler with dry ice inside builds carbon dioxide gas with nowhere to go. Prop the lid or remove the latch.
- Skipping ventilation. Carbon dioxide is heavier than air and settles near the floor. Use this outdoors or in a room with strong airflow, and keep it away from children, pets, and anyone sitting low.
- Bare hands on dry ice. Skin burns in seconds and you will not feel it happen. Gloves and tongs, every time, including during cleanup.
- Too much water at once. A full pitcher floods the cooler, blocks the flow path, and shortens the effect. Cups, slowly.
- Unstable placement. Fog cools the air around the setup and moisture shows up underneath. Put the cooler on a waterproof tray and keep cords and extension leads clear of it.
- Blocked airflow. A grate pressed flat against the rim, or a cooler stuffed so tight the vapor has nowhere to go, produces almost nothing. Lift the grate and leave the edges open.
- Too much dry ice. This one surprises people. Over chilled fog can get so dense it stops flowing and the effect dies early, which is a complaint haunt builders raise about dry ice setups. Halve the charge and add the rest later.
Two more problems show up on a fog machine rather than the cooler. If the machine pumps and hums but makes no fog, the small outlet tube inside is usually blocked with a plug of ice, and clearing it restores output. If the fog is weak, the machine is probably sitting flush against the pipe, so back pressure is choking the pump. Pull it back a few inches and try again.
To stretch the night, add bagged ice in small batches as the block melts. Ice cream salt slows the melt noticeably and haunters have used it in chiller builds for years. Freezing water bottles in advance and swapping them in as the originals shrink gives you the same effect without handling a bag of ice in the dark.
Hiding the cooler matters more than people expect. Most people tuck it into shrubs, behind a prop, or inside a fake rock, then run ducting out to where the display starts. Just keep the intake and outlet open when you do it, because a covered chiller puts its own output into a corner.
Frequently Asked Questions
Can I use a regular cooler to make a fog chiller?
Yes, and most home setups do. An ordinary insulated cooler, a plastic storage bin, or even a large bucket will work as long as it holds cold and never seals airtight. Open top is better than hinged, styrofoam holds cold longer than plastic, and a 48 to 52 quart cooler is the sweet spot for a yard scene. Avoid any cooler you plan to use for food later.
How much dry ice do I need for a cooler fog machine?
Two pounds is a good starter charge for a 48 quart cooler, and ten pounds works for a long night of heavy use. Remember that dry ice fogs hardest and fastest, so a five pound block usually runs out in 15 to 20 minutes once you add water. Buy food grade dry ice, keep it in gloves, and add it in stages rather than loading the whole bag at the start.
Can I put a lid on a cooler while the dry ice is sublimating?
Only if it is vented. Rest the lid on an angle or remove the latch so carbon dioxide gas can escape, since that gas settles near the floor and pushes air out of a closed cooler. Close it fully only after every piece of dry ice has sublimated and nothing warm remains inside. Never store dry ice in a sealed container, and keep the cooler away from children and pets.
How long will a dry-ice fog chiller produce fog?
A two pound block lasts roughly 15 to 20 minutes before you add more, while regular ice in the same cooler, about 20 to 30 pounds, runs for a few hours. Dry ice wins on density and loses on staying power. Either way, add water in small amounts so the fog lasts longer, and keep extra ice frozen in a cooler until you need it.
How do I make the fog thicker or slow it down?
For thicker fog, drop the temperature by adding dry ice in small pieces, use cooler water, and keep the chiller in the shade with the grate raised. Too much dry ice is the usual mistake, since over chilled fog can stop flowing entirely. To slow things down, pour less water at a time, add regular ice in batches, and lower the output setting on a fog machine rather than running it full blast.
How should I dispose of a cooler’s remaining dry ice safely?
Let it sublime outdoors in a well ventilated spot, away from children, pets, traffic, and anything that burns. A few hours is usually enough for a small charge. Never put dry ice in a kitchen trash can, a sealed bin, or a drain, and never handle the pieces bare handed. Regular ice can simply be drained away once it has fully melted.
Conclusion
Here is how to make a fog chiller from a cooler in its shortest form: open the cooler, drop in a conservative amount of dry ice or bagged ice, set the grate a few inches above it, and pour warm water over slowly until the fog rolls out over the rim and settles. That is the entire build, and it takes fifteen minutes.
Then respect the two rules that keep it safe. Never let the cooler seal airtight, and always run the setup outdoors or in a well ventilated room. If you are working with a fog machine, add the air gap, aim the output downward, and hold back on the dry ice. The fog looks best when it barely rises off the grass, and the whole point of the chiller is keeping it there.