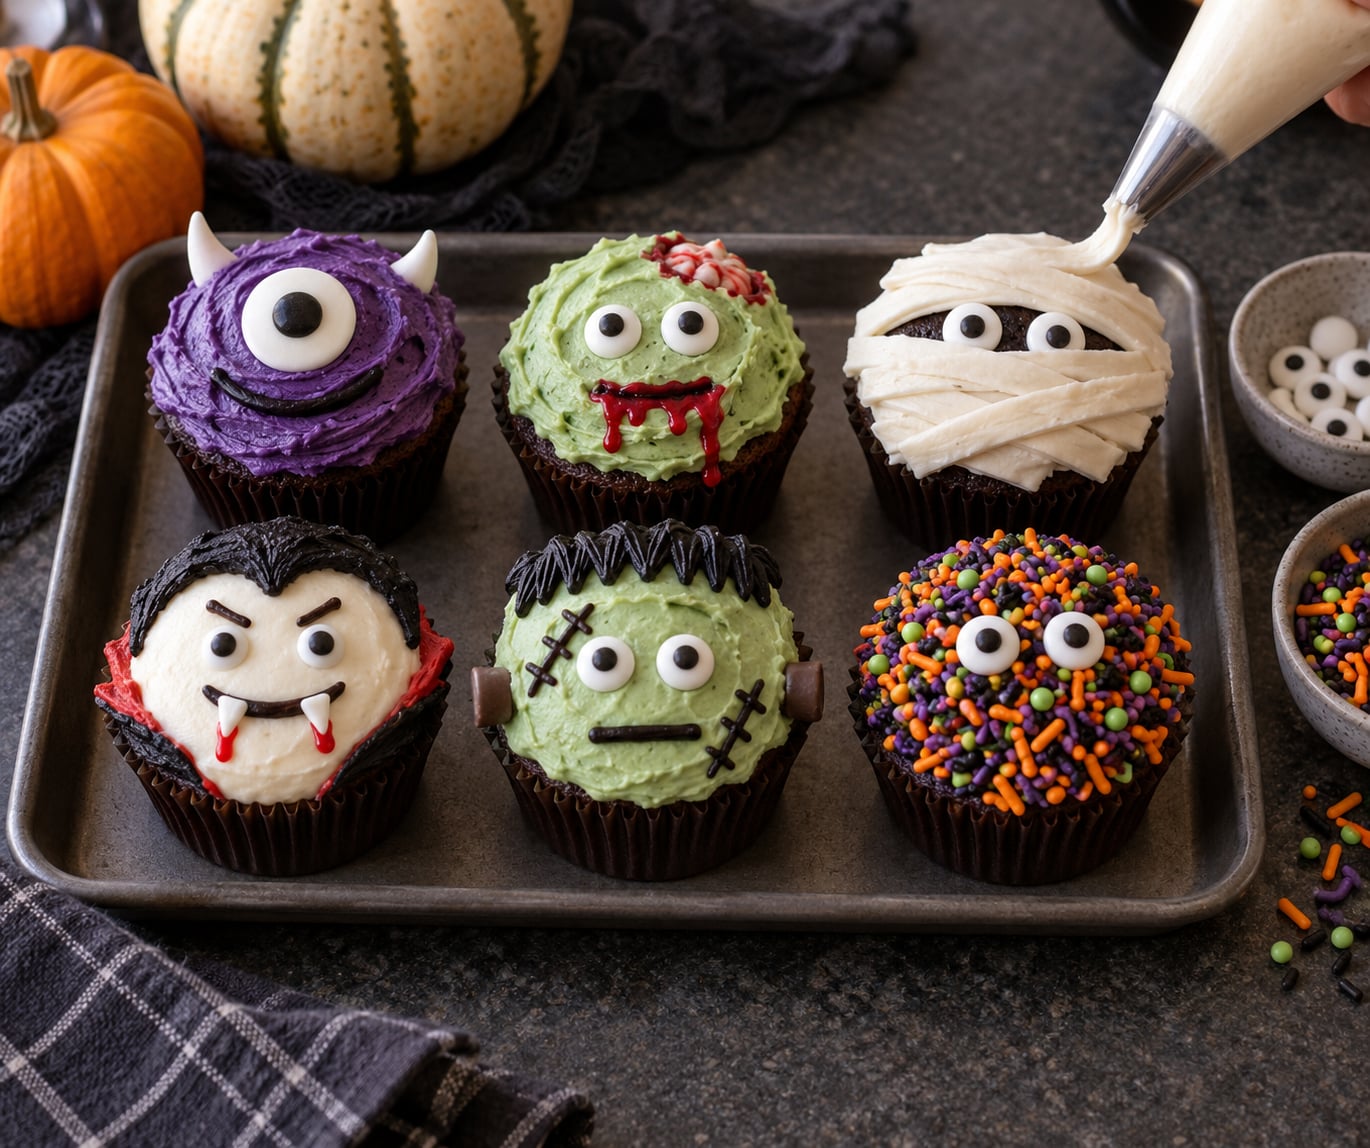
To make Halloween cupcakes look like monsters, you need bold frosting colour, one oversized eye per cupcake, and a mouth with teeth or drips. Everything else is decoration on top of that three-part formula. A batch of 12 plain cupcakes can be turned into six different monsters in about an hour, using supplies most kitchens already have.
The trick is that no monster cupcake needs a special cake recipe. The same vanilla or chocolate cupcake works for every design, and the character comes entirely from what you pipe on top and where you put it. Change the frosting colour, swap one eye for three, and you have a different creature.
If you are short on time, scroll to the one-eyed monster first. It is the fastest design and the one people remember most.
Table of Contents
- What You Need
- Swaps when you are missing something
- Edible and non-edible toppers
- Step-by-Step: How to Make Halloween Cupcakes Look Like Monsters
- Make a Classic Monster Cupcake
- Make a Green Zombie Cupcake
- Make a One-Eyed Monster Cupcake
- Make a Mummy Cupcake
- Make a Vampire Cupcake
- Make a Frankenstein Monster Cupcake
- Common Mistakes
- Frosting that slides off or slumps
- Eyes that fall off or roll down the dome
- Colours that bleed into each other
- Faces that look crowded
- Decorating too early
- Frosting that tastes too sweet across a whole batch
- Frequently Asked Questions
- What is the best frosting for Halloween monster cupcakes?
- Can I make monster cupcakes without using candy?
- How do I keep monster cupcake decorations from melting?
- Can I make Halloween monster cupcakes the day before?
- How do I get green or purple frosting colors?
- What can I use instead of candy eyes?
- Conclusion
What You Need
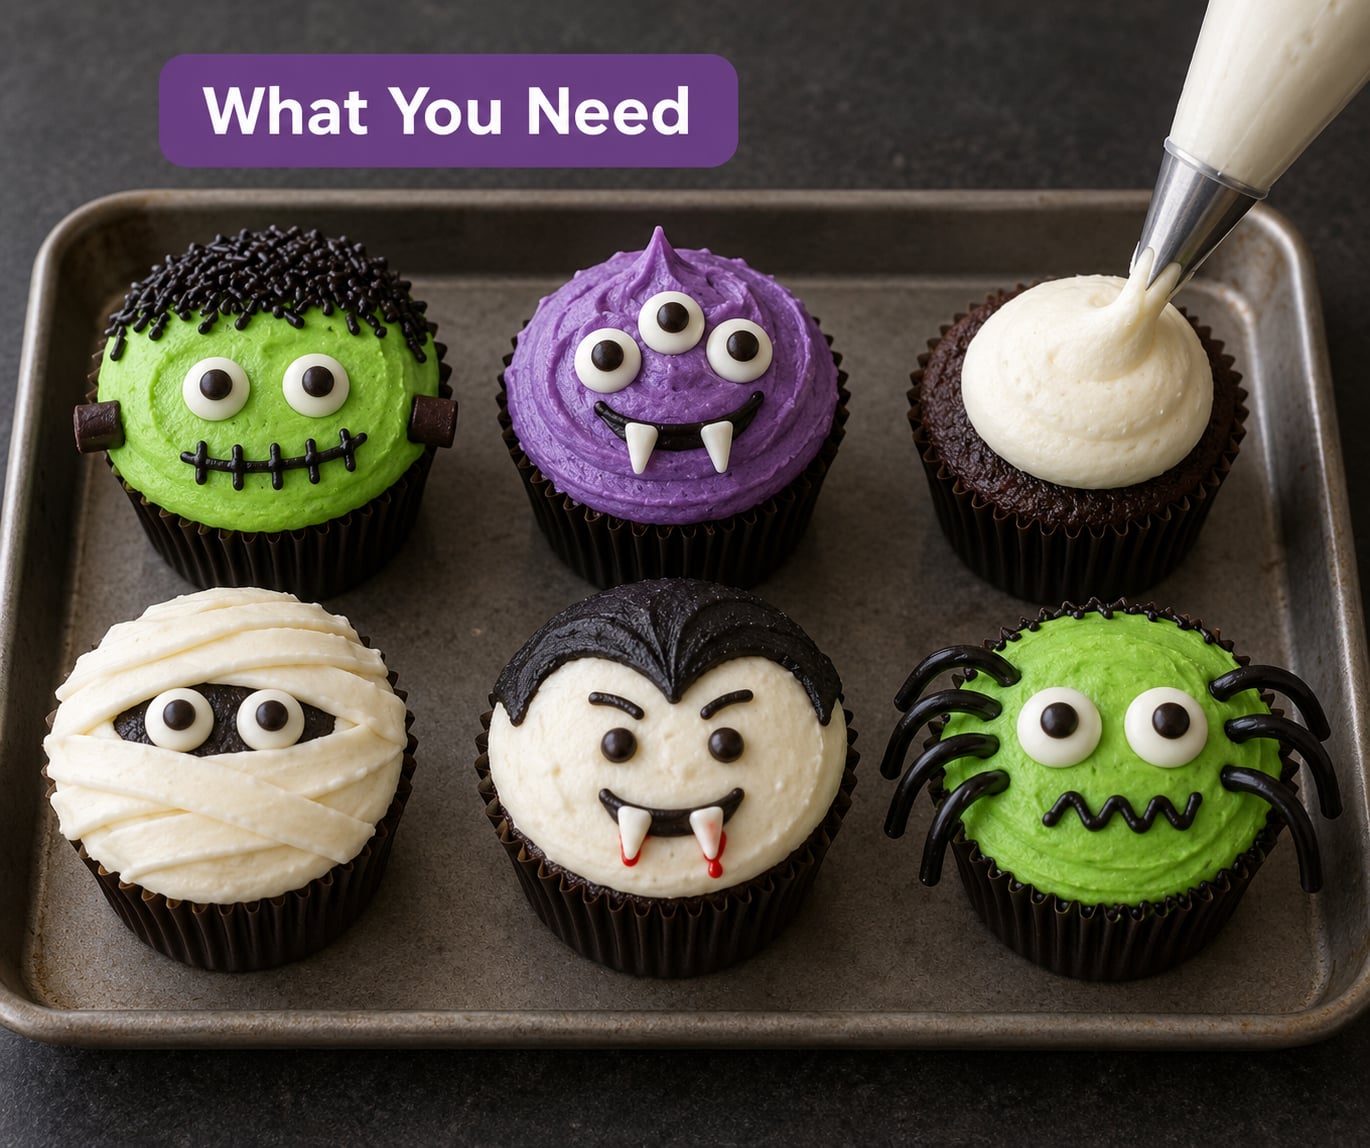
Start with the cupcake itself. Any standard bake works, including a boxed cake mix or a store-bought tray from a bakery, so nobody has to turn this into an all-day baking project.
- Cupcakes — your favourite recipe, a boxed mix, or plain store-bought ones. Warm cupcakes frost badly, so cool them completely on a rack first.
- Frosting — vanilla buttercream is the easiest to pipe and holds toppers well. Cream cheese frosting is tangier and softer, so it needs chilling before decoration. Whipped cream frosting will not hold a heavy topper at all.
- Gel food colouring — gel rather than liquid dye gives strong colour without thinning the frosting. Green, purple, orange, black, teal and red cover every design below.
- Piping bags and tips — at minimum a large round tip for frosting mounds. A small round tip adds eyelids and details; a star or ruffle tip builds fur texture.
- Candy eyes — candy eyeballs or sugar eyes in two or three sizes. Mixed sizes look more like a creature than matching pairs.
- Sprinkles — jimmies or nonpareils, which you press onto wet frosting to make fur. Halloween sprinkles with orange and black strands work too.
- Edible black food pen or gel — for pupils, stitches and monster veins when you have no candy eyes.
- Chocolate cookies — a chocolate sandwich cookie with the cream removed makes a wide monster mouth or a flat head plate.
- Corn syrup — mixed with red food colouring, this becomes edible blood for drips.
Swaps when you are missing something
No candy eyes? Piped white domes with a dot of black gel in the centre read as eyes at a glance. Out of frosting for a texture layer? Press dry sprinkles onto frosting that is still wet, or pull the cupcake apart slightly and roll it in sprinkles.
A butter knife, a zip-top bag with one corner snipped off, or even a sandwich bag works in place of piping bags. Home bakers who plan on making several designs often buy a small tip set and a stack of disposable bags once, which removes the shortage that frustrates people doing this for the first time.
Edible and non-edible toppers
Plastic vampire fangs and novelty toppers are not edible. Pull them out before serving if children under four are eating, since they are a choking hazard, and use one-per-cupcake rather than a communal bowl. Everything on the designs below is edible except the fang option in the vampire design.
Step-by-Step: How to Make Halloween Cupcakes Look Like Monsters
Every design below starts from the same base: a cool cupcake, a domed mound of coloured frosting, and eyes placed in the upper third of the dome. Eyes sit high because that is where a face reads from across a table. Once the frosting mound is on, press candy eyes in while the frosting is still soft so they bond on contact.
Make a Classic Monster Cupcake
Pipe a rounded mound of any bright frosting using a large round tip, starting in the centre and spiralling outwards until the dome sits about 4cm above the cupcake. Press two candy eyes of different sizes into the upper half of the dome, spacing them wider than feels natural.
For a mouth, use a small round tip and pipe a half-moon of red or purple frosting below the eyes, then add two small white triangles for teeth. A flat chocolate cookie pushed into the frosting makes a wide grin instead, which is easier for beginners and reads well from a distance.
You know it worked when the cupcake looks like a face before you read the box. If the eyes look sunken, lift them out and reseat them 5mm higher.
Make a Green Zombie Cupcake
Tint the frosting pale green for a fresh zombie, or push it to a bright neon green for something louder. Mix a second batch a shade darker and pipe thin lines down from the eyes and mouth to suggest veins and decay.
Press green or black sprinkles over the dome while the frosting is wet for a decaying, patchy surface. Torn-looking dark chocolate pieces or broken cookie halves stuck into the frosting imitate exposed bone, and a few lines of red corn syrup at the mouth edge suggest blood.
The scare level here comes from the drippy mouth rather than the colour. A pale green zombie with a small mouth unsettles people more than a bright green one with a huge grin.
Make a One-Eyed Monster Cupcake
This is the fastest design and the one to make if you are decorating a large batch at night. Pipe a smooth dome in purple, teal or orange, then press a single large candy eye into the centre with a ring of small frosting around it to make it bulge. A raised frosting base under the eye gives it dimension.
Add two pretzel pieces or candy horns at the sides of the dome for a cyclops look, and drip coloured corn syrup down the front. Purple frosting with one big eyeball is the classic purple people eater, and it stays the most requested design at adult parties because it is instantly readable without being graphic.
Balance matters more than detail. A single centre eye with even horns looks intentional, while extra features around it start to look accidental.
Make a Mummy Cupcake
Cover the cupcake in a flat coat of white frosting, then pipe irregular white strips across it using a small round tip. Leave narrow gaps between strips so the frosting underneath shows through as shadow. Random widths and angles matter more than neat rows, and one or two strips can hang over the edge of the liner.
Add two dark candy eyes or two black gel dots in the gap area. Leave the bottom strip off-centre so the face looks slightly lopsided, which reads as a leaning mummy rather than a bandaged cake.
The mummy design takes the longest of the six because of the strip work, but it needs the least precision. Messy frosting suits the character here.
Make a Vampire Cupcake
Use black, deep purple or blood-red frosting and pipe it into a smooth dome rather than a textured mound. Add triangular white candy teeth along the lower edge of the face, alternating small and large triangles, and paint a red mouth line behind them.
For drips, warm light corn syrup with a drop of red food colouring and let it run down from the mouth or the top of the dome. Apply it last so it sits on top of the frosting rather than soaking in, and give it a few minutes to set before moving the cupcakes.
Chocolate cookie halves work as a jaw if you want a wide mouth, and edible glitter dusted on the black frosting gives a slick shine that catches the light. Skip the plastic fangs if children under four will be eating, or press the fangs in with a dab of softened frosting so they stay put through transport.
Make a Frankenstein Monster Cupcake
Frost in pale green and flatten the top of the dome with the back of a knife so you have a squared-off head. Pipe short dark strokes along the top edge for black hair, or press chocolate sprinkles into the frosting for the same effect in one step.
Add a squared chocolate cookie piece or a flat rectangle of frosting on the forehead, two bolts made from small candy balls or silver sprinkles at the neck of the cupcake, and a row of short black gel stitch lines across one cheek. A flat green base across the liner gives the whole thing a bolted-to-the-table look.
Frankenstein designs reward restraint. Two bolts and a few stitches are enough, and adding more than five details on a 6cm-wide top turns the character into noise.
Common Mistakes
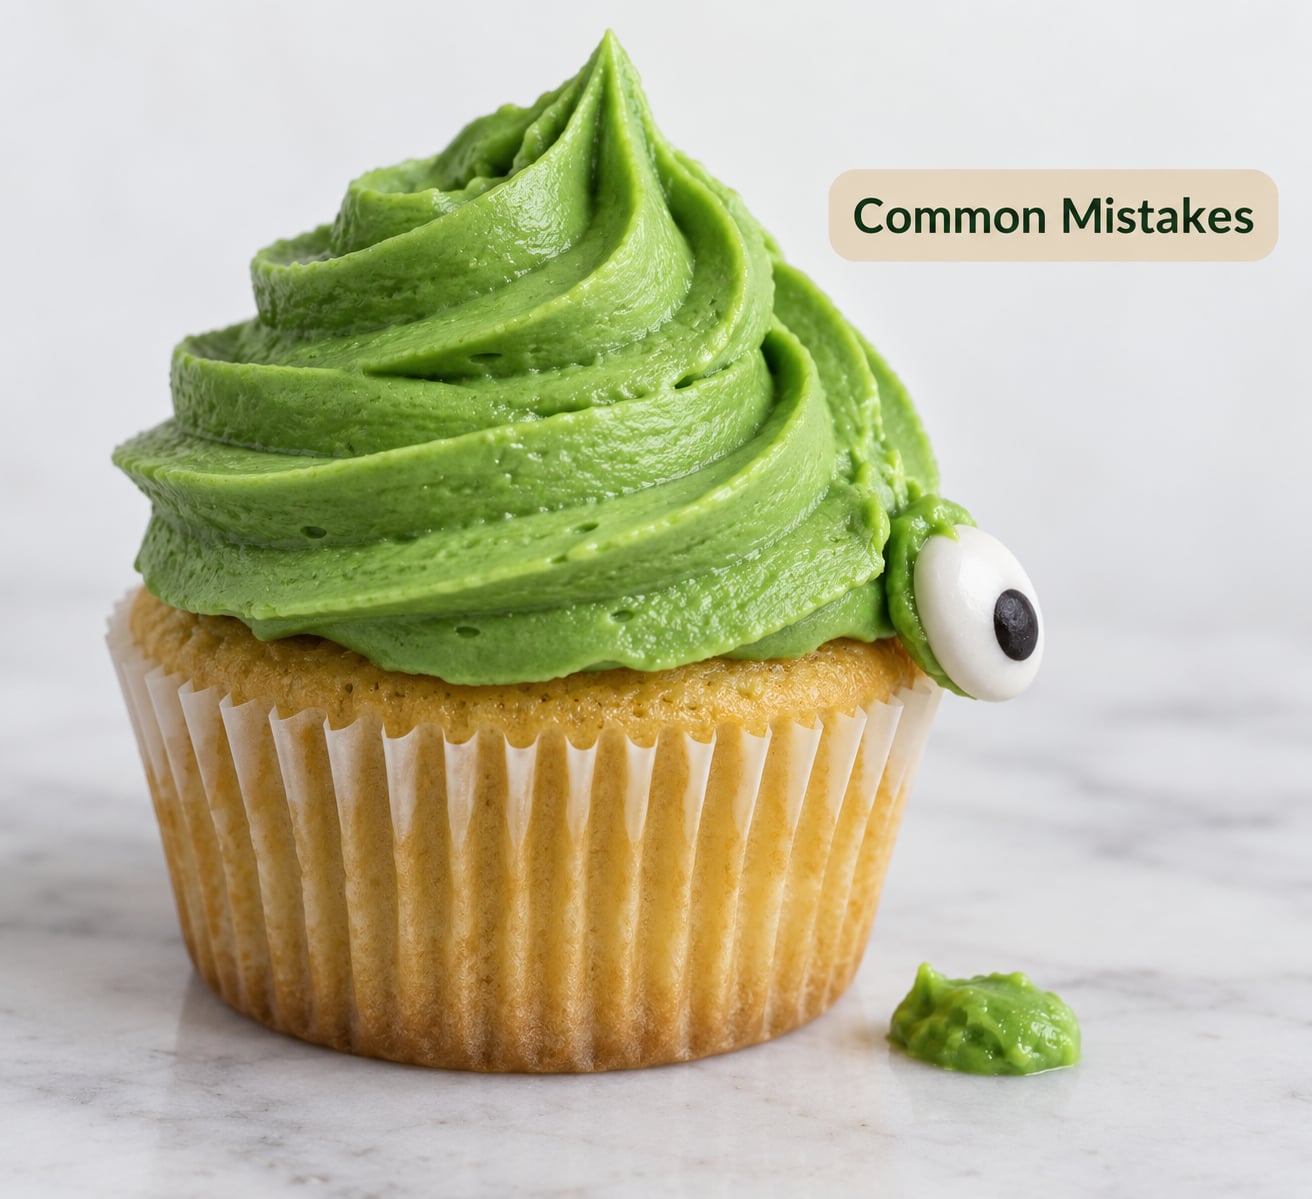
Frosting that slides off or slumps
Wet frosting cannot hold a topper. Chill the frosted cupcakes for 20 minutes before adding candy, or add a spoonful of meringue powder to stiffen the frosting. Another fix is to use a thicker frosting to start with, since whipped and cream cheese frostings need chilling and often a stabilizer.
Eyes that fall off or roll down the dome
Place eyes while the frosting is soft enough to grip but firm enough to hold its shape, usually straight after piping. If an eye keeps sliding, press a toothpick into the frosting first and rest the eye on that, or add a small dab of stiff frosting underneath as a shelf. Sticky edible glue or a drop of melted chocolate also works as a bonding layer.
Colours that bleed into each other
Colour one cupcake at a time and let each finish before starting the next, or set finished cupcakes in the fridge on a single layer. Working in batches stops your hands dragging green dye across a purple face, and gel colouring used sparingly keeps the frosting thick enough to pipe.
Faces that look crowded
Leave clear frosting around the eyes and mouth so each feature has room. Two eyes and one mouth is usually the sweet spot on a standard cupcake, and extra details such as bolts, stitches and horns work best on the largest designs only.
Decorating too early
Frost the cupcakes the day before and refrigerate them covered, then add eyes, teeth and drips on the day of the party so nothing softens or slides. Sprinkles and piped texture survive a night in the fridge; candy pressed into wet frosting does not stay wet once chilled.
Frosting that tastes too sweet across a whole batch
Shorten the frosting slightly with a little extra cream cheese, use a tangy cream cheese frosting to balance the sugar, or pair very sweet cupcakes with salted toppings and tart candy. Mixing in a small amount of espresso powder also cuts the perception of sweetness without changing the flavour much.
Frequently Asked Questions
What is the best frosting for Halloween monster cupcakes?
Vanilla buttercream is the easiest and most reliable choice because it pipes smoothly and holds candy without chilling. Cream cheese frosting tastes less sweet but is softer, so chill the frosted cupcakes for 20 minutes before adding toppers. Whipped cream frosting will not hold heavy decorations and is better used as a background layer under something stiffer.
Can I make monster cupcakes without using candy?
Yes. Pipe white frosting domes and add a dot of black gel in the centre for eyes, or press chocolate chips upside down so the point faces out. Broken cookie pieces make good mouths, pretzels work as horns, and black piped lines can suggest stitches or veins. Frosting alone can carry a whole design if you vary colour and texture.
How do I keep monster cupcake decorations from melting?
Keep everything cool and add delicate pieces last. Frost the cupcakes a day ahead and refrigerate them covered, then attach candy eyes, drips and sprinkles on the day of the party. Corn syrup blood needs a few minutes to set before the cupcakes move. If your kitchen is warm, chill the finished tray for 10 minutes before serving.
Can I make Halloween monster cupcakes the day before?
Yes, with one rule: frost the day before and decorate the day of. Store frosted cupcakes in a covered container in the fridge, not the freezer, which dulls frosting texture. Cooled cupcakes freeze well for up to three months, so you can bake ahead and freeze in single layers, then thaw uncovered before frosting.
How do I get green or purple frosting colors?
Use gel food colouring rather than liquid dye, which can thin the frosting and make it slide. For green, add yellow a drop at a time to white until it turns lime, then a drop of blue for a deeper zombie shade. For purple, mix equal parts red and blue gel. Test on a smear on a plate first, since frosting colour looks paler than you expect.
What can I use instead of candy eyes?
Black gel dots on white piped domes are the simplest swap. Chocolate chips pressed point-up, sliced olives for adults, small rounds of fondant, or white sugar buttons all work. If you want the bulging look without 3D candy, pipe an eye directly onto the frosting with a small round tip and add a black pupil.
Conclusion
Pick one design before you start, mix your frosting colours in separate bowls, and decorate three cupcakes as a test batch. Once the colour, eye placement and piping pressure feel right, the rest of the tray goes quickly.
For 2026, the one-eyed monster and the classic candy-eye design give the most variety with the fewest supplies. Keep the colours bold, keep the faces simple, and the cupcakes will read as monsters from across the room.