Candy apples get a hard, brittle shell when you cook a sugar syrup to the hard-crack stage, 300 to 310 degrees Fahrenheit (149 to 154 Celsius), and dip apples that are completely free of wax and moisture. Temperature is the whole game. Get it right and the coating cools into glossy glass; miss it and you get a tacky wrapper that slides off.
I’ve made this batch more times than I care to count, and the failures are always the same two things: syrup that never really got hot enough, or apples that still had wax and a bead of water hiding in the stem end. This guide walks through both, plus what to do when a batch goes wrong mid-dip.
Budget about an hour end to end, and treat the 25 minutes around the stove as the active part. Children love these; molten sugar does not mix well with children, so plan to do the cooking yourself with the little ones watching from a safe distance.
Table of Contents
- What You Need
- Ingredients
- Equipment
- Choosing Your Apples
- Step-by-Step: How to Make Candy Apples With a Hard Shell
- How to Make the Candy Apple Coating
- Candy Temperature Stages at a Glance
- How to Get a Thick, Hard Shell on Candy Apples
- How to Dip and Cool the Apples
- How to Decorate and Store Candy Apples
- Common Mistakes While You Cook
- Common Mistakes
- Frequently Asked Questions
- How do I get a hard candy shell on candy apples?
- Why did my candy apple shell turn soft?
- What temperature should candy apples be when dipping?
- How do I stop the sugar coating from crystallizing?
- Can I decorate candy apples after the shell hardens?
- How long do hard-shell candy apples last?
- Conclusion
What You Need
The recipe below makes about 12 apples, which is the most a home cook should attempt in one pan. Doubling the batch means two pans and two thermometers, because the dipping window is shorter than most people expect.
Ingredients
- 3 cups granulated sugar
- 1/2 cup light corn syrup (clear, not dark)
- 1 cup water
- 1/2 teaspoon red gel food coloring, plus more to taste
- 12 small Granny Smith apples, or a mix of Granny Smith and Honeycrisp
- 12 lollipop sticks or 6 to 8 inch wooden skewers
- 1 tablespoon white vinegar, or 1 to 2 tablespoons baking soda, for the wax bath
Outsiders of the US: clear glucose syrup works in place of light corn syrup and behaves almost identically.
Equipment
- A candy thermometer. This is the one item you should not skip, and it is the item readers most often skip.
- A small heavy-bottomed 2-quart saucepan. A thin pan scorches the syrup long before the sugar is ready.
- A heatproof spatula or wooden spoon
- A clean pastry brush dipped in warm water
- A small bowl of cool water and a slotted spoon
- A baking sheet lined with parchment paper, plus kitchen shears and paper towels
- Paper towels and a hair dryer or fan for drying the apples
Choosing Your Apples
Granny Smith is the safe pick: tart, dense, and it holds together through the hot dip. Honeycrisp is sweeter and crisper but softens noticeably inside the shell, and Red Delicious goes to mush. A half-and-half batch gives you two textures, which is what several readers on the Just a Taste comment thread reported working best.
Whatever you pick, skip anything bruised or soft at the stem. Small apples are easier to dip, eat and stand upright than large ones.
Step-by-Step: How to Make Candy Apples With a Hard Shell
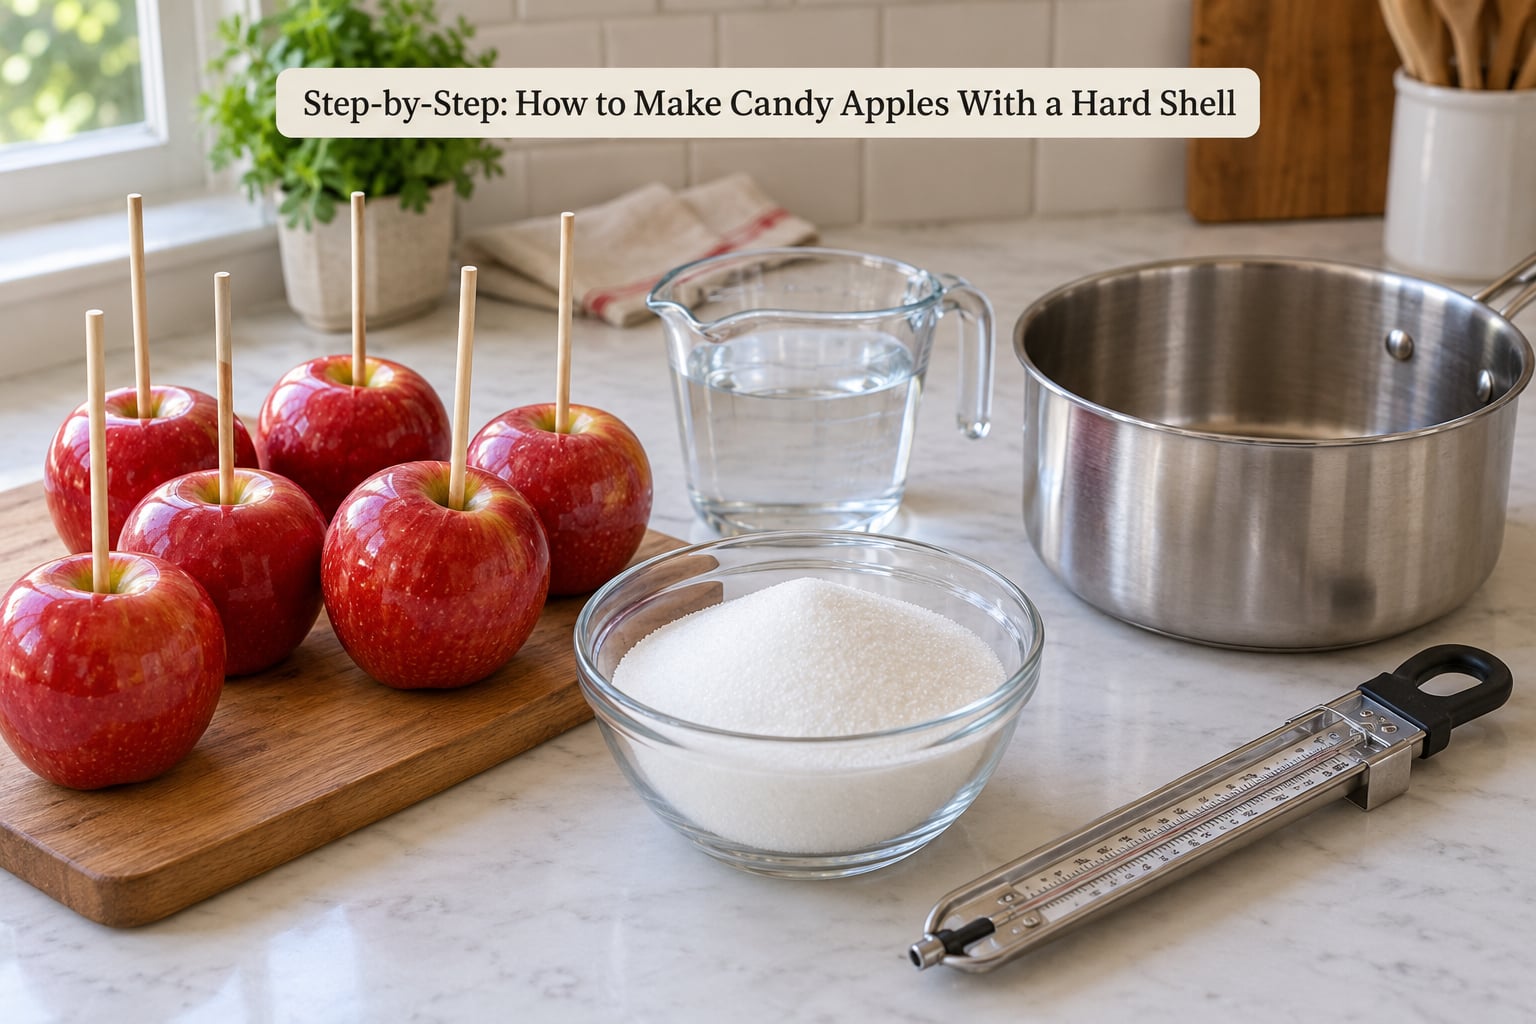
Read the whole sequence once before you start. Sugar waits for nobody, and the moment the syrup hits the right temperature you’re on the clock.
- Wash the apples and scrub off the wax.
- Dry them completely, including the stem end.
- Combine sugar, corn syrup and water in the saucepan.
- Boil it undisturbed to 300 to 310F.
- Add color off the heat, then dip, drain and set.
How to Make the Candy Apple Coating
Stir the sugar, corn syrup and water together in the cold pan, then set it over medium-high heat. Stir only until the mixture is clear and the granules have dissolved, about 4 to 5 minutes. After that, leave it alone. Stirring a boiling syrup invites crystals off the pan wall, and one crystal seeds the whole pot into grainy seizing syrup.
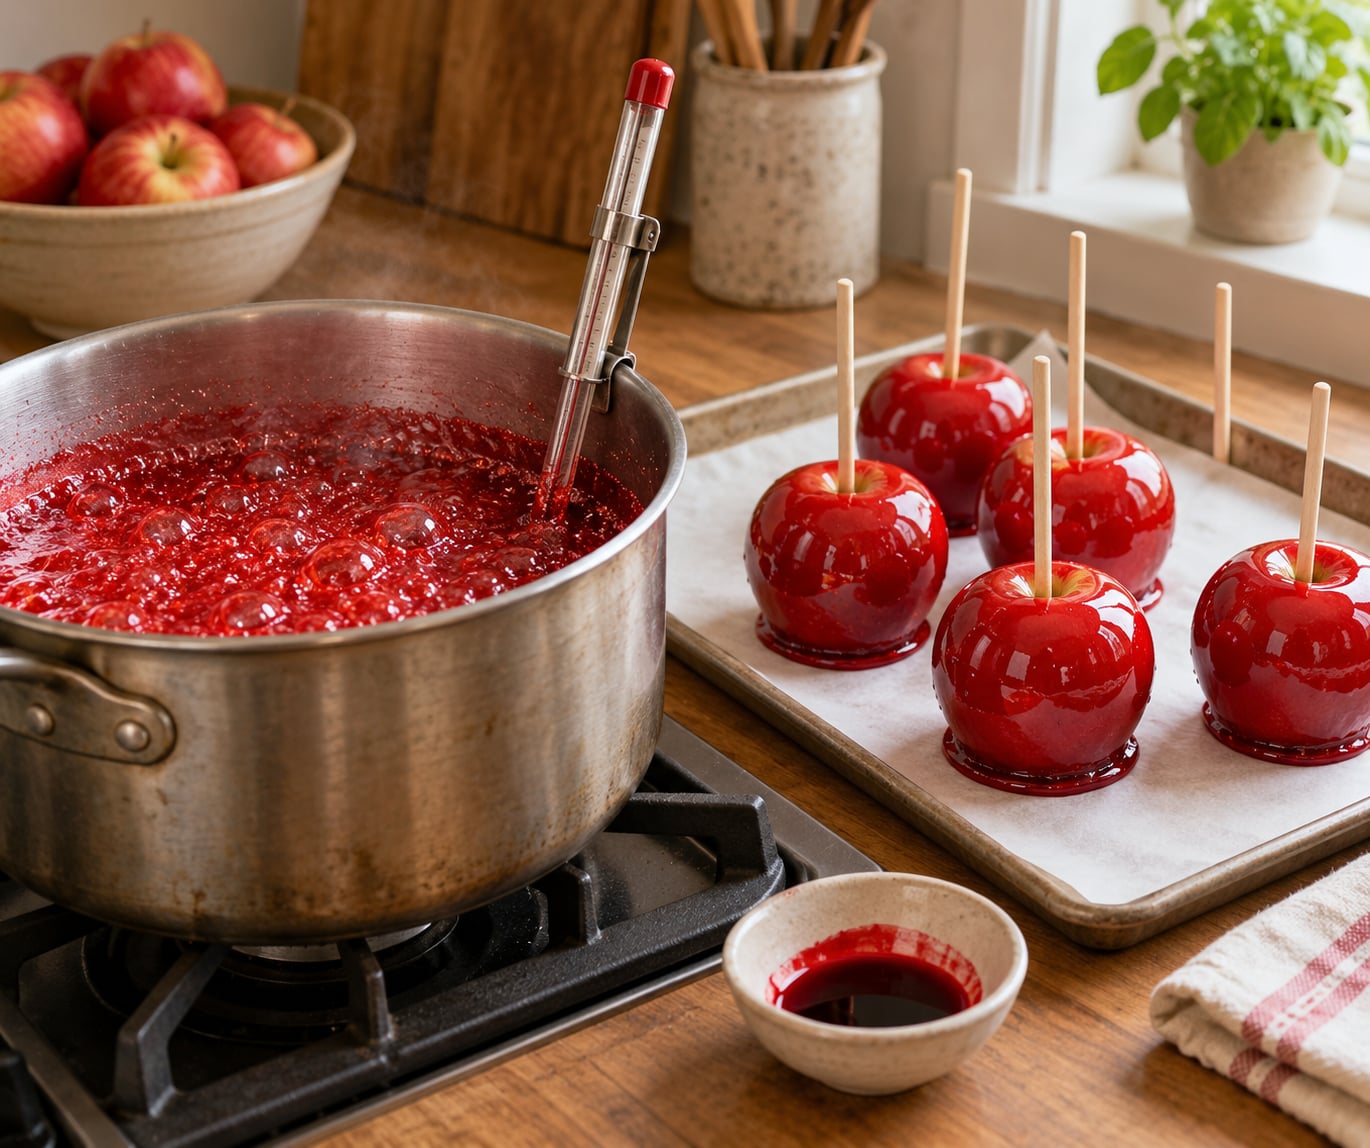
Clip the thermometer to the pan so the tip never touches the bottom. From a rolling boil, expect roughly 15 to 20 minutes to reach the target. Do not walk away, and do not raise the flame to hurry it, because the difference between a great batch and a scorched one is often a minute.
Candy Temperature Stages at a Glance
| Temperature | Stage | What it looks like | The shell you end up with |
|---|---|---|---|
| 236-240F (113-116C) | Soft ball | Syrup pulls into a soft, dull ball in cold water | Chewy and tacky, pulls off the apple in a sheet |
| 250F (121C) | Thread | Thin threads as it drips off the spoon | Still soft, sets like glue |
| 300F (149C) | Hard ball | Syrup is clear, thick, and drops in heavy chunks | Firm shell, slight toothiness |
| 300-310F (149-154C) | Hard crack | Syrup strings as it drips and snaps hard in cold water | Brittle, glass-like shell that resists melting |
Two details make the difference between a passable batch and a fair-ground one. First, pull the pan at 305 to 308F rather than waiting for 310: the syrup keeps climbing after it leaves the burner, and readers who wait for the higher number routinely scorch it. Second, wet that pastry brush and wipe the inner wall of the pan every few minutes so nothing crystallizes and falls in.
Once off the heat, let the syrup sit 5 to 7 minutes. It thickens to a pancake-syrup consistency, stops being dangerously runny, and takes color far more evenly. Stir in the gel coloring at this point rather than at the start, where the color dulls during the long boil.
No thermometer? Use the cold water test. Drop a small spoonful into very cold water, wait two seconds, then pinch it. At hard crack, the sugar forms a hard, brittle shard that snaps cleanly instead of bending.
How to Get a Thick, Hard Shell on Candy Apples
Shell thickness is decided by how long the apple sits in the syrup, not by how much syrup you make. Most first-timers do a quick pass and get a thin, brittle layer that cracks off in the bag. Give each apple 15 to 20 seconds submerged, rolling it slowly so the coating wraps evenly, and a third dip if you want carnival-thick.
Let excess drip off longer than feels comfortable. Hold the apple over the saucepan and rotate it while the syrup runs thin, then wait for the drip to slow to a fat drop before you move. Pools of excess candy at the bottom are what glue the apple to the paper later.
Extra syrup is a separate lever. If a batch is running low partway through, don’t stretch it, because the last apples in a thinning pan get a patchy coat. Finish that group, or restart with a fresh smaller batch.
How to Dip and Cool the Apples
Push the stick or skewer into the apple’s core without piercing through the bottom, and hold it upright over the pan. Then dip and twirl, rotating the apple steadily for those 15 to 20 seconds so the coating lays on evenly instead of pooling at the stem.
Never let the apple touch the pan or the side of the saucepan. Contact is where lost coating picks up burnt sugar and turns smoky, which is how you get an off flavor in a batch that otherwise worked.
Stand each apple on the parchment-lined sheet and hold the stick vertical for about a minute until the base stops slumping. Then lay it flat. Hold the stick down to keep it from tipping and you will press a soft spot into a shell that hasn’t finished cooling, which is exactly where cracks later start.
The shell needs about 10 minutes at room temperature to harden fully. It’s already set to the touch well before that, but it is still giving off heat, and judging it too early is how candy ends up tacky hours later. Leave the whole tray undisturbed.
How to Decorate and Store Candy Apples
Wait until the shell is fully cool, at least an hour, before decorating. Anything you press onto warm candy slides right back off. Good Halloween options: edible glitter, sprinkles, crushed peanuts, shredded coconut, coarse sugar, or a drizzle of melted white chocolate. Candy melts, nuts and coconut, black sprinkles, and pumpkin or bat shapes cut from fondant all work.
Stand them in cupcake liners for a party display, or roll the finished apples in coconut or nuts while the shell is still slightly tacky, which is a few minutes rather than an hour.
For storage, the reader consensus across cooking forums is consistent: best the same day, and up to one day wrapped individually in a cool, dry place. Do not refrigerate. Cold plus condensation softens the shell, and moisture is the one thing that undoes all your careful temperature work. Keep them away from direct sun, heaters and car seats.
Plan to eat them within a few days, and let them come back toward room temperature before eating if they have been somewhere cold.
Common Mistakes While You Cook
Three failures account for nearly every bad batch: syrup pulled off the heat too early, crystals knocked into the pan, and apples that were not truly dry. All three are preventable with a thermometer, a pastry brush and fifteen minutes of drying time.
A fourth one catches people off guard after the batch is already made. If the syrup thickens and turns grainy partway through dipping, don’t add water and don’t stir hard. Lift the batch out, strain or pour off what you can, and reheating is the only rescue, once.
Common Mistakes
Molten sugar burns skin badly and it sticks to skin, so a splash of water in the pan is a real hazard. Keep children out of the dipping zone, wear sleeves you don’t love, and have a big pot of water on the stove ready for cleanup before you start.
Here’s how to read a batch that went wrong.
| Symptom | What caused it | Fix |
|---|---|---|
| Candy stays sticky and chewy overnight | Syrup never reached 300F, or a faulty thermometer read low | Cook to 300-310F next time and test your thermometer in boiling water first |
| Candy slides right off the apple | Wax left on the skin, or the apple was still damp | Boil and vinegar-bath the apples, then dry them for 15 minutes or more |
| Bubbles and pits in the shell | Wax residue, or water trapped in the stem end | Rinse in boiling water, dry the calyx end last, dry fully |
| Syrup turns grainy mid-dip | Sugar crystals fell off the pan wall into the syrup | Wet pastry brush on the pan wall while cooking, and never stir after it dissolves |
| Candy sticks to the paper and tears off the apple | Candy pooled at the base and grabbed the surface while still soft | Use ungreased parchment and let excess drip much longer before standing the apple up |
| Candy melts hours after it set | Under-temperature, or high humidity softening the shell | Confirm the thermometer reading, and store in a dry room away from sun |
| Candy scorched while reheating | Syrup returned to too high a flame | Reheat over low heat, stirring gently, and only once |
| Apple slides off the stick | Stick inserted too shallow, or pushed all the way through | Push into the core and stop before the bottom, then stand the apple upright while it cools |
| Shell cracks off in thick shards | Too much dripped excess, or a chill shock from the fridge | Drain longer, cool at room temperature only, and store at room temperature |
| Only 6 to 8 apples dip before the syrup thickens | Working window is 20 to 25 minutes, and it shortens in warm kitchens | Batch smaller, or have a second pan ready before you light the first |
Two more that come up constantly. Apples ooze juice around the stick hole and puddle under the coating, so make a small hole first with a skewer rather than driving the stick through at full force. And hardened sugar on your pot and utensils is not coming off with hot water alone: boil water in the pan for a few minutes and scrape, but expect to retire the spoon, the brush and sometimes the thermometer clip.
Frequently Asked Questions
How do I get a hard candy shell on candy apples?
Cook your sugar syrup to the hard-crack stage, 300 to 310F (149-154C), and use a candy thermometer to confirm it. Dip only apples that have been washed to remove wax and dried completely. Below that range the syrup still holds water and stays chewy; with a dry, wax-free apple and syrup at temperature, the coating cools into a brittle glass-like shell.
Why did my candy apple shell turn soft?
Nine times out of ten the syrup never reached 300F, either because the thermometer reads low or because it was pulled off the heat too early. Note that syrup keeps climbing after the burner goes off, so pull the pan at 305 to 308F. High humidity also softens a shell that looked set, and refrigeration the next day will do the same thing.
What temperature should candy apples be when dipping?
Dip at 300 to 310F (149-154C), the hard-crack stage, sometimes called the hard boil stage in older recipes. At that temperature the syrup has boiled off nearly all its water and turns to brittle glass the instant it cools. If you are above 1,000 feet, subtract roughly 2F for every 1,000 feet of elevation.
How do I stop the sugar coating from crystallizing?
Dissolve the sugar fully before the syrup boils hard, then stop stirring. Crystals form when a grain from the pan wall falls back into the syrup and seeds the whole batch, so wipe the inside wall of the pan every few minutes with a pastry brush dipped in warm water. Keep the syrup uncovered and let bubbles dissipate on their own.
Can I decorate candy apples after the shell hardens?
Yes, once the shell has cooled completely, about an hour after dipping. Anything pressed onto warm candy will slide off. Edible glitter, sprinkles, coarse sugar, crushed peanuts, shredded coconut and melted white chocolate all work well, and rolling the finished apple in coconut or nuts while the shell is still a few minutes tacky gives the cleanest coating.
How long do hard-shell candy apples last?
They are best the same day they are made. Properly wrapped and stored in a cool, dry place they hold up to a day or two, and forum readers generally agree they should not be refrigerated, since cold and condensation soften the shell. Keep them out of direct sun and away from heaters, and eat within a few days at most.
Conclusion
Start with the prep, not the stove. Get the apples washed, de-waxed and bone dry, line the sheet with parchment, and have the candy thermometer clipped in before a drop of sugar hits the pan. Then heat the mixture, stop stirring once it dissolves, and take it off the heat at 305 to 308F.
That is how to make candy apples with a hard shell that stays crisp through the whole party. Keep the tray undisturbed for ten minutes, decorate once it’s cool, and skip the fridge.