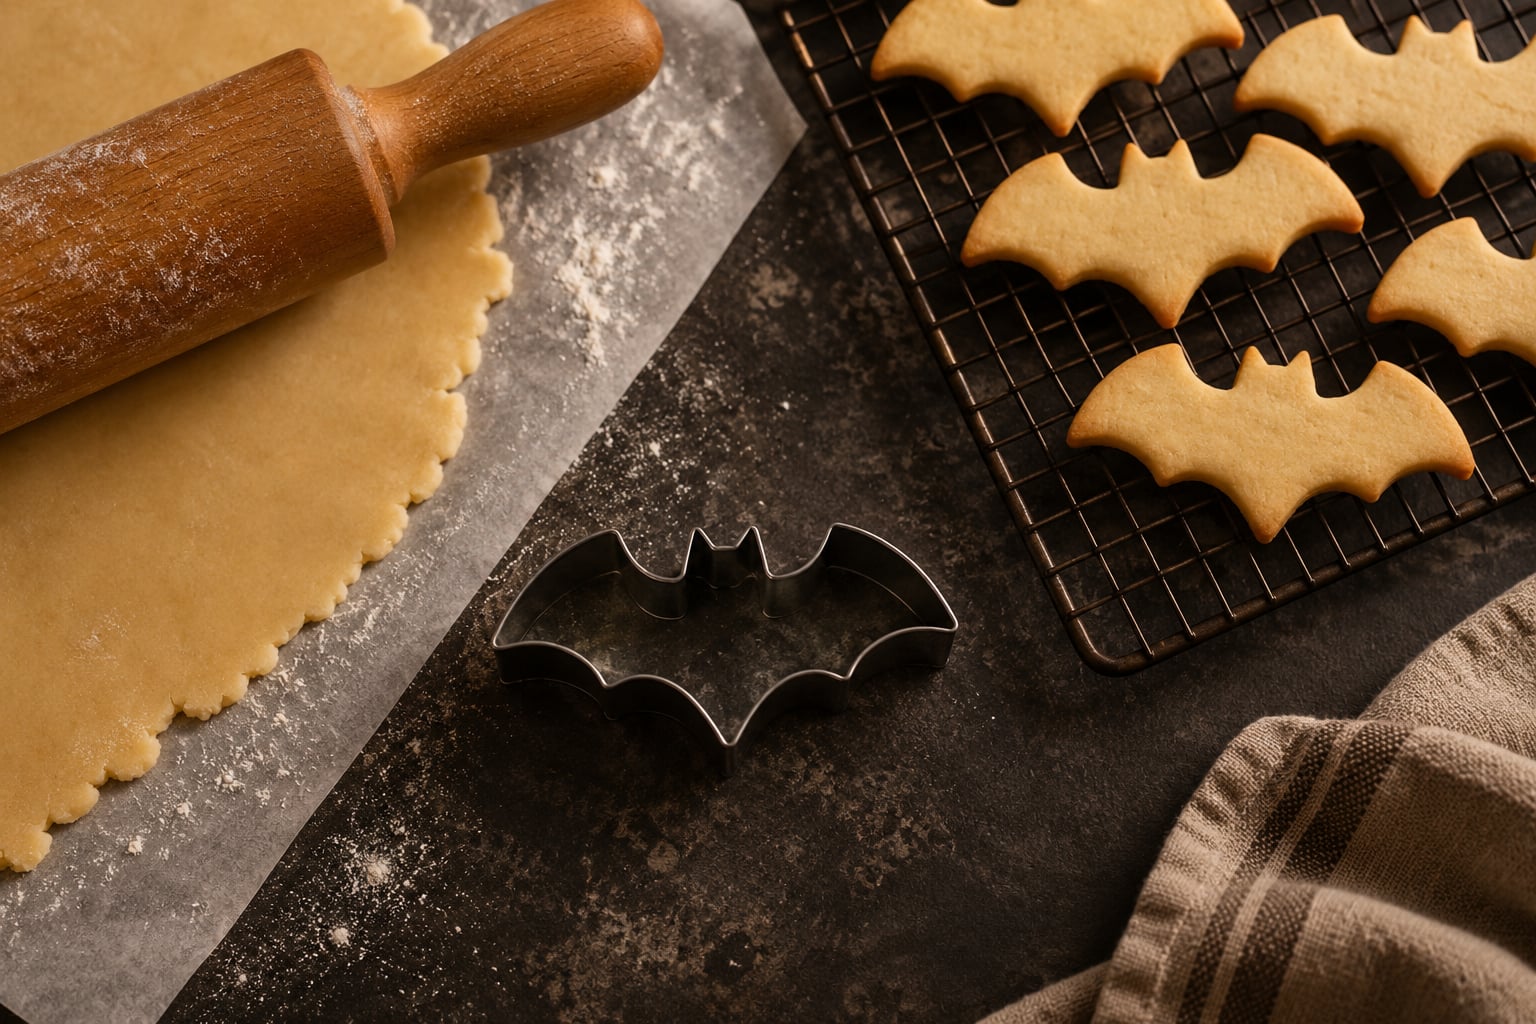
To make sugar cookies shaped like bats, chill a basic sugar cookie dough for 30 minutes, roll it to about 1/4 inch thick, press a bat cookie cutter into it, bake at 350°F for 8 to 12 minutes until the edges are lightly golden, then cool the cookies completely before icing. No cutter? Use a paper template and a knife.
The whole job takes about an hour of hands-on time plus cooling, and most of that hour is chilling and baking rather than work. The one thing that decides whether your bats come out recognizable is how cold and how firm the dough is when it meets the cutter. Get that right and the wings survive.
I have baked these four years running for a neighborhood Halloween table, and the first batch I ever attempted spread into amoeba shapes because I rolled warm dough and got impatient at the oven. Once I started chilling twice — once the dough, once the cut shapes — the problem disappeared. That is the whole trick, and it costs you 45 minutes of waiting.
Table of Contents
- What You Need
- Ingredients
- Tools
- How to Make Sugar Cookies Shaped Like Bats: Step-by-Step
- 1. Make and Chill the Dough
- 2. Roll the Dough to the Right Thickness
- 3. Cut the Bat Shapes
- 4. Bake Until the Edges Are Lightly Golden
- 5. Decorate the Bat Cookies
- Common Mistakes and How to Fix Them
- Frequently Asked Questions
- How do I keep bat-shaped sugar cookies from losing their wings?
- How long do bat sugar cookies stay fresh?
- Can I freeze sugar cookies shaped like bats?
- How can I make bat cookies without a bat-shaped cutter?
- Why is my icing softening the bat cookies?
- Conclusion
What You Need
This makes about 24 medium bat cookies, roughly 3 inches wide, which is a good size for a party table or a treat bag. You need roughly 30 minutes of chilling time and 10 to 12 minutes of baking time, plus time to cool before decorating.
Ingredients
- 1 cup (226 g) unsalted butter, softened to room temperature
- 3/4 cup (150 g) granulated sugar
- 1 large egg
- 1 teaspoon pure vanilla extract
- 2 3/4 cups (330 g) all-purpose flour, spooned and leveled
- 1/2 teaspoon fine salt
- 2 tablespoons Dutch-process cocoa powder (optional, for a dark chocolate dough)
The cocoa is entirely optional. Leave it out and you get a pale cookie you can cover completely in icing; add it and the bat is dark before you decorate, which hides any thin spots where the dough baked unevenly.
Tools
- Bat-shaped cookie cutter, about 3 inches wide
- Rolling pin
- Two sheets of parchment paper
- Flat spatula or offset spatula
- Baking sheet with rimmed edges
- Wire cooling rack
- Instant-read thermometer (optional, but it takes the guesswork out of oven temperature)
For decorating you will want either melted chocolate, royal icing with a piping bag, or a black edible marker. Details are in step 5 below.
How to Make Sugar Cookies Shaped Like Bats: Step-by-Step
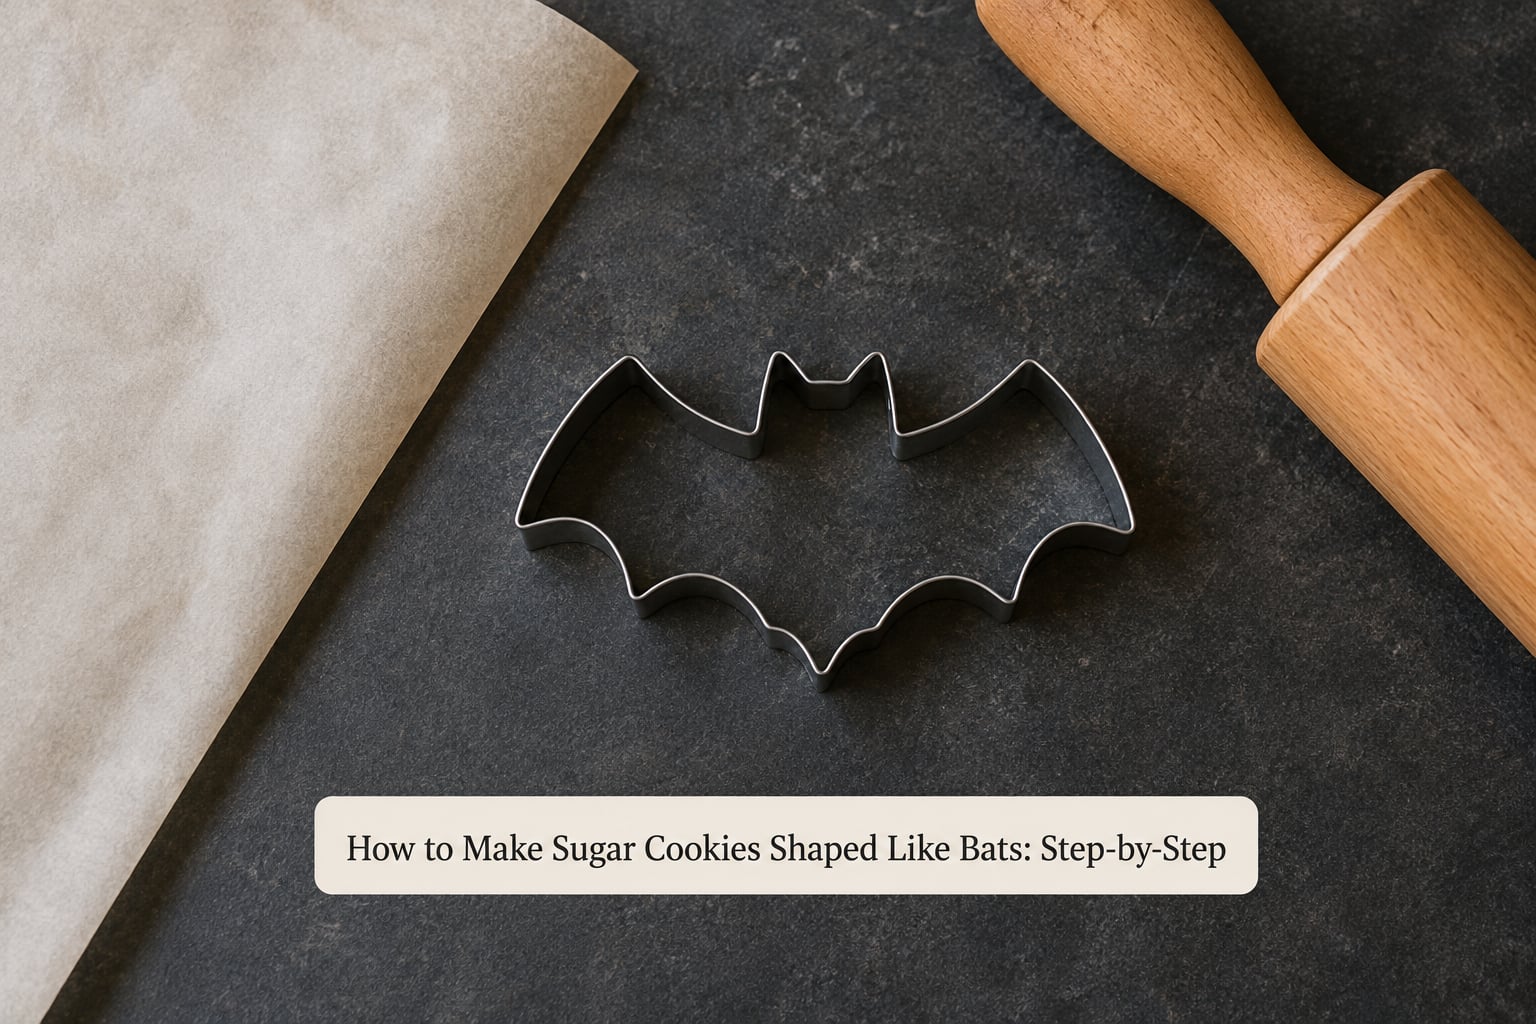
A firm chilled dough produces clean bat shapes, and a thin, even rolled layer prevents overly hard cookies. Here is the whole method in five stages: make and chill the dough, roll it evenly, cut the bats, bake until the edges are lightly golden, and decorate once everything is cool. You will get roughly 24 cookies from one batch.
1. Make and Chill the Dough
Cream the butter and sugar in a large bowl for 2 full minutes, until the mixture is pale and fluffy and holds a ridge when you lift the beaters. Scrape the sides, add the egg and vanilla, and beat another 30 seconds.
Add the flour, salt, and cocoa if you are using it. Mix on low just until no dry flour remains, about 30 seconds. Overmixing is the most common way sugar cookie dough turns tough and crack-edged, so stop the moment it holds together in a clump.
Flatten the dough into a disk, wrap it, and refrigerate for at least 30 minutes. It is ready when it is cold all the way through and firm enough that pressing a finger into it leaves a dent that does not spring back quickly.
2. Roll the Dough to the Right Thickness
Lightly flour your work surface, then lay one sheet of parchment on top and roll the dough from about 1/4 to 1/3 inch thick. Rolling between two sheets of parchment is even better — the dough never grabs, and cocoa dough does not gray out the way it does with loose flour.
Check the thickness in the middle and again at the edges, because a rolling pin leaves a thicker rim. Use a ruler or a jar lid as a gauge if you care. Even thickness is what promotes consistent baking and crisper wings.
3. Cut the Bat Shapes
Lay the top sheet of parchment over the rolled dough and press the cutter straight down once, firmly, with your palm. Do not rock or twist it — rocking is what shears off the ear points.
If the dough sticks inside the cutter, do not pry. Lift the cutter straight up, tap the dough out onto the counter, and press the cutter into a small pile of flour before the next shape. A light dusting of flour on the dough surface helps too.
Slide an offset spatula under each bat and transfer it to the baking sheet, leaving about an inch between cookies so hot air can move around the wings. Gather the scraps, press them back together, chill for 10 minutes, and reroll. Try not to work the scraps more than twice or the cookies will come out tough and uneven.
No bat cutter? Three options work well. First, print or hand-draw a bat outline, tape it to the dough, and cut along the lines with a paring knife with light wrist pressure. Second, roll a tablespoon of dough between your palms into a flat oval, pinch the top into two ears, and pull the sides outward into wings. Third, stamp a star cutter into the dough for the body and add wings with the same knife.
4. Bake Until the Edges Are Lightly Golden
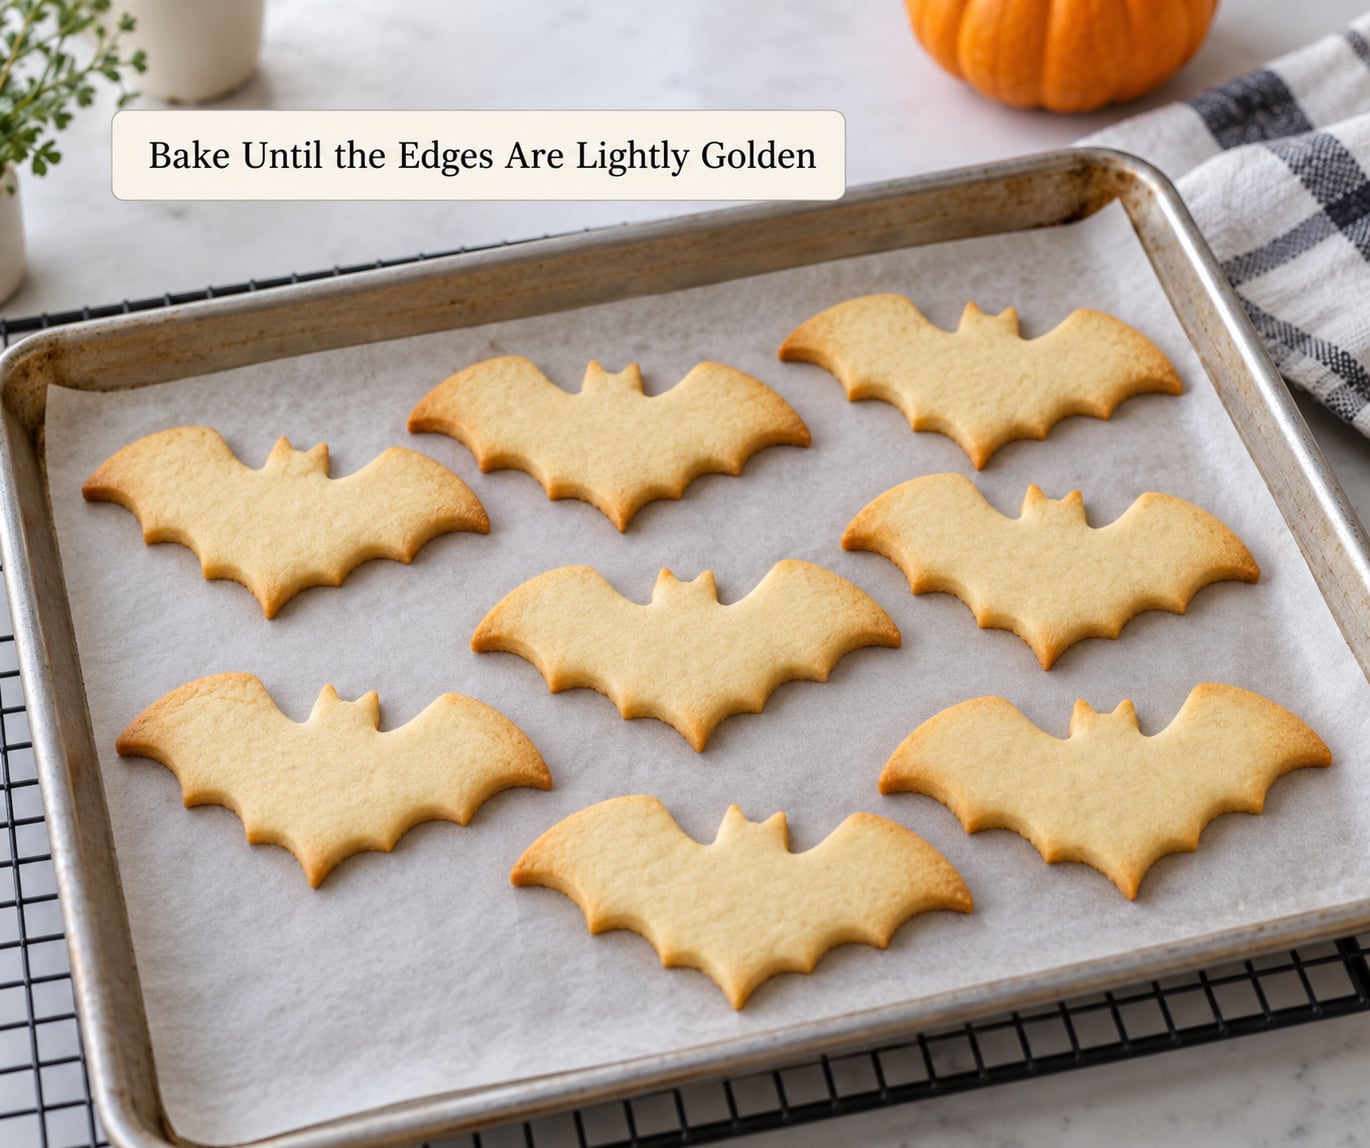
Heat the oven to 350°F and put the rack in the middle. Chill the cut shapes for 10 to 15 minutes first if you are worried about thin points, then bake for 10 to 12 minutes.
The cookies are done when the edges are lightly golden and the centers still look slightly pale and soft. They firm up as they cool, so pulling them the moment they look done keeps the wings from getting brittle.
Let them sit on the sheet for 3 to 5 minutes, then move them to a wire rack with the spatula held flat underneath. Supporting the whole cookie matters — lifting a bat by one wing is exactly how that wing snaps off.
5. Decorate the Bat Cookies
Wait until the cookies are completely cool to the touch, usually 20 minutes on the rack. Icing applied to a warm cookie will slide, pool, and soften the dough underneath it.
Pick the approach that matches your patience:
- Black and orange icing: The fastest option. Thin black royal icing to a flood consistency with a drop of water at a time, spread it over the whole bat with the back of a spoon, then dot two small eyes and a fang or two in orange once the black has crusted. Two hours to set.
- Edible marker faces: The easiest and the most forgiving. Once the cookie is cool, draw eyes and a smile straight onto the plain surface with a black edible marker. No piping bag, no consistency to guess, and kids can do it themselves.
- Layered royal icing: Outline the bat edge with stiff black icing using a number 3 tip, flood the inside with thinner icing, then add wing veins and eye highlights while the flood is still wet. This one takes about 20 minutes per batch of cookies to a beginner.
Whatever you use, keep facial details small. Eyes two millimeters across read as spooky at a distance and turn the cookie into a smiley face up close. Thin lines need a stiffer icing than floods — if the line droops when you lift the bag, add more powdered sugar.
Let the finished cookies dry for at least two hours before stacking them for transport, or use a single layer in a shallow box with parchment between tiers.
Common Mistakes and How to Fix Them
Almost every bat-cookie problem traces back to one of three things: dough that was warm, dough that was rolled unevenly, or cookies iced before they cooled. Here is what each failure looks like and what fixes it.
Dough sticks to the cutter and tears. The cutter is grabbing because you rocked it or because there was no flour between the dough and the metal. Press straight down once, never rock, and dust the cutter face with flour before each press.
Wing and ear points snap off. The dough was either rolled too thin in those spots or it was warm. Chill the dough 30 minutes, roll an even 1/4 inch, and chill the cut shapes 10 to 15 minutes before baking.
Cookies spread into blobs in the oven. The dough was warm going in, or rolled so thin that the butter melted before the flour set. Hold a firm 1/4 inch and bake straight from a cold sheet. If they still spread, work a tablespoon more flour into the dough.
Wings bake dark while the body stays pale. Thin parts heat faster in a hot oven. Use 350°F rather than 375 or 400, move the rack to the middle, and pull the tray the second the edges color.
Cookies come out hard or cracked at the edge. That is overbaking, or the dough was overmixed before chilling. Stop mixing as soon as the flour disappears, and take the tray out while the centers still look pale.
Icing runs or slides off. The cookie was still warm, or the flood icing was thinned too far. Cool fully first, then add water one drop at a time until the icing flows slowly off the spoon.
Icing cracks after storage. The cookie dried out in an open container, or the icing hardened for days before anyone ate it. Store airtight at cool room temperature with a layer of parchment between tiers.
Four habits fix most of this before it starts. Weigh your flour if you can, because a heaped cup can be 30 grams heavier than a level one and that alone changes how the dough spreads. Chill again any time the dough warms up during rerolling. Use parchment, not wax paper, which has nothing to grip the dough. And resist mixing after the flour disappears — the dough does not get better from more beating.
One leftover-dough note: the scraps and any batter that stuck to the beaters make excellent round cookies. Roll them about 1/2 inch thick and bake a few minutes longer, and you end up with a small batch of plain rounds that are good for testing your icing before you commit it to the bats.
Frequently Asked Questions
How do I keep bat-shaped sugar cookies from losing their wings?
Chill the dough 30 minutes before rolling, roll an even 1/4 inch rather than thinner, and press the cutter straight down without rocking it. Then chill the cut shapes 10 to 15 minutes before they go in the oven. Thin points fail in two places: during rolling, when warm dough tears, and during baking, when the wings dry out first. Two chills protect both.
How long do bat sugar cookies stay fresh?
Plain baked bat cookies keep about 4 to 5 days in an airtight container at cool room temperature, and they stay soft for the first two or three days. Royal-icing cookies keep roughly a week sealed, because the icing acts as a moisture barrier. Chocolate-dipped or chocolate-coated bats dry out faster, closer to 3 days, so make those last and eat them first.
Can I freeze sugar cookies shaped like bats?
Yes, and the better move is to freeze the cut raw shapes rather than the baked cookies. Lay them on a tray until solid, transfer to a bag or box, and keep them in the freezer for up to two months. Bake from frozen at 350°F, adding 2 to 3 minutes to the usual bake time. Fully baked cookies can be frozen too, though thawed chocolate tends to dull in color.
How can I make bat cookies without a bat-shaped cutter?
Three ways work. Print or draw a bat outline, tape it to the rolled dough, and cut along the lines with a paring knife. Or roll a tablespoon of dough between your palms into a flat oval, pinch the top into two ears, and pull the sides out into wings. Or stamp a star cutter for the body and carve the wings freehand with the same knife.
Why is my icing softening the bat cookies?
Three usual causes: the cookies were still warm when you iced them, the icing was thinned with too much water, or you stacked the cookies before the icing had fully set. Cool the cookies completely on a rack first, thin royal icing one drop of water at a time, and wait at least two hours before stacking. Thin icing will always seep into the dough sooner than a stiff one.
Conclusion
Chill the dough fully, roll it to an even 1/4 inch, and pull the bats out the moment the edges turn lightly golden. Then let every cookie cool all the way to room temperature before you add thin icing details, and give the icing at least two hours to set before you stack anything. Follow those three things and the wing tips will still be intact when the box opens on party night.